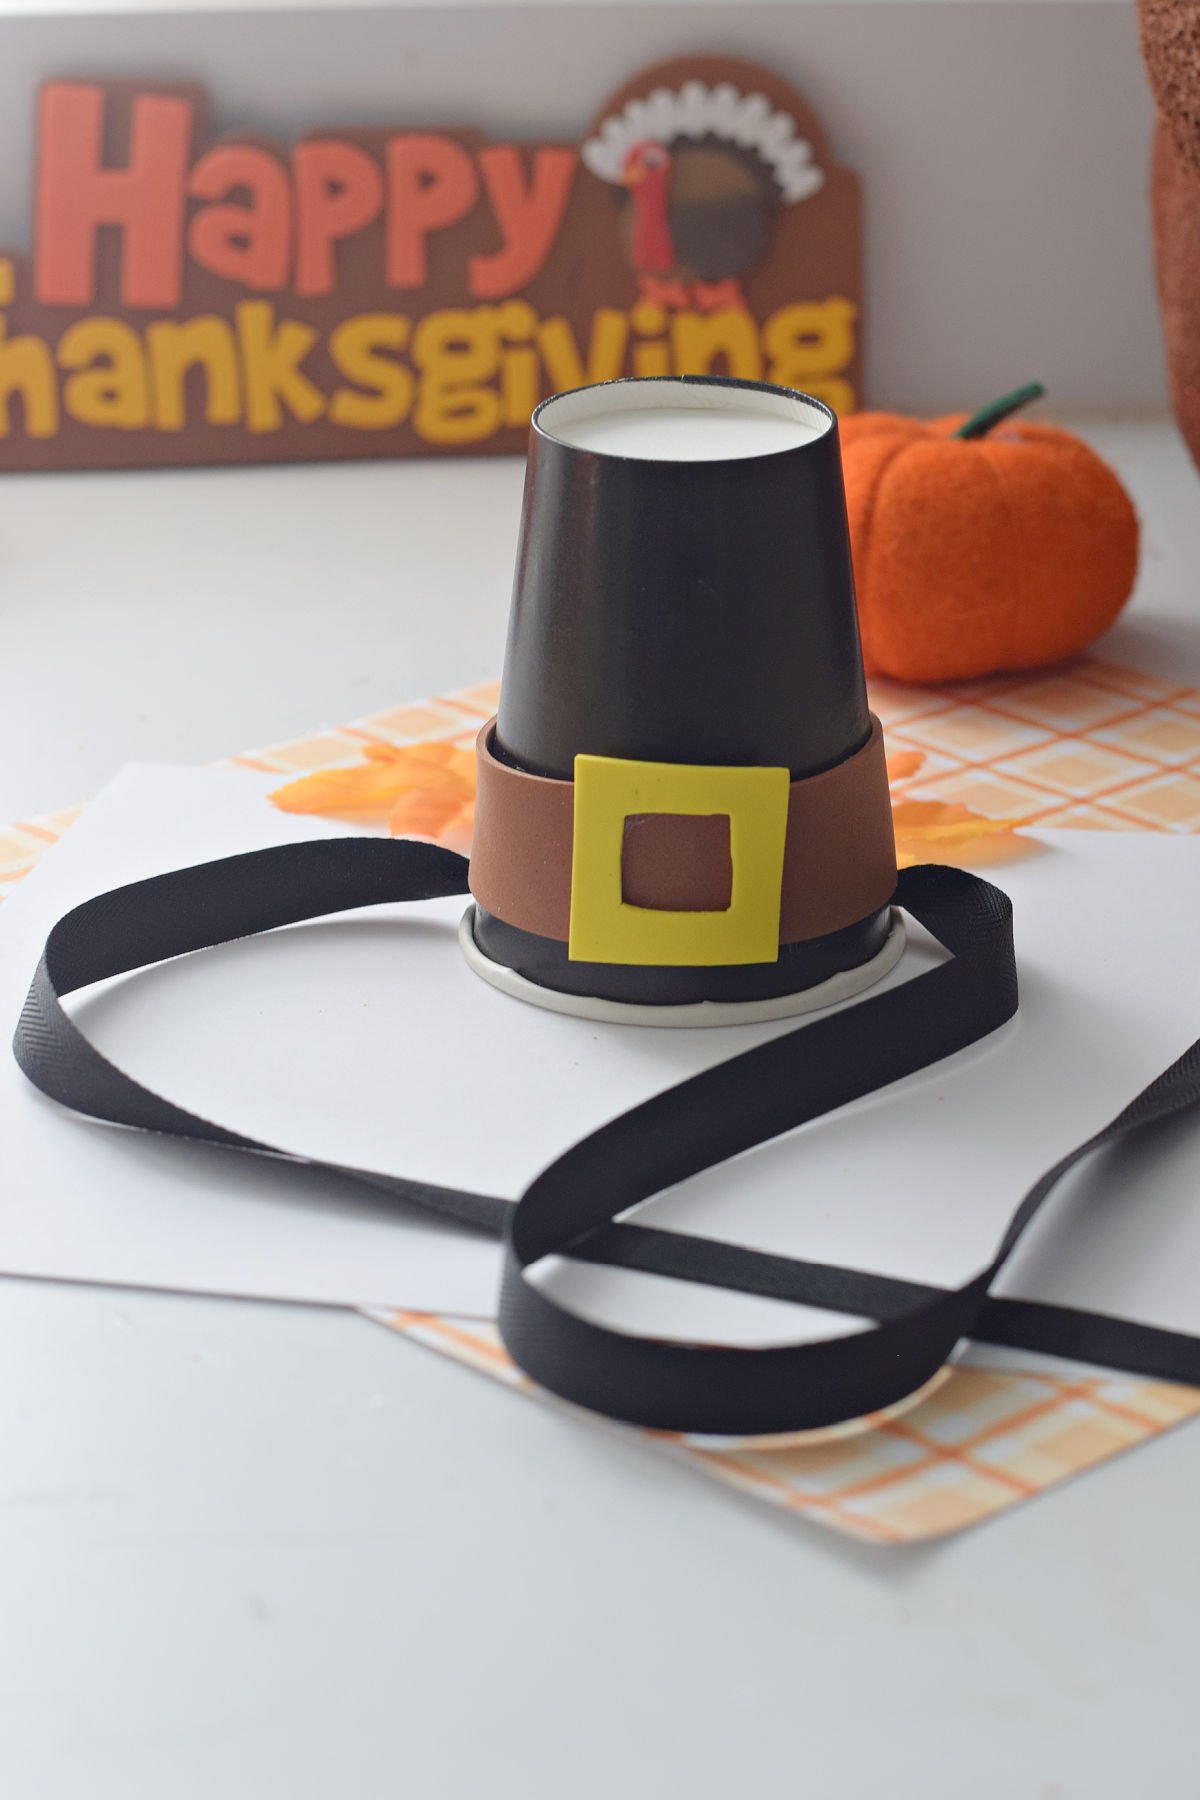
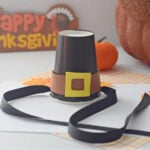
This Paper Cup Pilgrim Hat Craft is so simple and so darn cute. I love this little pilgrim hat. I can’t wait to see all the kids wearing these hats at Thanksgiving.
This post may contain affiliate links. As an Amazon Associate, I earn a small commission from qualifying purchases. See my disclosure policy to read more. Adult supervision is required for each step of activities, recipes, crafts, and games with children. Small parts are a choking hazard. Sharp objects can cause injury.
Paper Cup Pilgrim Hat Craft
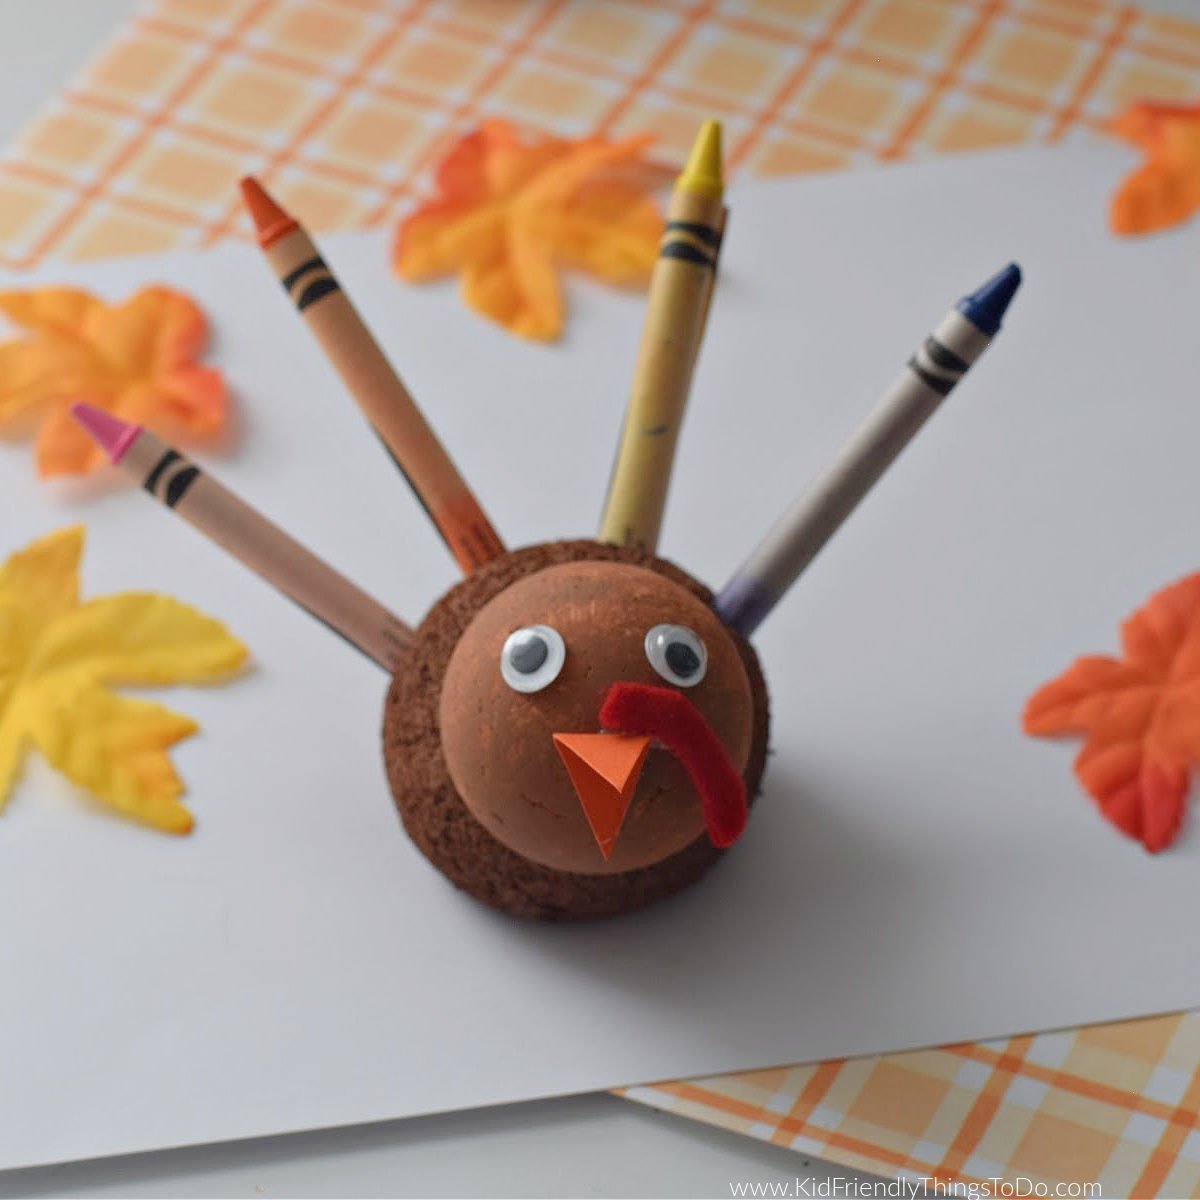
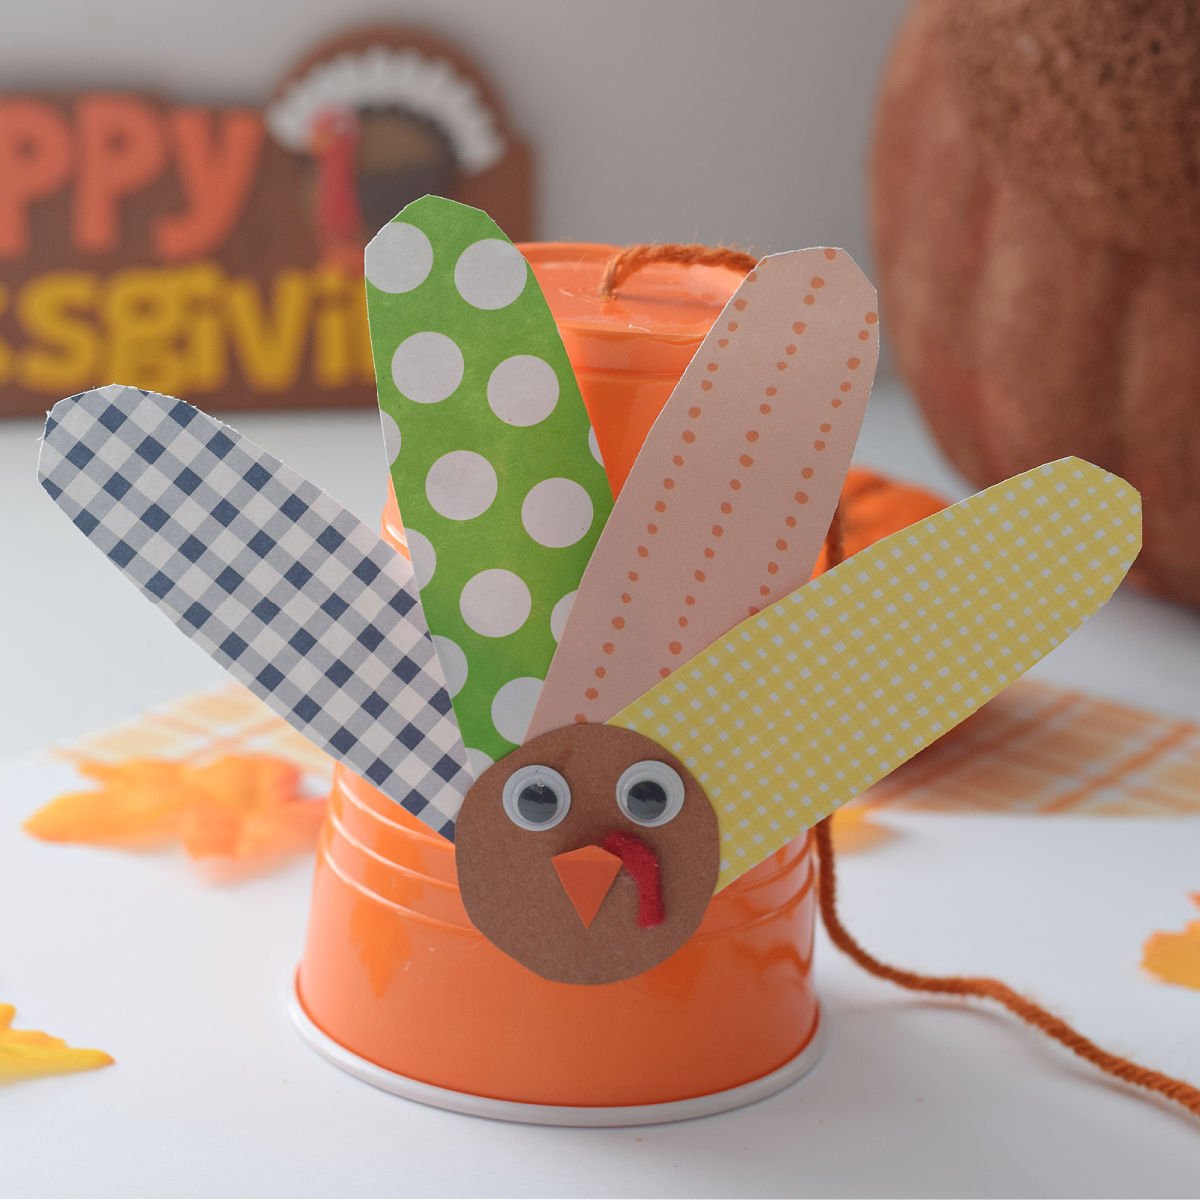
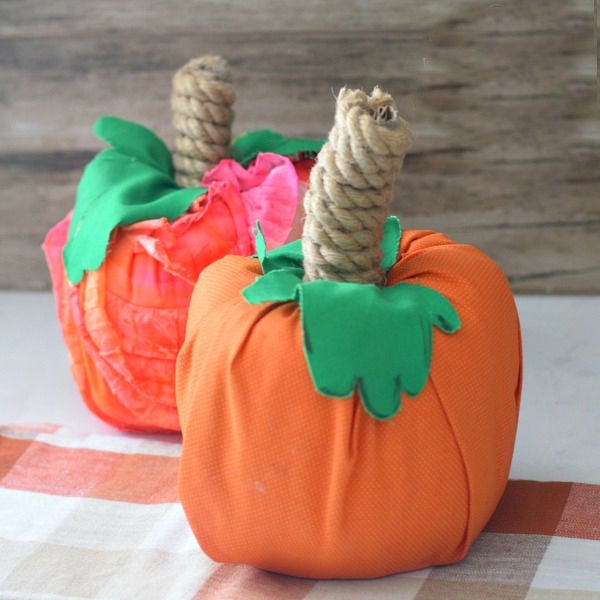
Thanksgiving crafts are always so much fun, like this Toilet Paper Tube Turkey , Praying Hand or Thankful Hands Craft, and this Paper Plate Turkey. I love the Thanksgiving holiday with good food, holiday treats like this turkey shaped ice cream dessert, fun decorations like gourd candles, and family to celebrate the season with.
This paper cup pilgrim hat is a great craft for kids. They can wear it as a fun dress-up idea for Thanksgiving.
What You’ll Love about this Cute Pilgrim Hat
- It is an easy Thanksgiving hat to make
- Kids will love wearing these at Thanksgiving dinner or use them for dress-up play
- You can use these pilgrim hats to decorate the Thanksgiving table
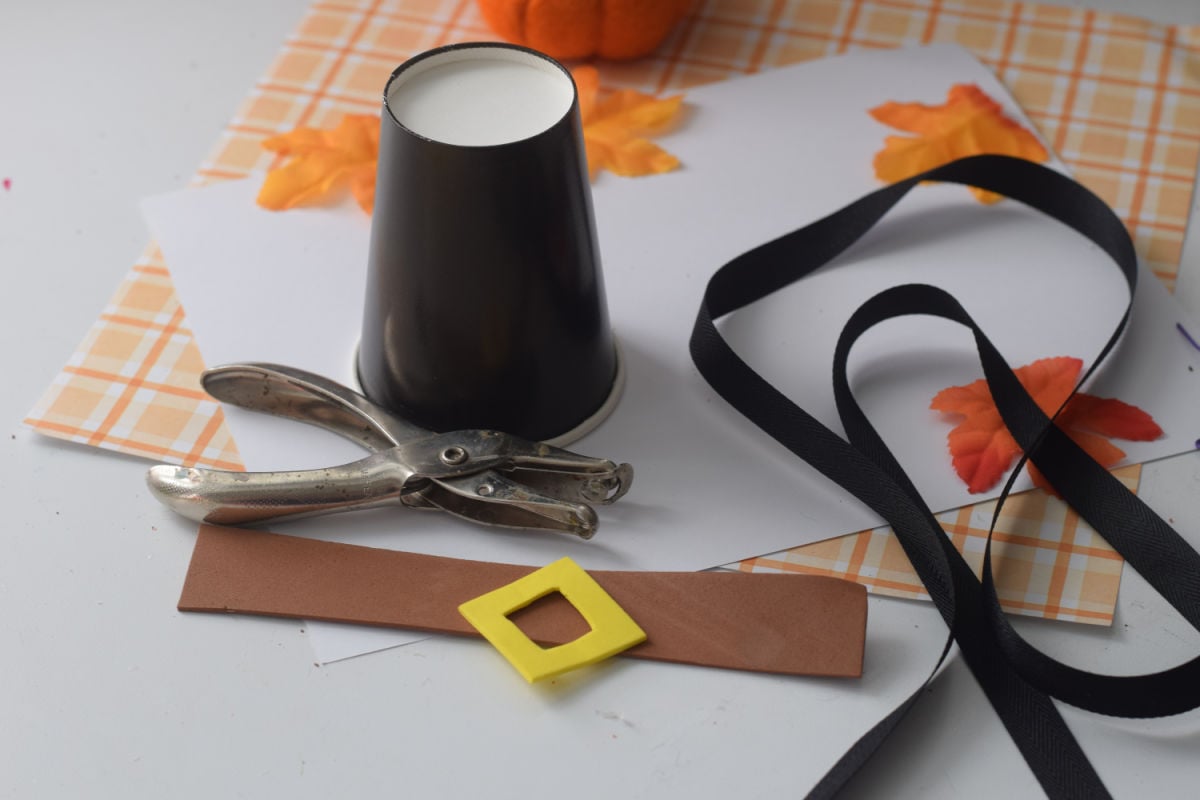
Materials
- A Black paper cup – I found mine at the Dollar Tree – 6 for $1…what a bargain
- Black ribbon—you’ll need two strips per cup, each about 14″ long—I also found this at The Dollar Tree.
- Brown Foam Piece – Using self-adhesive foam pieces make this craft really easy to make. You could also use self-adhesive felt pieces or brown cardstock for this part.
- Yellow Foam Piece – gold glitter cardstock, yellow construction paper, or felt. You can glue this onto the cup or use self-adhesive
Equipment Needed
- Scissors
- Hole Punch
- Measuring tape – if you like to be precise – otherwise, just eye it
- Glue – unless you use adhesive foam pieces. You can use a glue stick or craft tacky glue
How to Make a Paper Cup Pilgrim Hat
Step-by-Step instructions
- Place the cup upside down on a craft surface
- Cut a strip of brown foam – about 3/4 of an inch wide, and the length of your cup circumference.
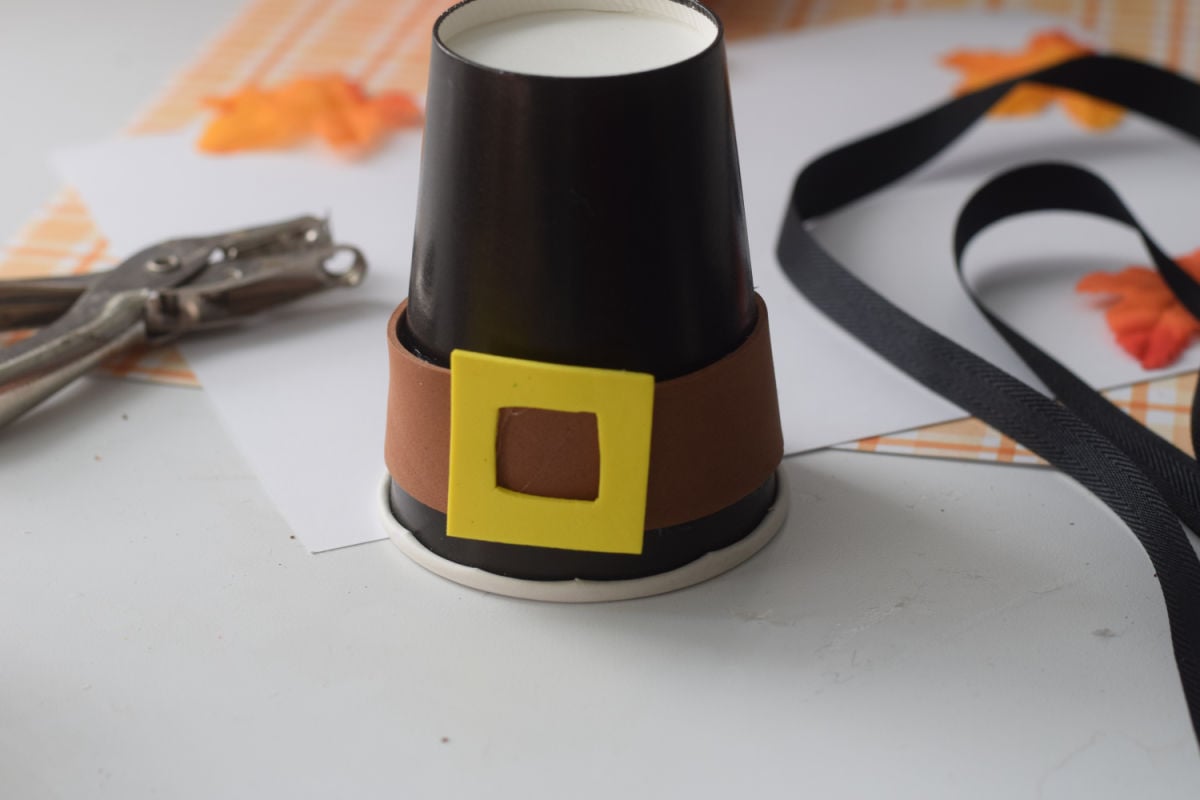
- Glue that rectangle strip to the outside, just about 1/4 inch up from the bottom of the cup.
- Cut out a yellow square 1 inch by 1 inch.
- Cut a square out of the center of that square so it resembles a belt buckle
- Glue that at the front of the hat and center it over the brown strip
- Punch two holes in the cup – just below the brown strip on opposite sides.
- Push the ribbon into the holes in the cup from the outside into the center and tie a knot so the knot is bigger than the hole and won’t come out.

*These would be cute at a classroom Thanksgiving party because they are so cute and easy
Expert Tip
If the ribbon comes out of your child’s pilgrim hat, you can use a stapler to secure the ribbon a little better
FAQs
Why is there a buckle on the pilgrim’s hat?
The buckle was one of the only fancy accessories that pilgrims were allowed to wear. It was used as a decoration and only served to dress up the hat.
What is a Pilgrim Girl Hat Called?
We typically refer to a girl’s pilgrim hat as pilgrim bonnets. The real answer is that it was called a capotain, a tall, broad-brimmed felt hat.
More Fun Thanksgiving Crafts You’ll Love
Let’s Hang Out!
Come and find me on Pinterest and Facebook for more recipes, crafts, party treats, and holiday games!
Printable Instructions for this Pilgrim Hat Craft
Paper Cup Pilgrim Hat Craft
Equipment
- 1 Hole punch
Materials
- 1 paper cup black
- 1 brown foam paper
- 1 yellow foam paper
- 1 3 ft. black satin ribbon cut in half
Instructions
- Place the cup upside down on a craft surfaceCut a strip of brown foam – about 3/4 of an inch wide, and the length of your cup circumference.
- Glue that rectangle strip to the outside, just about 1/4 inch up from the bottom of the cup.
- Cut out a yellow square 1 inch by 1 inch.
- Cut a square out of the center of that square so it resembles a belt buckle
- Glue that at the front of your cup hat and center it over the brown strip
- Punch two holes in the cup – just below the brown strip on opposite sides.
- Push the ribbon into the holes in the cup from the outside into the center and tie a knot so the knot is bigger than the hole and won't come out.
Notes
This post may contain affiliate links. As an Amazon Associate, I earn a small commission from qualifying purchases. See my disclosure policy to read more. Adult supervision is required for each step of activities, recipes, crafts, and games with children. Small parts are a choking hazard. Sharp objects can cause injury.
~Melissa – KidFriendlyThingsToDo.Com
[box] ![]()
![]()
![]()
![]() [/box]
[/box]