Making a DIY Fabric Checkerboard is so easy to do. The biggest bonus is that there is no sewing required. This fabric checkerboard is portable and easy to pack up for family trips or play a fun game at home.
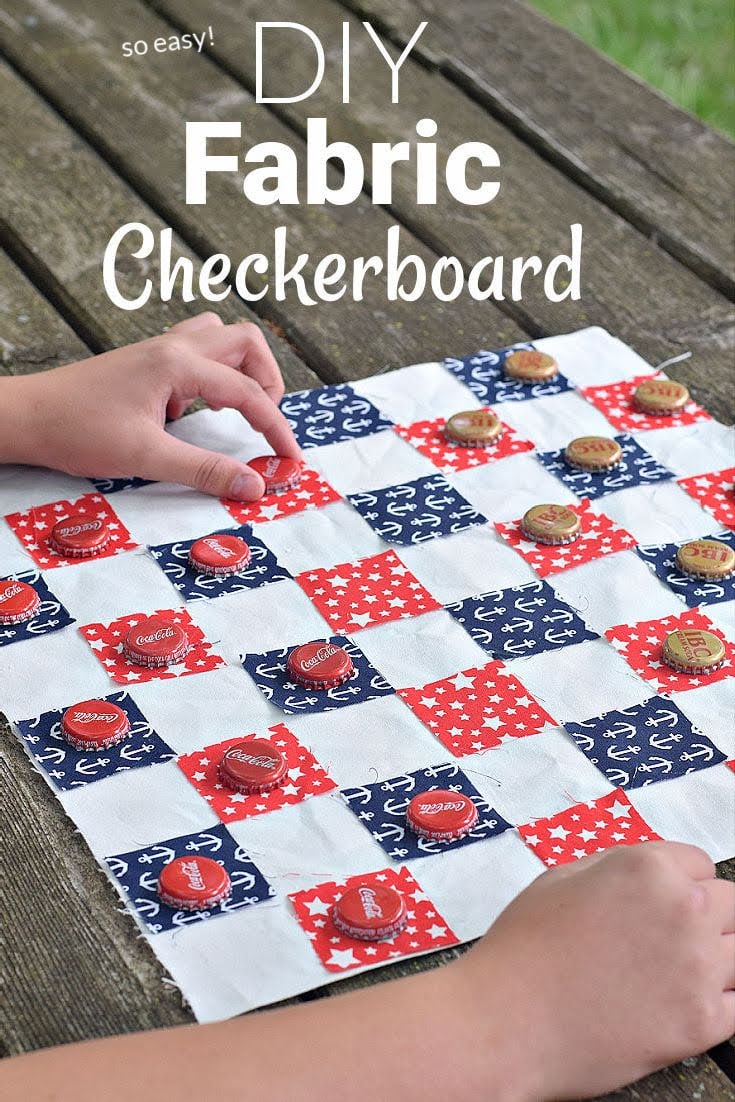
DIY Fabric Checkerboard
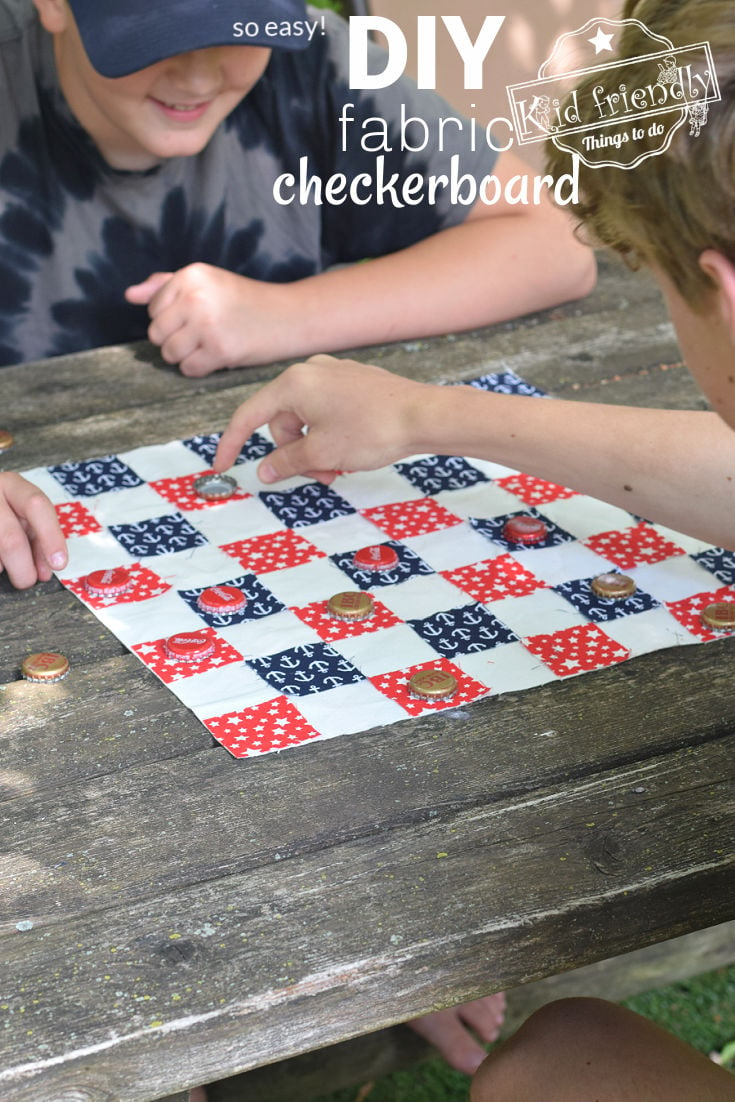
We are having so much fun, and making lots of family memories with this homemade checkerboard.

When we go to one of my favorite restaurants, Cracker Barrel, the kids head straight to the checkerboard. I’ve always wanted to create that big porch experience at our home. So… when I saw a picture in a magazine with a homemade checkerboard made out of material, paint, and soda tops, I knew I had to create a version of one myself.
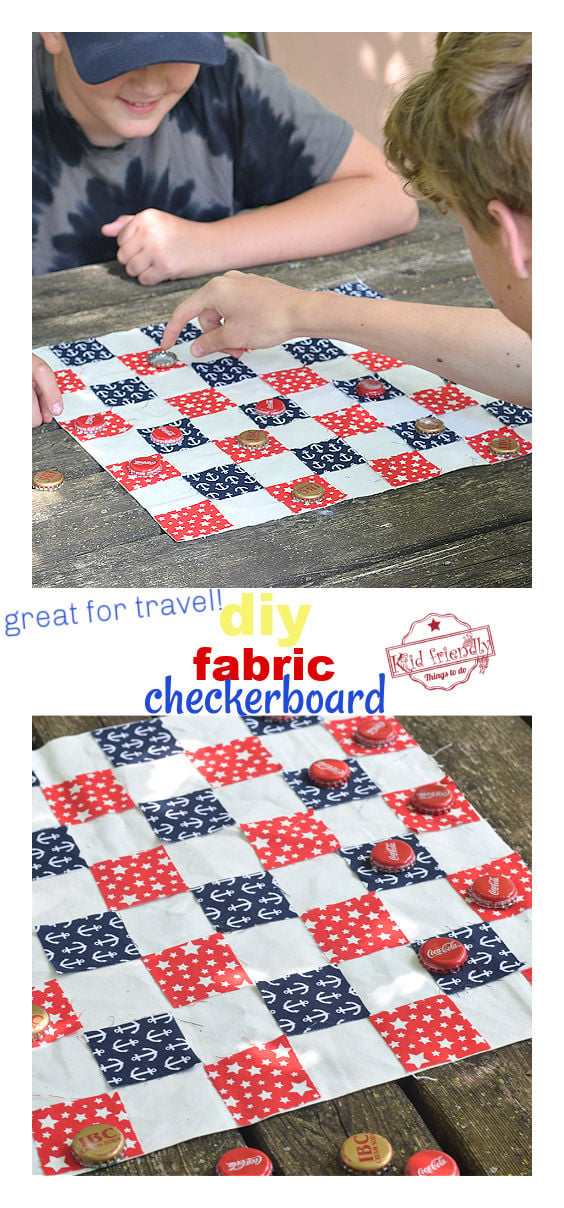
Our version is a little more simple than the one I found in the magazine, but that’s one of my favorite qualities about it – It’s easy to make!
How Do You Make a Fabric Checkerboard?
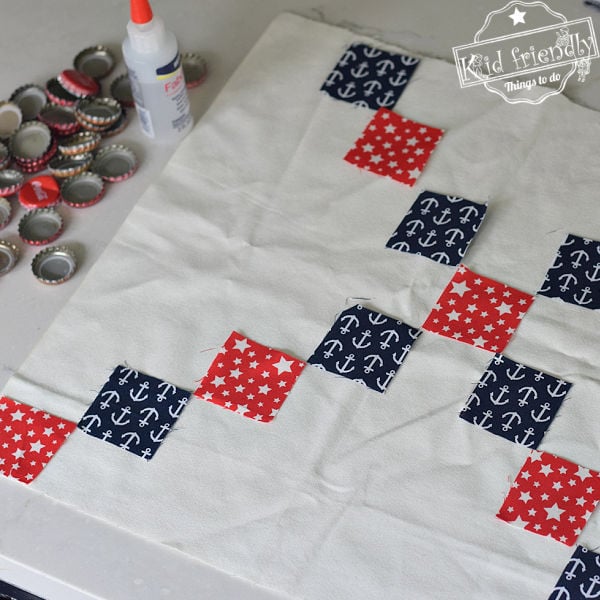
cut a large square (16 in. by 16 in.) for the background out of light-colored fabric. Choose 2 alternate and contrasting colors for the pattern. Cut the contrasting fabrics into 2-inch squares. Glue the 2-inch squares onto the lighter fabric background – 2 inches apart – alternating the colors for each row.
How do you make a fabric checkerboard easy?
I like to use fabric glue as a shortcut for applying the 2-inch squares to the background fabric of our fabric checkerboard.
How do you make the Checkerboard pattern?
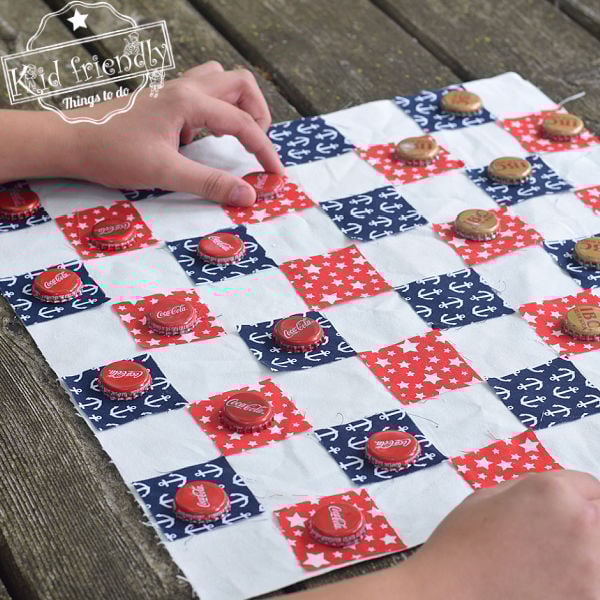
Starting at one corner of your background fabric, start gluing fabric squares in a diagonal – alternating colors all the way to the bottom. Then, starting at a center-colored square, go in a diagonal the other way. Then, fill in the blanks. Each row should be the opposite color of the one above.
Here’s a quick video to show you how we made a fabric checkerboard…
For this DIY checkerboard craft, you’ll need:
- A16x16 inch piece of thick white material as a background
- (32) 2×2 inch colorful material pieces as the checker’s squares – They should be opposite colors and a nice dark contrast to the light-colored background
- Glue gun or Fabri-Tac (fabric) Glue
- 8 bottle caps + 8 different colored bottle caps
Instructions:
- Start in the top left corner and make a diagonal line with colorful squares – alternating colors. The corners should be touching
- Go down to the 4th square and work your way into another diagonal line creating an X
- Fill in the empty spaces with your colorful squares – each row should be the opposite color square than the one above
- Glue the 2-inch squares onto the lighter fabric background