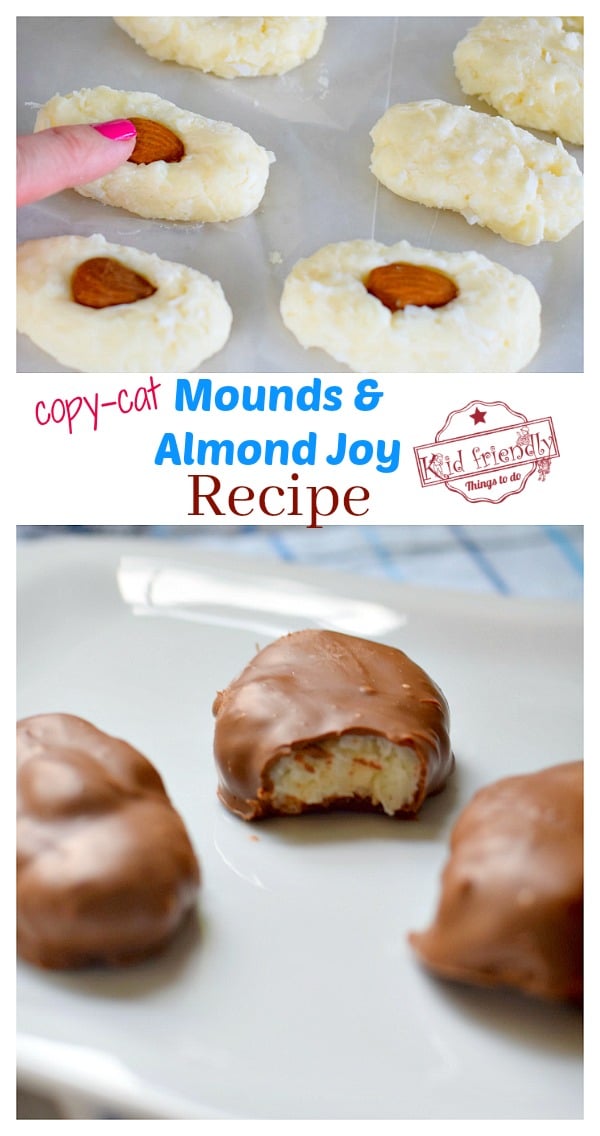
Easy to make and so delicious. This Copy-Cat Almond Joy and Mounds Bar Recipe comes close to tasting just like the real candy bar. Perfect for a fun treat with the kids or a Valentine’s Day Treat.
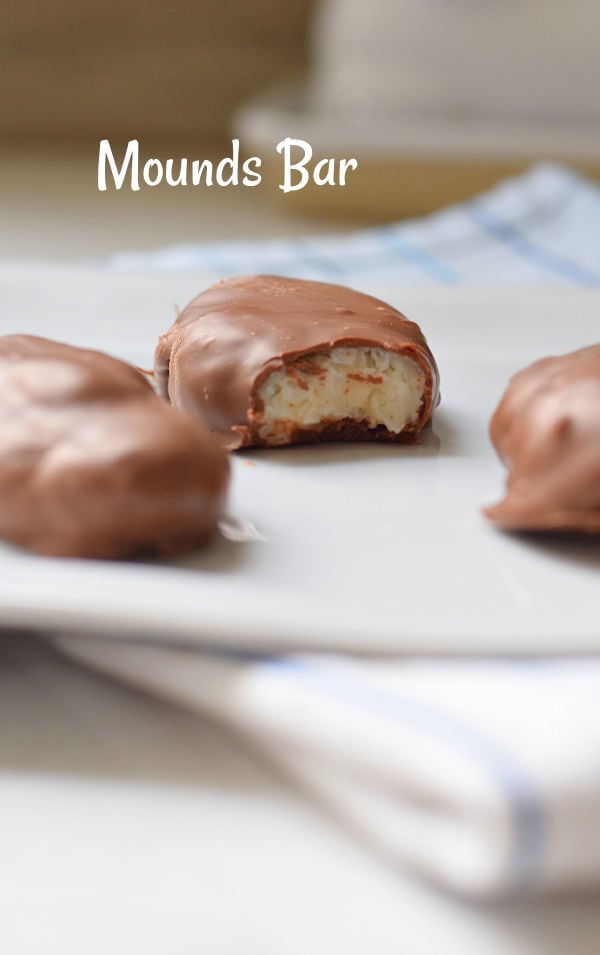
Mounds Bar Recipe
Table of contents
If you are looking for homemade candy and homemade treats to give out, then check out my post for how to make fancy striped strawberries, homemade chocolate-covered cherries, and how to make homemade Resee’s Butter Cups
Almond Joy Bars have almonds on the coconut mixture and under the chocolate. They are also made with milk chocolate whereas mounds bars are made with dark chocolate
Yes. Freeze mounds bars with wax paper in between chocolates in a freezer bag or container for up to 12 months
Mounds Bars were initially produced in Connecticut around 1920. Mounds Bars were sold for 5 cents. The Peter Paul Candy company purchased them in 1929
Almond Joy Bars were introduced in 1946, after World War II when sugar, coconut, and chocolate became more readily available
Tricks and Tips for Making Homemade Mounds Bars:
- Using dark chocolate melts will give you the best results that are the closest to an original Mounds Bar, but you can also use semi-sweet chocolate chips
- Use fresh coconut – Fresh shredded coconut is moist. If it’s an old, opened bag, some of the moisture will be gone and your coconut mixture won’t hold together as well
- If you do use a previously opened bag of coconut that seems dry, add a little more condensed milk to add moisture back in
- Use a toothpick to guide the chocolate bar off of the fork
- Always use wax paper with wet chocolate. The chocolate will not stick to the wax paper and will lift off easily
- The mixture will be wet and sticky. You may need to wet your hands to prevent them from sticking to the coconut mixture
- Freezing the mounds bar center will keep it from falling apart when you dip it into the melted chocolate
If you are ready to make this Mounds Bars Recipes, let’s make sure you have everything you’ll need:
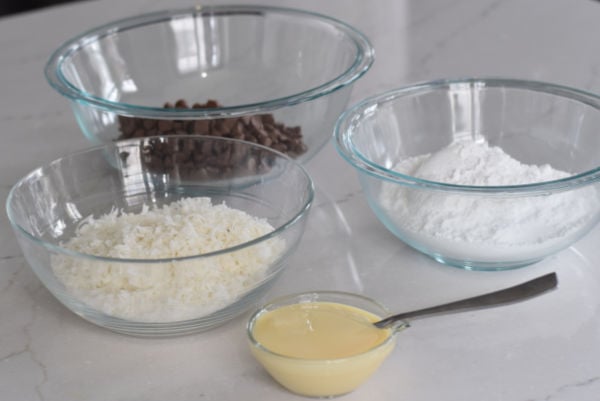
Ingredients:
- powdered sugar – mixed with condensed milk will make a glazed center that will be soft and juicy
- coconut shavings – an essential part of a mounds bar recipe or almond joy recipe
- sweetened condensed milk – when it is mixed with powdered sugar makes a delicious and creamy center
- chocolate – dark chocolate is what is used in a mounds bar
Almond Joy:
- powdered sugar
- coconut shavings
- Whole Almonds – These are simply placed on top of the coconut mixture and covered with the milk chocolate
- Milk Chocolate – milk chocolate is what is used in a homemade Almond Joy Bar
How do you make Mound Bars?
- Mix the powdered sugar, coconut, and condensed milk
- Shape the mixture into balls or ovals
- Freeze coconut center
- Melt chocolate in a large bowl
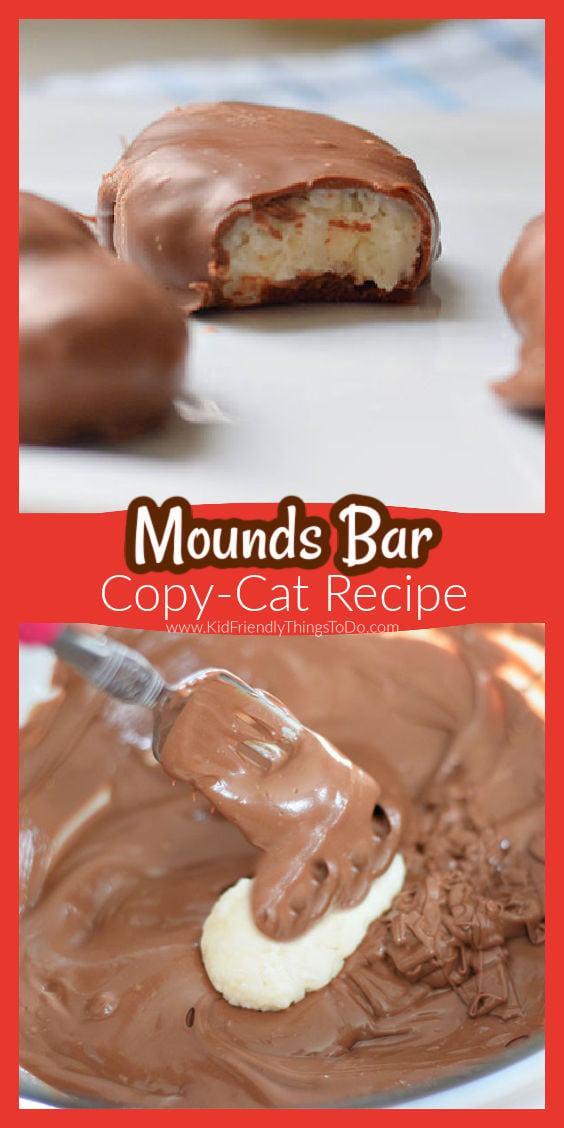
- Place frozen coconut centers, one by one, into the melted chocolate and coat it with chocolate
- Lift the candy bars out of the melted chocolate and place them on wax paper to harden or place them in the freezer for about 10 minutes
Storing Mounds Bars – Homemade
Store Mounds Bars in an airtight container at room temperature for up to five days
More Chocolate Recipes to Try
Oreo Cookie Truffle – Football Shape
Chocolate Bundt Cake with coffee
Homemade Chocolate Coca-Cola Cake
Mounds Bar
Ingredients
- 1&3/4 cups confectioners sugar
- 1&3/4 cups sweetened coconut flakes
- ½ cup sweetened condensed milk
- 2 cups dark chocolate – like dark chocolate melts
Instructions
- In a large bowl, combine the sugar, coconut, and milk – mix well
- Grab a small baking sheet, and line it with wax paper
- Roll the mixture into little 1-inch balls, and place the balls onto the wax-lined baking sheet
- It’s up to you if you want to leave the mixture in a ball shape or flatten them out into an oval shape (about 2 inches long)
- Put the baking sheet with the coconut shapes into the freezer for about 30 minutes
Melting Chocolate
- Melt your chocolate
- I like to place my melting chocolate in a glass, microwave-proof bowl and set the microwave for about 30 seconds. Take the chocolate out, and stir – repeat until the chocolate is melted, and smooth when you stir it (Should take about 1 – 1&1/2 minutes – total)
Coating Coconut Center with Chocolate
- Prepare one more baking sheet with wax paper
- Set a workstation with the frozen coconut shapes, chocolate, and lined baking sheet
- Use a fork to slide under the coconut shape and place it into the melted chocolate
- Spoon chocolate over any coconut that is not covered
- Carefully lift the chocolate bar out of the chocolate
- Rest the fork on the side of the bowl to allow excess chocolate to drain off of it
- Now, set the fork onto the prepared baking sheet, and use the toothpick to guide the chocolate off of the fork, and onto the wax paper
- Repeat until the coconut bars are done
- Pop the chocolate-covered balls into the freezer to set up – about 10 minutes
Notes
Sticky Mixture:
The mixture will be sticky to work with. You can wet your hands to help prevent it from sticking to your handsChocolate Types:
Almond Bark: Easy to melt in the microwave – Comes in milk or dark chocolateChocolate Melting Chips: Easy to melt in the microwave – this comes in milk or dark chocolate flavors
Chocolate Chips – May need to be tempered. Simply, melt some in the microwave and then add some of the cold chips to the melted to mix in. Stir until melted
*Shredded coconut flakes
when first opened are moist. After they’ve been opened and have been on the shelf for a while, they tend to lose moisture. If you don’t have a new bag, your coconut is dry and the mixture won’t pack because of the lack of moisture – then simply adjust the moisture in the recipe by adding more condensed milk until the mixture will pack nicely and hold its shapeFor Almond Joy Bars:
- After rolling and shaping the coconut center, add your almond -Simply push an almond or almonds into the top of the coconut shape. Make sure the almond is snug. You may have to mold the coconut around it to get it to stay put
- Use milk chocolate melts instead of dark chocolate
Nutrition
[box] ![]()
![]()
![]()
![]() [/box]
[/box]
~Melissa – KidFriendlyThingsToDo.com

I bought sweetened coconut by mistake, can I still use it?
That’s perfect. You’ll need sweetened coconut flakes for this recipe. 🙂
I am making these now. Super sticky. What can I do to make it roll better?
The mixture will be really sticky. You can try wetting your hands with water before handling the mixture. You’ll probably need to do this after making 4-5 bars just to get the sticky residue off of your hands that the mixture might cling to. You might even try popping the mixture into the fridge for about 30 minutes. The mixture might harden and be less sticky.
These are my favorite candy.