Making Thanksgiving Ornaments for a Thanksgiving Thankful Tree idea with the kids. This is such a sweet family tradition to start with the kids.

You have the option to Bake these ornaments ahead of time, (or if you have time – let these ornaments air dry)
Here’s how I would set up the Thankful Ornament Activity.
- place ornament shapes in a basket on the table
- provide paint pens, gel pens, markers, or puffy paint out for guests to write on the ornaments
- Then display everyone’s thankfulness on a tree in the middle of your Thanksgiving table to be enjoyed by all
No-Cook Thanksgiving Ornaments
This is a NO COOK Dough, and it drys hard. Another (faster) alternative is to bake them: instructions on that are below
Here’s what you’ll need:
1 c. flour
1/4 cup, plus 2 Tablespoons of salt
1/4 cup, plus 2 Tablespoons of hot tap water
1 Tablespoon of cinnamon
Food coloring is optional
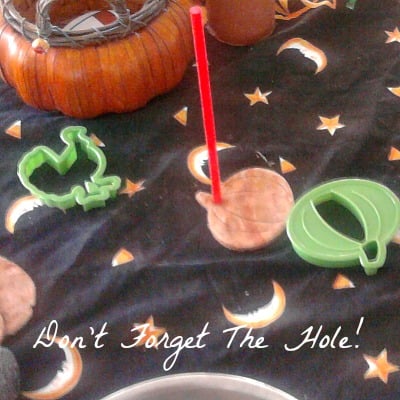
Straw
*This recipe yielded 9 ornaments for our tree.
Instructions:
- Combine flour and salt. Add hot water and optional food coloring. Without food coloring, the dough will turn a nice brown color with bits of cinnamon throughout. Knead for 5 minutes on floured board.
- Roll the dough out like play-dough, and shape the dough with cookie cutters
- Don’t forget to insert a straw into the shape to create a hole for hanging
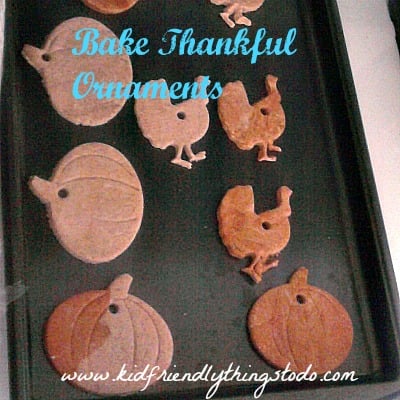
- You can let them air dry for 1-5 days. But, to speed up the process, bake them on a cookie sheet at 200-degrees for 3 hours
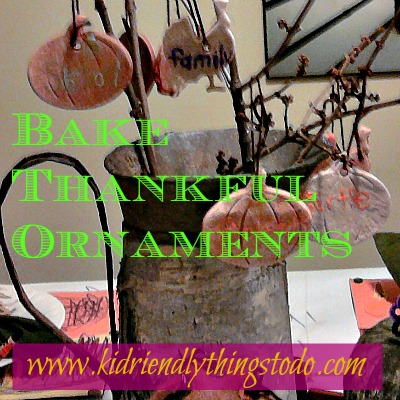
- To make a tree – I collected branches from our yard and placed them in a tall container
- Don’t forget to write the date down. These can be saved in an air-tight container. I’ve had mine for three years, now. I love looking through the older ones to see what the kids were thankful for. We add new ones each year.
~Melissa
KidFriendlyThingsToDo.Com