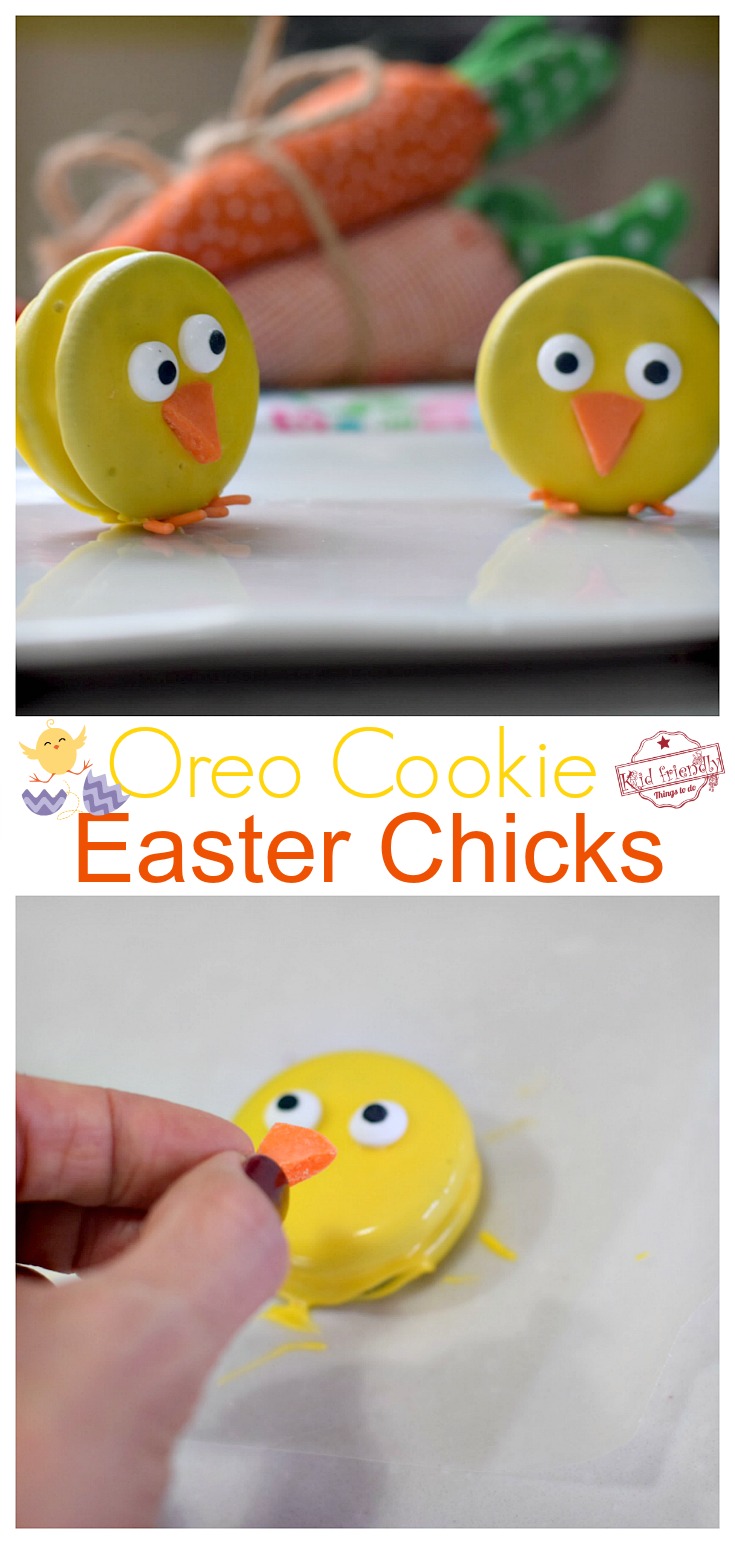
Oreo Cookie Easter Chick Treats
This post may contain affiliate links – please read my disclosure statement.
Have some fun in the kitchen making these Simple Chocolate Covered Cookie Easter Chick Treats. They are the perfect spring treat or treat for your Easter table.
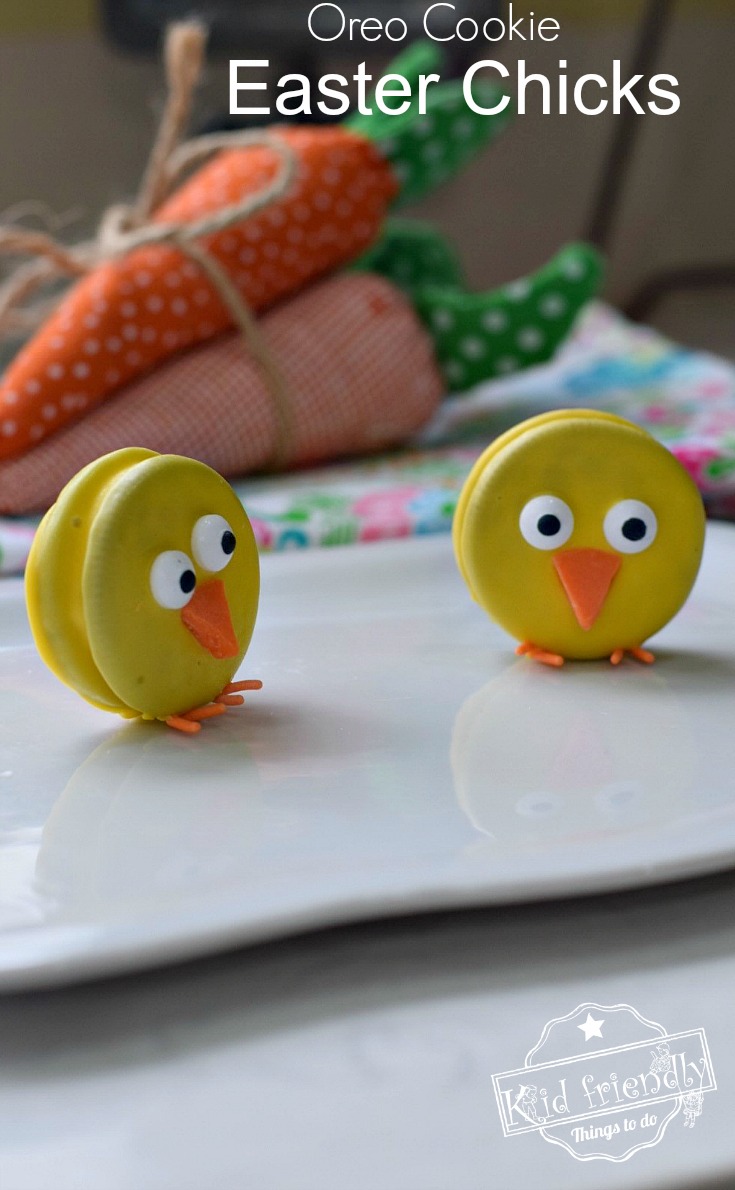
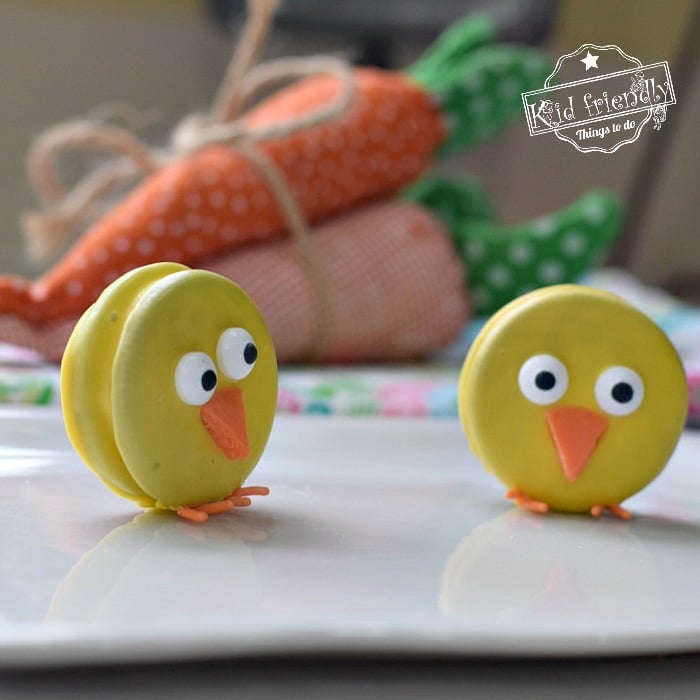
Oreo Cookie Easter Chicks
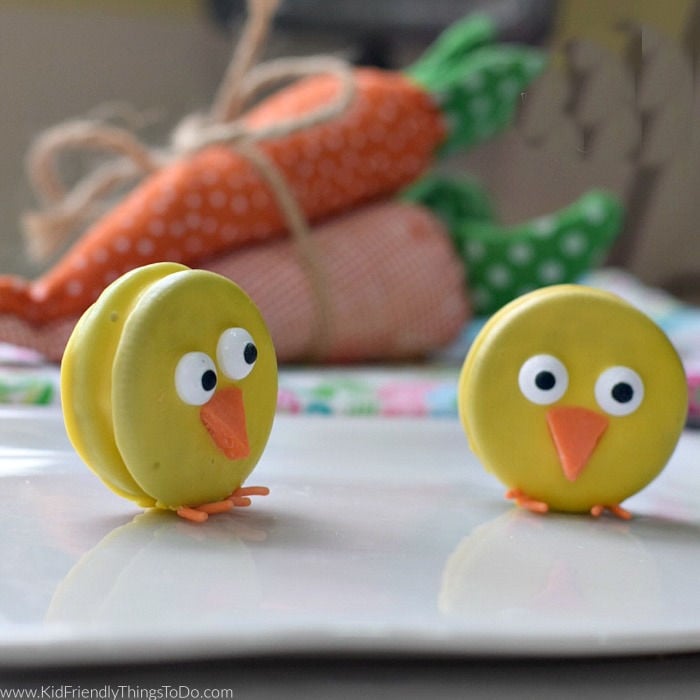
This Easter treat is simply adorable. These spring Easter Chick Cookies will steal the show. They look like they are talking to each other. Easter treats like this Rice Krispies Treat Carrots , Haystack Bird Nests , or Easter Carrot Jell-O Jiggler
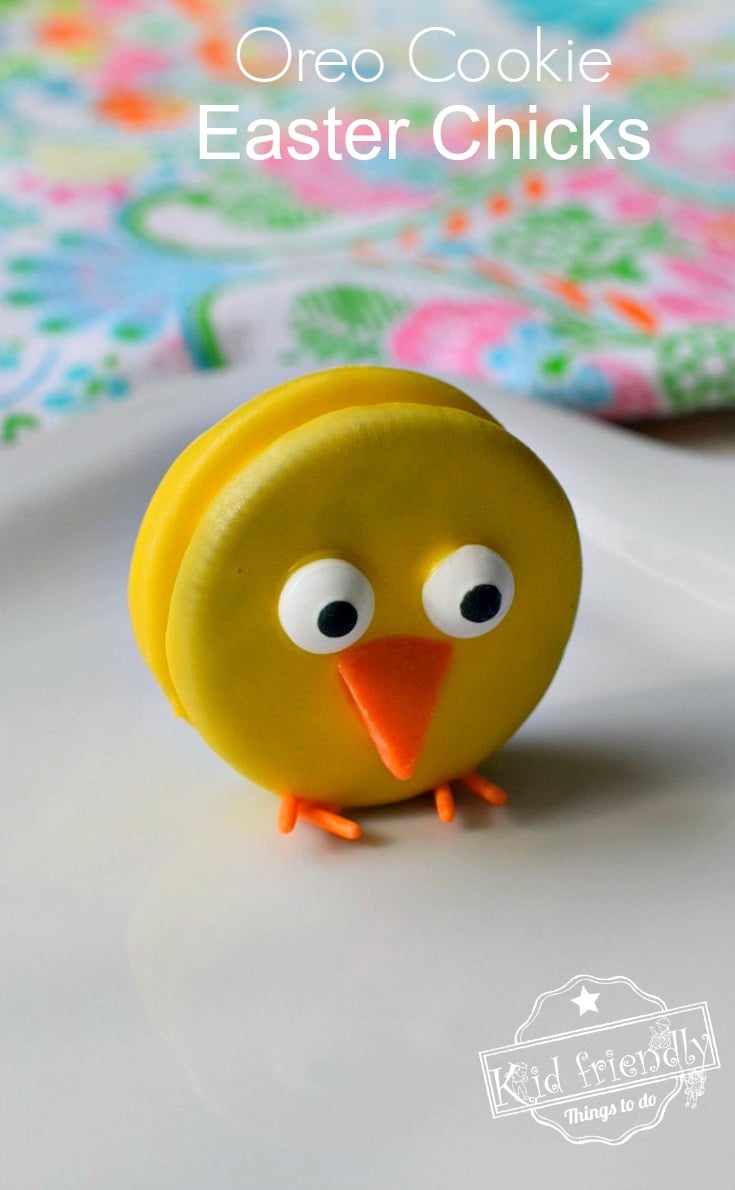
If you follow my blog at all, you know that I like to keep all of my treats, crafts, and recipes as simple as possible. I know that you don’t have time to fuss over complicated anything, and neither do I. These little Oreo Cookie Easter Chicks are easy to make, cute as a button, and perfectly yummy. They are the perfect Easter or Spring Treat for your celebration or “Just Because”.
They are pretty inexpensive too. The supplies for this treatment should turn an entire carton of cookies into loads of Easter Chicks.
Ingredients
(full instructions in the printable recipe below )
- yellow chocolate melts – 1 package – Wilton preferred
- orange chocolate melts – 1 package – (you won’t use all of them)
- orange “Jimmies” sprinkles – 1 package
- Candy Eyeballs
- One package of Cookies like Oreo Cookies
Extra Equipment for Easter Chick Treats…
- medium glass microwave-proof bowl
- fork
- toothpicks
- wax paper
- silicone spatula
How to Make Easter Chick Cookies
- Grab between 6 & 10 orange chocolate melts and cut them into eighths
- Melt your chocolate melts in the glass bowl. I like to melt it in the microwave for 1 minute, stir it, and heat it for another 30 seconds. Stir until smooth
- Pour out your Jimmies onto your work surface, and have your eyes ready to go
- Begin dipping your cookies into the melted chocolate
- push them down with your fork and turn them over
- use the fork to lift the cookie to the side of the bowl
- rest it at the rim of the bowl and tap the fork to release excess chocolate from the cookie
- slide the cookie onto the wax paper and begin to decorate it
- *use a toothpick to help push the cookie off of the fork
- Add eyes and one piece of your sliced orange chocolate
- *NOW – in order to get the cutest beaks, I learned that the curved part of the orange chocolate melt (the top) should face the cookie with the flat (bottom) of the orange beak facing out
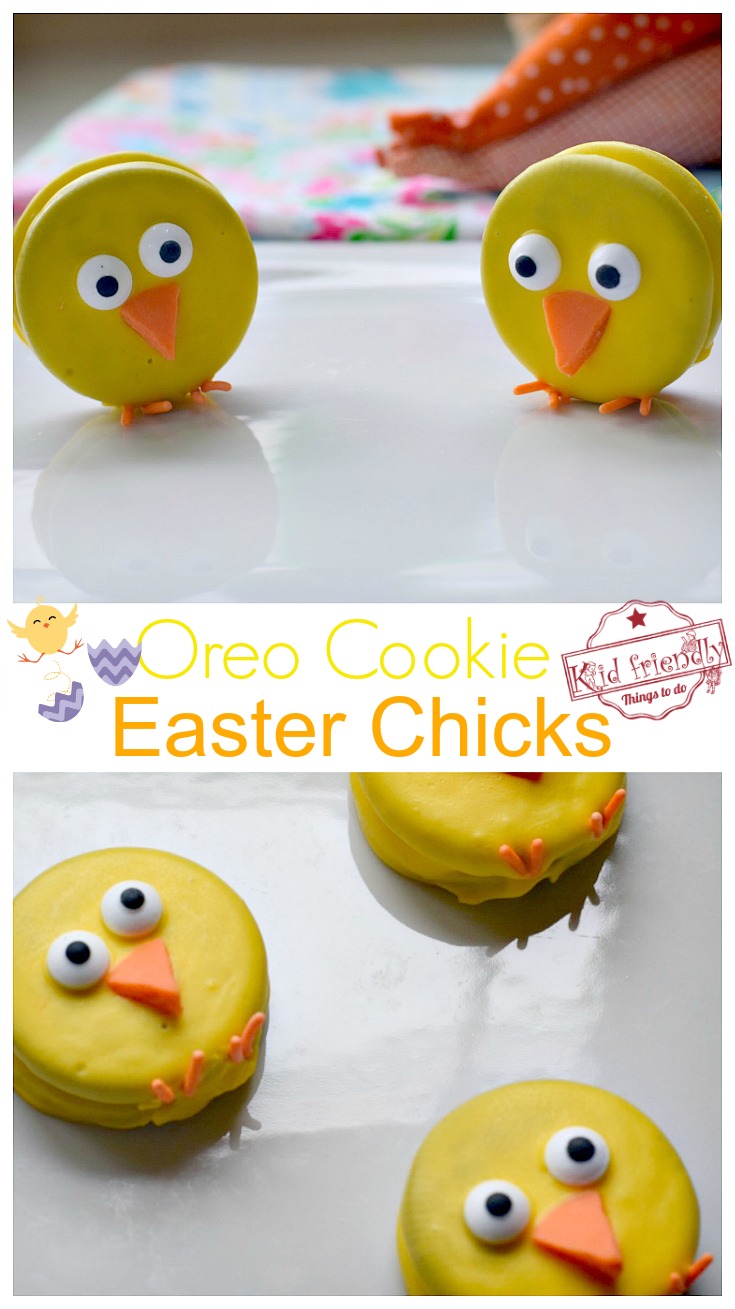
- when your yellow cookies have dried just a smidge, you can add the Jimmies for the feet
- I used 2 Jimmies per foot in a V pattern
- Just carefully (because they are very fragile) place them on the bottom of the cookie facing out in a V pattern.
- Again, use your toothpick as an aide if necessary.
Storing
- These cute chicks should be kept at room temperature for several days
- you can place them in an airtight container and store them for a couple of weeks before your celebration
- As long as you don’t have to worry about little hands or animals sneaking them, you can leave them out on a platter for a couple of days without worry
Watch My Video
Recipe printable:
Simple Cookie Easter Chick Treats That Are Almost Too Cute To Eat!
Equipment
- medium glass microwave proof bowl
- Fork
- toothpicks
- wax paper
- silicone spatula
Ingredients
- 11 oz. yellow chocolate melts
- 11 oz. orange chocolate melts you won’t use all of them
- 3 oz. orange "Jimmies" sprinkles
- 36 Candy Eyeballs
- 13 oz. Oreo Cookies
Instructions
- Grab between 6 & 10 orange chocolate melts and cut them into eighths
- Melt your chocolate melts in the glass bowl. I like to melt in the microwave for 1 minute, stir and heat for another 30 seconds. Stir until smooth
- Pour out your Jimmies onto your work surface, have your eyes ready to go
- Begin dipping your cookies into the melted chocolate
- push them down with your fork and turn them over
- use the fork to lift the cookie to the side of the bowl
- rest it at the rim of the bowl and tap the fork to release excess chocolate from the cookie
- slide the cookie onto the wax paper and begin to decorate it
- *use a toothpick to help push the cookie off of the fork
- Add eyes and 1 piece of your sliced orange chocolate
- *NOW – in order to get the cutest beaks, I learned that the curved part of the orange chocolate melt (the top) should face the cookie with the flat (bottom) of the orange beak facing out
- when your yellow cookies have dried just a smidge, you can add the Jimmies for the feet
- I used 2 Jimmies per foot in a V pattern
- Just carefully (because they are very fragile) place them on the bottom of the cookie facing out in a V pattern
- Again, use your toothpick as an aide if necessary
Repeat with all of your cookies
Notes
Storing your Easter Chick Treats…
- These cute chicks should be kept at room temperature for several days
- you can place them in an airtight container and store them for a couple of weeks before your celebration
- As long as you don’t have to worry about little hands or animals sneaking them, you can leave them out on a platter for a couple of days without worry
Nutrition
Happy Spring and Happy Easter Everyone!
~Melissa – Kid Friendly Things To Do
Hi,
How do you cut the candy melts evenly?
I used a sharp knife. I lined it up going across the center of the melt and pushed down until it split apart, and then did the same going the other way. Then, using the same method, I split the triangles in half. None of them were even, but that just adds to the character of the little chicks. Each are unique and a little quirky. 🙂