How to Make an Ice Cream Cake
This post may contain affiliate links – please read my disclosure statement.
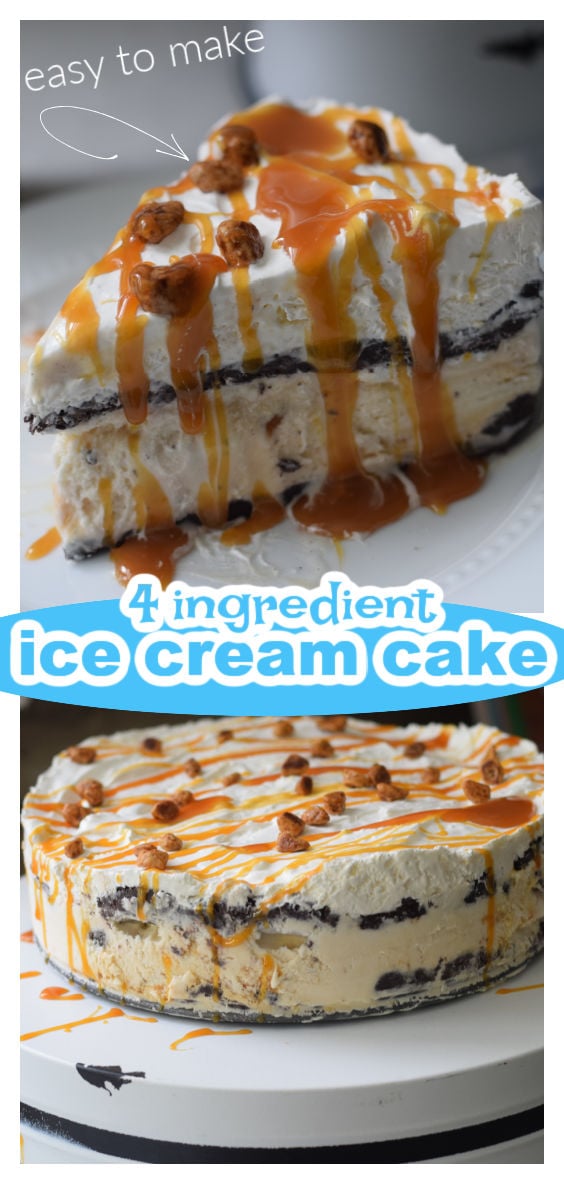
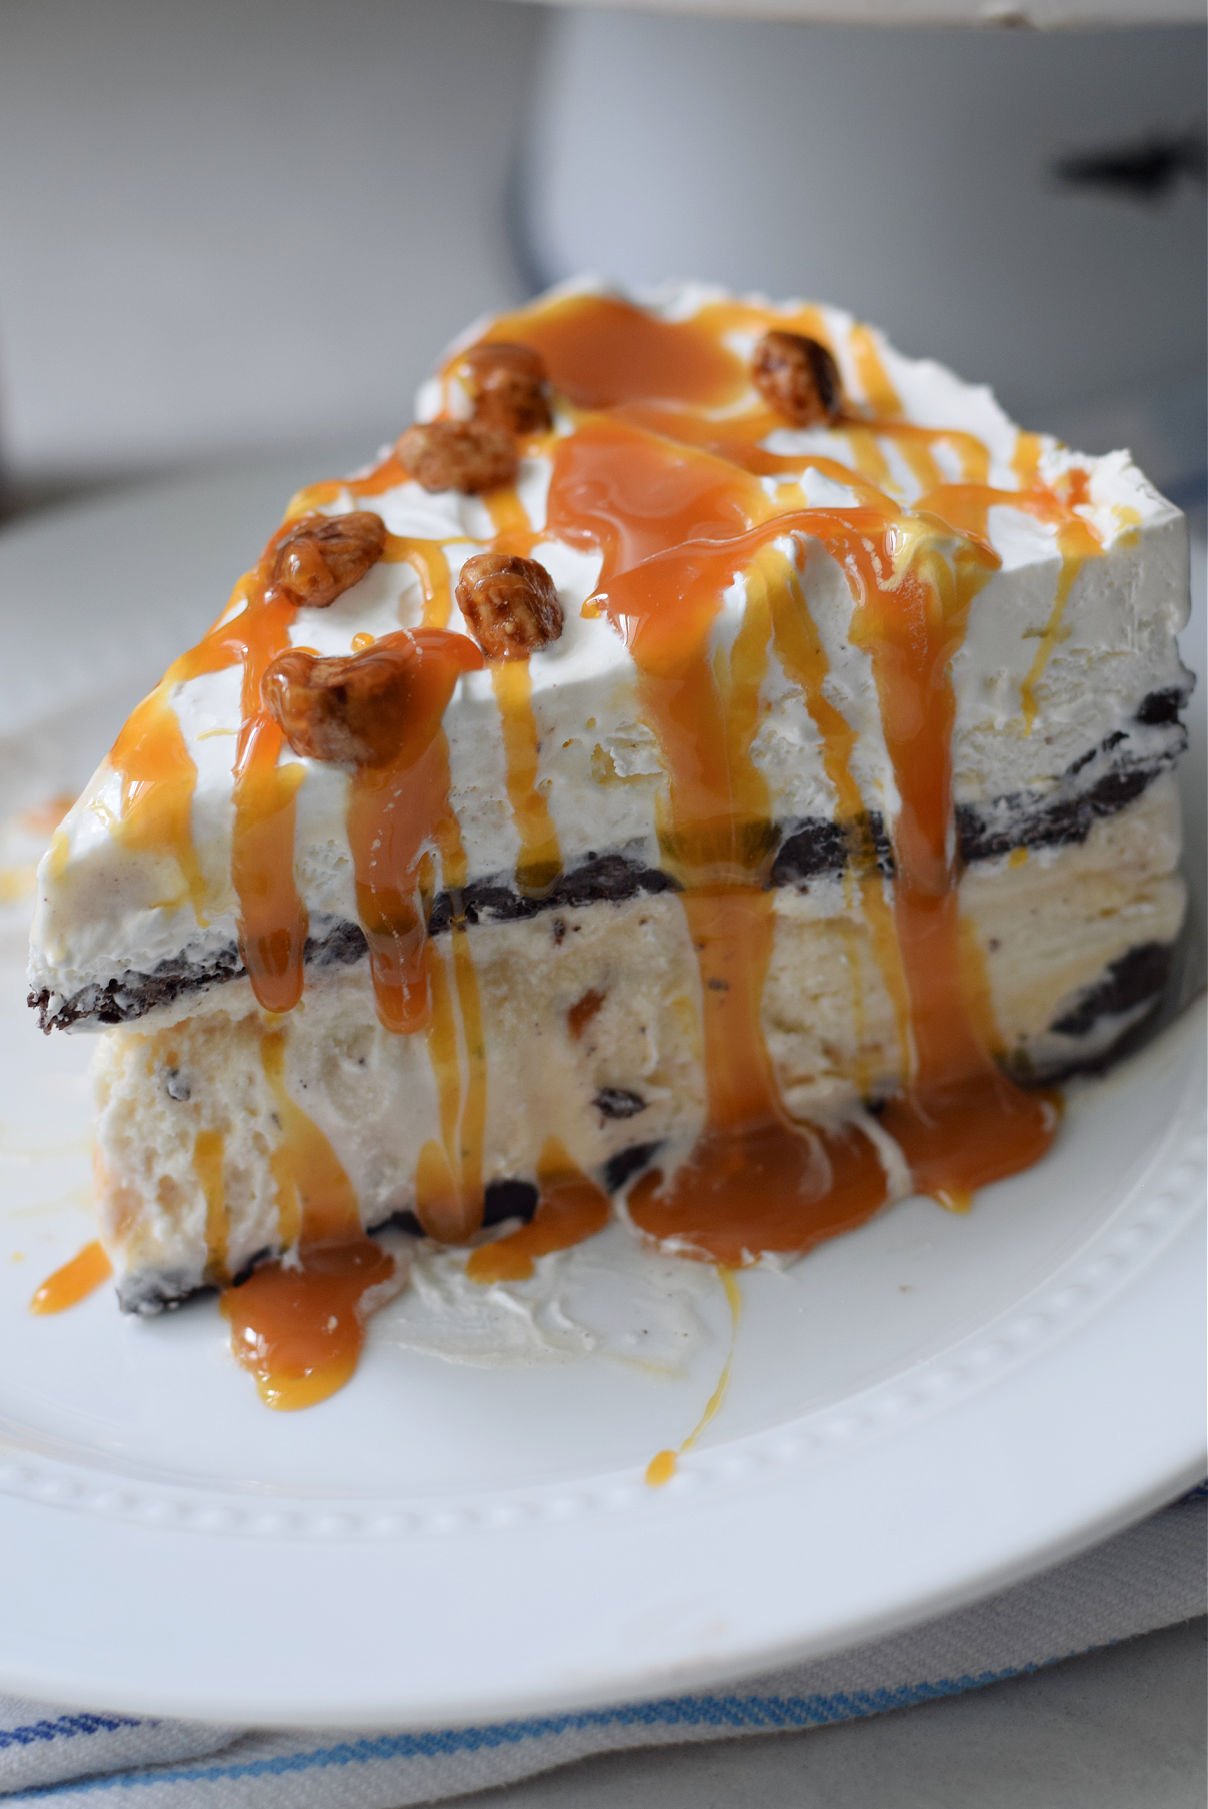
With only four ingredients and layers of Oreo Cookie, Ice Cream, and Frozen Whipped Topping, this ice cream cake is easy to make with simple-to-find ingredients. You won’t believe how easy it is to make your own homemade ice cream cake.
How to Make an Ice Cream Cake
You might never buy Ice Cream Cake again. Thank goodness for DIY recipes. My little guy was pretty specific in wanting an Ice Cream Cake for his birthday. I usually make birthday cakes around here, so buying a birthday cake was a first for me. I knew that I could get one at the ice cream store, but I also knew how much money I would have to spend there.
I couldn’t find one ice cream cake in the two stores I looked in. So, I opened my phone up and looked to (where else?) Pinterest for help! I knew there had to be a recipe out there somewhere, and I checked a couple of them out.
I noticed that a lot of the cakes had an Oreo layer and a whipped topping. I’ve been making Oreo truffles for years, so I knew I had this one covered. All that was left was to find a flavor everyone would love.
And you guys, instead of $30+, I spent around $5. WooHoo!
Table of contents
- How to Make an Ice Cream Cake
- What I love about this Ice Cream Cake Recipe
- Ingredients
- Equipment
- How to Make Ice Cream Cake
- Expert Tips
- Variations
- What to Serve with Homemade Ice Cream Cake
- Storing
- More Frozen Desserts You’ll Enjoy
- Serving Size
- Here’s a quick Video to show you how easy this cake is to make
What I love about this Ice Cream Cake Recipe
- This recipe will show you how to make ice cream cake that is the easiest way and tastes so delicious
- the layers of Oreo cookies are truly the star of this cake and take it to a new flavor level
- This ice cream cake is completely customizable by switching the flavor of ice cream to your favorite flavor
- Add more layers for more fun
Ingredients
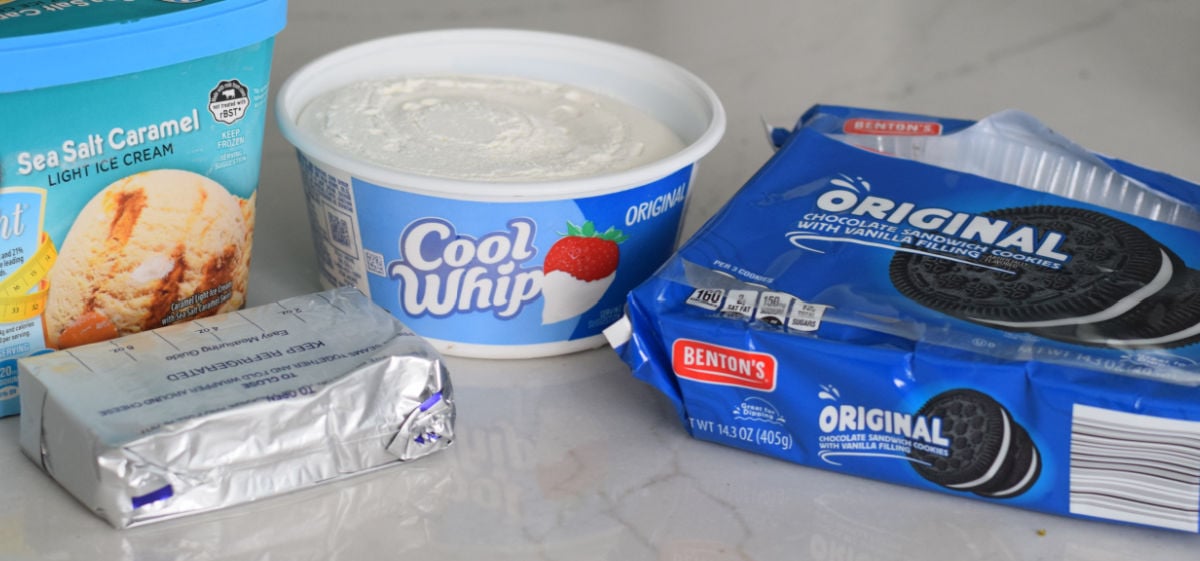
- Ice Cream – If you use one flavor, then you’ll need 1 quart of ice cream. For this recipe, I used salted caramel
- Cream Cheese – You can use 1/3 less fat cream cheese or original cream cheese. Either one will totally work in this recipe, so if you are trying to cut down on fat, then use Nuefchetal Cream Cheese
- Oreo Cookies – I used generic cookies for this recipe. My girls tell me that you can usually taste the difference, but in this case, these cookies are blended with so many flavors and textures that I don’t think you’ll notice
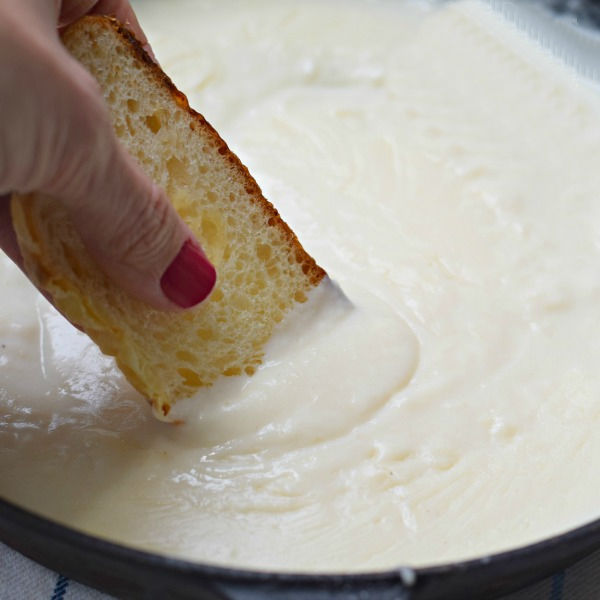
- Frozen Whipped Topping – Let this sit out on the counter and warm up while you get the Oreo layers prepped so it is easier to spread
Equipment
- You’ll need a springform cheesecake pan for this homemade ice cream cake
- Wax paper
- Rolling pin
- Utensils
- Freezer
How to Make Ice Cream Cake
Step One
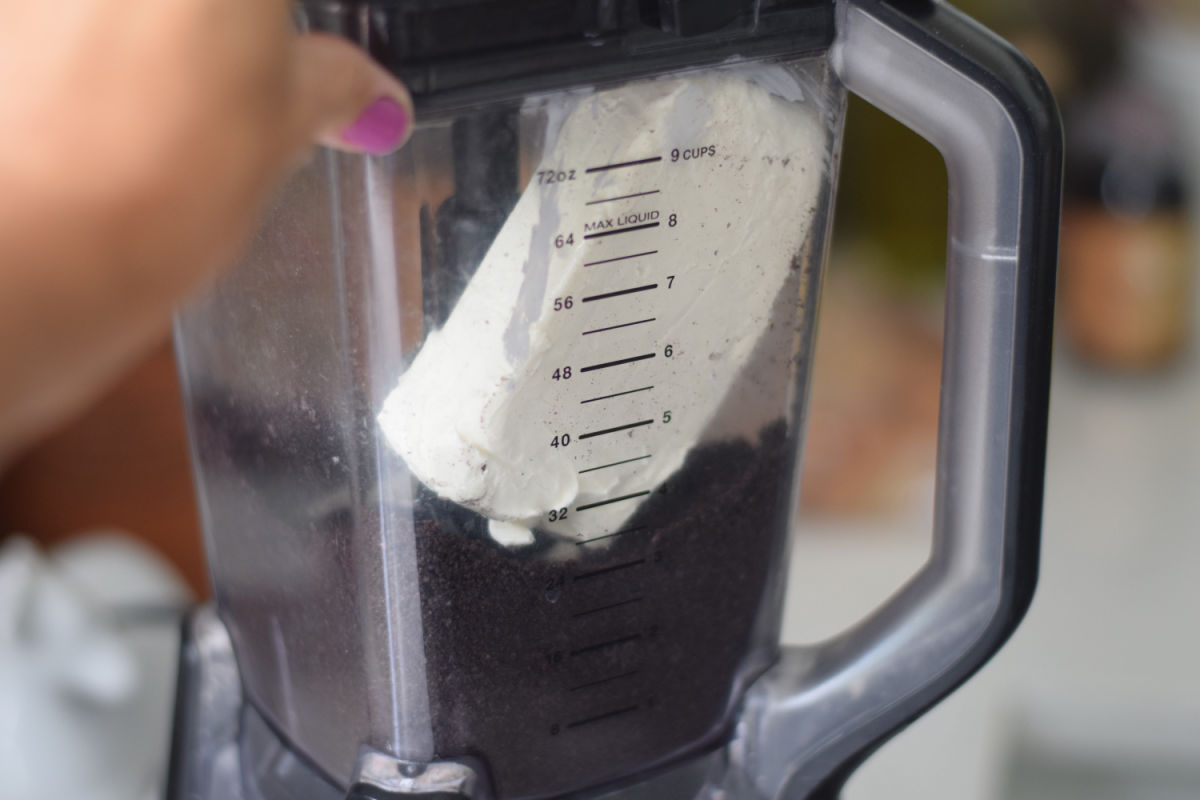
Blend the cookies until they are fine
Add cream cheese
Step Two
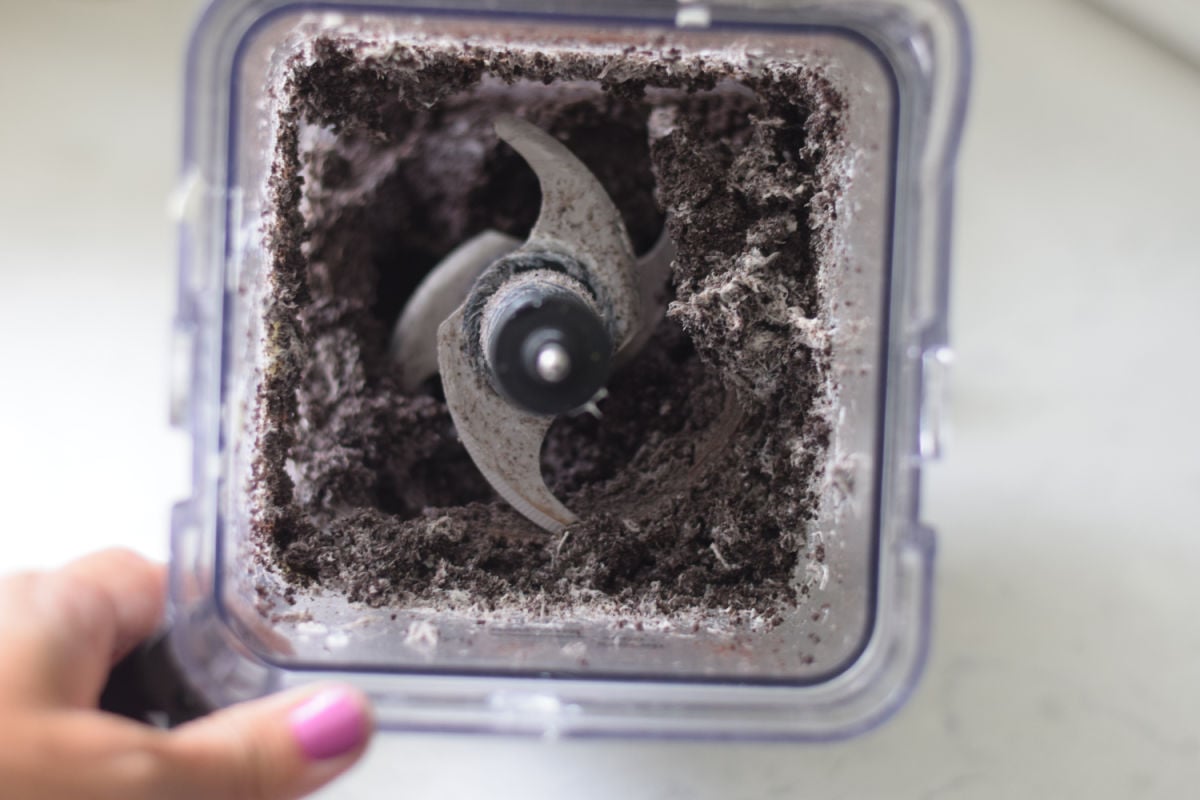
Blend until the cream cheese has combined with the cookies and makes a spreadable texture
Step Three
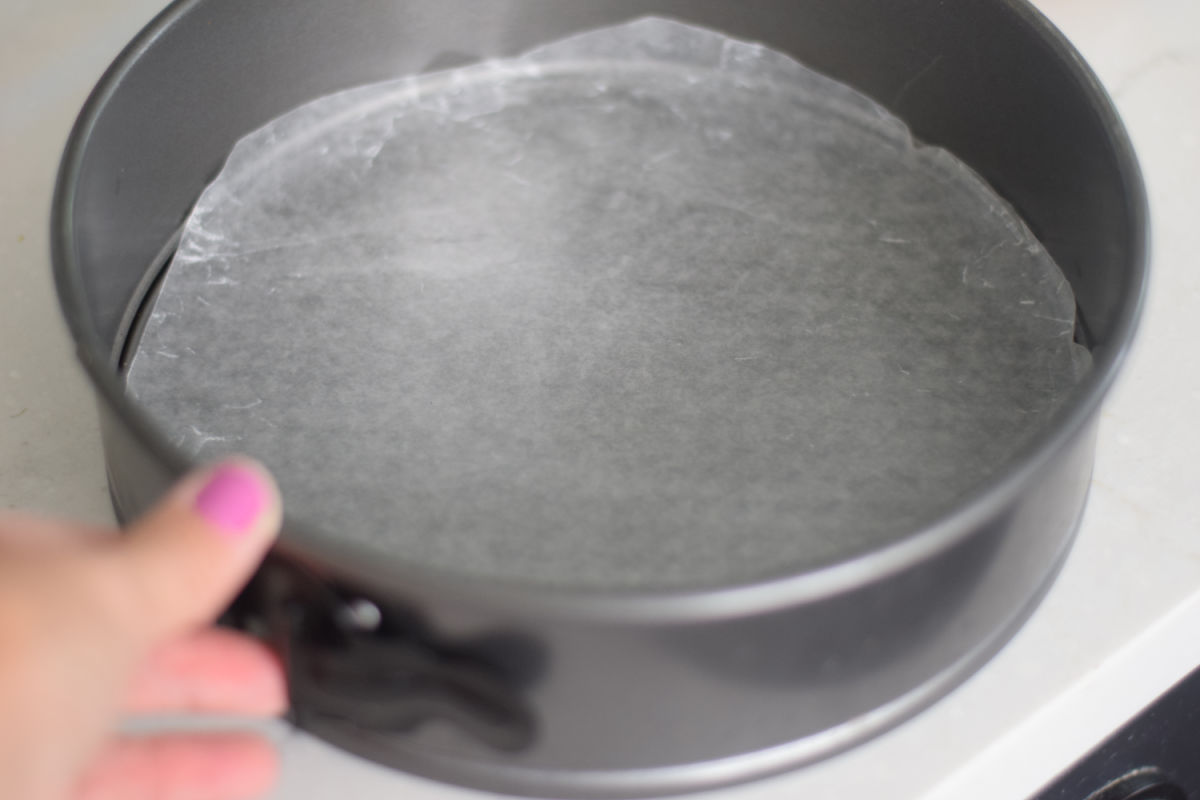
Expert Tip:Cut a circle of wax paper that matches the circumference of the cheesecake pan
Step Four
Place wax paper onto your work surface
Add one-half of the Oreo mixture
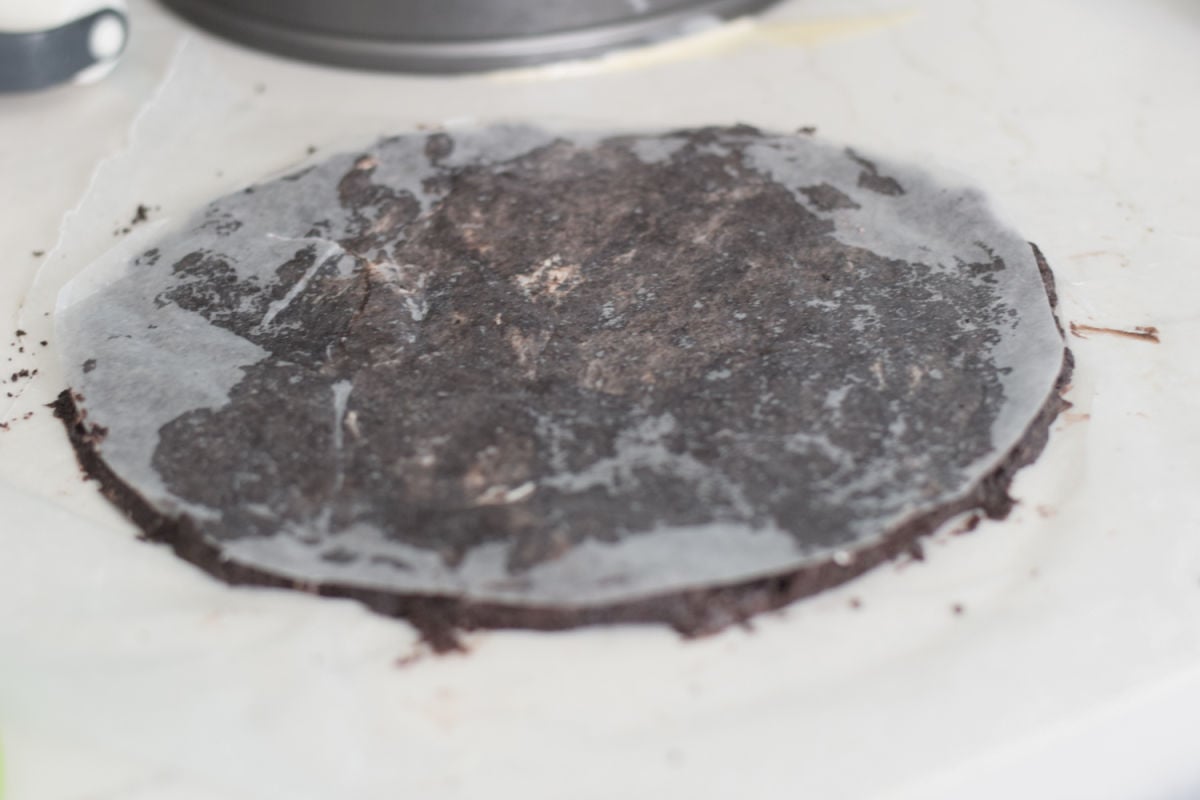
Place the wax paper circle on top and roll the cookie mixture out to match
Step Five

Set your circle template aside and invert the cookie dough, push it down to the bottom of the pan
Step Six
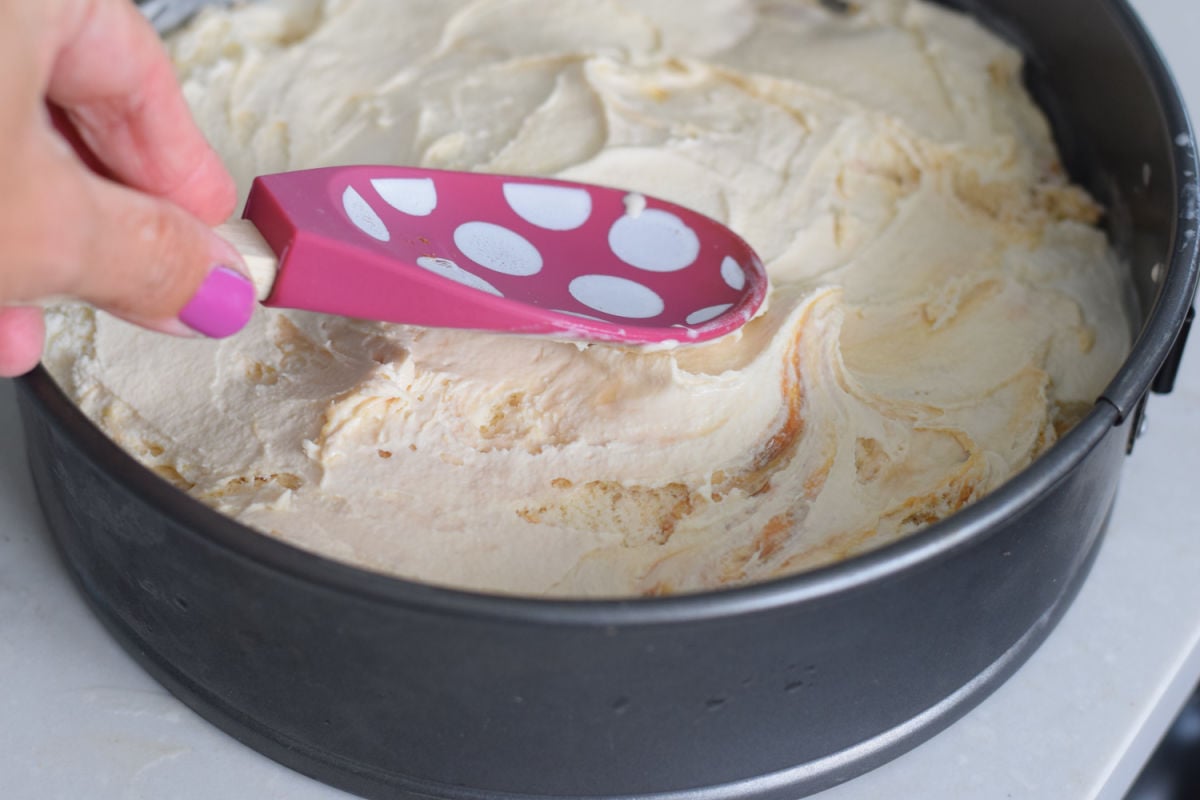
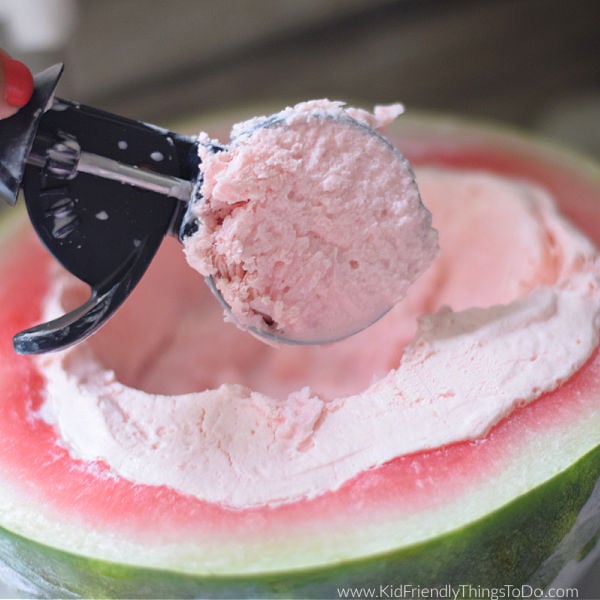
Spread the ice cream out
Step Seven
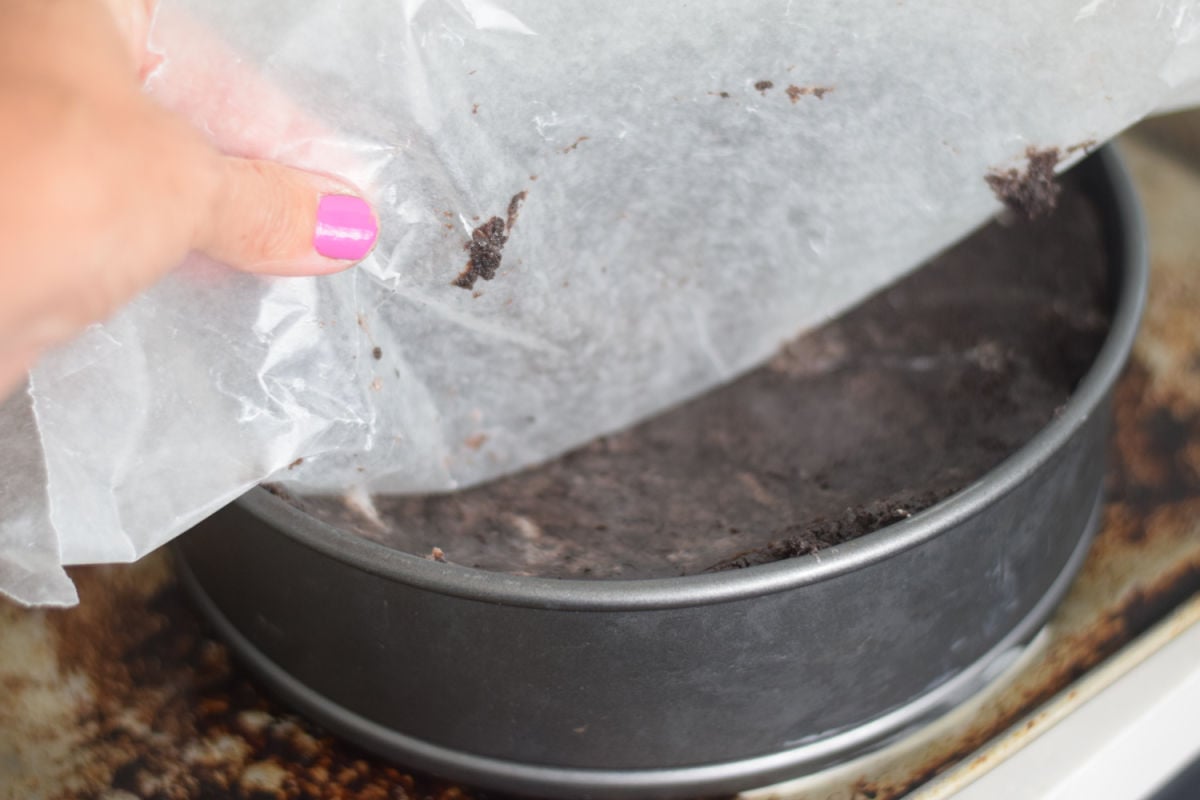
Roll out the rest of your cookie dough, and invert that layer over the ice cream
Step Eight
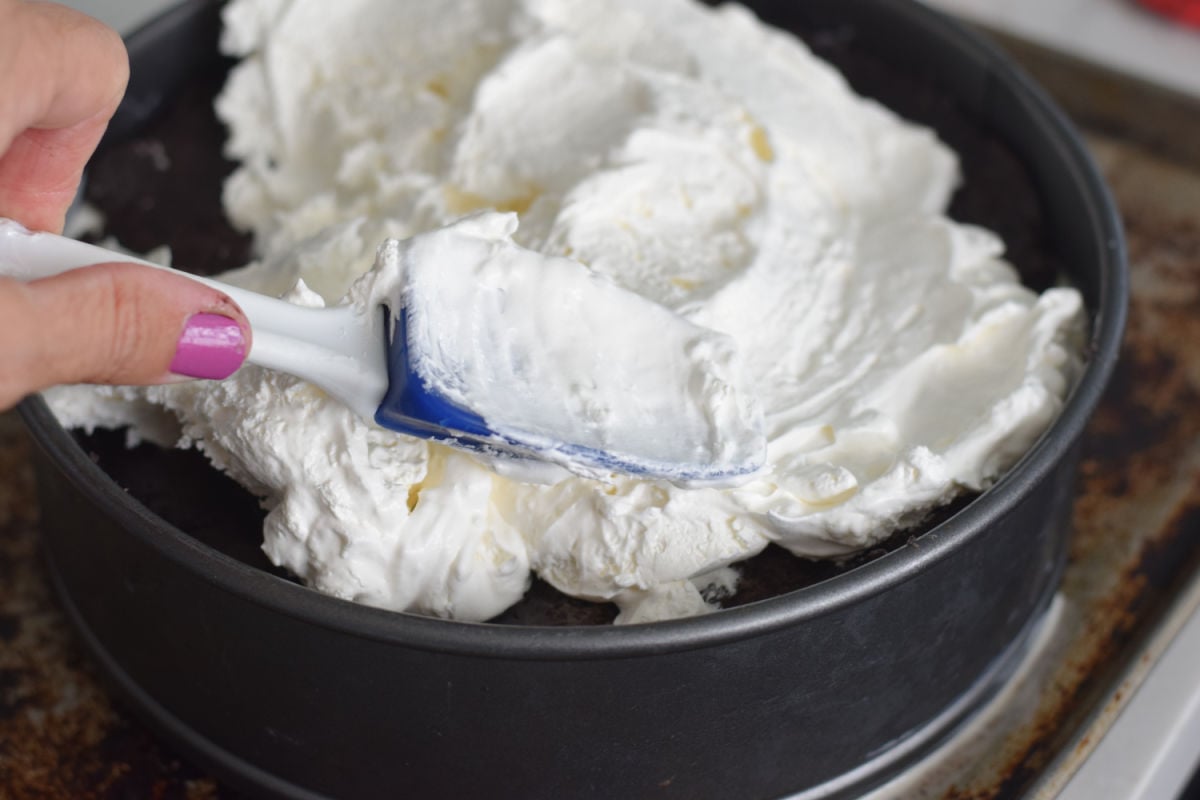
Spread the whipped topping
Step Nine
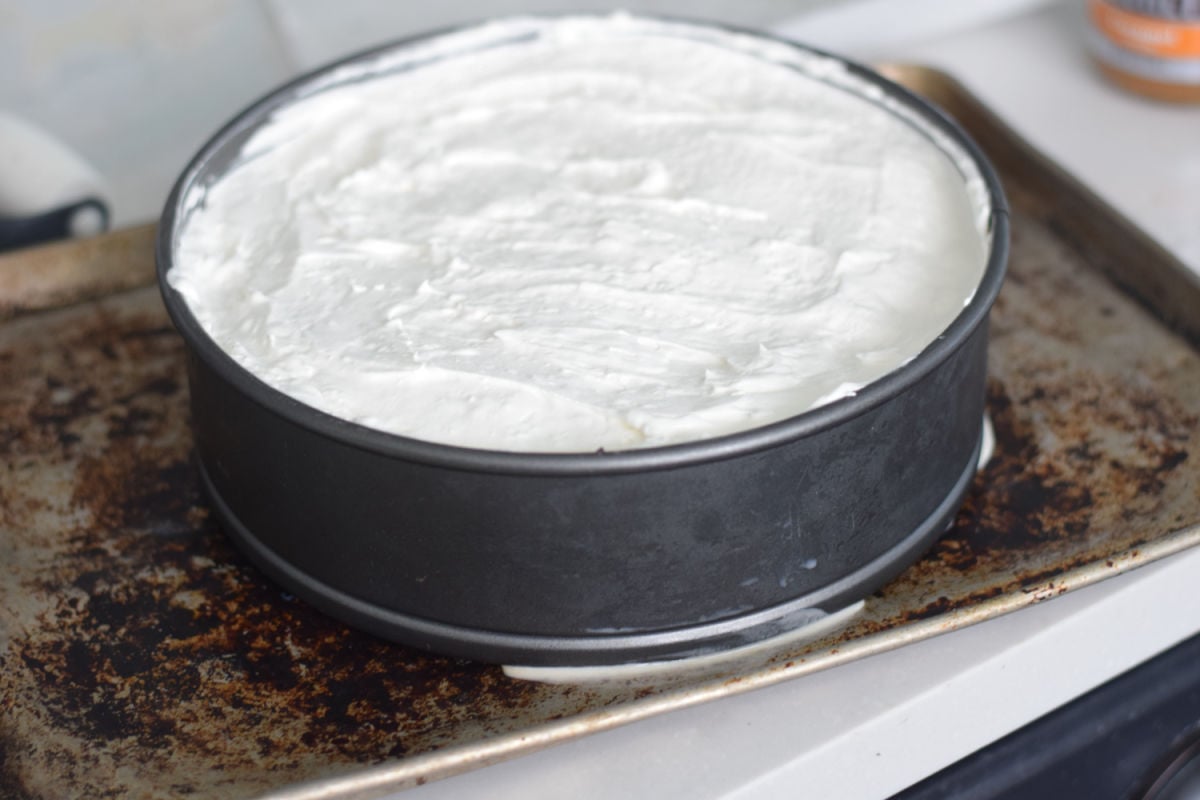
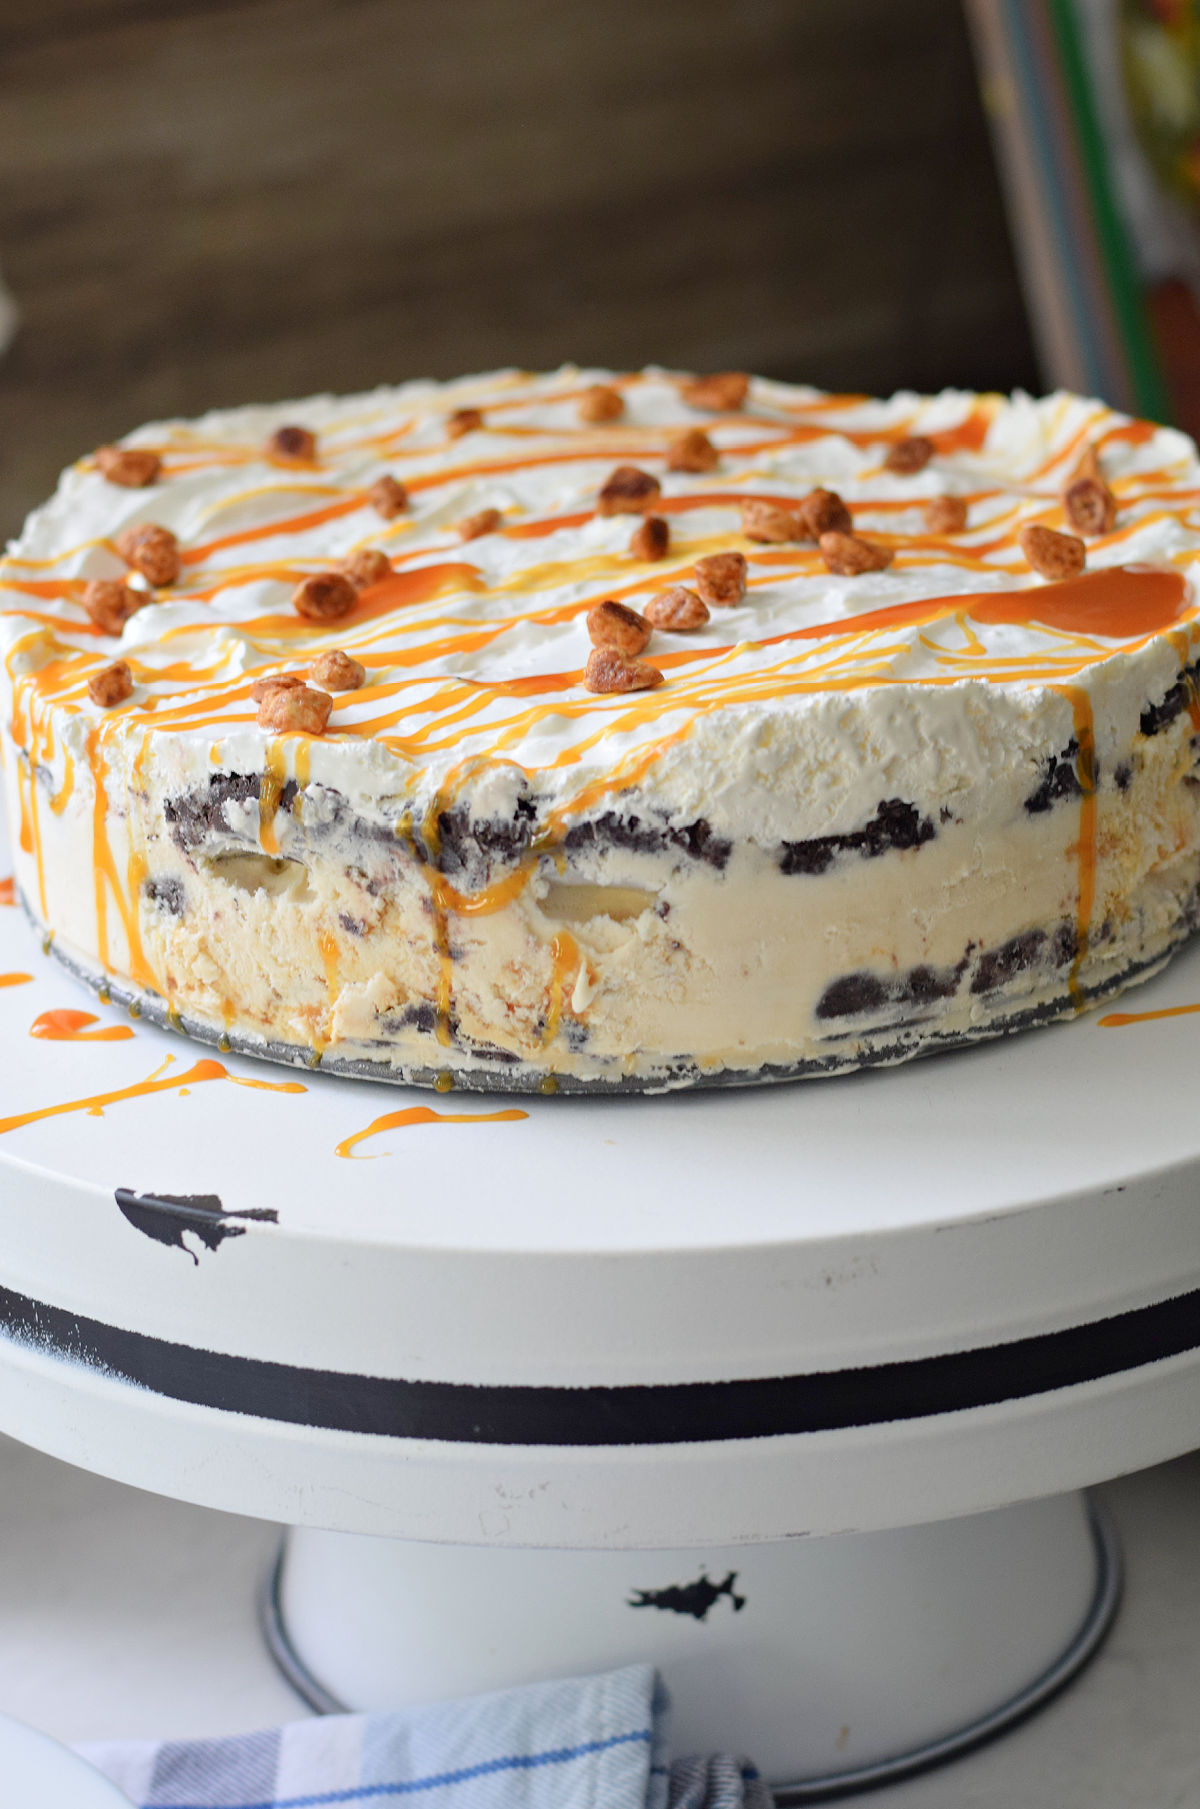
Make sure the cake is set over a small baking sheet and place it in the freezer for 3-4 hours
Expert Tips
Roll sticky dough such as the cookie mixture in between wax paper. It rolls out easily without any mess
To catch any melting ice cream, place your spring form pan over a thin baking sheet that will easily fit into your freezer
Variations
- Add another flavor of ice cream to make another layer – with this change, you’ll only use half of a container. The second layer should go above the middle Oreo cookie layer and under the whipped cream
What to Serve with Homemade Ice Cream Cake
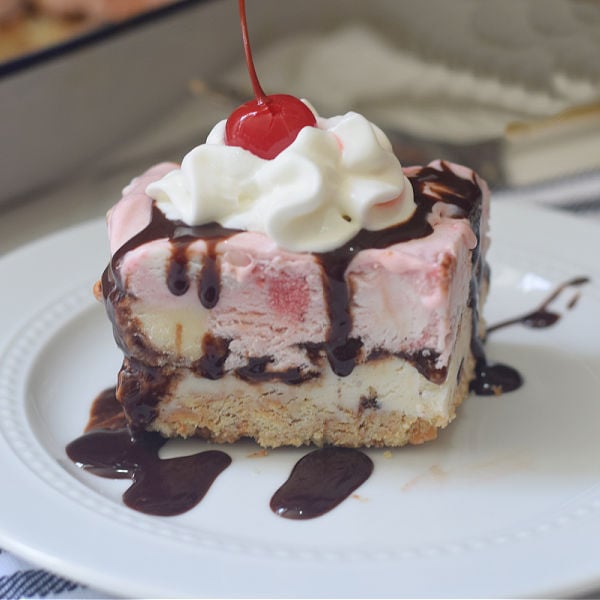
- caramel sauce
- sprinkles
- chopped nuts
- fudge sauce
- more whipped topping
- crumbled cookies
Cookie Crumble – Make your own cookie crumble by mixing blended cookies and magic shell topping together. When it is layered onto ice cream, it will harden and make a crunchy cookie layer
Yes! Simply layer cake, cookie, store-bought ice cream, whipped topping, and whatever else you can think of for your homemade ice cream cake
Storing
Store in a closed container in the freezer for up to 2 weeks
More Frozen Desserts You’ll Enjoy
Serving Size
This cake will easily serve 10-12 people unless your portions are super generous, then it’s probably closer to 8 people
To server more, find a larger spring form pan and add one more layer of ice cream between the top cookie layer and whipped topping
My Top Amazon Picks for this recipe:
(contains affiliate links)
[box]  Nordic Ware Springform, 2-P...Shop on Amazon
 ") Hamilton Beach Power Elite ...Shop on Amazon
Hamilton Beach Power Elite ...Shop on Amazon  J.K. Adams FRP-1 Maple Fren...Shop on Amazon[/box]
Here’s a quick Video to show you how easy this cake is to make
Here’s the recipe for you:

How to Make a Homemade Ice Cream Cake
Equipment
- 1 spring form pan 9 inch
- wax paper
Ingredients
- 12 oz. Oreo cookies or similar cookie
- 8 oz. cream cheese
- 1 quart ice cream I used salted caramel
- 8 oz. frozen whipped topping softened
- optional Ice cream toppings such as caramel and butterscotch
Instructions
- Use a blender or food processor to chop the cookies
- Add the cream cheese and blend together until a thick paste is formed
- In between 2 sheets of wax paper, roll half of the cookie dough into a 9 inch circle to fit into the bottom of the pan
- To catch any melting ice cream, place your spring form pan onto a thin baking sheet that will fit into your freezer
- Peel off the top layer of wax paper and set aside, invert the cookie layer and push down onto the bottom of the pan
- Add a thick layer of ice cream to the cookie mixture (I used the whole container)
- Take out the rest of the cookie mixture and place it inbetween wax paper sheets
- Roll it out into a 9 in. circle
- Lift the wax paper up and invert it over the ice cream layer releasing the layer of cookie over the top
- Add the softened frozen whipped topping to the top and spread out
- Freeze for 4-6 hours or until frozen through
- Open the spring foam pan and remove it
- Slice and serve with optional toppings
Notes
Tips for rolling out Oreo Cookie Dough
- Cut a circle of wax paper that matches the circumference of the cheesecake pan
- Place cookie dough on top of a sheet of wax paper
- Place your circle wax paper template over the top
- Roll out until the cookie dough is the same size as your template
Nutrition
~Melissa – KidFriendlyThingsToDo.com