Graham Cracker Haunted Houses for Halloween Craft
This post may contain affiliate links – please read my disclosure statement.
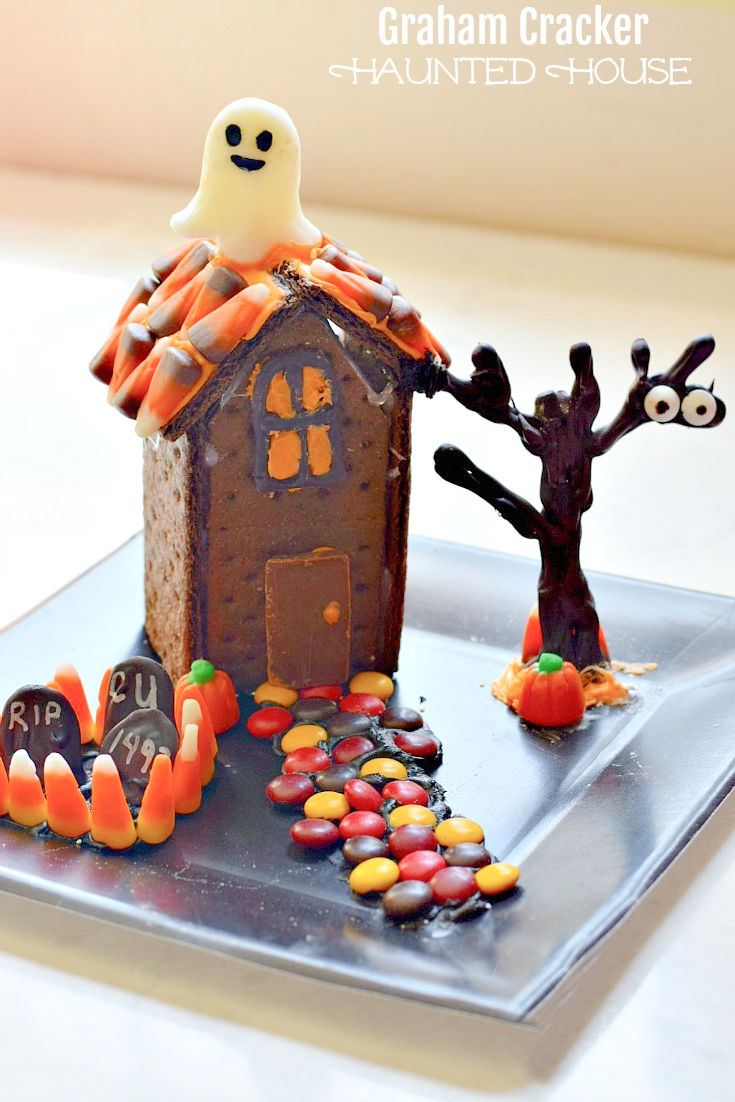
These Chocolate Graham Cracker Haunted Houses for Halloween are a fun twist on the Christmas ones! These have always been a hit with kids and adults. Come on in and I’ll share my tips from years of experience and some fun ideas for decorating your Haunted Graham Cracker Houses...
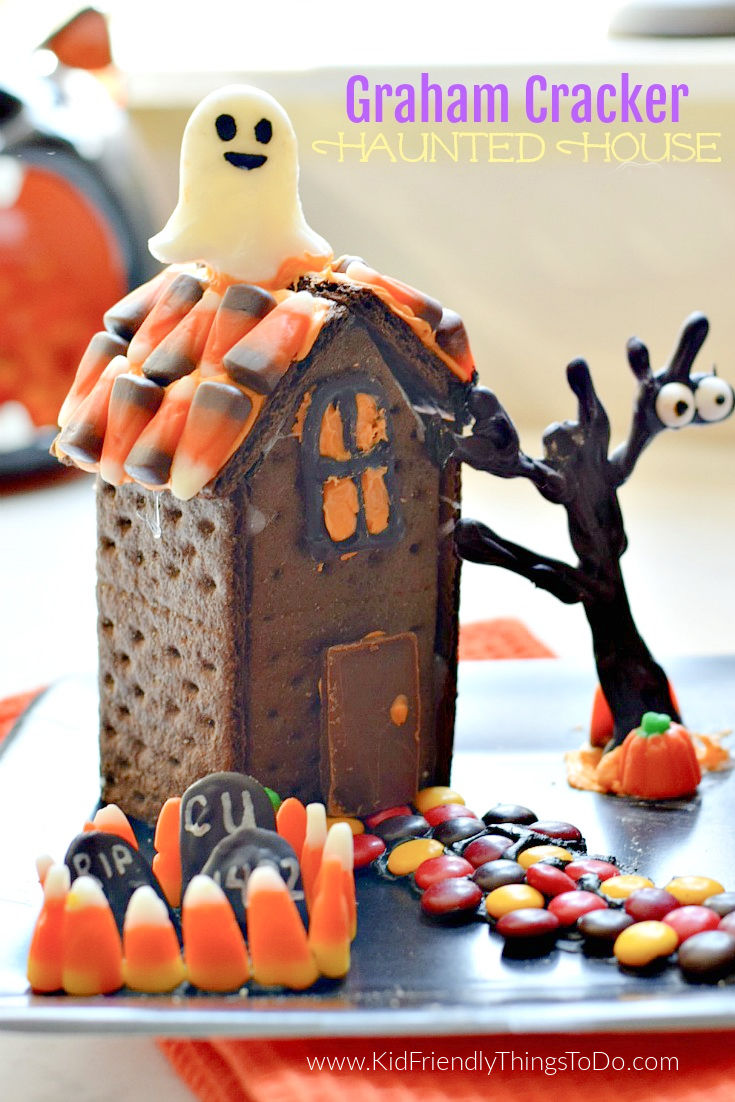
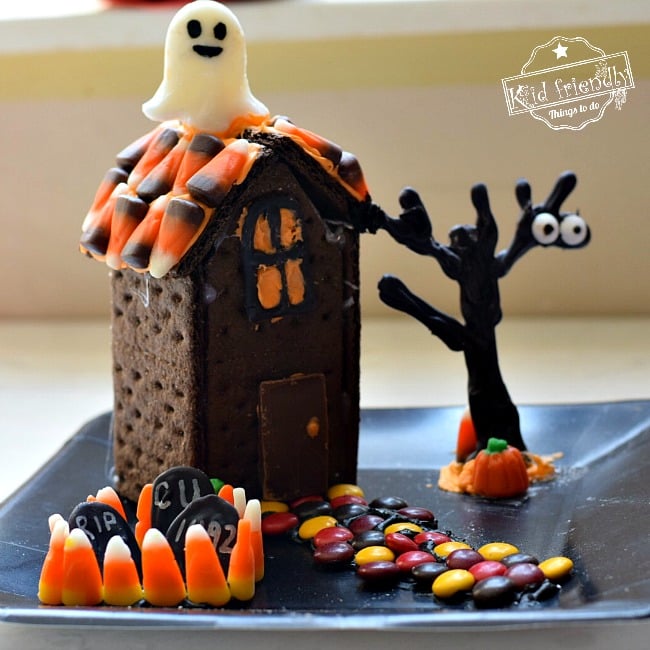
Graham Cracker Haunted House
I’m sure, if you have a preschool or kindergarten child, you have seen Graham Cracker Houses.
Here’s a quick video on Cutting and Making a Graham Cracker House for Kids to Decorate.
Graham cracker houses are an old tradition at our house. My obsession started when I helped out at a preschool Christmas party. They used milk cartons from the elementary school as a base. From then on, every visit for school lunch resulted in me stashing away my used milk carton into my purse. As soon as Halloween or Christmas time came around, we were making milk carton graham cracker houses.
When I needed lots of milk cartons for school parties, I always asked the cafeteria workers to please set aside some used ones for me. They always went a step further and ran them through the dishwasher for me.
This time, I did not use a milk carton as my base. I was a little nervous to go it alone without a firm foundation, but even without my milk carton base, it was pretty easy to assemble. They were nice and sturdy too. No milk carton is needed.
I still relied on the old hot glue method that I remembered for assembling the graham cracker houses. *This is definitely NOT an edible craft.
Finally,
Here is my step-by-step instructions on your Halloween Gingerbread Houses
Here’s what you’ll need for these Graham Cracker Haunted Houses for Halloween :
- chocolate graham crackers
- warm glue gun and glue sticks
- plate for your house
Decorations…
- For Colorful – Halloween colored frosting – A carton of White cake frosting
- plus your food color of choice – orange, purple, yellow, etc…
- For the black frosting – a carton of chocolate frosting plus black food coloring
- powdered sugar
- various spooky candies, M&Ms, candy corn, pumpkin candies, lollipops, marshmallow decorations, etc…
If you want to make the chocolate decorations – the haunted trees, windows and gravestones…You’ll Need:
- wax paper
- Black melting chocolate
- optional candy eyes for the tree
- optional – white sharpie paint pen for gravestones
Cutting and Assembling the Gingerbread House
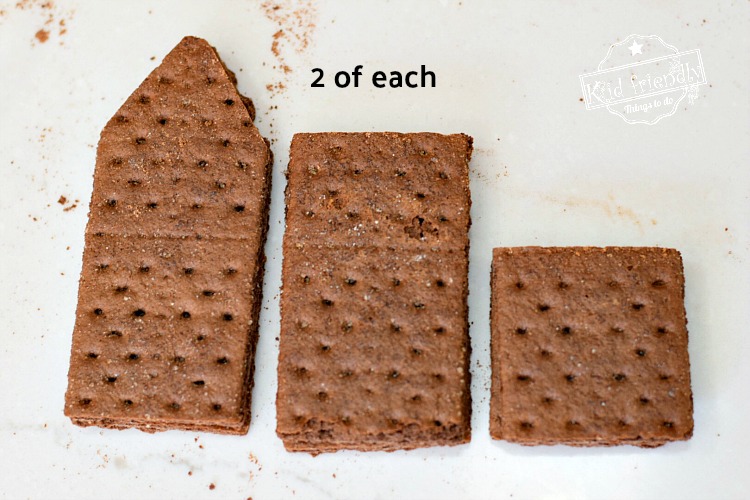
- To make the side of the house with the slanted ends, (the one on the left) you’ll want a serrated bread knife
- Gently saw back on forth on the corners and carefully break them off to reveal slanted roof edges
- * Press down VERY LIGHTLY, and pretend you are sawing a piece of wood. I don’t know how many I broke pushing down too hard
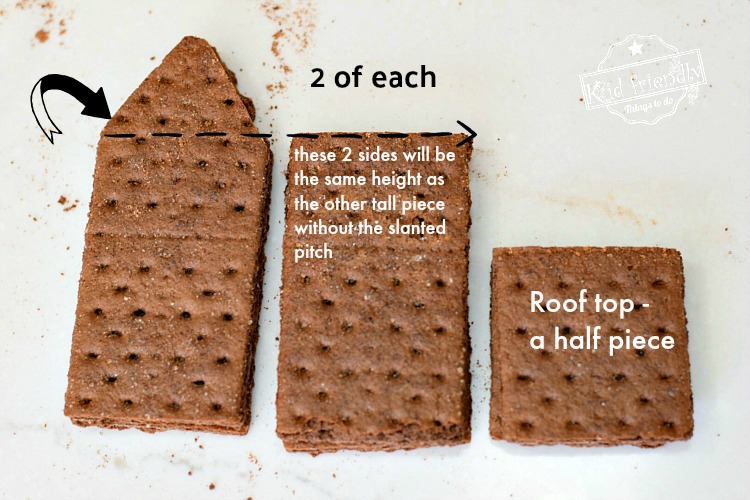
- The pieces in the image above – the middle ones are the straight sides of your tall house
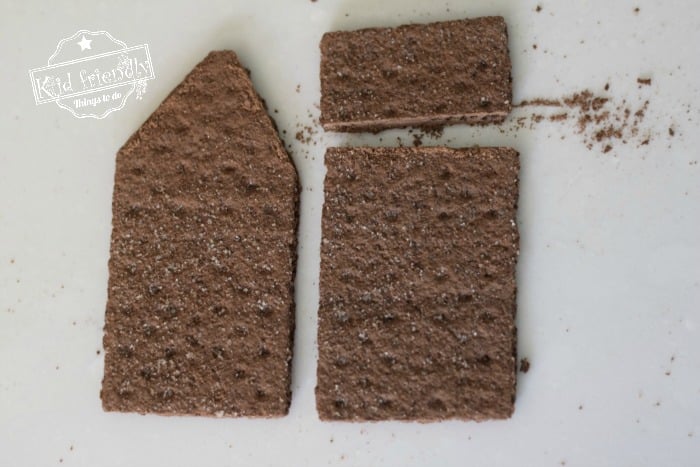
- Using the serrated knife…Saw a thin straight piece off of the end of the graham cracker – until they are about as the beginning of your roof pitch – (to where the slant of the roof begins)
- The pieces on the end are just one-half of a long graham cracker – they will be your roof pieces
Assembling the house…
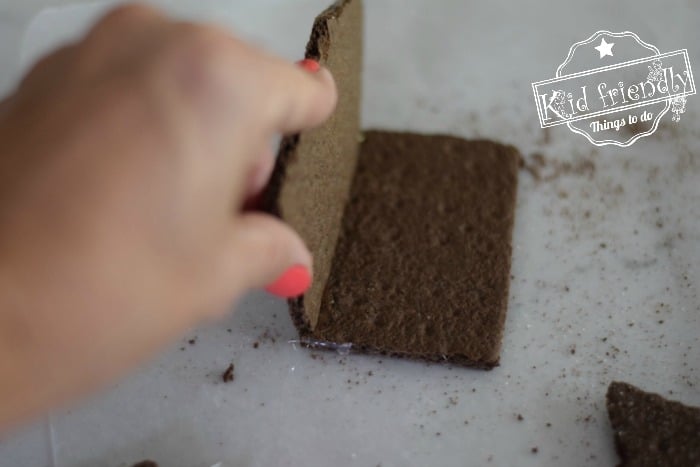
- Glue the slanted roofs onto the flat side
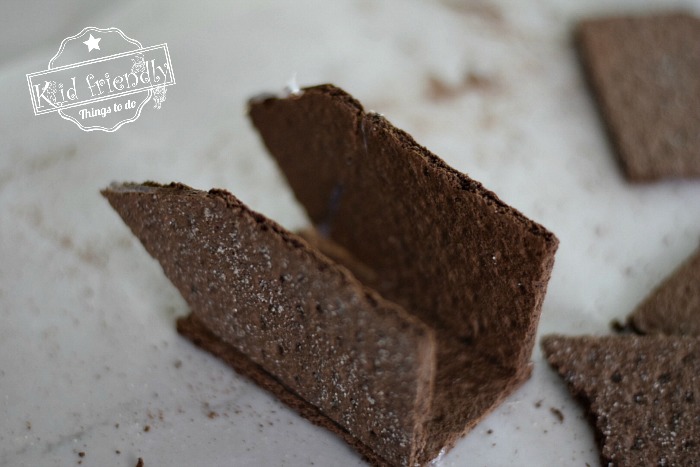
- Glue one on each side
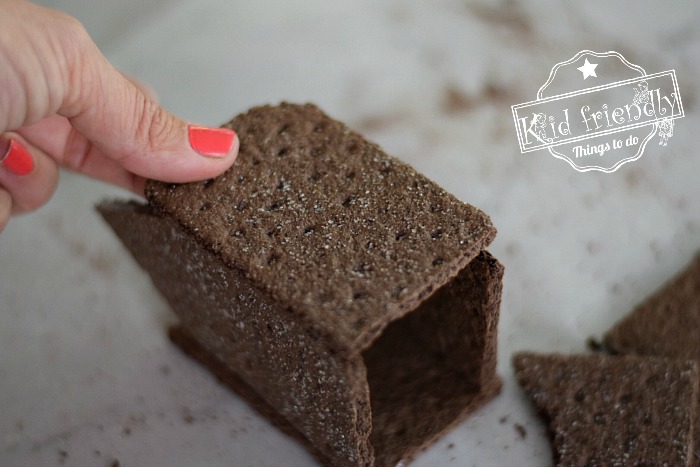
- Finish the 4 sides by placing the other flat wall down and gluing to secure
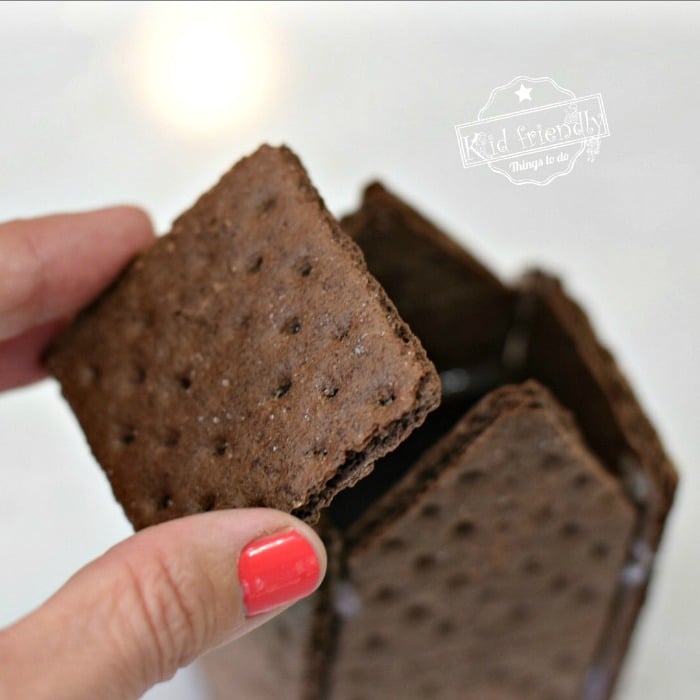
- Assemble the four sides using your warm glue gun
- Add the roof to the top
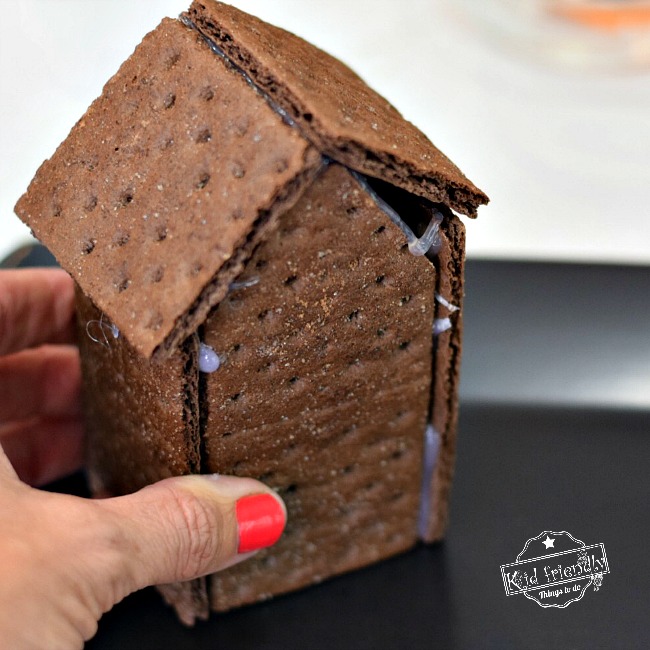
- Glue the assembled house to the plate
Frosting for graham cracker houses 101
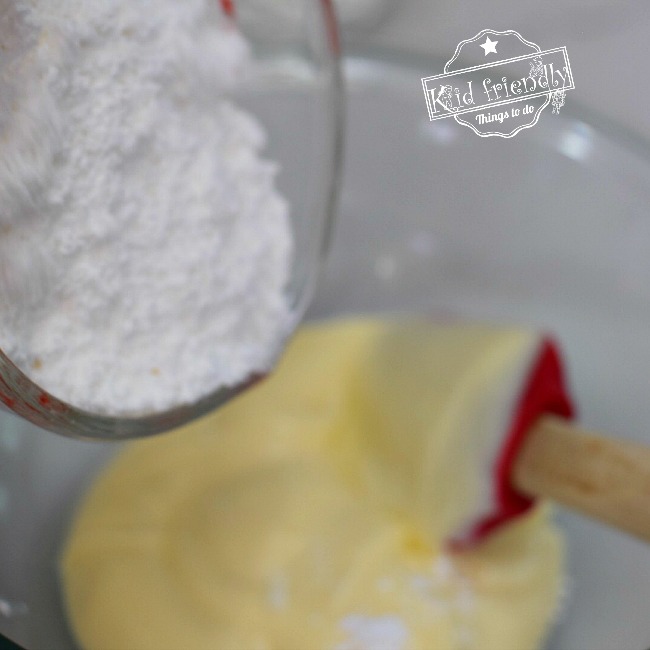
- I like to add about 1 cup of powdered sugar to the frosting to thicken it. This keeps the candies from sliding off the roof and walls. It also dries nice and hard.
- Just use food coloring to color your white frosting
Black Frosting 101
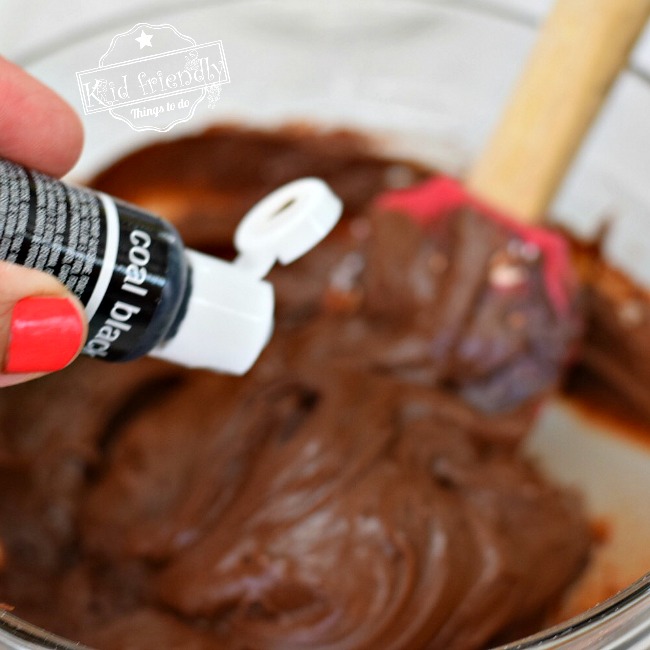
Have you ever tried to make black frosting and only ended up with gray? I’ve got a guaranteed black frosting trick to share with you…
- This time use Chocolate Frosting as a base – Add powdered sugar just like the frosting tip above
- Add as much black food coloring as it takes to get your desired color of black
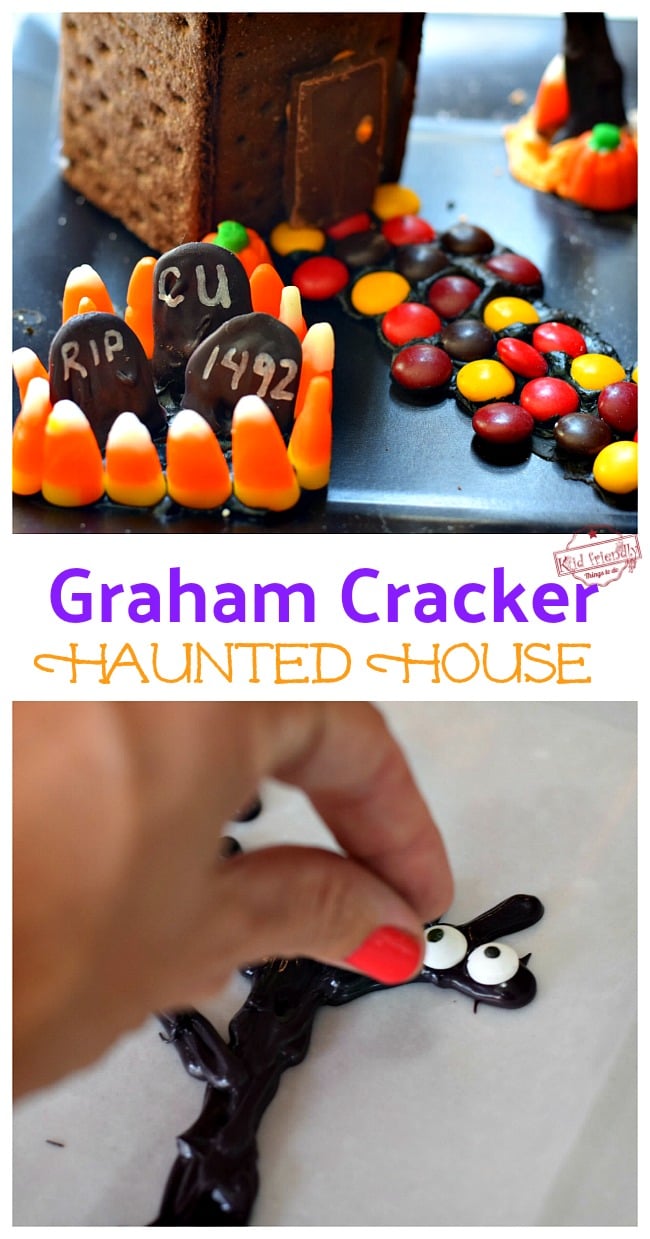
Melted Chocolate Candy Trees, Windows and Grave Stones…
Here’s a video on how I made my Chocolate Haunted Trees…
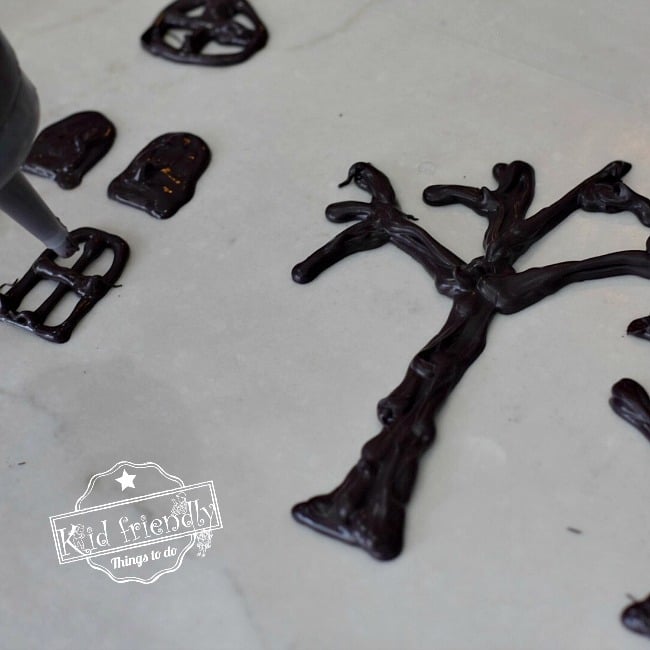
- Melt the chocolate melts in a microwave proof glass bowl
- Pour the melted chocolate into a plastic squeeze bottle
- Place wax paper on your work surface
- Draw your chocolate decorations onto the wax paper using your melted chocolate that is in the squeeze bottle
- *You can have so much fun with this. Create bats, trees, windows, doors, etc… Just draw them out and fill in with melted chocolate
- Let the decorations dry – to speed up drying time, slide the decorations onto a baking sheet and pop them in the freezer
Embellishing your chocolate decorations…
- If you want to add eyes to the tree…do this while the chocolate is still wet, or add a dab of melted chocolate onto the back of the eyes
- After the chocolate is hardened…You can use a paint pen to draw fun saying on the gravestones
Other Candy for your Halloween Haunted Graham Cracker House…
- I found the best selection and the least expensive at Dollar Tree. They had awesome candy to choose from
- Ghosts, candy corn, pumpkins, marshmallow shapes, gummy worms, skeletons, lollipops, etc.
Decorating
- I found it is best to get the divider trays for each kid, and portion the frosting, and candy out before they sit down at their house. There is less fighting that way.
- Now, let them get creative using frosting to hold decorations onto the house and plate
- You can use the frosting on the ground to help hold decorations in place
- The trees are the hardest to keep standing – I found that even with frosting on the plate, I had to prop mine up with candy in front and behind it

Some tips for decorating graham cracker houses at a classroom party
- Have the gingerbread house glued to the plate
- Put frosting in individual Dixie cups before you go to the school –
- (kids will eat the frosting, and you don’t want everyone reaching into the same bowl)
- Have plastic cutlery to spread the frosting
- Take a few bowls to set candy in for each table
- Invite parents to join in too! They love it!

