How To Make Corn Husk Dolls
This post may contain affiliate links – please read my disclosure statement.
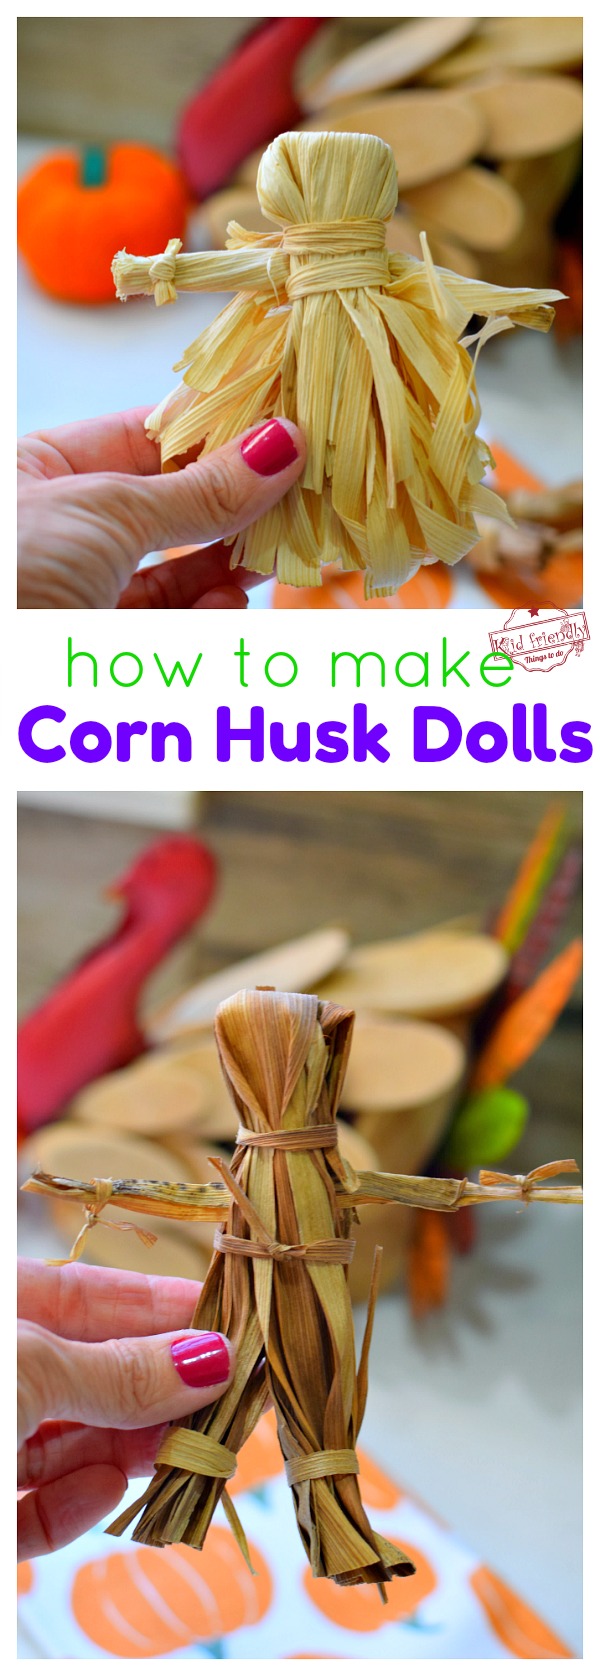
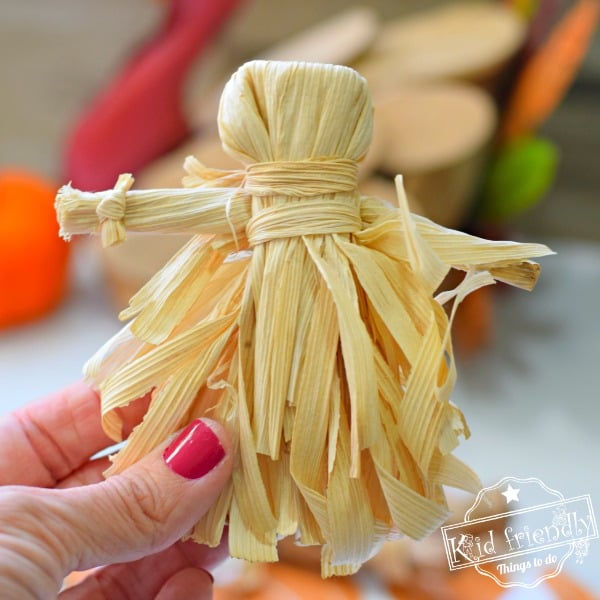
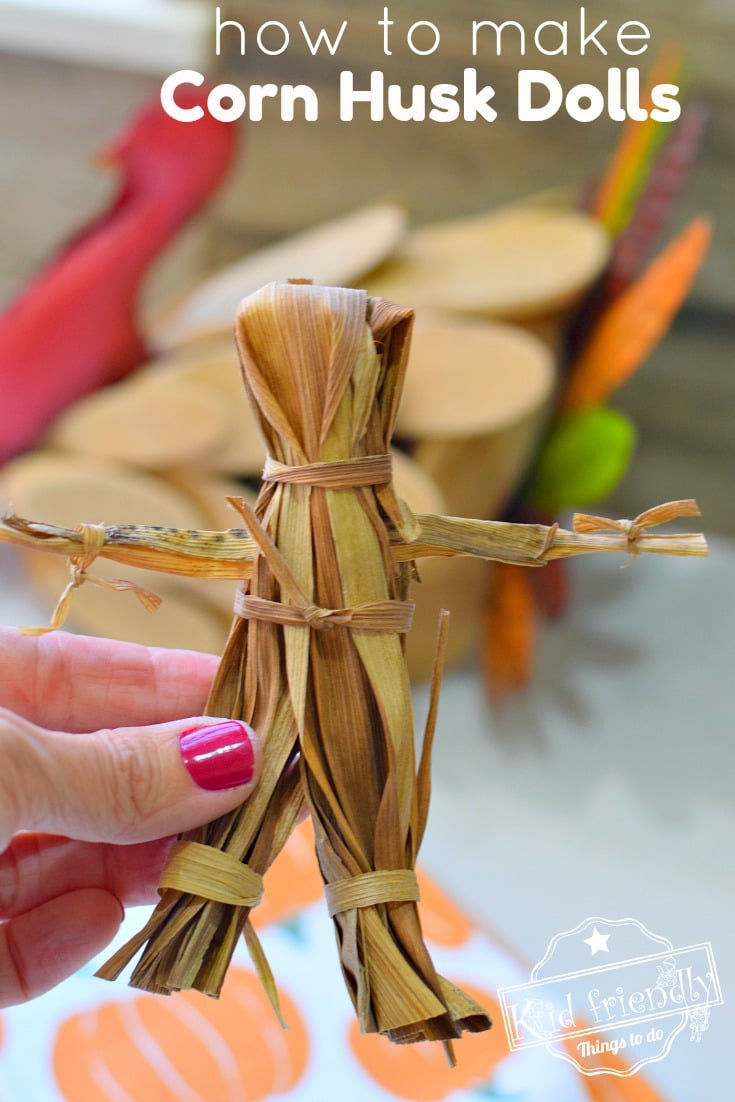
Cornhusk dolls will dress up any Thanksgiving Table. They are a great craft for the kids at any time, but especially around fall and Thanksgiving when we remember that first Thanksgiving Dinner together. Come on in, and I’ll show you how to make cornhusk dolls.
How To Make a Corn Husk Doll –
Here’s what you’ll need for each corn husk doll…
- For each doll – 8 pieces of corn husk – that’s It!
Instructions:
- Warning-This is a wet craft. Make sure your surface is protected from all of the water.
- Before you get started-put the husks in water for at least an hour. They need to be wet. This makes the husk strong, and pliable.
- Once your husks have soaked. Pick 8 husks to make your doll.
Tips on which you pick.
- Get ones that are about 2 inches wide at the bottom (the end that’s not pointed)
- Try to get ones that are similar in length, because you’ll be stacking them up together
- Don’t worry about getting perfect ones, you’ll end up tearing them in a later step

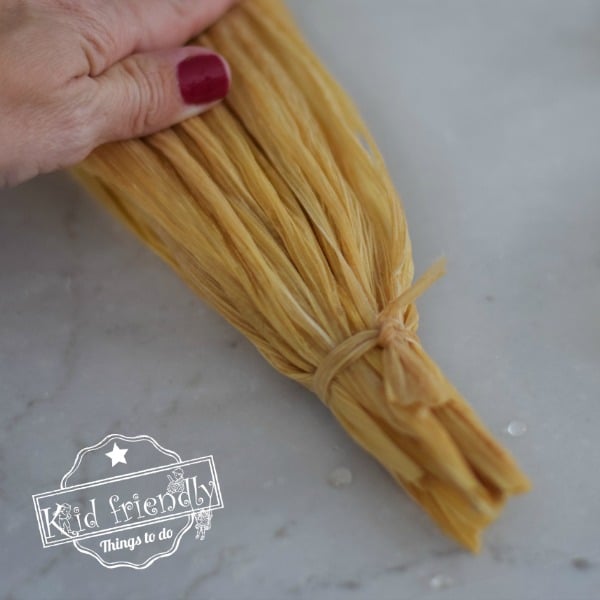
- Stack 6 of your husks – matching the ends up with all of the pointed ends to one side and the wide straight ends on the other. Use, your best and widest pieces to stack.
- With one of your remaining two husks (your longest one) – tear it into thin strips – which will act as your ribbons to tie the arms and clothes
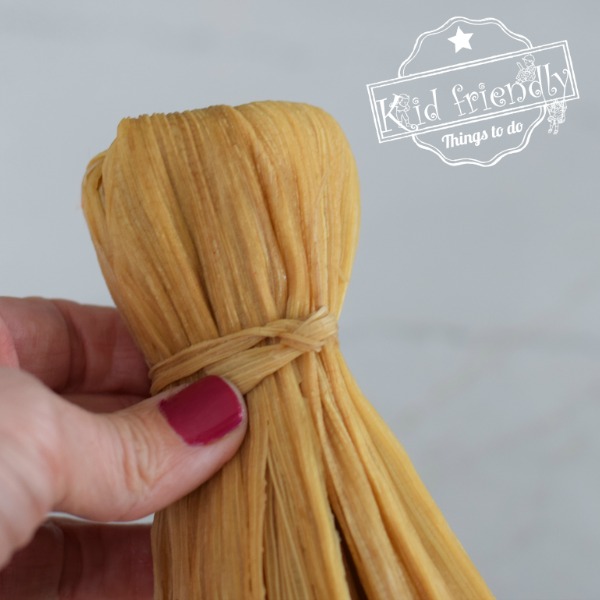
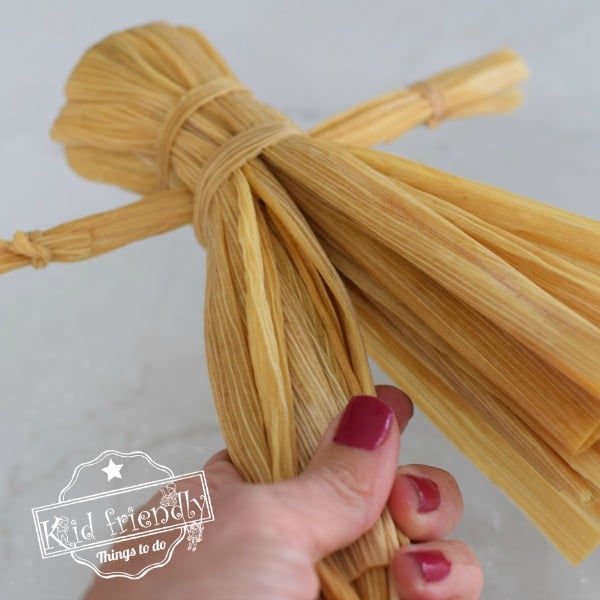
- Use one of your thin strips to tie your stacked – 6 husks together, about an inch from the top. The top is the pointed part of the husks-narrow end.

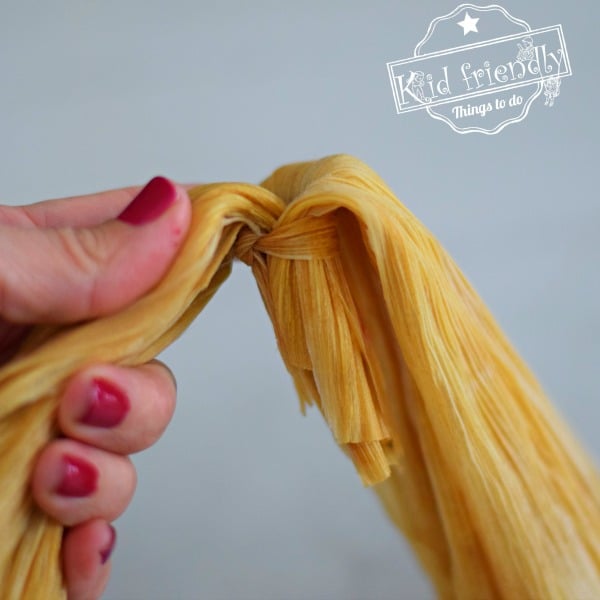
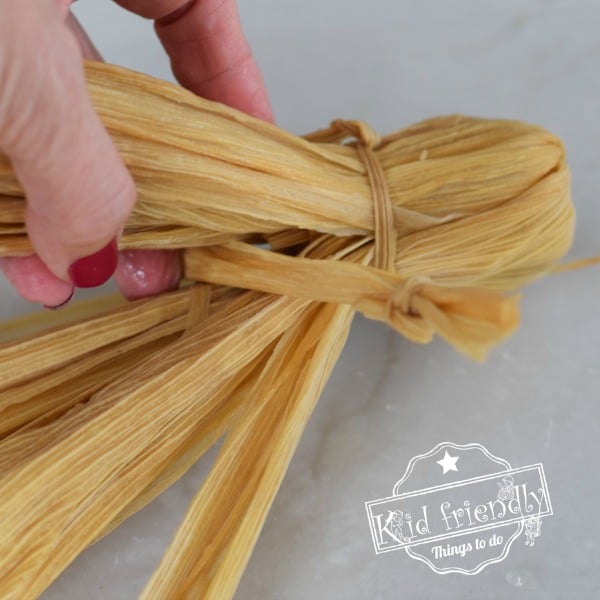
- Now at the larger ends – the part that has not been tied – split the 6 in half, and fold it over the tied portion of the husks
- You are forming the head of the doll

- Tie the folded over husks, about an inch down. This will form the head

- Arms-Take your last corn husk that is sitting on the side, and roll it up to form a long tube. Tie both ends with your thin strips of husk.
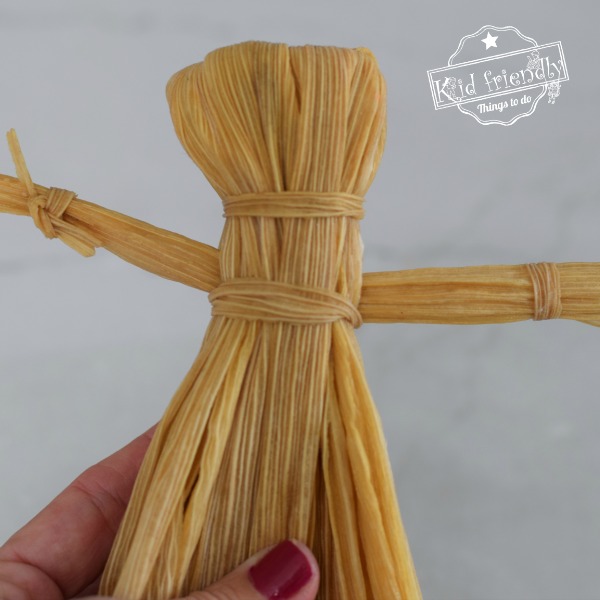
- Slide this arm/tube into the split of the dress, (the middle part of the stack of 6) all the way up to the head

- Tie around the dress, just under the arms, to keep them in place.
Making the dress Fancy – OR – making this doll into a BOY Doll
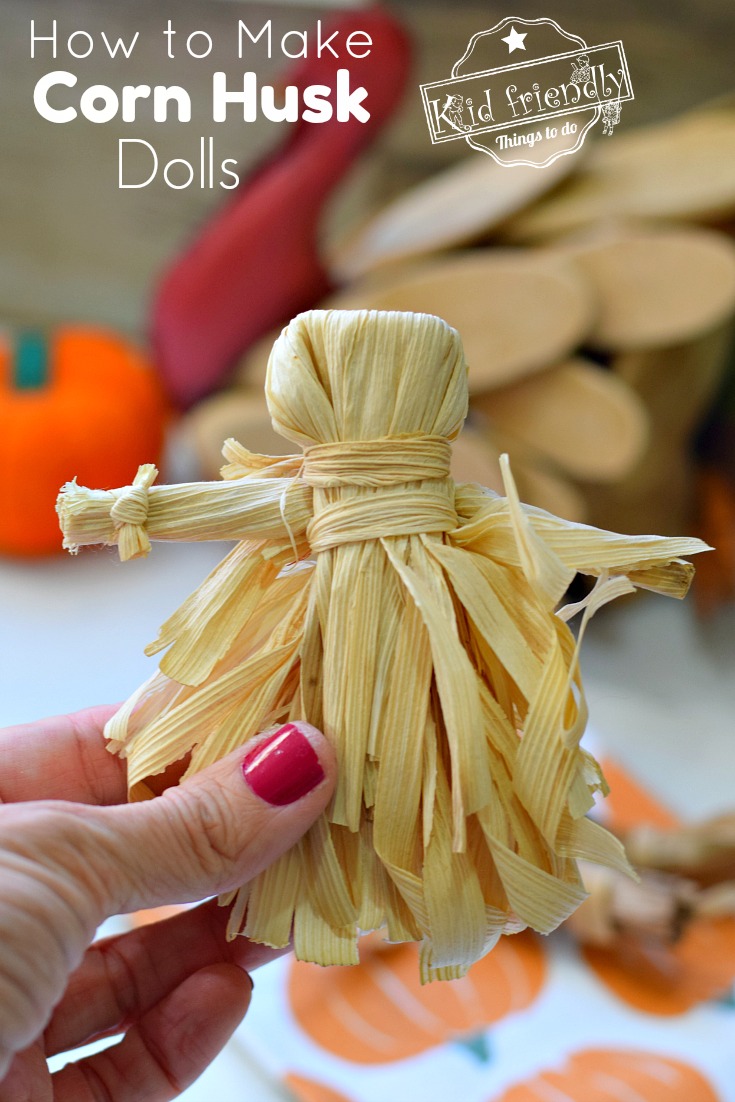
- Now you are almost done!

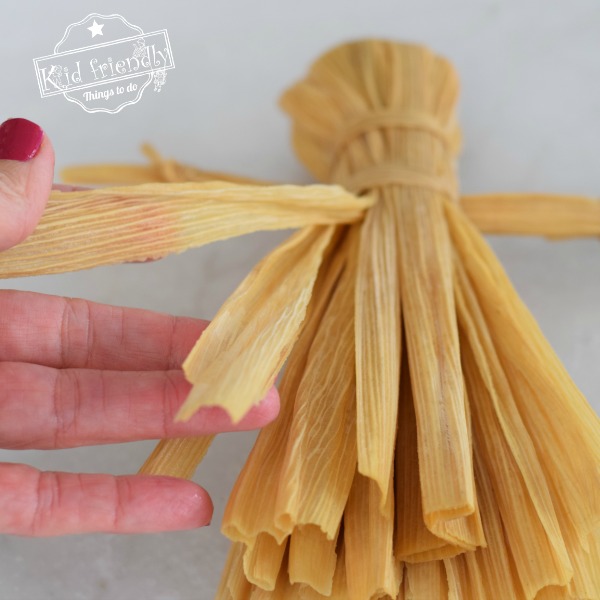
- Girl Dolls – Start at the bottom of the dress, and start tearing the husks into tiny strips. As the dress dries it will get fluffy from all of the strips. The more you tear, the fluffier the dress will be

- Boy Dolls – Don’t tear the husks. Divide the dress into legs, and tie with husk strips at the bottom of each leg to secure.

Trim anything that needs it. Let them dry for a day. Enjoy
*Tips for making Corn Husk Dolls with a group of kids…
Depending on the age of kids – modify the hands-on for your kids
- Your younger kids should only do the last couple of stages. Or if parents are attending the party have this as a parent/child activity
- Older kids can do the whole doll
- Have plastic bags ready to carry these home in. They will be wet.
- Have a paper towel on hand
