Frozen Bubble Cookie Cutter Activity for Kids
This post may contain affiliate links – please read my disclosure statement.
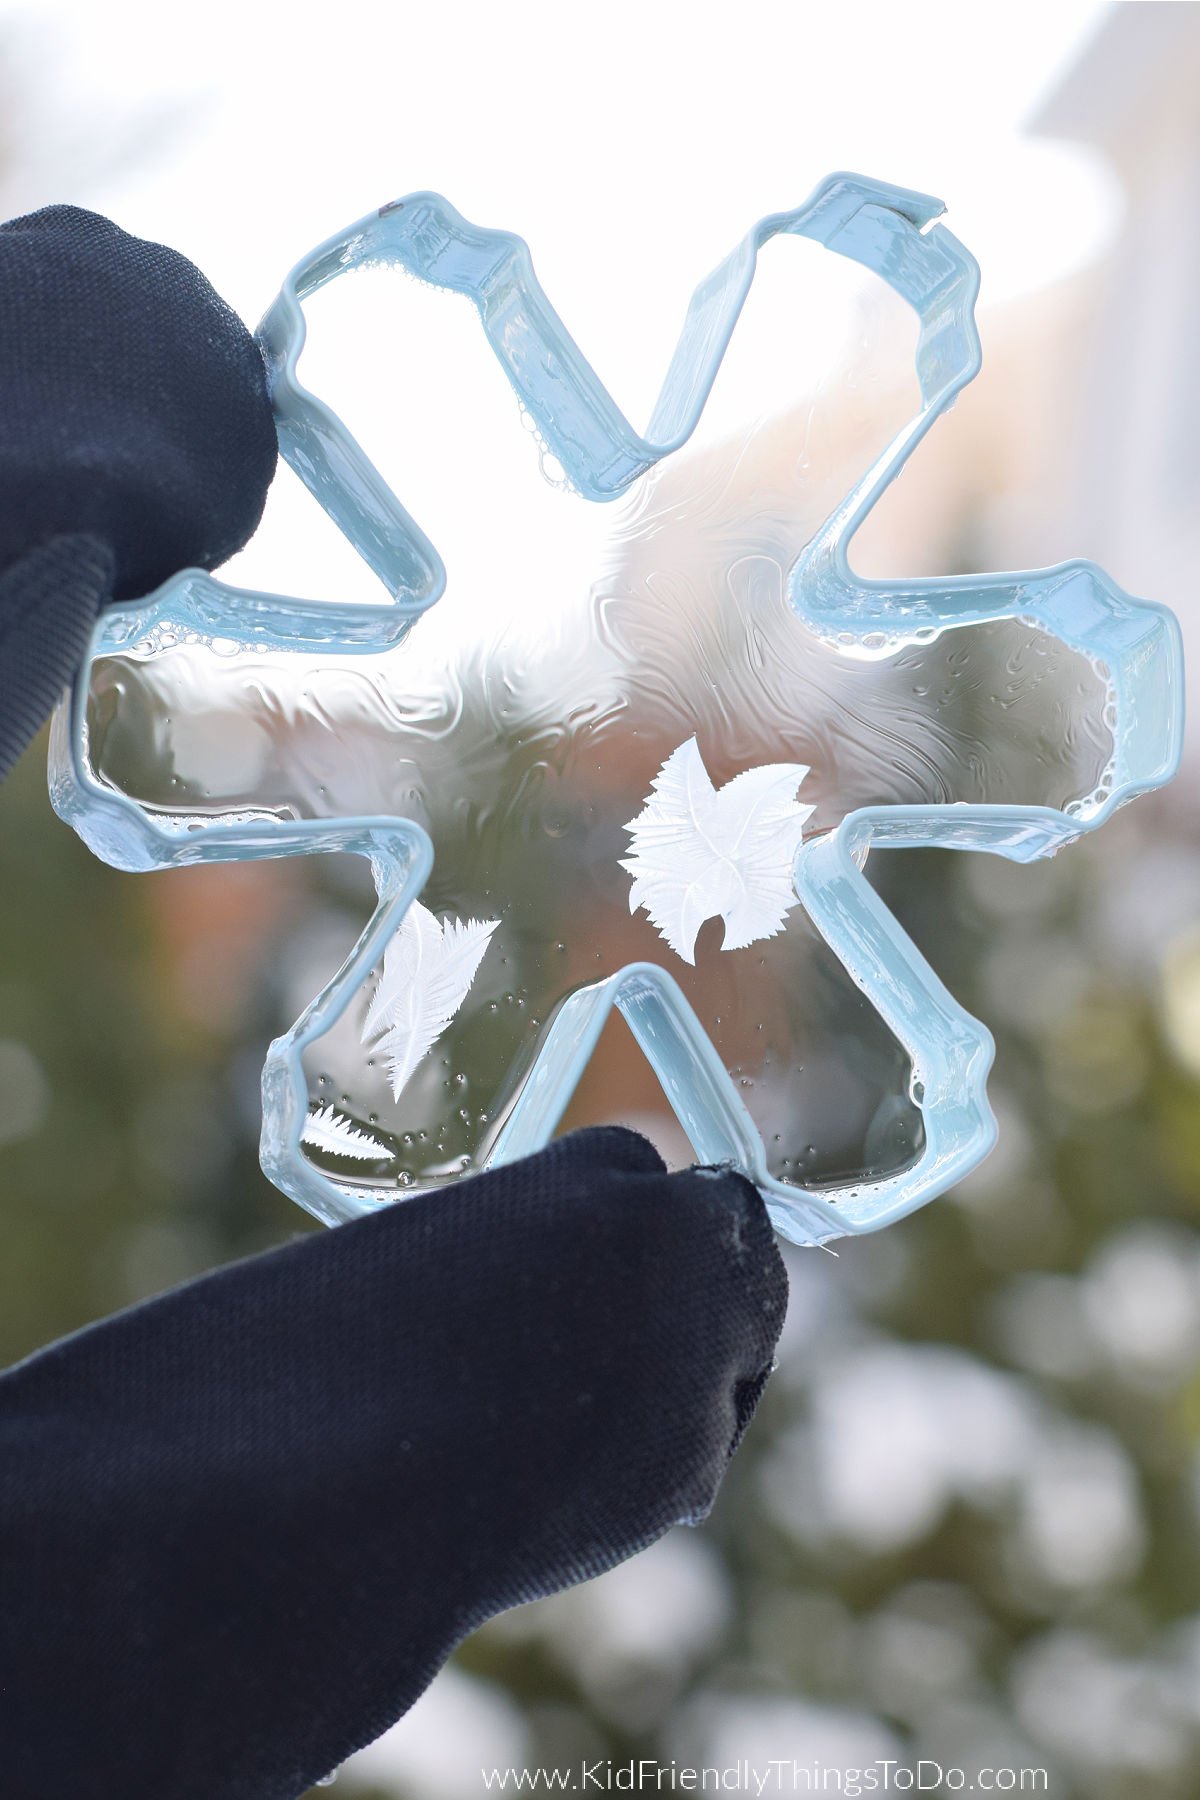
Frozen bubble cookie-cutter activity for kids is one of the most magical cold-weather science experiments you can try outdoors. With a simple thick bubble mixture and a cookie-cutter frame, kids can watch real ice crystals form right before their eyes. It feels like instant winter magic — and you can repeat it again and again.
This is one of those rare activities that is simple, cheap, fast, and absolutely unforgettable.
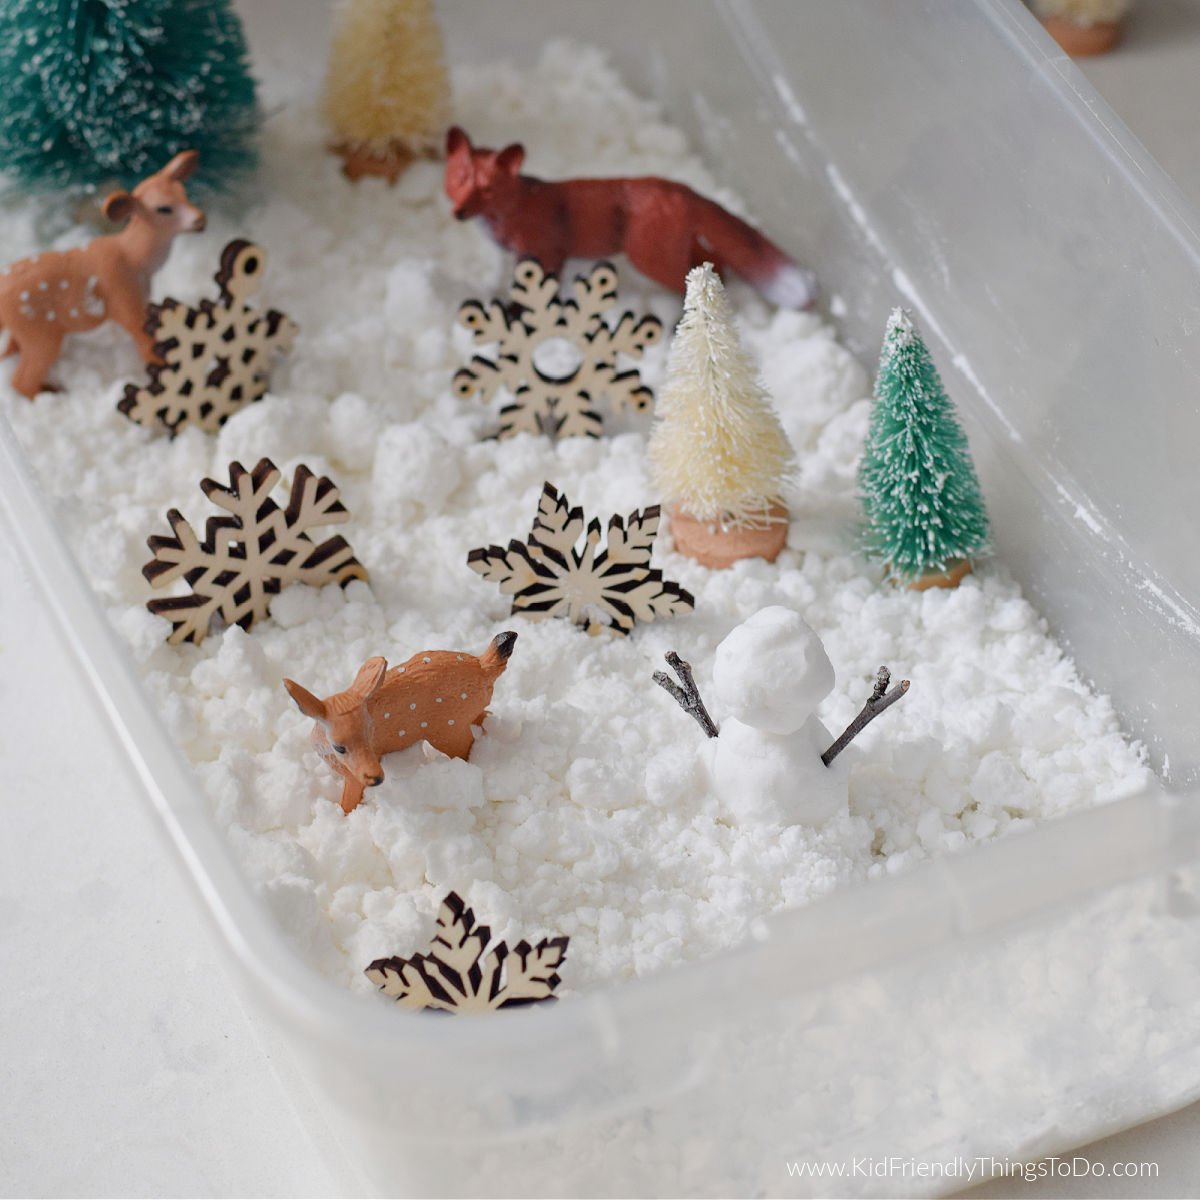
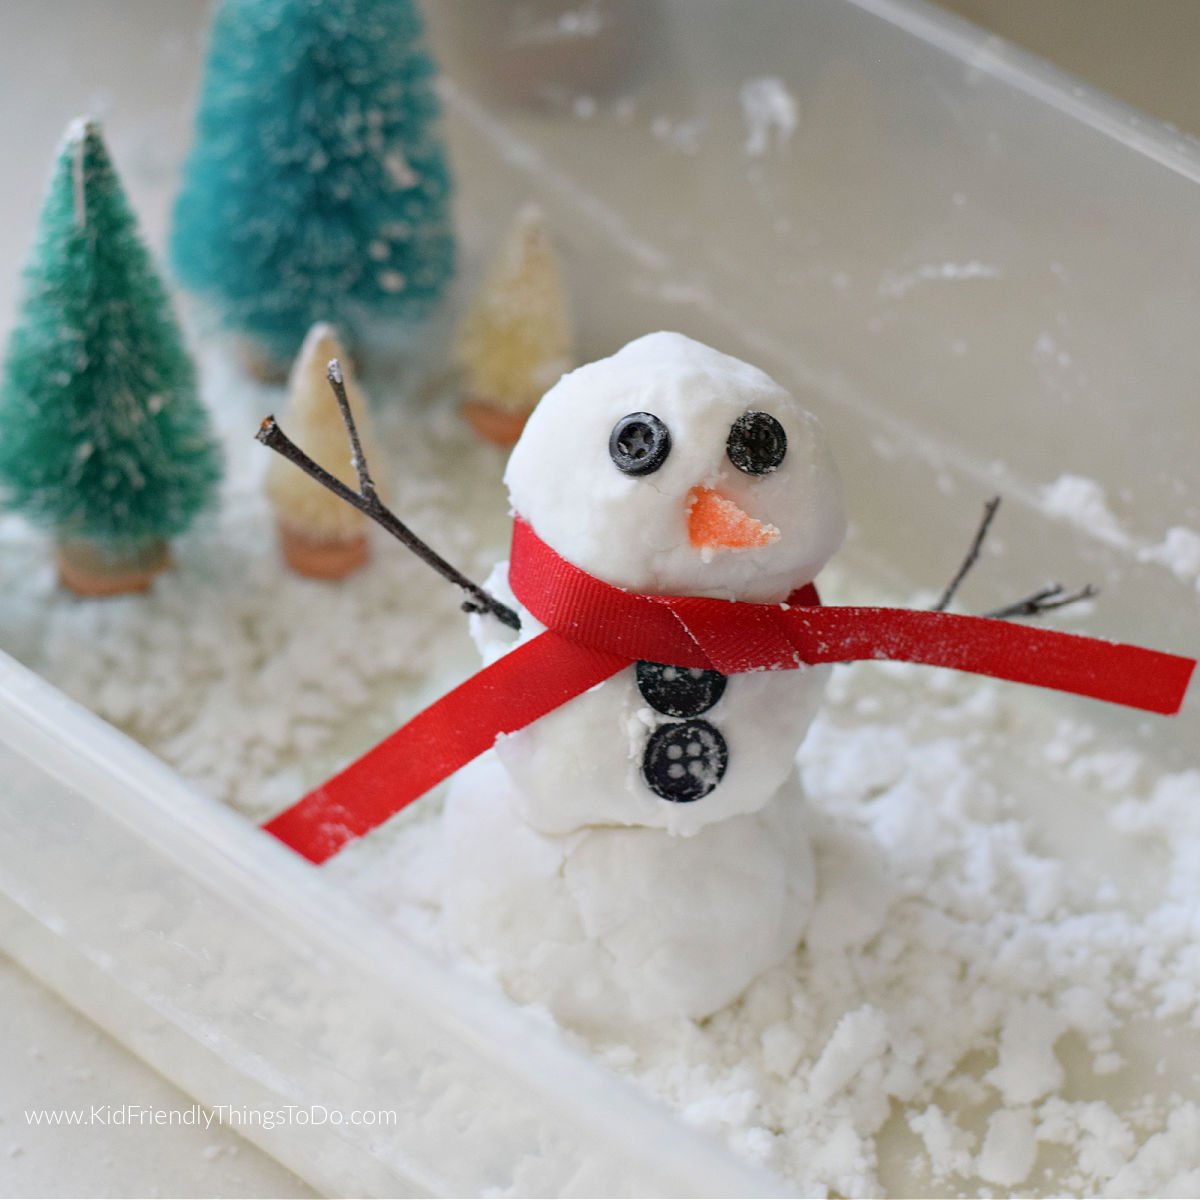
During freezing cold weather, I love setting up simple outdoor science fun and winter crafts for the kids, this fun build a snowman sensory bag, snow painting, and icy sensory bins. These quick activities turn bitter cold days into memory-making moments.
Why You’ll Love This Activity
- Extremely low prep
- Doubles as a science lesson
- Visually stunning for kids
- Perfect for very cold days
- Great for photos + slow-motion video
- Repeatable — kids can try over and over
Supplies Needed
- Cookie-cutter (snowflake shapes work great)
- Warm water
- Dish soap
- Corn syrup
- Sugar
- Shallow container or bowl
- Gloves (important for cold temps)
Equipment

- Measuring cups
- Spoon for mixing
- Shallow dish
- Cookie cutter
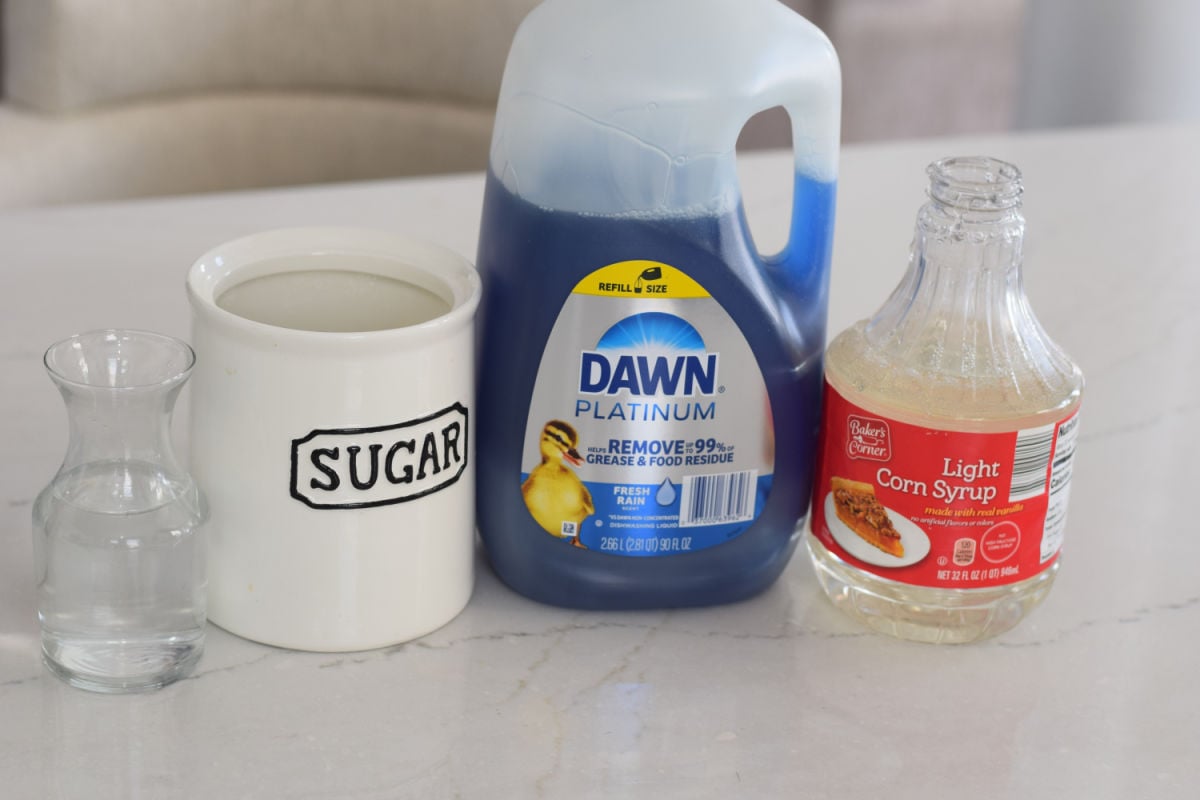
Frozen Bubble Solution Recipe
- 1 cup water
- 1/2 cup dish soap
- 2 tablespoons sugar
- 1/3 cup corn syrup
Mix gently to avoid extra foam.
How To Make Frozen Cookie Cutter Bubbles
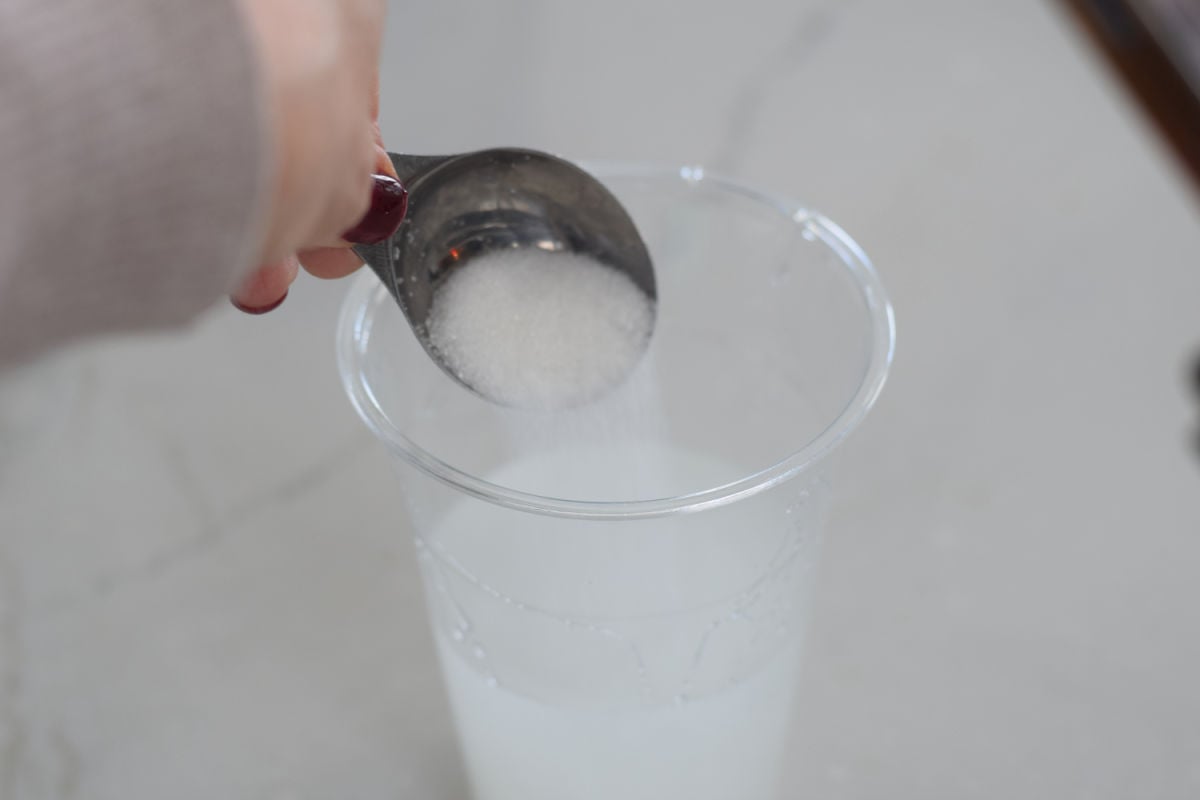
- Dissolve the sugar and syrup into the warm water
- Gently stir in the dish soap
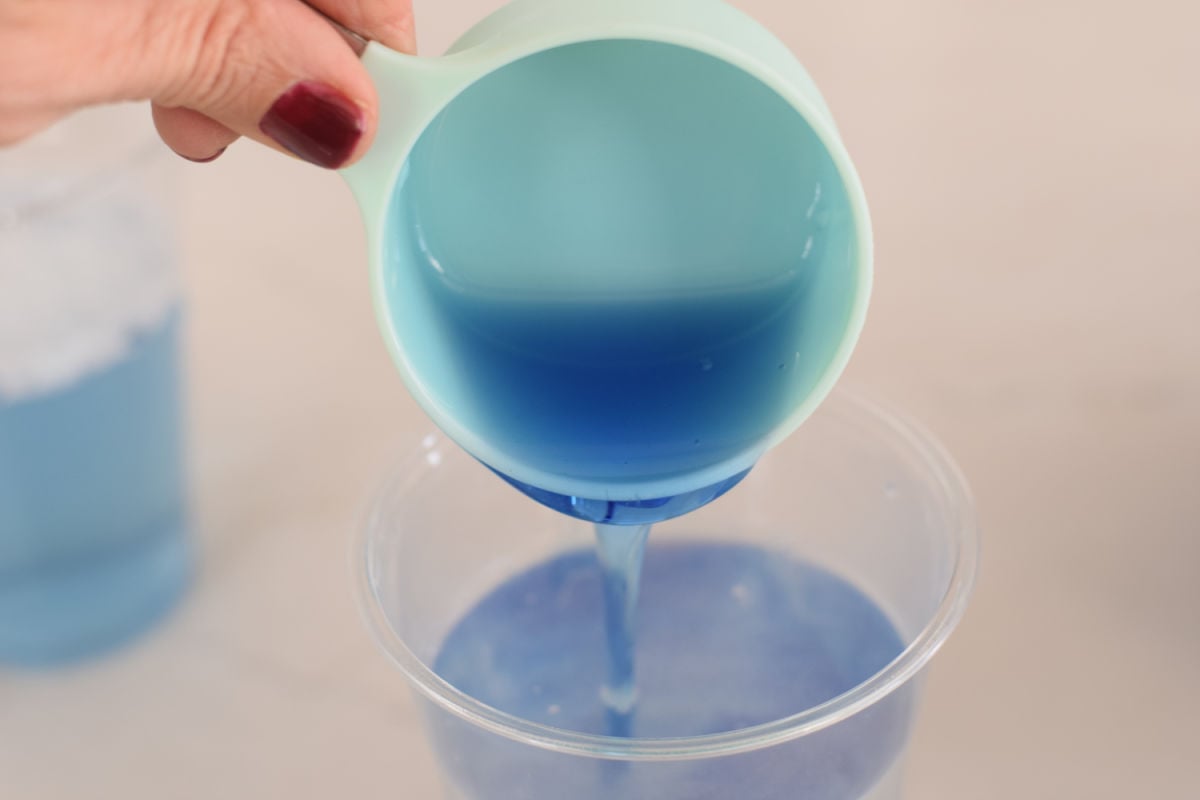
- Pour the solution into a shallow container
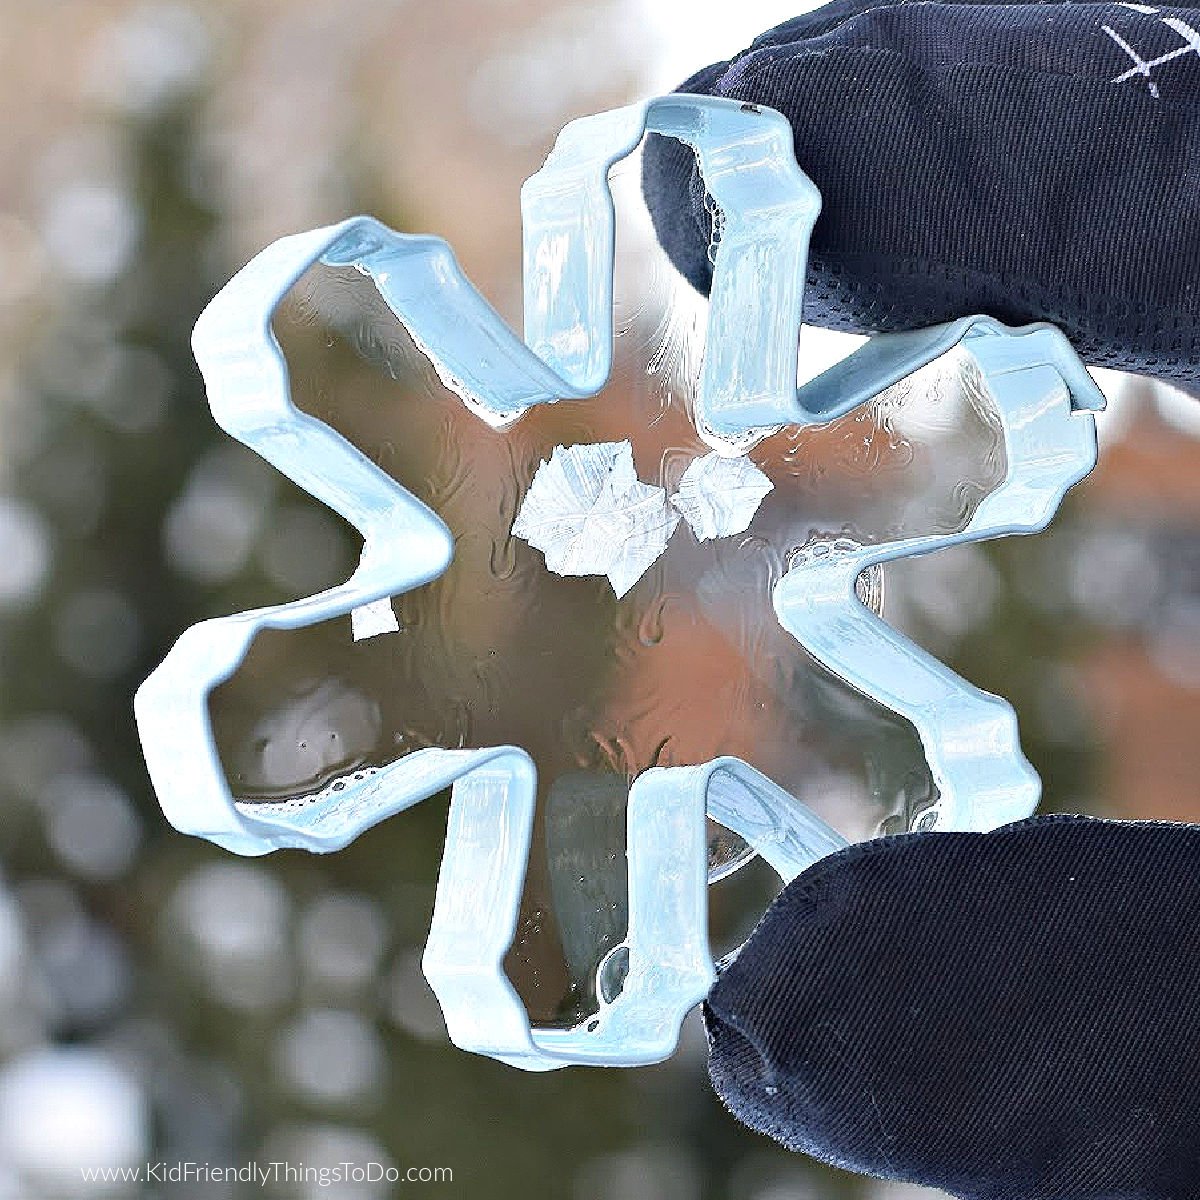
- Dip the cookie cutter fully into the mixture
- Put gloves on
- Lift slowly so that a bubble film stretches across the opening
- Walk carefully outside so the film doesn’t pop
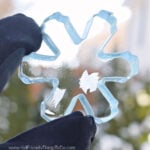
- Hold still and watch closely
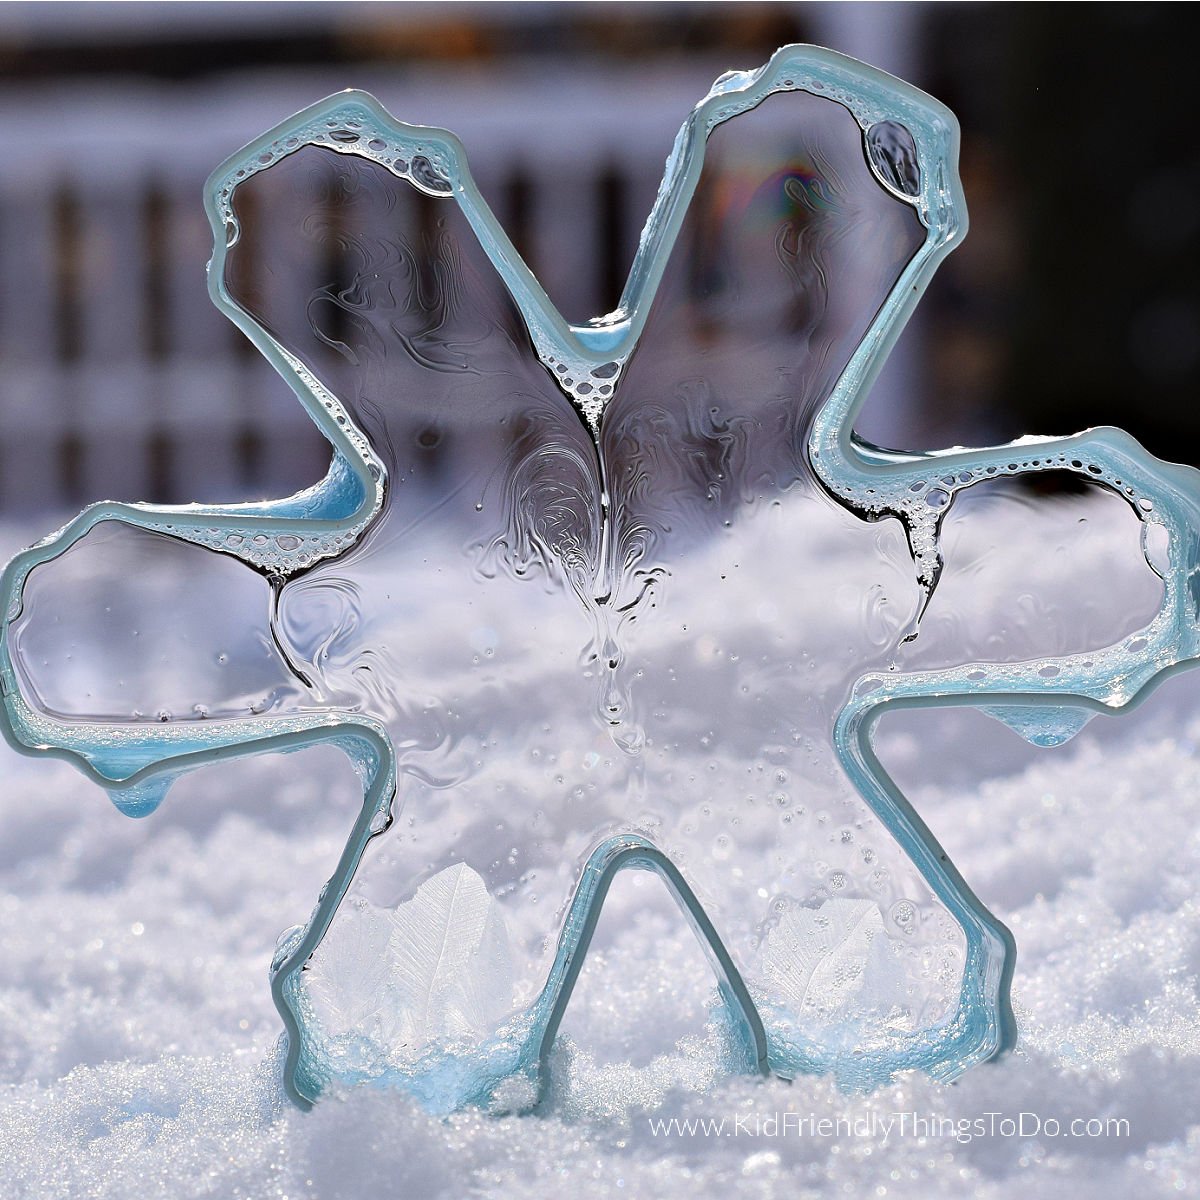
- Ice crystals will begin forming across the film (within 1 minute in really cold temps)
- Let kids observe patterns as they spread
- Repeat as many times as you like
Expert Tips for Frozen Bubble Cookie Cutter Experiments
- Best results happen below 10°F (-12°C)
- Use thicker cookie cutters rather than flimsy ones
- The colder it is outside, the faster the bubble film will crystalize.
- During extreme cold (around 4°F without wind chill), crystals can begin forming within about one minute — you can often stand and watch it happen while holding the cookie cutter.
- When temperatures rise above 10°F, crystal formation slows down significantly.
- In slightly warmer cold weather, expect to wait 5–7 minutes before you see crystals start.
- On days above 10°F, it helps to set the cookie cutter down instead of holding it.
- Place it in a wind-sheltered spot like a porch corner or near a wall.
- Come back and check — crystals will still form, just more slowly.
- Always wear gloves — both for warmth and to help keep the bubble film steady.
- Shield the bubble from wind as much as possible — even light gusts can pop the film before freezing begins.
Variations
- Try different cookie-cutter shapes
- Add a drop of food coloring for tinted crystals
- Test different temperatures and compare results
- Use bubble wands vs cookie cutters and compare patterns
FAQs
How cold does it need to be?
Very cold — typically under 10°F for fast crystal formation.
Why add sugar and corn syrup?
They thicken the bubble film so it lasts long enough to freeze and crystallize.
Can kids do this themselves?
Yes — with gloves and adult supervision outdoors.
Does wind ruin it?
Usually, wind pops the film before crystals can form.
Time Required
Prep time: 5 minutes
Active time: 10–20 minutes
Repeat play: unlimited
What This Teaches (STEAM Tie-In)
This activity introduces:
- Crystal formation
- Freezing points
- Surface tension
- Weather science
- Observation skills
More Winter Acitivities You’ll Love
Storage
Bubble solution can be covered and reused for several days indoors.
Frozen Bubble Cookie Cutter Activity for Kids
Equipment
- cookie cutters
- shallow pan
- mixing bowl or cup
Materials
- 1 cup water
- ½ cup dish soap
- 2 tbsp. sugar granulated
- ⅓ cup corn syrup
Instructions
- Dissolve the sugar and syrup into the warm water
- Gently stir in the dish soap
- Pour the solution into a shallow container
- Dip the cookie cutter fully into the mixture
- Put gloves on
- Lift slowly so that a bubble film stretches across the opening
- Walk carefully outside so the film doesn’t pop
- Hold still and watch closely
- Ice crystals will begin forming across the film (within 1 minute in really cold temps)
- Let kids observe patterns as they spread
- Repeat as many times as you like