Hot Chocolate Bulletin Board with Marshmallow and Snowflake Templates
This post may contain affiliate links – please read my disclosure statement.
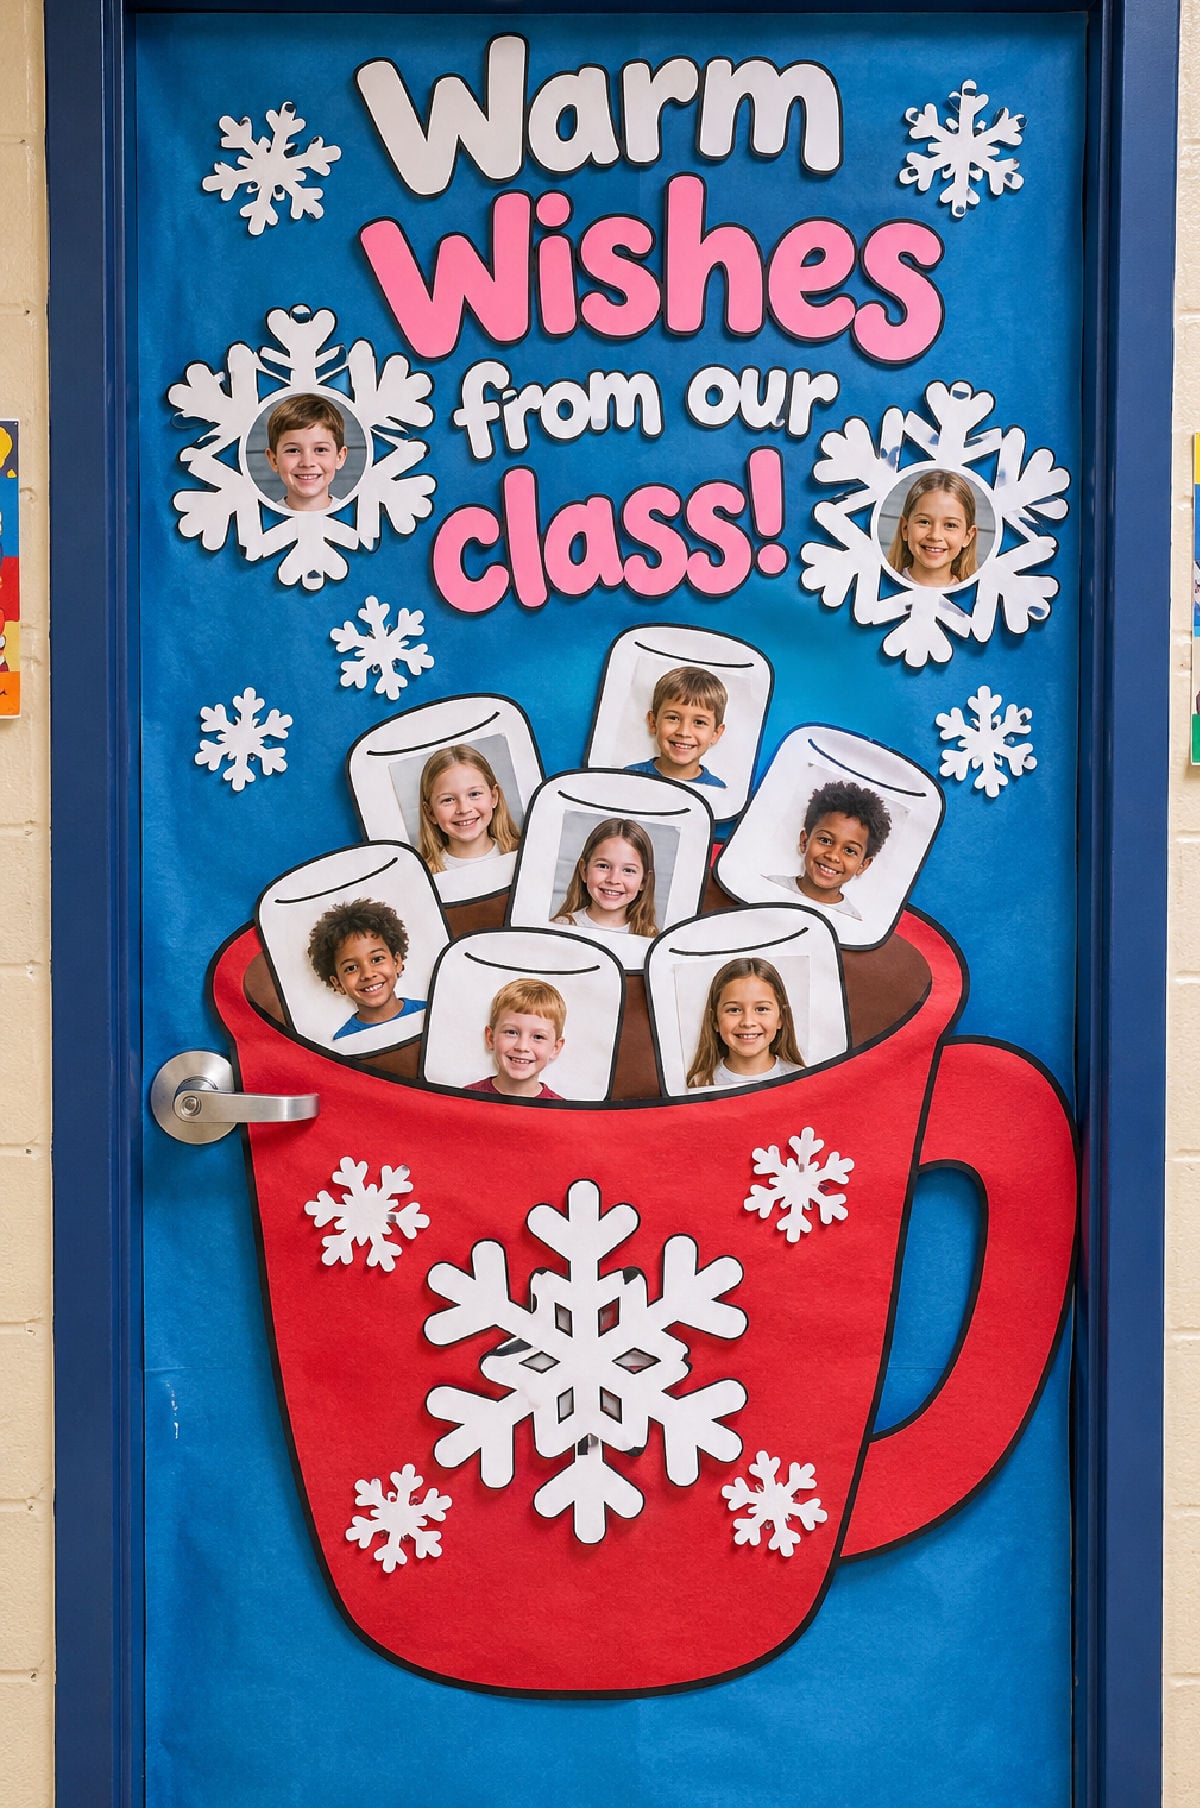
When I shared a hot cocoa classroom door idea, teachers started asking where they could find the marshmallow and snowflake cutouts. I could find plenty of snowflakes, but the marshmallows with room for children’s pictures were much harder to track down. That inspired me to put together a printable packet with both shapes.
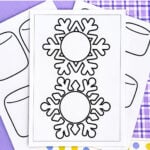
These hot chocolate bulletin board templates give you a starting point for a winter classroom door, and they work for kids’ winter crafts at home or school, too. The snowflakes have generous blank centers for student photos, and the marshmallows come in different sizes so you can adjust your display to fit your space.
The original classroom door was the inspiration for this resource. The finished door and craft pictures shown here are illustrative mockups; the black-and-white pages in the download are the actual printables.
Why You’ll Love This Hot Cocoa Bulletin Board
- Photo-friendly snowflakes: Large blank centers leave space for children’s faces.
- Two marshmallow sizes: Choose larger shapes for prominent photos or smaller ones to fit more in the mug.
- Simple black-and-white outlines: Print on white paper or cardstock without using colored ink.
- More than one use: Make a classroom door, winter bulletin board, or individual hot cocoa craft.
Supplies for a Hot Chocolate Bulletin Board
- The snowflake and marshmallow printable packet
- White printer paper or cardstock
- Scissors
- Glue stick or removable adhesive suitable for your display
- Student photographs (optional)
- Colored bulletin board paper or construction paper for the background, cocoa, and mug
- Marker or paper letters for a winter saying
Safety note: Supervise children while cutting and crafting. Use age-appropriate scissors, and keep small cut pieces away from younger children.
How to Make a Hot Cocoa Bulletin Board
Step 1: Print the templates. Choose the photo snowflakes, large marshmallows, and small marshmallows you need. You can reprint individual pages instead of printing the entire packet for every student.
Step 2: Prepare the student photos. Trim each picture to fit inside a snowflake’s circular center or onto a marshmallow. If you prefer not to use faces, let children write their names or draw pictures instead.
Step 3: Make the mug. Cut a large mug shape and handle from colored bulletin board paper. Add a brown oval at the top to suggest hot cocoa. The mug is made from construction or bulletin board paper; a full-size mug pattern is not included in this PDF.
Step 4: Arrange the marshmallows. Place the large and small shapes across the top of the mug, overlapping slightly if desired. Move them around until the number of student photos fits the available space.
Step 5: Add the snowflakes. Place the larger photo snowflakes around the mug and use the plain decorative snowflakes on the mug or around the door.
Step 6: Add a winter saying. Try “The Snow Is Falling, and Hot Cocoa Is Calling!” or a simple heading such as “Warm Winter Wishes.” Secure the pieces to your door or bulletin board.
Free Printable Marshmallow Template
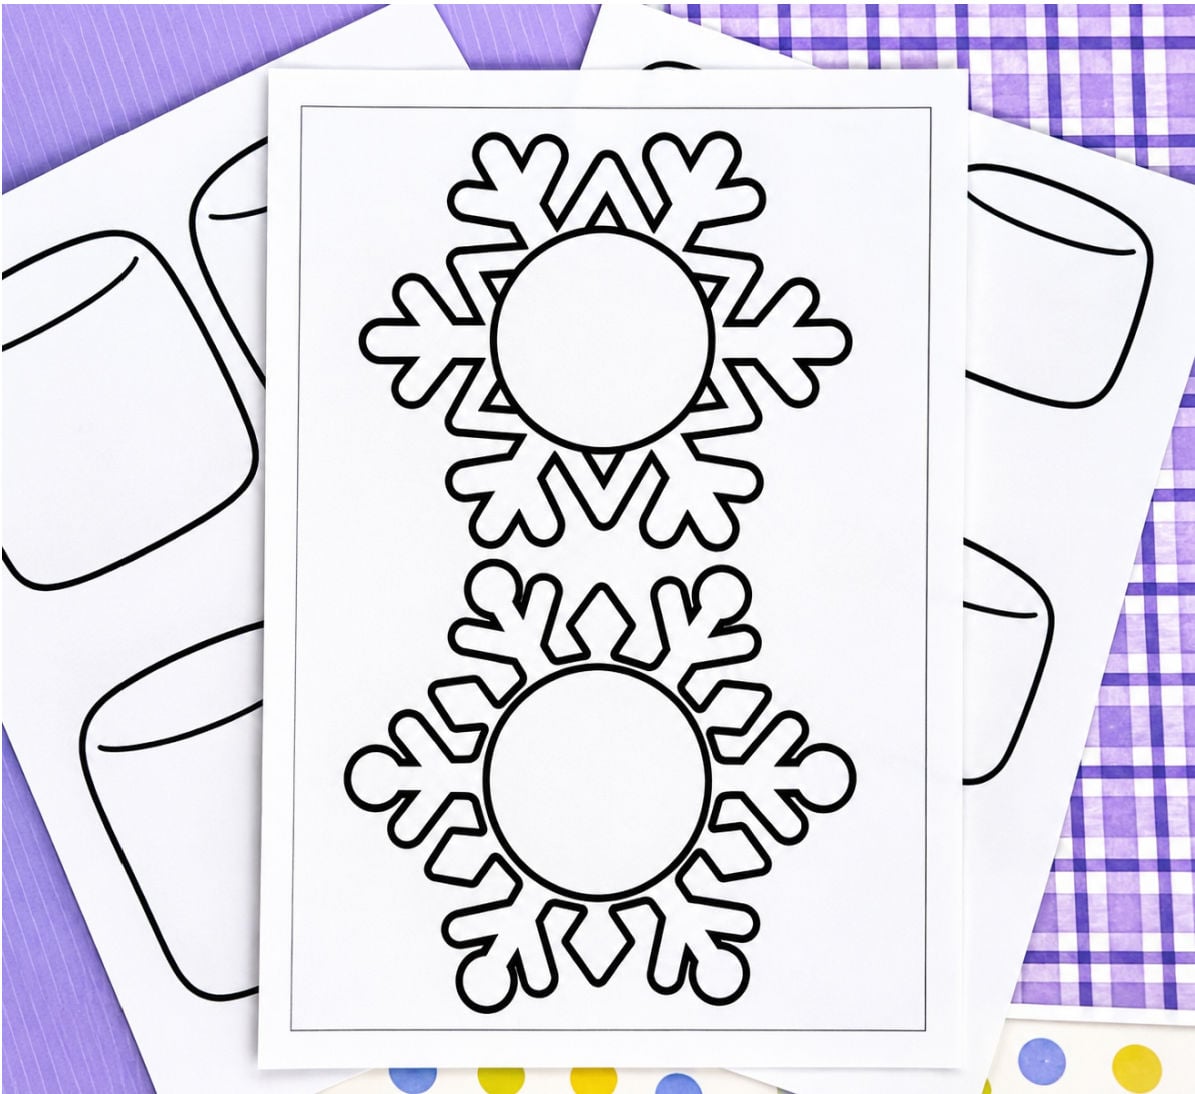
The marshmallow template pages include rounded marshmallow shapes that look like the ones tucked into a cup of hot chocolate. Use the larger cutouts for student pictures or let kids color faces on them. Smaller marshmallows help make a crowded mug display feel balanced.
Print the marshmallow page more than once if you have a larger class. Leave a narrow white border when cutting if you want the shapes to stand out against brown cocoa.
Snowflake Bulletin Board Cutouts for Student Photos
The printable snowflake cutouts have open circular centers sized for adding a child’s photograph. You get two different snowflake designs on the photo-snowflake page, plus smaller solid-center decorative snowflakes for the mug. You can also use these as winter craft templates for kids to color, trace, or decorate.
For best results, print at actual size on standard US letter paper. Check your printer’s scaling setting before making copies for the whole class.
Download the Snowflake and Marshmallow Templates
The printable packet contains three black-and-white pages with photo snowflakes, marshmallows, and decorative snowflakes. Download the PDF and print only the pages you want to use.
Use the Templates for Winter Crafts for Kids
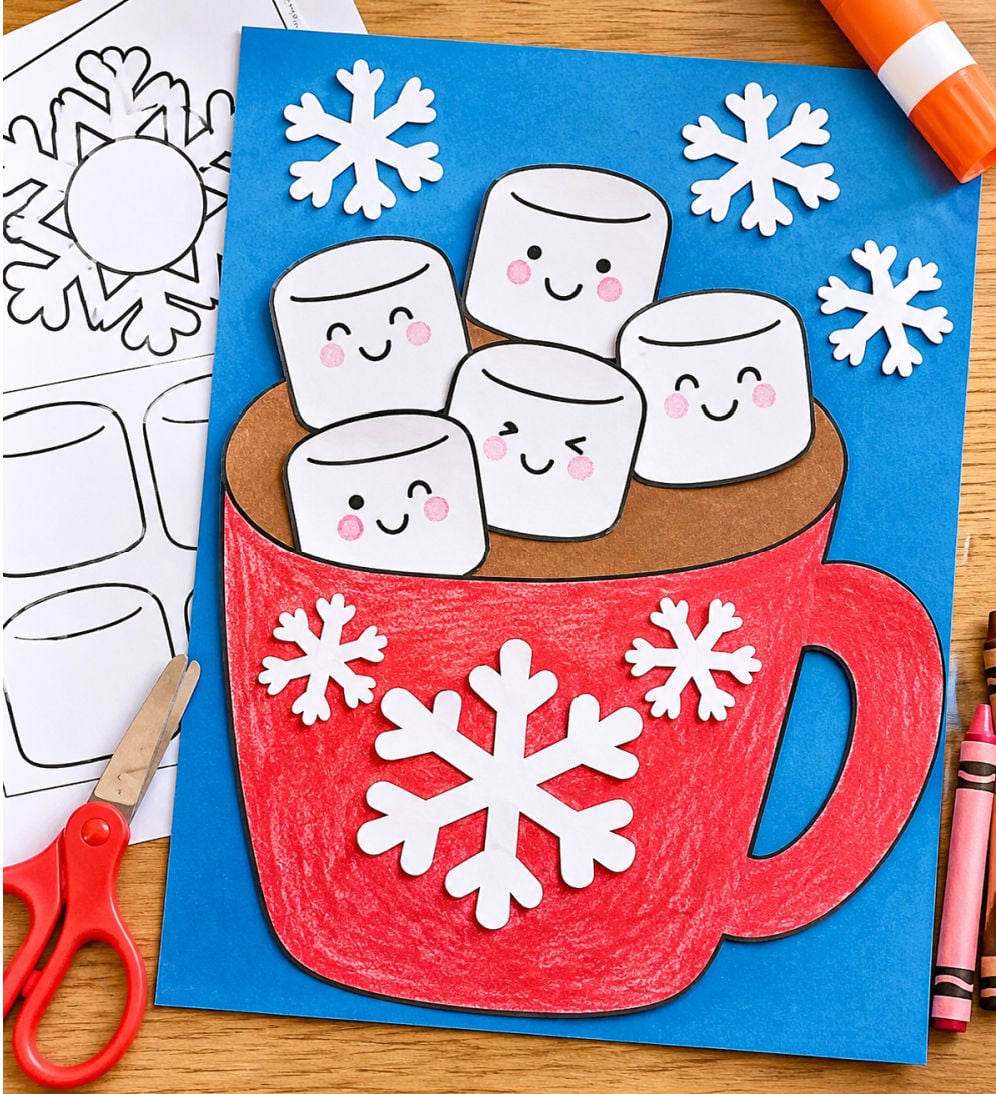
These shapes can also become a simple hot cocoa paper craft. Children can color a paper mug, draw faces on the marshmallows, and glue the cutouts onto colored construction paper. The snowflakes work as extra winter decorations, too.
You do not need student photos for this version. The open snowflake centers can hold drawings, names, or small paper circles.
Tips for Decorating Your Classroom Door
- Check the fit first: Lay out the mug, marshmallows, and snowflakes before attaching anything.
- Mix sizes: Larger marshmallows show off individual photos; smaller ones help fit more students.
- Keep it flexible: Use only the photo snowflakes or only marshmallows if your display is small.
- Protect children’s privacy: Follow your school’s policies before displaying or sharing student photographs.
Hot Cocoa Bulletin Board FAQs
Can I use the marshmallow template without student photos?
Yes! Kids can draw their own faces or write their names on the marshmallows, which also makes them great for winter crafts at home.
Can I print only the snowflake cutouts?
Yes. Open the PDF and select the page or pages you need in your printer settings.
Does the printable include a full-size hot cocoa mug?
No. The packet includes the snowflake and marshmallow cutouts. Make a mug in a size that fits your own door or bulletin board with construction paper or bulletin board paper.
What paper works best for classroom door decorations?
White cardstock will usually hold its shape better than standard printer paper, especially for pieces that will stay up for several weeks.
More Winter Crafts and Classroom Printables
If you enjoy easy winter projects, browse more crafts, printables, and activities on Kid Friendly Things To Do.
Hot Cocoa Bulletin Board with Printable Marshmallow and Snowflake Templates
Equipment
- printer
- Scissors
- Glue stick or tape
- Marker or letter cutouts
Materials
- Printable marshmallow and snowflake templates
- White printer paper or cardstock
- Colored bulletin board paper or construction paper
- Brown construction paper for hot cocoa
- Student photos optional
- Adhesive suitable for classroom doors or bulletin boards
Instructions
Snowflake and Marshmallow Photo Craft
- Print the Templates
- Download and print the marshmallow and snowflake templates onto white paper or cardstock. Choose the large or small marshmallows depending on how many student or kid's photos you want to display.
- Cut Out the Snowflakes and Marshmallows
- Cut around the outlines of the marshmallows and snowflakes. Save the smaller decorative snowflakes to use on the mug or around the door.
- Add Student or your child's Photos
- Trim the photos to fit inside the circular centers of the snowflakes or on the marshmallow cutouts. Glue or tape them in place. For a photo-free version, children can draw faces or write their names.
Make a Large Hot Cocoa Mug (if you are making the door decoration)
- Cut a large mug shape and handle from colored bulletin board paper. Cut a brown oval to represent hot cocoa and attach it near the top of the mug.
- Arrange the Marshmallows
- Position the marshmallow cutouts along the top of the mug so they look like they’re floating in hot cocoa. Overlap them slightly if needed to fit more students.
- Decorate with Snowflakes
- Arrange the larger photo snowflakes around the mug. Add the smaller decorative snowflakes to the mug and the surrounding background.
- Add a Winter Saying
- Finish the classroom display with a winter phrase such as “The Snow Is Falling, and Hot Cocoa Is Calling!” Secure all the decorations to the door or bulletin board.
Notes
-
Print only the PDF pages you need. The packet includes photo snowflakes, marshmallows in different sizes, and decorative snowflakes.
-
The mug itself is made from construction or bulletin board paper and is not included as a template.
-
For a kids’ winter craft, make a smaller paper mug and let children color the marshmallows and snowflakes instead of adding photographs.
-
Follow your school’s policies when displaying student photographs.