{Cat In The Hat} Dr. Seuss Cupcakes
This post may contain affiliate links – please read my disclosure statement.
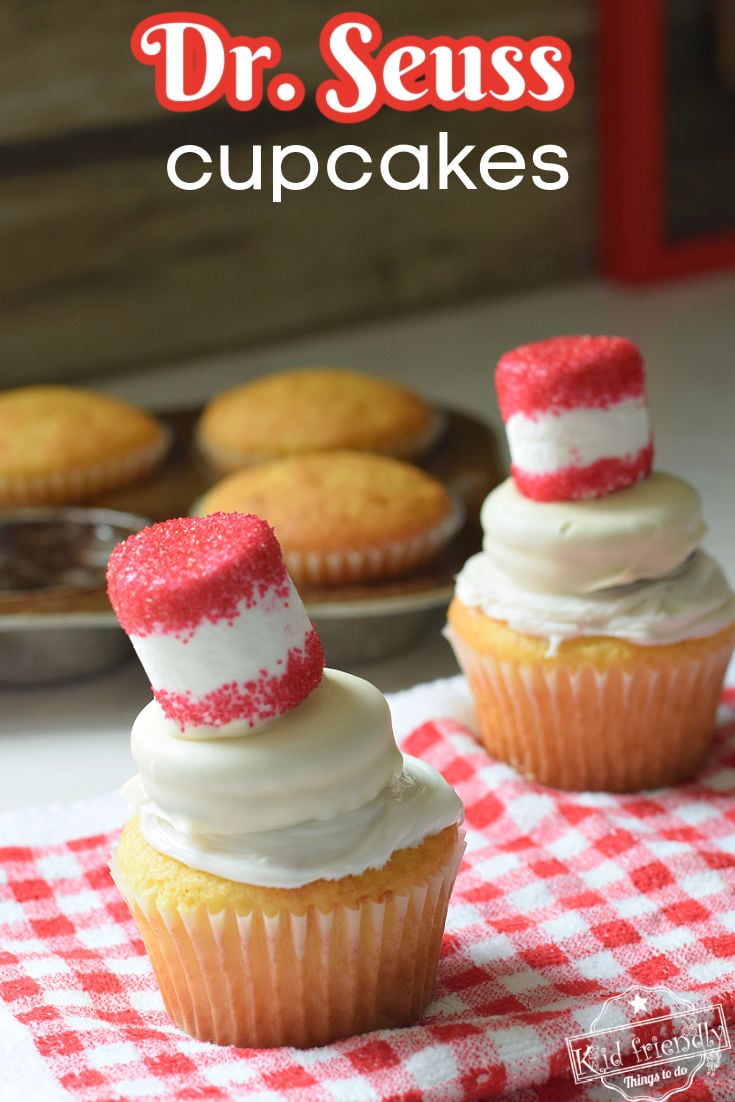
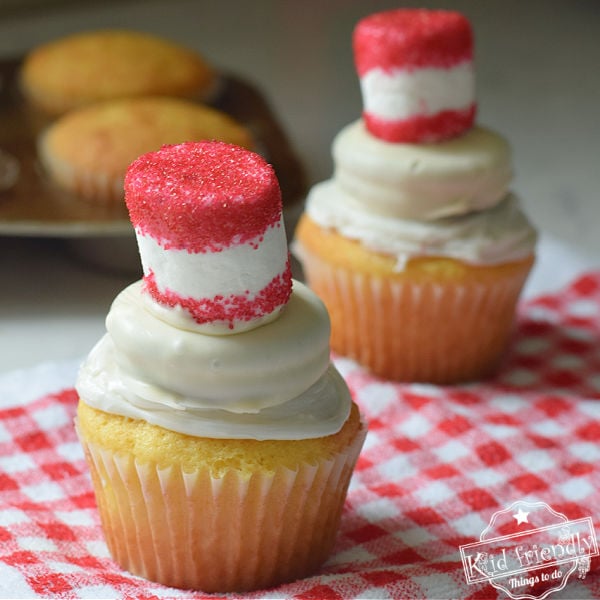
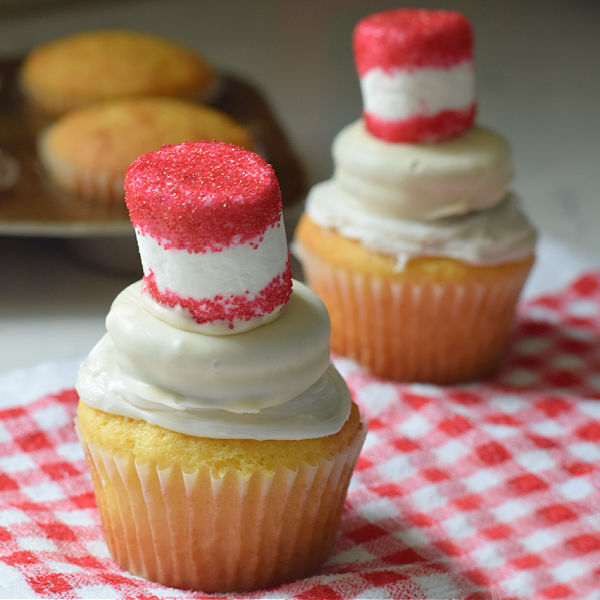
This Cat in the Hat cupcake would be a great addition to any Dr. Seuss party. These Dr. Seuss Cupcakes are easy to make and perfect for a Dr. Seuss birthday celebration.
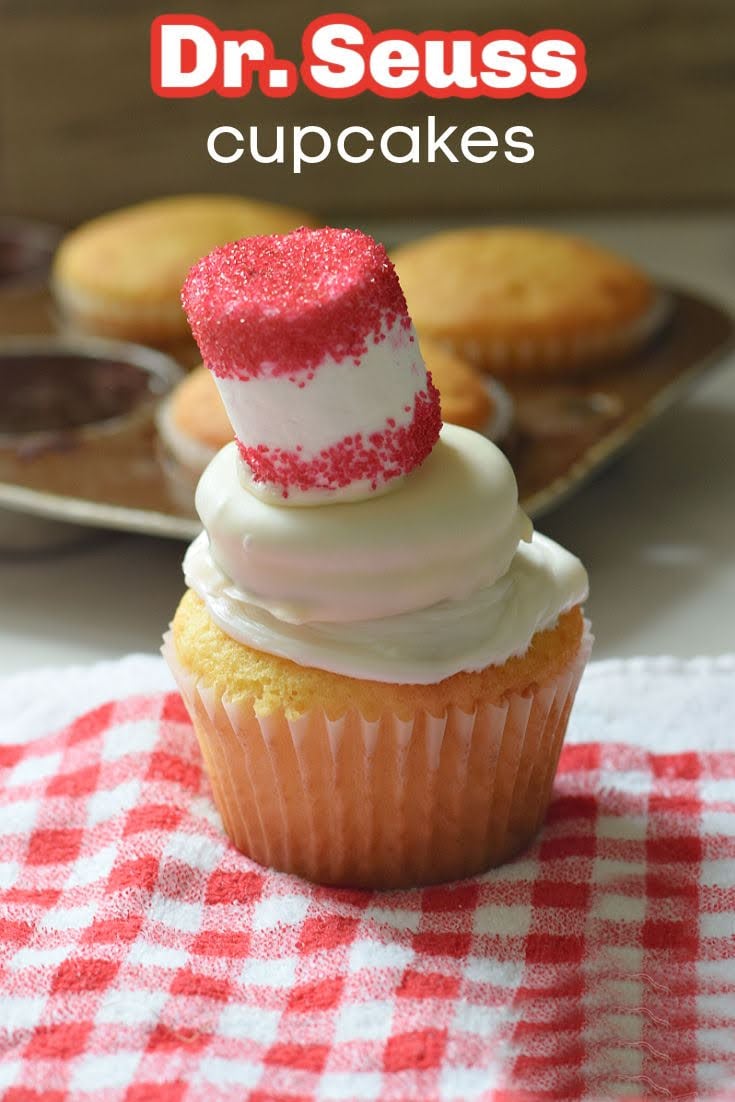
Dr. Seuss Cupcakes – Cat in the Hat
Fun foods provide more excitement to any party or event. Bring some Dr. Seuss cupcakes to a Dr. Seuss day party and watch the kids light up. I love Dr. Seuss’s food crafts like this Cotton Candy Truffula Trees inspired by The Lorax, Red Fish Drink Idea (Ocean Ice Cream Floats) – for One Fish, Two Fish, Red Fish, Blue Fish
Pair those Dr. Seuss party treats with this Dr. Seuss reading game for a super fun party.
Are you ready to make these fun Dr. Seuss Cupcakes? Let’s make sure you have everything you’ll need:
Ingredients
- A cupcake in a cupcake liner that is frosted with white frosting
- Oreo cookies – you can use any type of Cookie that is about the same size or shape as an Oreo
- White chocolate melts
- a small glass microwave-proof bowl
- wax paper
- 1 regular sized marshmallow (large but not giant)
- a small bowl of water
- a bowl of red sugar crystal sprinkles
Other equipment:
- fork
- toothpick
- optional- small paintbrush
- silicone spatula for stirring chocolate
How do you make a Cat in the Hat Cupcake – Easily
- Dip a cookie into white melted chocolate and set it on wax paper to dry
- Place the ends of the marshmallow into a small bowl of water – leaving the middle part dry
- Dip one end of the wet marshmallow into a bowl of red sugar crystals so that it covers 1/3 of the marshmallow
- Sprinkle red sugar on the bottom part of the marshmallow making one more red stripe around the bottom
- *There is no need to cover the bottom side of the marshmallow in red sugar as that will be placed on top of the cookie
- Set the marshmallow down to dry
- Dab some frosting onto the top of the chocolate-covered cookie and place the marshmallow on top
- Take off any stray red sugar with a clean wet paintbrush
- When the decorations have dried – Place the Cat in the Hat decorations onto a frosted cupcake
Make-Ahead and Storage:
How far in advance can I make a cupcake?
Cupcakes will stay fresh for 3-4 days after baking.
How do I store cupcakes?
Store cupcakes covered at room temperature. If you do not have a cupcake container with a lid, use toothpicks inserted into the top to keep plastic wraps off the cupcakes and still cover them for storage.
What is the Difference Between a Cupcake Pan and a Muffin Tin?
Nothing at all. Both cupcake pans and muffin tins are the same size and serve the same purpose to bake cupcakes and muffins. For muffins, one will usually spray the cavities before pouring the batter and baking. For cupcakes, a cupcake liner is usually placed in each cavity before pouring the batter.
Can I frost cupcakes in advance?
Yes. Frosted cupcakes, when covered and stored at room temperature, should stay fresh for 3-4 days
How Far in Advance can I make these Dr. Seuss Cupcakes?
These Cat in the Hat cupcakes will stay fresh for at least two days. Most parts of the Dr. Seuss cupcakes should have a shelf life of up to five days. The marshmallows are the only cupcake part that would go stale after exposure to air for too many days. Cover and store cupcakes at room temperature to prolong the freshness of this party treat
Tips and Tricks for this Dr. Seuss Cupcake:
- Any cupcake flavor will do for this cupcake idea – I used a boxed vanilla cake mix
- Use white, vanilla, or cream cheese frosting – I’ve also seen blue frosting for a similar cupcake. A red frosting would also be a great color for the base.
- Don’t worry about perfecting the frosting – the hat will cover most of it anyway.
- To get fancy, pipe your frosting with a star tip attached to a piping bag.
Follow Me on Social Media
Facebook Page: Recipes Passed Down
Facebook Page: Kid Friendly Things To Do
Join my Facebook Groups
Easy Family Recipes – Just Like Mom Used to Make
Kid’s Crafts and Activities for the whole family
Recipe
{Cat In The Hat} Dr. Seuss Cupcakes
Equipment
- a small glass microwave-proof bowl
- wax paper
- a small bowl of water
- Fork
- toothpick
Ingredients
- 18 baked cupcakes frosted with white frosting
- 18 Oreo cookies
- 12 oz. White chocolate melts 12 oz. should be plenty for 18 dozen Oreo cookies
- 18 regular sized marshmallow – not giant
- 3 oz. red sugar crystal sprinkles
Instructions
White Chocolate Cookies
- Set out some wax paper on your countertop
- Melt the chocolate melts
- *I usually place the melts into a microwave-proof glass bowl and set the microwave for 1 minute. I stir the chocolates and usually have to put them back in for another 30 seconds. Stir until smooth
- Place an Oreo Cookie into the melted chocolate – use a fork to push it under the melted chocolate (flip it around if necessary)
- Place the fork under the cookie pull the cookie up to the side of the bowl and tap off any excess chocolate
- Set the cookie onto the wax paper to dry
Marshmallows
- Dip both ends of your marshmallow into the bowl of water to wet the marshmallow at the top and bottom – leaving the middle of the marshmallow dry
- Here’s another way of wetting the marshmallow: Using your paintbrush, paint on the water where you would like to see your red stripes
- Dip one end of the wet marshmallow into a bowl of red sugar crystals so that it covers 1/3 of the marshmallow
- Sprinkle red sugar on the bottom part of the marshmallow making one more red stripe around the bottom
- Set the marshmallow down to dry
- *only the top of the marshmallow needs sprinkles. The bottom will not show
2 Ways of Placing the Marshmallow onto the Cookie
- Melted Chocolate – Place melted chocolate onto the center of the chocolate covered cookie
- Frosting – dab some frosting onto the top center of the cookie to hold the marshmallow in place
Touching up – (if needed)
- Take off any stray red sugar with a clean wet paintbrush
Notes
- *There is no need to cover the bottom side of the marshmallow in red sugar as that will be placed on top of the cookie
Nutrition
~Melissa – KidFriendlyThingsToDo.Com – fun foods, party ideas, kid-friendly crafts, recipes, and fun things to do with your family
email – Melissa@kidfriendlythingstodo.com

