Ice Cream Witch: A Melting Witch Treat for Halloween
This post may contain affiliate links – please read my disclosure statement.
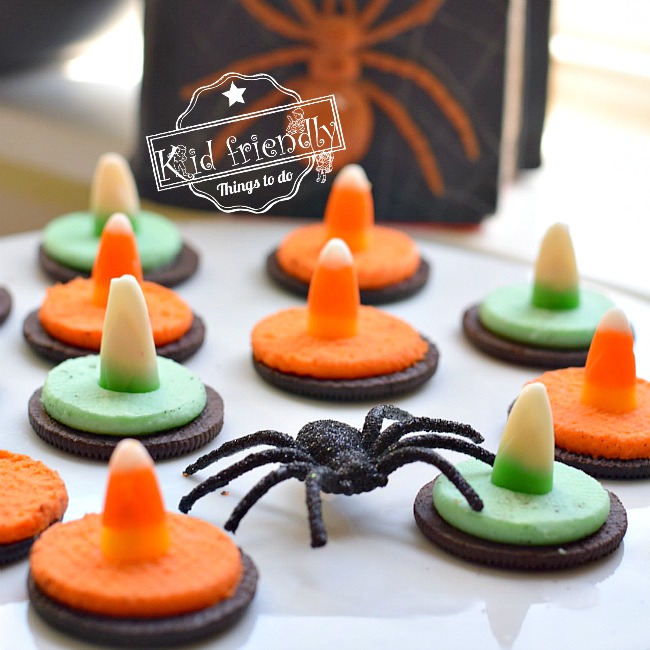
This witch ice cream is a wickedly cute Halloween treat! Top a scoop of green ice cream with a sugar cone and cookie hat, then add a candy face. It is a simple dessert for a Halloween party or a fun October afternoon.
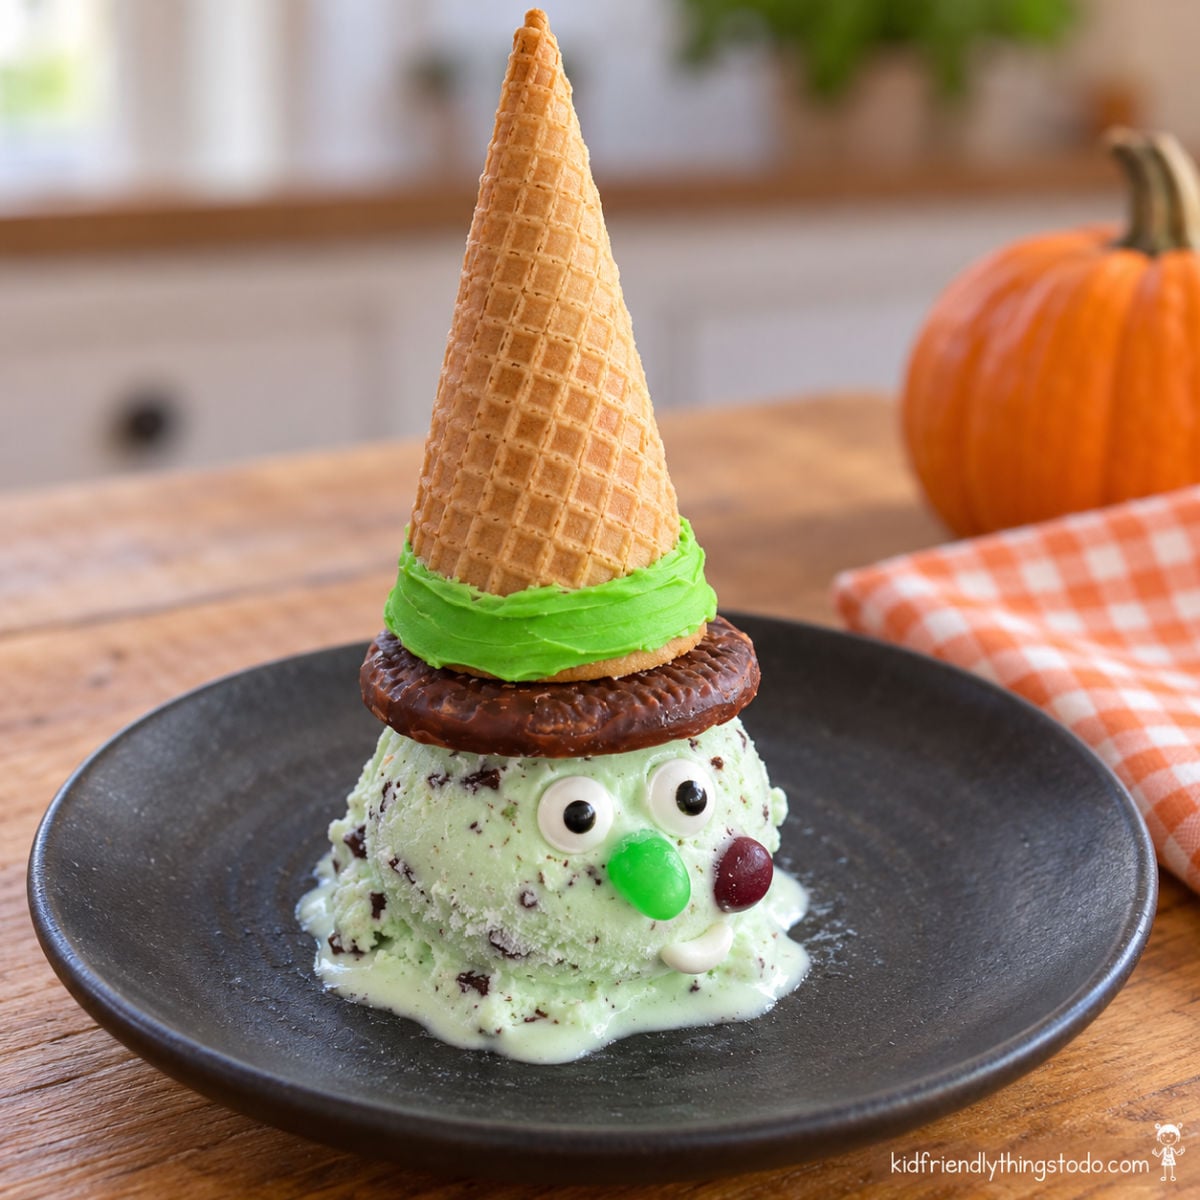
If you love witch desserts, try my Witch Hat Cupcakes and Crescent Roll Witch Hats, too.
Why You’ll Love This Halloween Ice Cream Treat
- Easy to decorate: A few candies turn a scoop of ice cream into a silly witch face.
- No baking: Use store-bought cones, cookies, and ice cream.
- A simple hat: A plain sugar cone looks cute with a green candy band and cookie brim.
What You’ll Need for This Witch Ice Cream
See the printable recipe card below for quantities.
- Sugar cones: Leave them their natural color.
- Large round cookies: Choose cookies wider than the open end of the cones so the edges form a hat brim. Chocolate-covered cookies work well.
- Lime green candy melts: For the hat band and to attach the cone to the cookie.
- Green ice cream or sherbet: Mint chocolate chip ice cream makes a fun witch face.
- Candy eyes: For the face.
- Purple round candies: Use a purple Skittle or a similar candy for the wart.
- Green jelly beans: For the nose. A green Mike & Ike works, too.
How to Make a Melting Witch Ice Cream Treat
Freeze the Ice Cream Scoop
Scoop the green ice cream onto dessert plates or a baking sheet lined with wax paper. Return the scoops to the freezer until firm while you make the hats.
Make the Witch Hat Ice Cream Cone
- Line your work surface with wax paper. Melt the green candy melts according to the package directions.
- Pipe a green band around the outside of the sugar cone near its wide opening. Use a butter knife to widen the band if needed.
- Add a little melted candy to the cone’s wide rim, then set it upside down on the cookie with the point facing up.
- Let the candy harden so the cone stays attached to the cookie.
Add the Candy Face and Serve
Place a firm scoop on a chilled dessert plate. Gently press the candy eyes, purple wart, and green nose into the ice cream. Add the cookie-and-cone hat just before serving, and enjoy right away.
Melissa’s Tips for Witch Ice Cream
- Freeze the dessert plates: Frozen plates help keep the witch from melting too quickly.
- Keep the scoops cold: Leave them in the freezer until the hats are ready and you can decorate and serve.
- Make a simple piping bag: Use a ready-to-melt candy pouch, or spoon melted candy into a small piping bag and snip a small opening.
- Check the cookie size: The cookie needs to extend beyond the cone’s wide opening to create the brim.
How Do You Keep the Witch from Melting Too Fast?
Start with a firm, frozen scoop and a chilled dessert plate. Have the candy decorations and finished hat ready before taking the ice cream out of the freezer, then serve as soon as it is decorated.
More Witch Treats and Witch Themed Food
Looking for more Halloween ice cream ideas and witch treats? Try a Jack-O-Lantern Orange Soda Float, or browse these witch-themed favorites.


Melting Witch Ice Cream Treat
Equipment
- 1 small dessert plate
Ingredients
- 1 sugar cone
- round cookie larger than the wide opening of the sugar cone
- 1 6 oz. chocolate melts lime green; melt only what you need for the hat band and to attach the cone
- 1 scoop ice cream green ice cream, such as mint chocolate chip, or green sherbet
- candy eyeballs
- 1 skittles purple – or other round candy for the wart
- 1 jelly bean green, or use a green Mike & Ike
Instructions
Make the Witch Hat
- Scoop the green ice cream onto a dessert plate or a wax-paper-lined baking sheet.
- Freeze the scoop until firm while you prepare the hat.
- Line your work surface with wax paper. Melt the green candy melts according to the package directions.
- Pipe a band of melted green candy around the outside of the cone near its wide opening. Spread it into a wider band with a butter knife if needed.
- Add a little melted candy to the cone’s wide rim. Set the cone upside down on the round cookie, with the pointed end facing up, and let the candy set.
Decorate and Serve
- Place the firm ice cream scoop on a chilled dessert plate. Gently press in the candy eyes, purple candy wart, and green candy nose.
- Place the cookie-and-cone hat on top just before serving. Enjoy right away.