How to Make Your Own Scratch Art
This post may contain affiliate links – please read my disclosure statement.
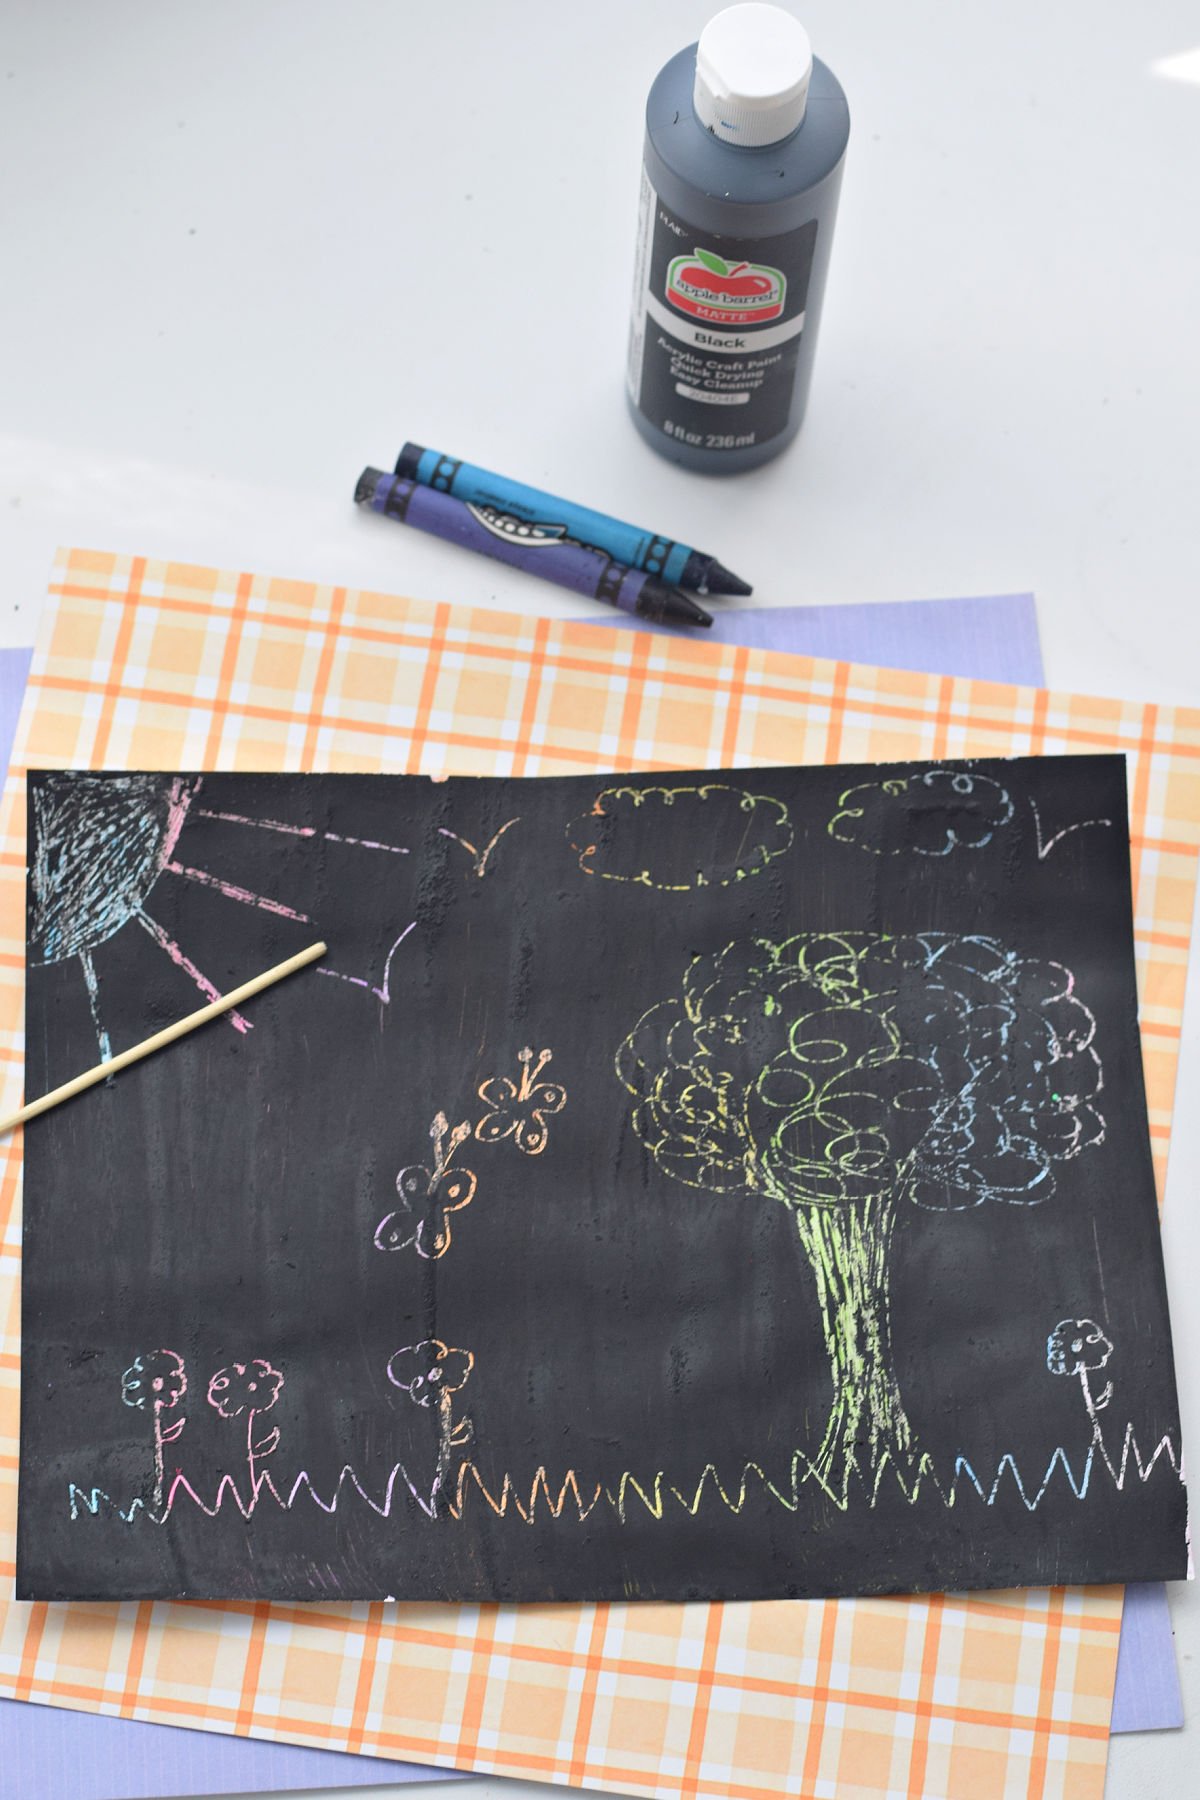
It’s so easy to make your own scratch art with the kids. The process of creating scratch art from start to finish makes it much more fun and exciting to see their drawing come to life.
This post may contain affiliate links. As an Amazon Associate, I earn a small commission from qualifying purchases. See my disclosure policy to read more. Adult supervision is required for each step of activities, recipes, crafts, and games with children. Small parts are a choking hazard.
I am so excited to share this craft with you. Crafts like this one are crafts and activities all rolled into one. I love it when you can combine the two together like in this how to roll beeswax candles, how to make a marble run, and making a dragon sock puppet.
I have been looking for a way to make DIY scratch art with the kids, and I finally found it. My daughter found a craft book at the library, and there it was – how to make your own scratch art. It’s so easy. Why didn’t I think of it sooner?
What You’ll Love about this Scratch Art Craft
- The kids will enjoy drawing their creative ideas onto their own scratch art paper
- It is a craft and an activity all rolled into one fun project
- Younger kids will enjoy seeing their designs shine through from under the black paint
Supplies You’ll Need for Scratch Art
- White card stock – I have used both construction paper and cardstock for this scratch art craft. Cardstock is my preferred paper. It definitely stands up to the scratching tool better and the crayons go on more smoothly.
- Crayons – a variety of colors are best for this activity. In my experience, bold, thick, and vertical lines make the best scratch art, but you can make designs like hearts, diagonal, and dotted colors.
- Black acrylic paint – If you only have tempera paint you can replace it with that. It is a bit thinner than acrylic, but it should do the job
- Dish Soap – dish soap is combined with equal parts of the paint for a smoother paint and makes scratching the paint a bit easier
Equipment Needed
- bowl or disposable cup for mixing paint
- foam brush
- wooden skewer – cut the sharp tip off of the wooden skewer so the pointed tip does not poke a hole in your beautiful artwork
- newspaper to place under the cardstock for painting
How to Make DIY Scratch Art Paper
Step by Step Instructions
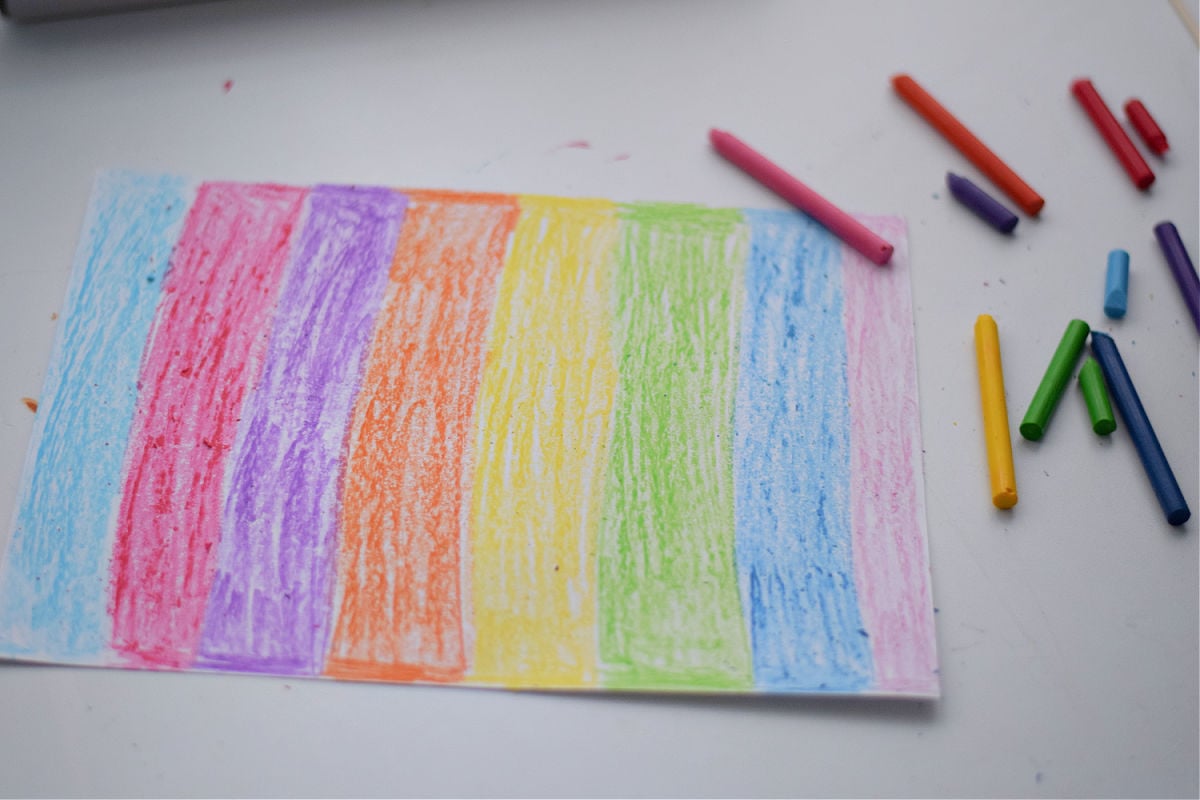
Have the kids color the cardstock paper in bands of bright colors. Use bright, vibrant colors and a lot of it, putting a thick coat of wax on the paper. You’ll want to end up with a rainbow of colors to reveal under the scratch art. I found the designs looked better when the color bands were vertical.
In a small bowl or disposable cup, mix an equal amount of black paint and soap. It will not take a lot to paint the paper. You’ll probably only use about 1/4 cup of paint and soap mixture for four sheets of paper.
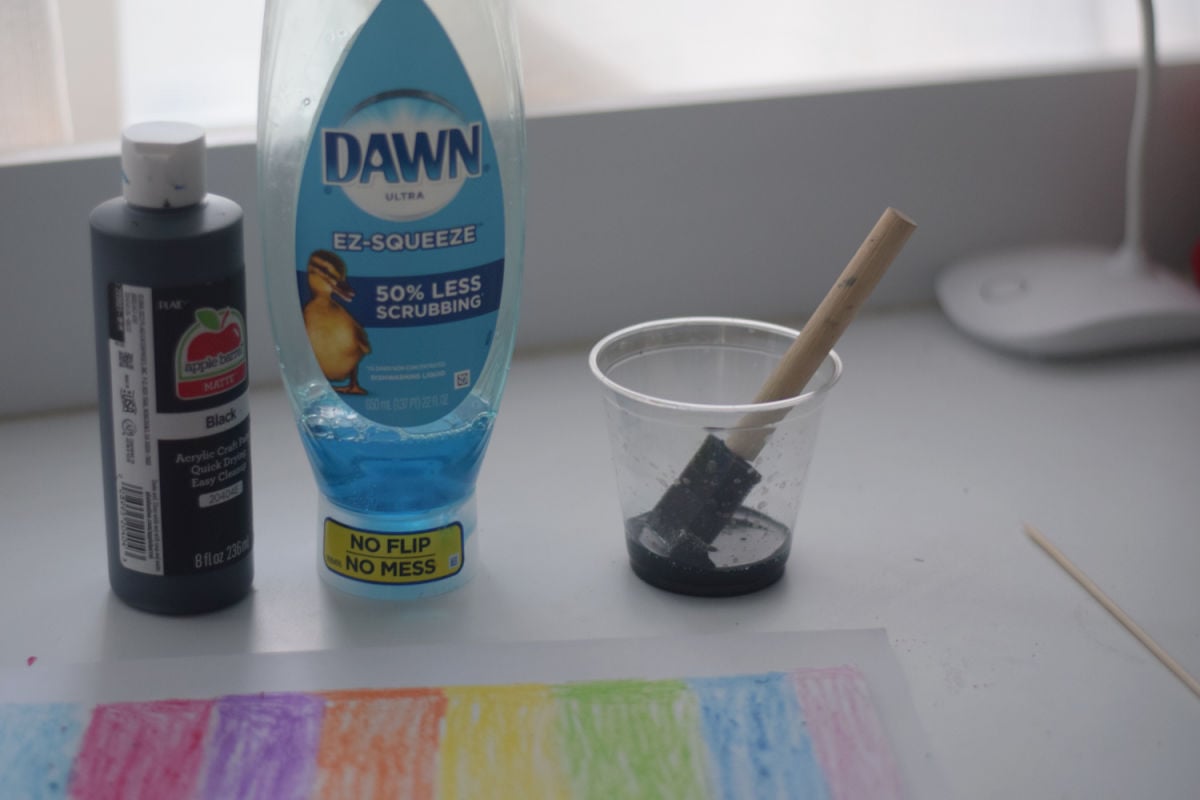
It would be a good idea to spread newspaper around the table before the kids get started painting their colored paper
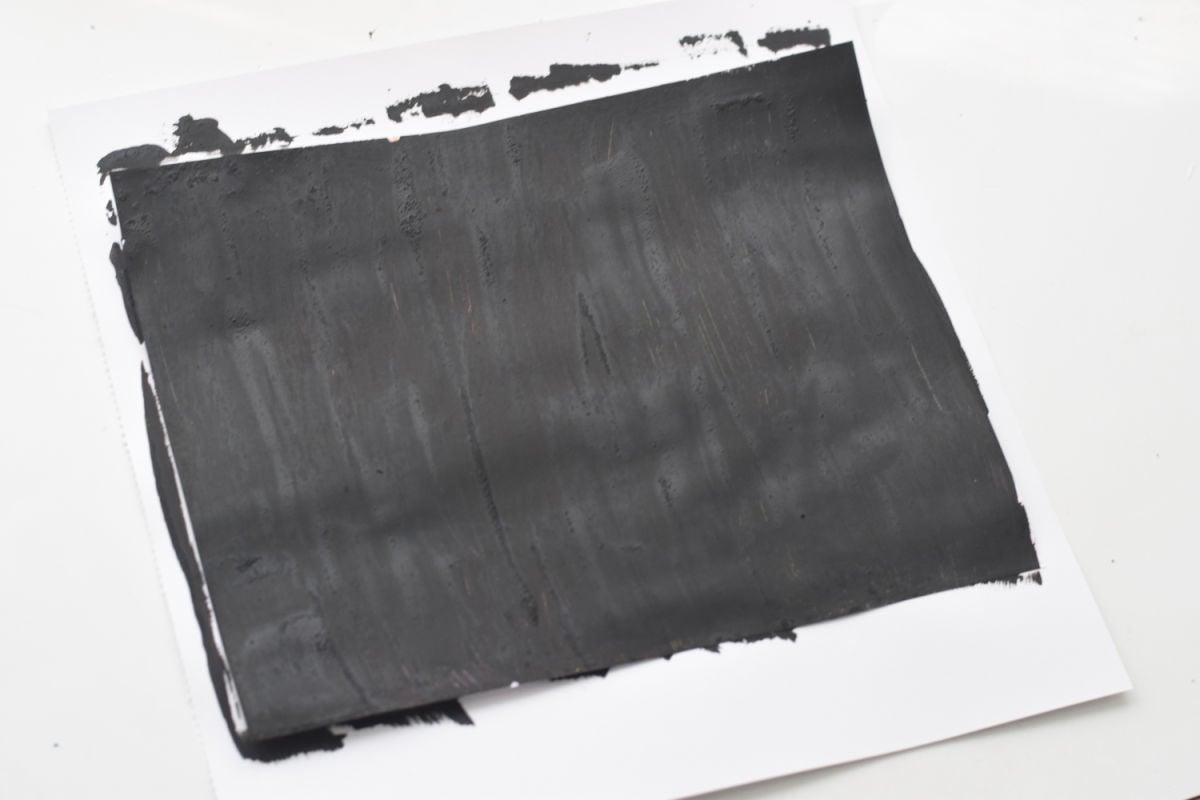
Use the black paint to paint over the entire sheet of paper – The paint should glide on smoothly, but if some of the wax from the crayons make the paint unable to cover completely then do your best to cover the wax in those areas. You can return later with a second coat.
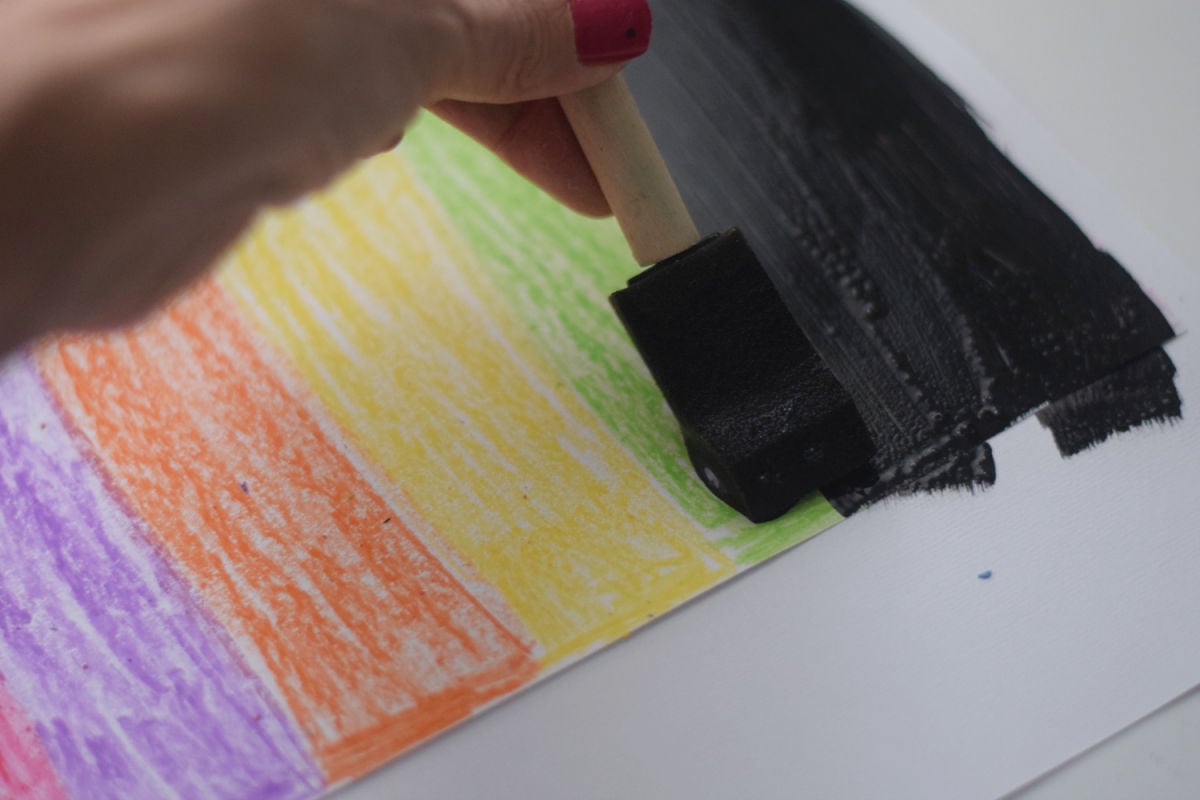
Place somewhere to dry.
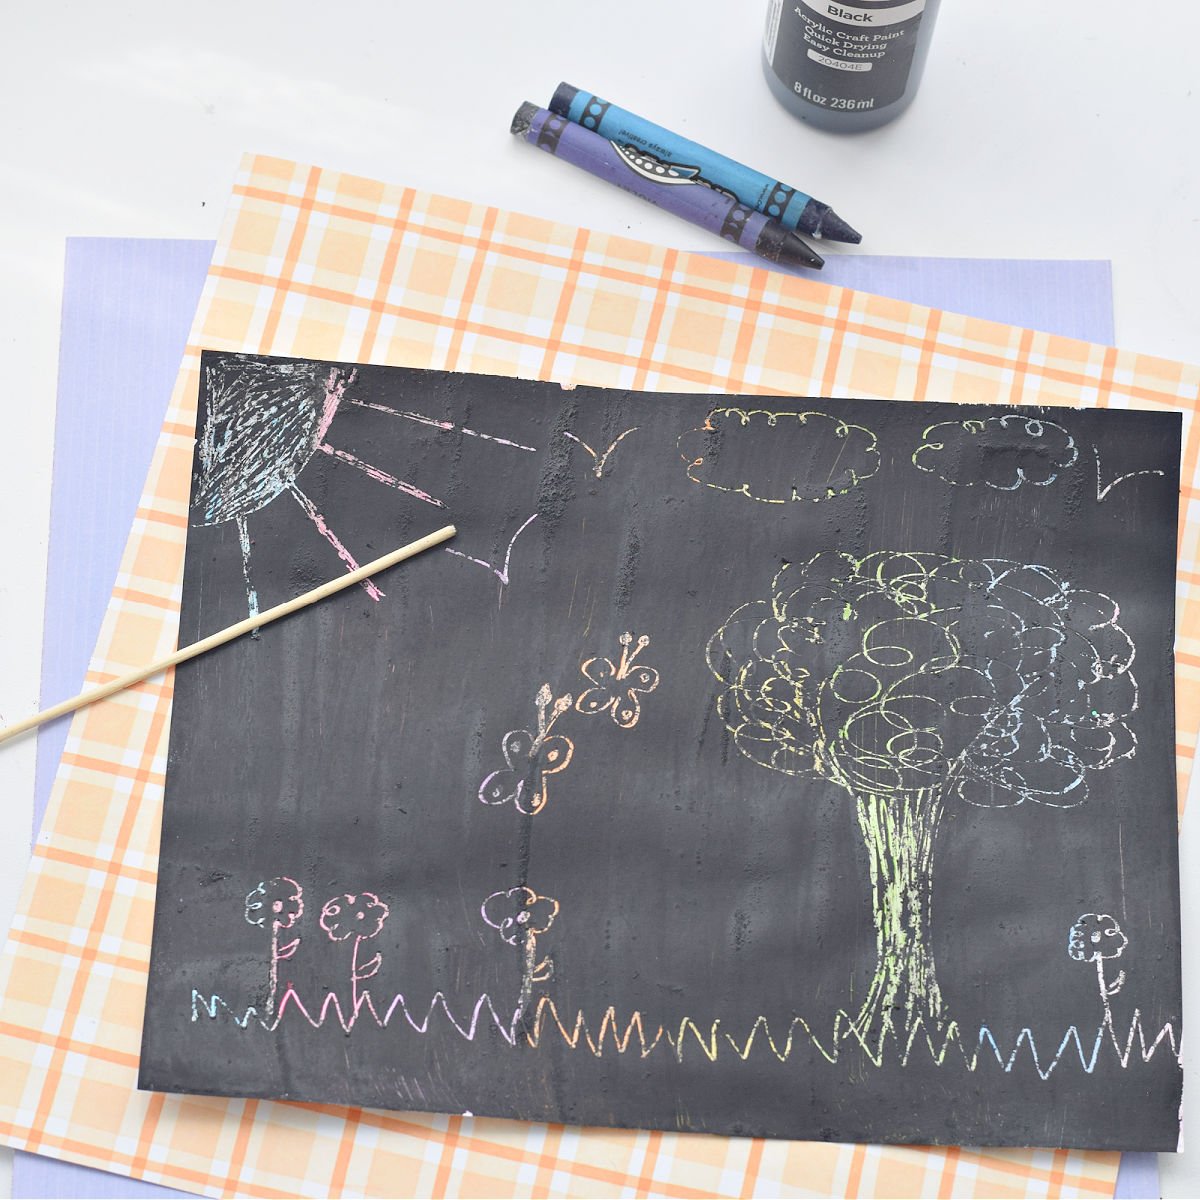
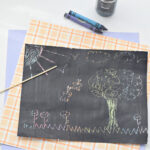
Use chopsticks with rounded ends to scratch designs on your paper.
Expert Tip
Cut the pointed tip off of the wooden bamboo skewer so the kids don’t poke holes in their own scratch art paper while they are making their designs.
Idea for Displaying Scratch Art
Frame the paper, and attach a ribbon to the back so you can hang the piece of art! So fun!
Scratch Art for School Holiday Parties
I think this would be a fun activity to do at a school holiday party. You can pick the theme and let the kids color with the appropriate holiday colors. You would go in a day or two earlier to have them color the white paper because the paint needs time to dry. Make sure they label their coloring paper. I would take them home to paint them black myself. Let the kids scratch out holiday designs (snowman or hand-print turkey) This is a very unique & fun craft and activity to do with the kids.
FAQs
Why do You add Soap to the Black Paint for Scratch Art?
It glides over the wax in a smoother coating and will cover the wax from the crayons more evenly.
Do I Need to Wait for the Black Paint to Dry?
I would recommend waiting for the paint to dry. The paint will not take long to dry, so it won’t be a long wait. You can also use a hair dryer to speed up the process of drying paint.
Do I Have to Use Soap in the Paint?
It is not necessary to use soap, but it is recommeneded. The soap helps the paint glide on more smoothly and evenly. It also helps the paint scratch off easier.
Can I Use Black Tempera Paint?
I have used both acrylic paint and black tempera paint before and they both will work for your scratch art project
More Crafts That You’ll Enjoy
Let’s Hang Out
Printable Instructions
How to Make Your Own Scratch Art
Equipment
- bowl for mixing paint
- foam paint brush
- wooden skewer
- newspaper to place under the cardstock for painting
Materials
- white cardstock
- crayons – a variety of colors
- black acrylic paint
- dish soap
Instructions
- Have the kids color the cardstock paper in bands of color. Use bright, vibrant colors and a lot of it, putting a thick coat of wax on the paper. I found the designs looked better when the color bands were vertical.
- In a bowl, mix an equal amount of black paint and soap. It will not take a lot to paint the paper. You'll probably only use about 1/4 cup of paint and soap mixture for four sheets of paper.
- Spread newspaper onto the table to protect your worksurface
- Use the black paint to paint over the whole piece of paper
- Place somewhere to dry.
- Use chopsticks with rounded ends to scratch designs.
Notes
This post may contain affiliate links. As an Amazon Associate, I earn a small commission from qualifying purchases. See my disclosure policy to read more. Adult supervision is required for each step of activities, recipes, crafts, and games with children. Small parts are a choking hazard.
~Melissa – KidFriendlyThingsToDo.Com



My grandmother taught me how to do this scratch art when I was 15 (I am now 60)! We just did a tiny little picture with the black over white and it created the cutest little keepsake! Thank you for this, now I can pass this on to my own grandchildren!
I love scratch art! It’s so much fun. I am so happy that you are passing it along to the kids. Love this!