Recycled Crayons
This post may contain affiliate links – please read my disclosure statement.
Making Recycled Crayons from old broken crayons is so much fun. The hardest part is peeling off the paper wrapper from the broken crayons. Crayon Recycling is a fun activity to do with the kids.
Recycled Crayons
This post may contain affiliate links. As an Amazon Associate, I earn a small commission from qualifying purchases. See my disclosure policy to read more. Adult supervision is required for each step of activities, recipes, crafts, and games with children. Small parts are a choking hazard.
This fun craft can be made at any time of year. Just like decorating birdhouses, making an airlane out of popsicle sticks, and making a pretzel log cabin
This recycled crayon craft is perfect activity for a rainy day or snow day, or make them as gifts to give out on Valentine’s Day. They can be made in any shape. All you need is some old broken crayons and a mold. Use a heart mold for Valentine’s Day crayon gifts, or dinosaur-shaped molds. This is a craft that you can customize to whatever your mold is.
The kids love pairing colors. The possibilities of color combinations with making crayons in the oven are endless. You could make a rainbow-themed crayon (with all of the colors of the rainbow), a volcano-themed (fire colors), a perfectly princess-themed crayon (purple and pink, of course), or a soccer-themed crayon (white with black bits inside). OK, I’ve got to stop. I could go on and on and on. I think you get the point.
What I love about making recycled crayons
- It’s a great activity for any time of the year
- Crayons can be customized – change to a new, fun mold for different shapes.
- It is a great recycling project.
Here’s What You’ll Need for Recycled Crayons
Supplies
- Semi Sphere Silicone Mold
- Lots and lots of Broken Crayons
Equipment
- Access to an oven
Now, Here’s What You Need To Do:
How to Make Recycled Crayons
Safety note: Keep kids away from the oven and hot molds. Once the crayons are cooled and firm, kids can help pop them out and use them.
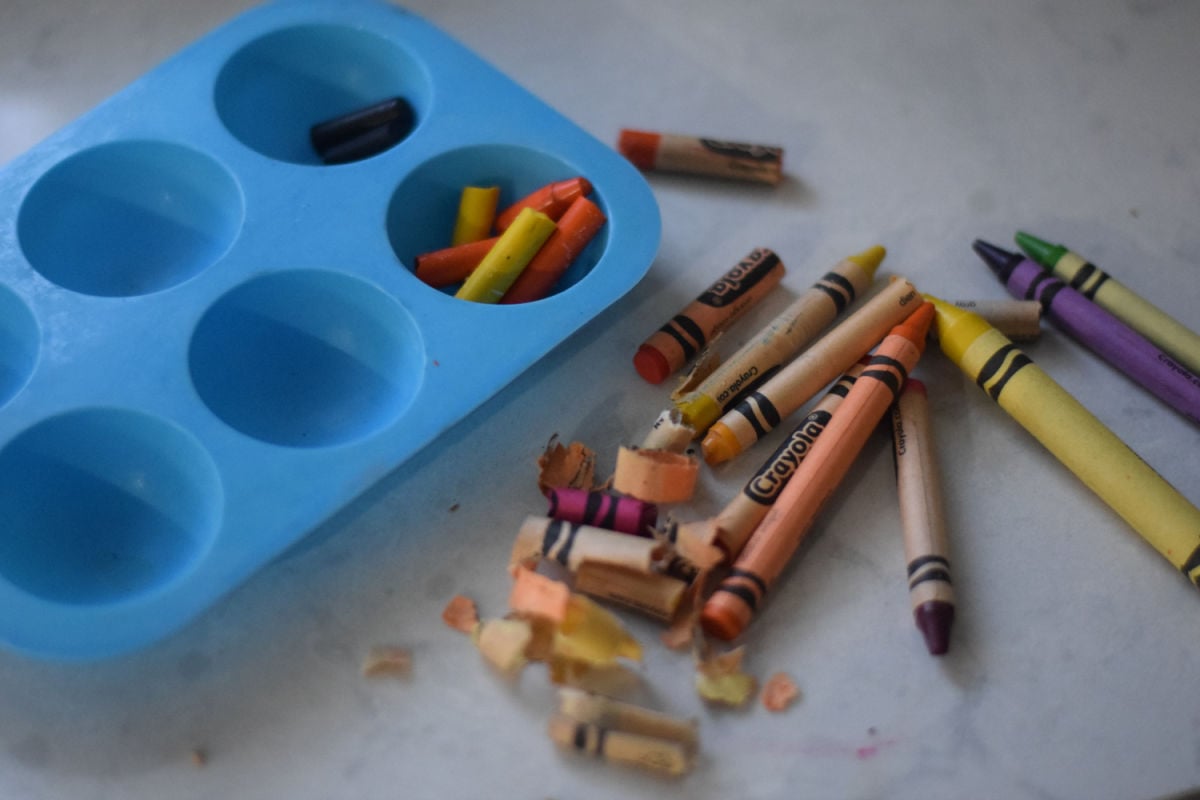
Kids can help: Peel the wrappers off of crayons, and break them into pieces
Preheat your oven to 250 degrees Fahrenheit
Kids can help: Place broken crayons into mold
Fill the mold with whatever colors you want. (For Earth Day – use shades of blue and green)
Only fill molds up about 3/4 of the way. You don’t want the wax to spill over into your oven.

Set your mold or tin over a baking sheet to catch any spills.

Adults only: Place the tin into the oven. Turn your oven light on, and in about 10 minutes, have the kids come and see. Their crayons are melting into a cool design,. Leave the crayons in for about 15-20 minutes.
Adults only: Remove from oven. Set them in a safe place to cool. They cool off pretty fast. I think in about 20-30 minutes, they are ready to peel the wrapper off and use it.
If they are still warm, leave them alone. You don’t want tears from using them too early. – I let mine sit overnight.
Kids can help: Pop crayons out of silicone molds
Have fun with your new crayons!
Handy tip: Soak Crayons in Wrappers!
Soak wrapped crayons in warm water. The wrapped will slide right off saving you a ton of time.
Expert Tip
Have a very steady hand when you remove the crayons. If you don’t hold them as level as possible, the designs will mix and make a yucky color.
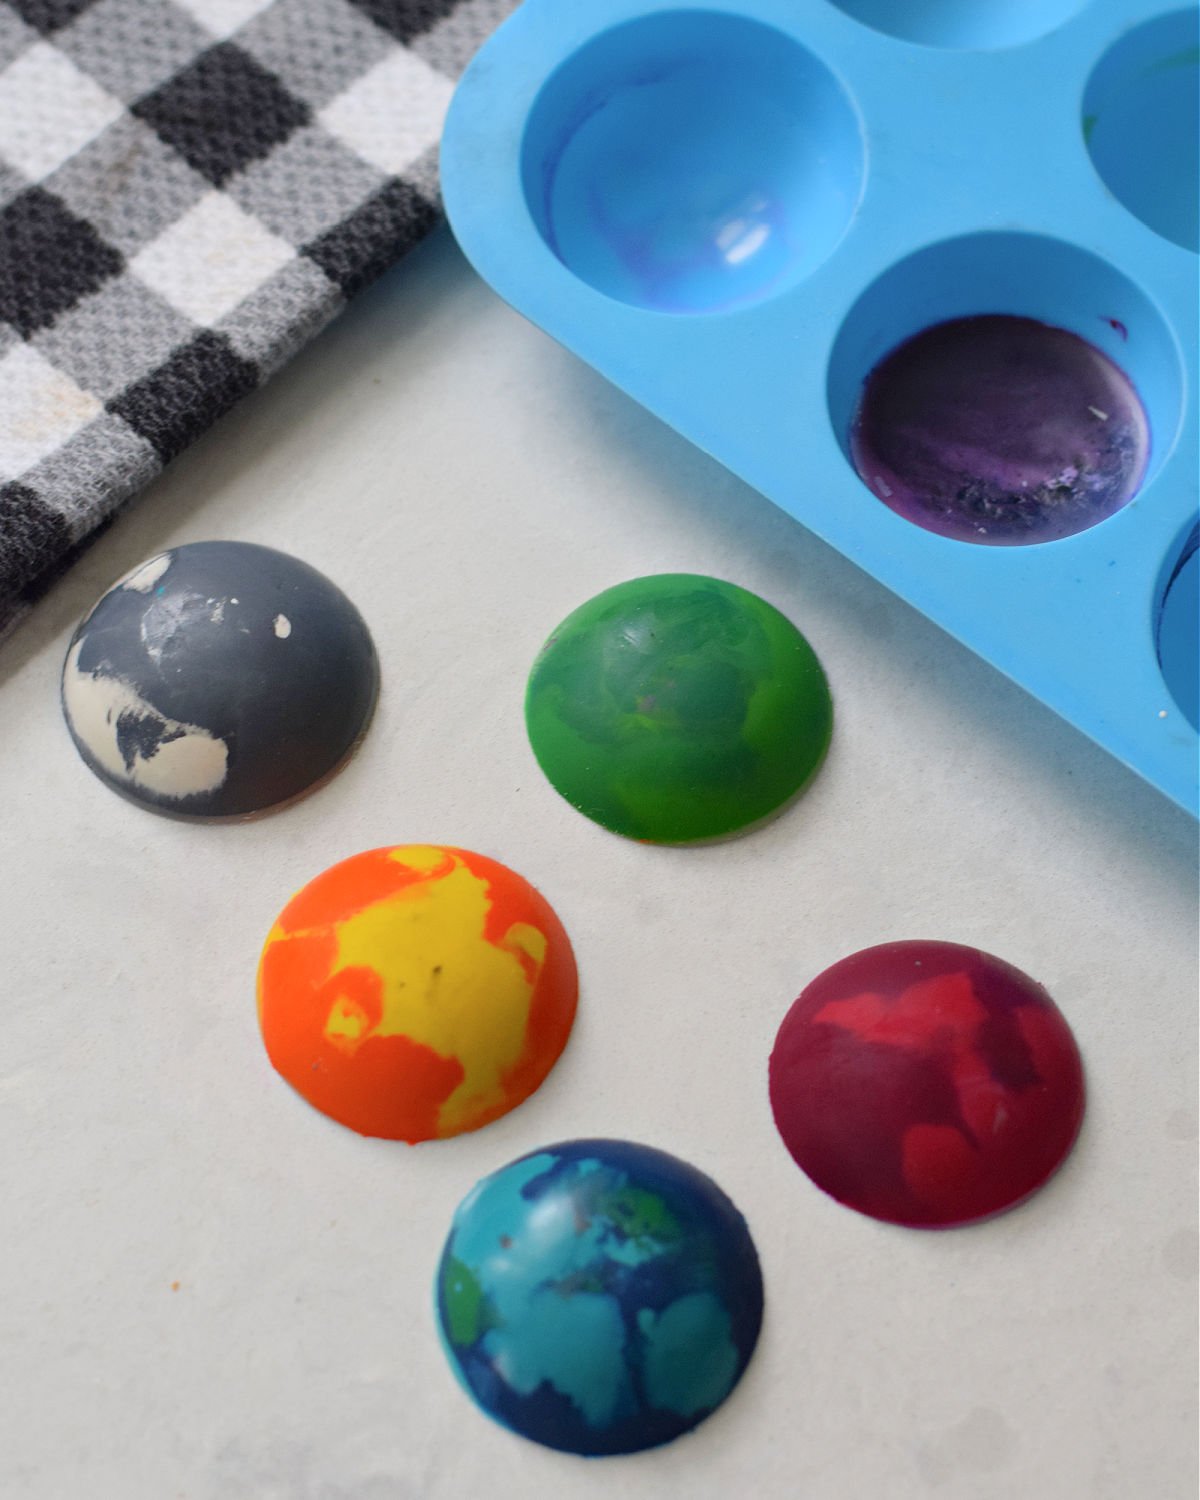
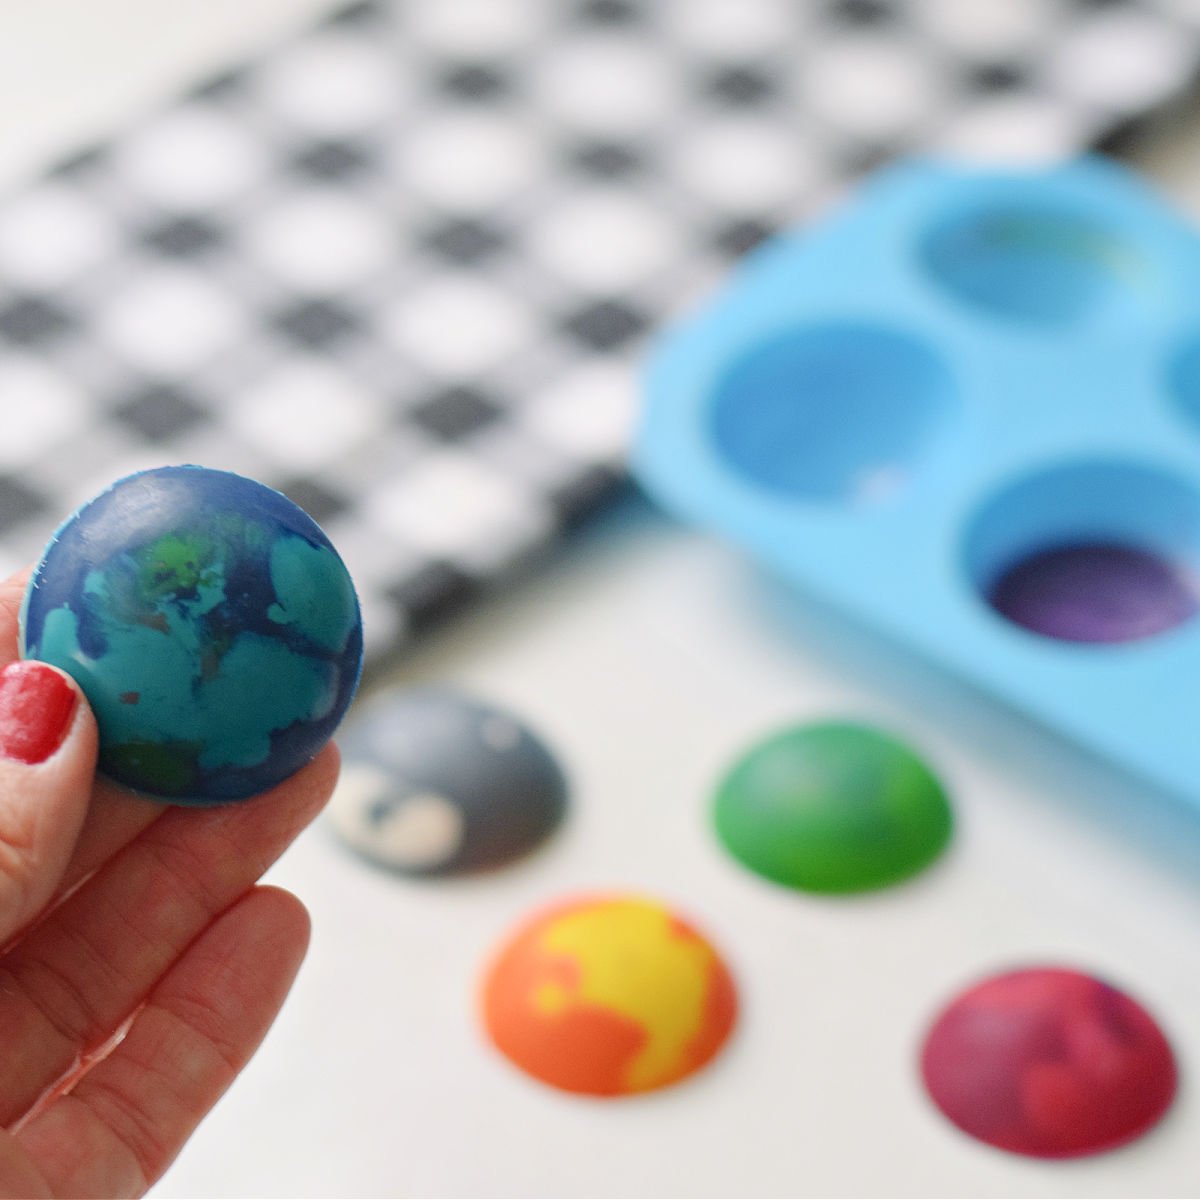
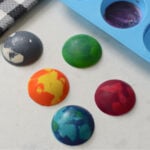
Earth Day Crayons (Blue + Green “Earth” Crayons)
If you want a fun way to turn this into an Earth Day craft, use only blue and green crayons to make little “Earth” crayons. Kids LOVE watching the colors melt, and the finished crayons look like tiny globes.
Kid job: peeling wrappers (or soaking them first!), sorting crayons by color, and filling the mold.
Adult job: anything involving the oven + handling the hot mold/tray. (Silicone molds get HOT!)
How to Make Earth Day Crayons
- Kids can help: Peel wrappers and break blue + green crayons into small pieces.
- Kids can help: Fill each silicone mold cavity with mostly blue pieces and a few green pieces (so it looks like oceans + land).
- Adult only: Place the mold on a baking sheet and bake at 250°F until melted (about 10–15 minutes).
- Adult only: Carefully remove from the oven. If you want a swirled “Earth” look, gently swirl with a toothpick while melted.
- Kids can help after cooling: Let crayons cool completely, then pop them out of the mold.
Safety note: Keep kids away from the oven and hot molds. Once the crayons are cooled and firm, kids can help pop them out and use them.
Make them a couple of days before your holiday or birthday party, and hand them out as a party favor. Give coloring books with it
Use shades of blue and green for a cool Earth Day craft idea. It is a perfect recycled craft for Earth Day
Variations
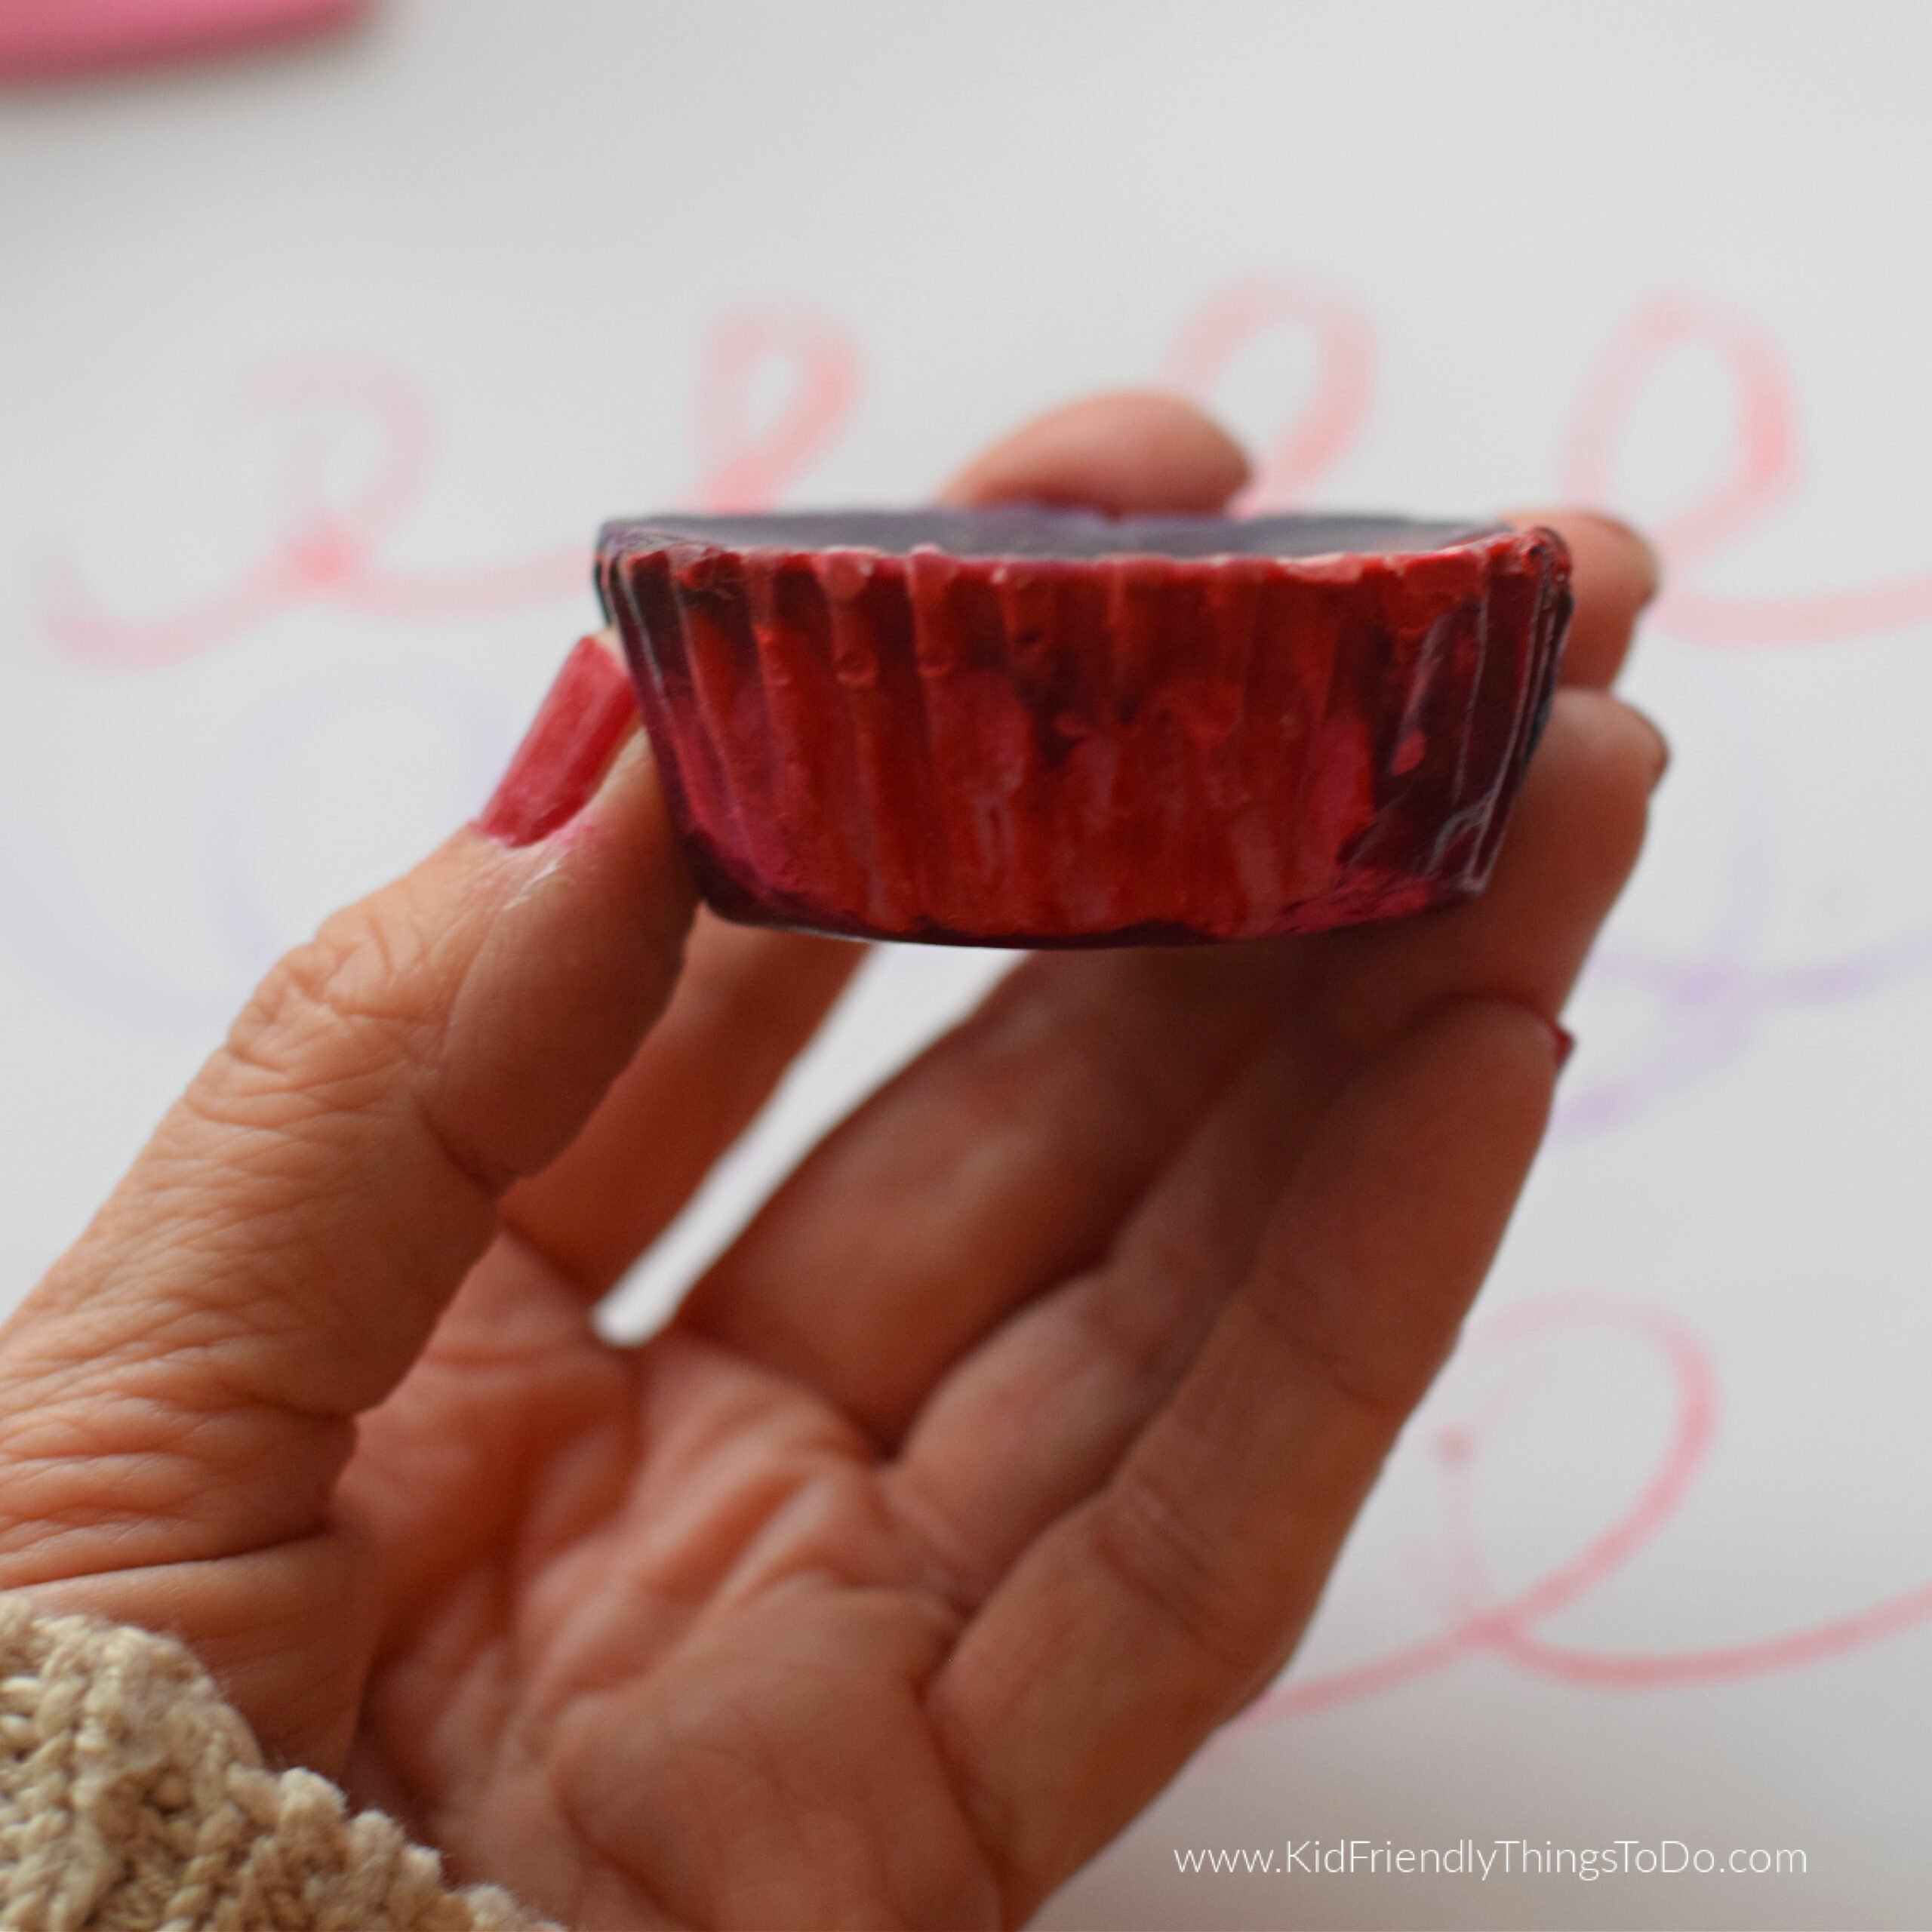
Use cupcake molds and cupcake wrappers for a whole different shape
FAQs
Spray mold with spray oil. The wax should be wiped away
Soak crayons in warm water. Once the wrappers are thoroughly soaked, they will slide off easily.
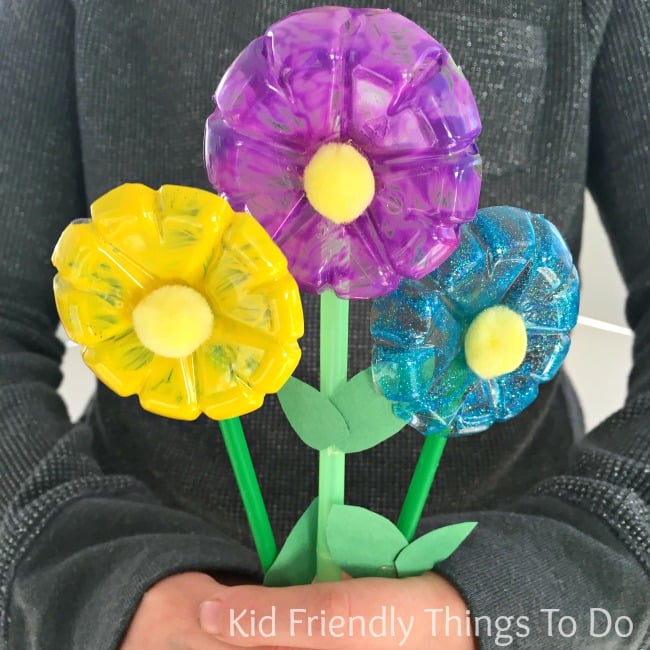
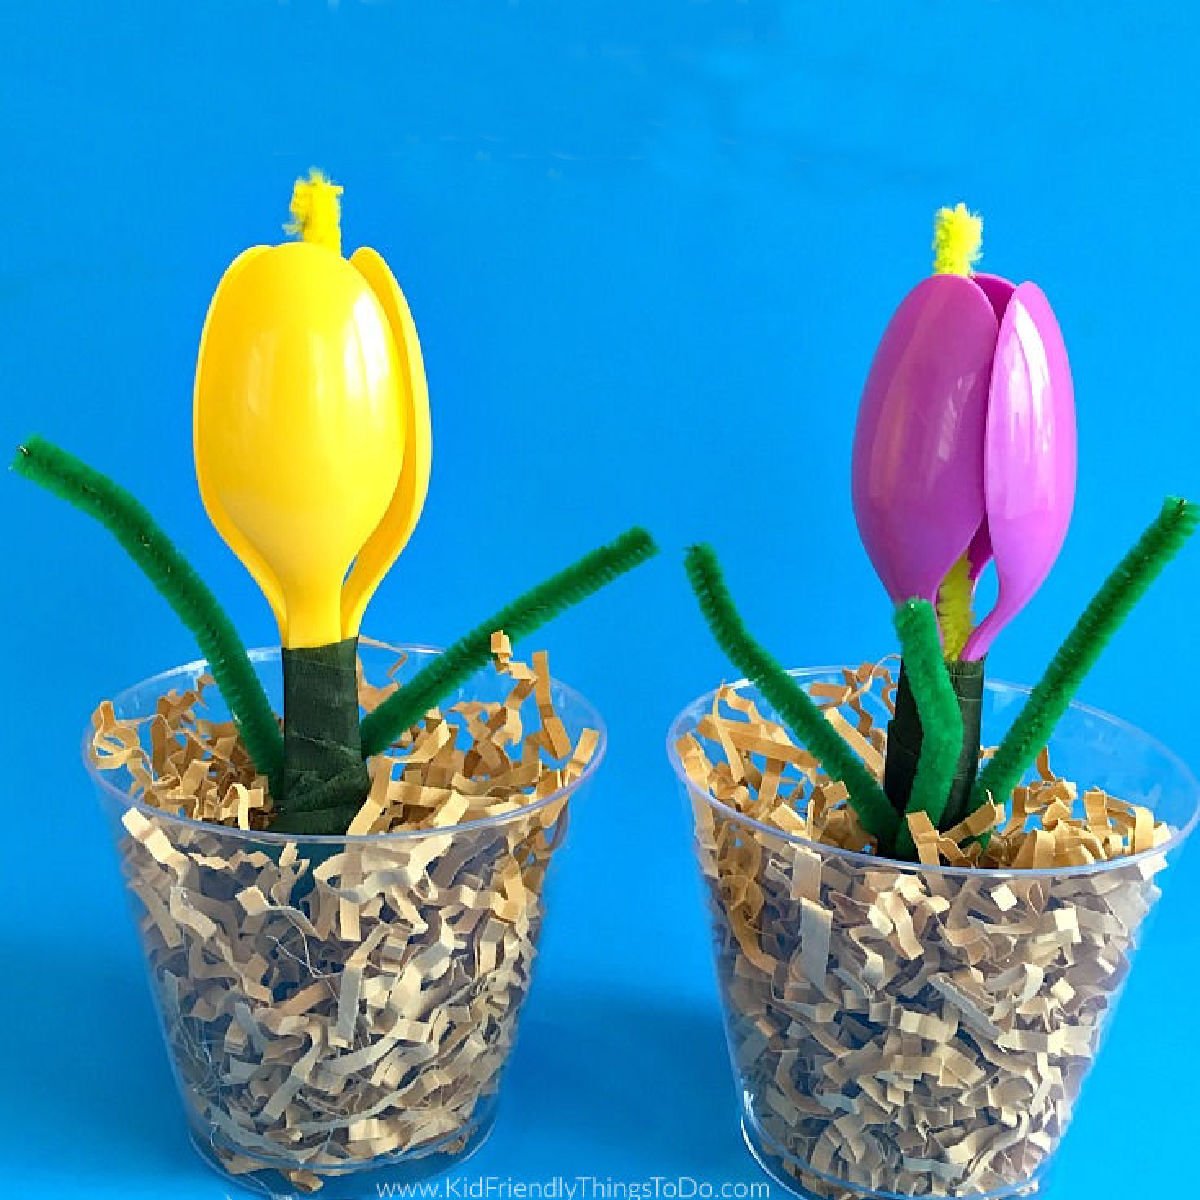
More Recyled You’ll Enjoy
Printable Instructions
Recycled Crayons
Equipment
- oven
Materials
- A Cupcake Tin or a Silicone Mold
- Cupcake Wrappers – This is if you are using a cupcake mold. You might want to double up. Some of the wax managed to leak through my wrappers.
- Lots and lots of Broken Crayons with wrappers peeled off
Instructions
- Preheat your oven to 250 degrees Farenheit
- Kids can help: place crayon pieces into mold
- Fill the mold with whatever colors you want. For Earth Day – use blues and greens.
- Only fill molds up about 3/4 of the way. You don't want the wax to spill over into your oven.
- Set your mold or tin over a baking sheet to catch any spills
- Adults only: Place the tin into the oven. Turn your oven light on, and in about 10 minutes, have the kids come and see. Their crayons are melting into a cool design,. Leave the crayons in for about 15-20 minutes.
- Adults only: Set them in a safe place to cool. They cool off pretty fast. I think in about 20-30 minutes, they are ready to peel the wrapper off and use it.
- If they are still warm, leave them alone. You don't want tears from using them too early. – I let mine sit overnight.
- Kids can help: pop new crayons out of silicone mold and enjoy!
Notes
~Melissa
KidFriendlyThingsToDo.Com