Snow Cone Syrup Recipe
This post may contain affiliate links – please read my disclosure statement.
One of my kids’ favorite snow day traditions was turning fresh fallen snow into homemade snow cones. We started making homemade snow cone syrup instead of buying bottles from the store because it was easy, inexpensive, and let everyone create their own flavors.
Making Snow Cone Syrup
Whether you’re making snow cones on a hot summer day or using fresh snow in the winter, this homemade snow cone syrup recipe comes together with simple ingredients and can be customized with Kool-Aid packets, fruit juice, or extracts. It also works for shaved ice if you want a softer, finer texture.
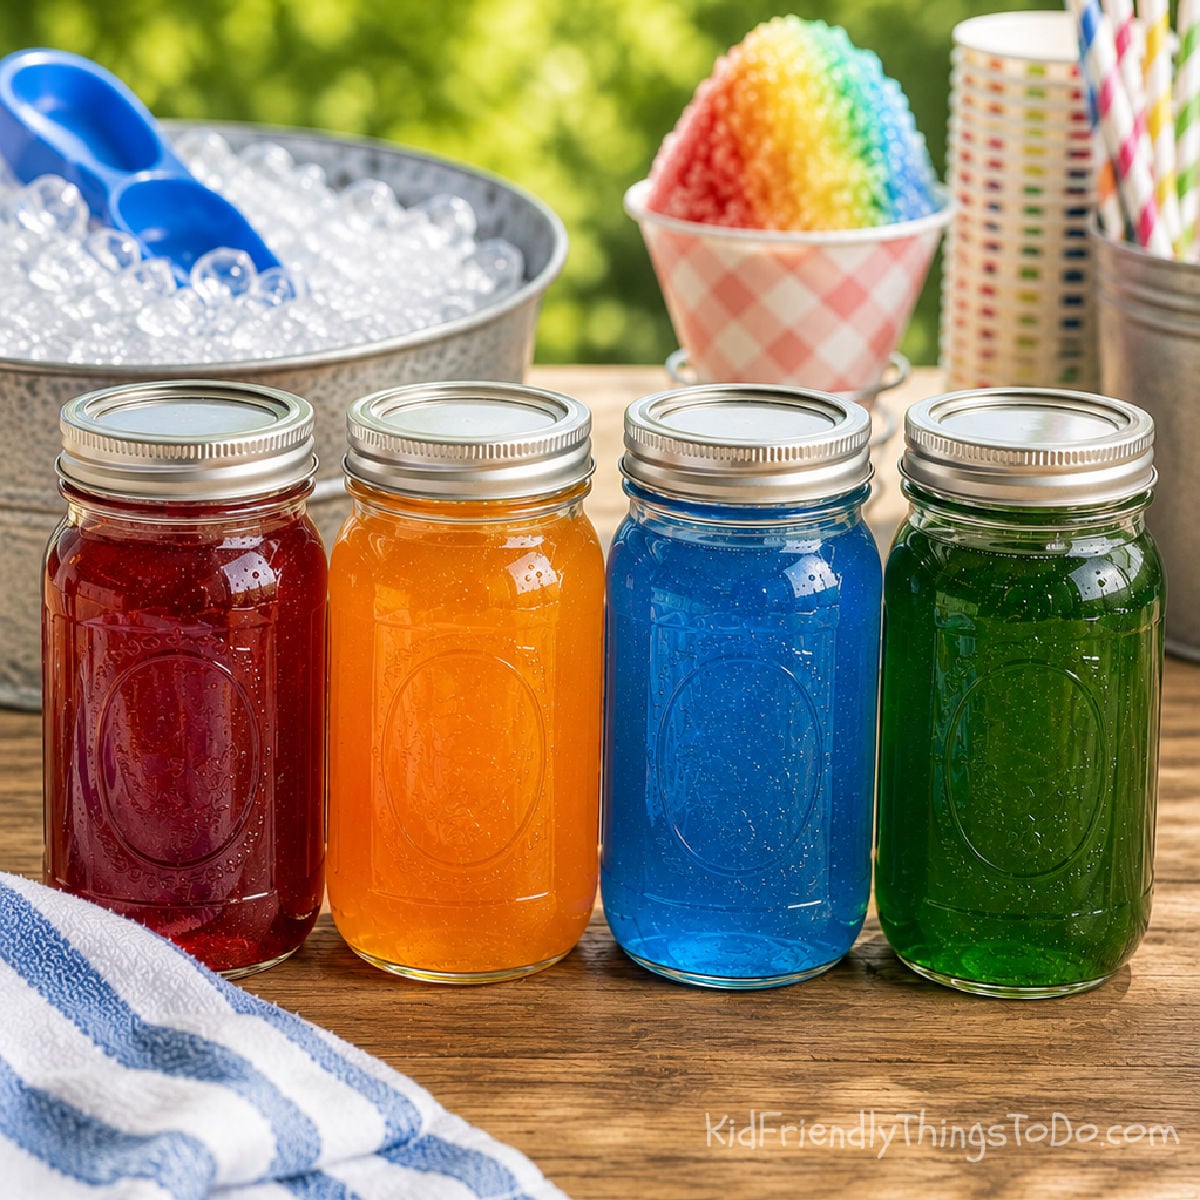
My favorite part is making several flavors at once because the kids always end up mixing colors and creating combinations I never would have thought of. Once the syrup is chilled, pour it over snow, crushed ice, or shaved ice for an easy treat that feels a little more special than ordinary ice.
Why You’ll Love Making This Homemade Snow Cone Syrup Recipe
- Simple ingredients. You probably have them in your pantry right now
- With so many flavors available, you can customize flavors to your tastes and make flavors you can’t buy in a syrup.
- It’s a fun way to spend time with the kids.
Ingredients for Homemade Snow Cone Syrup
- Granulated sugar – you’ll basically need one part sugar to one part water to make syrup
- water
- One powdered drink packet, like a Kool-Aid or Lemonade packet or extract flavor
Equipment You’ll Need or Want
Saucepan
Snow cone paper holder
How to Make Snow Cone Syrup
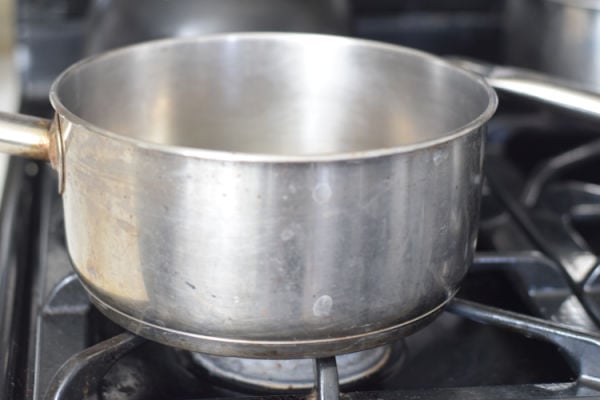
- Boil the sugar and water, mixing until dissolved
- Place on simmer for about 1 minute – you’ll see the mixture thicken.
- Add your flavoring – Kool-Aid packet
- Mix ingredients and place in the refrigerator to chill
- Pour into the squeezable container for kids to enjoy
Expert Tips
More Flavors=More Fun – Make more than one flavor for extra fun. In my experience, the kids love to mix flavors.
Freeze It – You can freeze snow or shaved ice for more fun after the snow is gone
Snow Cone Syrup Flavor Ideas
One of my favorite parts of making homemade snow cone syrup is creating custom flavors. These homemade snow cone syrup flavors work for both snow cones and shaved ice, making it easy to create custom combinations at home.
Classic Snow Cone Flavors
- Cherry
- Blue Raspberry
- Grape
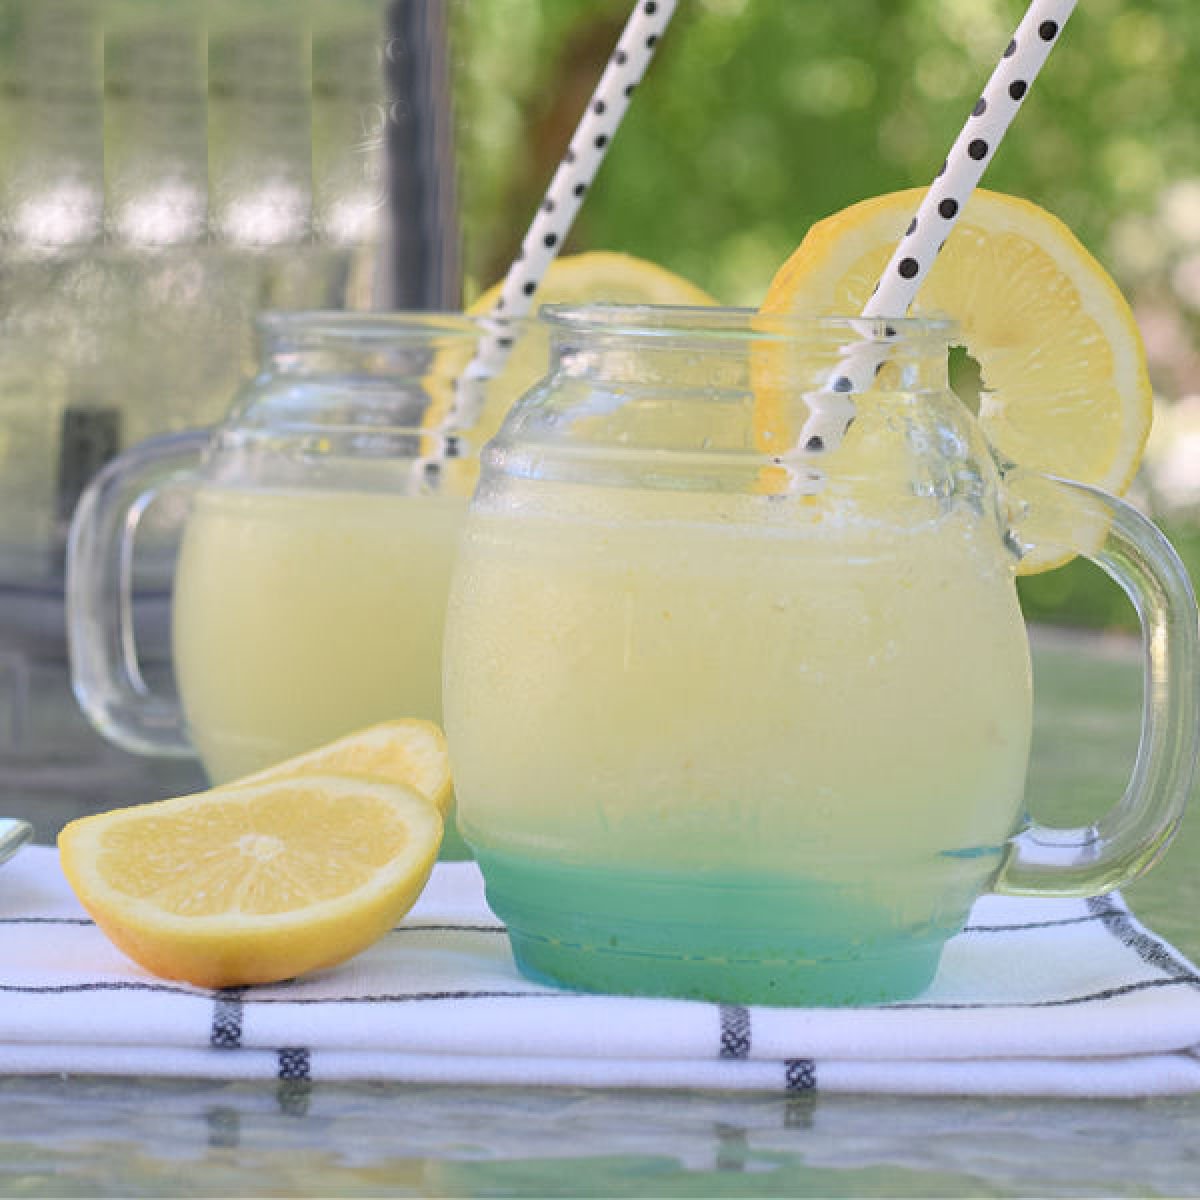
- Lemon Lime
- Strawberry
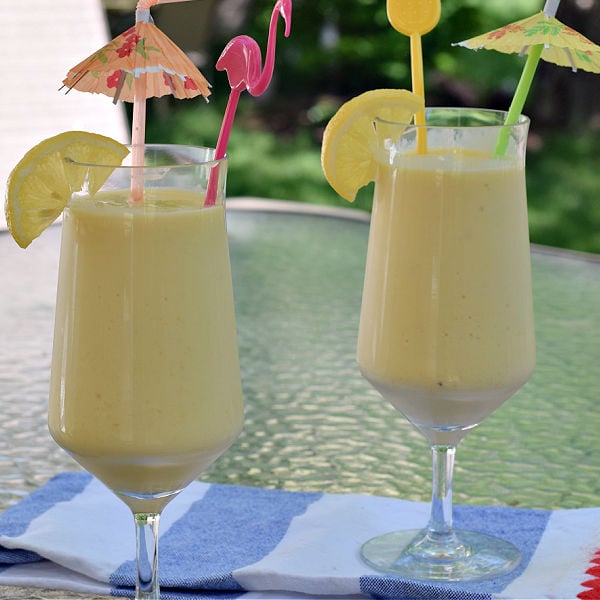
Tropical (Hawaiian-Inspired) Flavors
- Pineapple
- Coconut
- Mango
- Passion Fruit
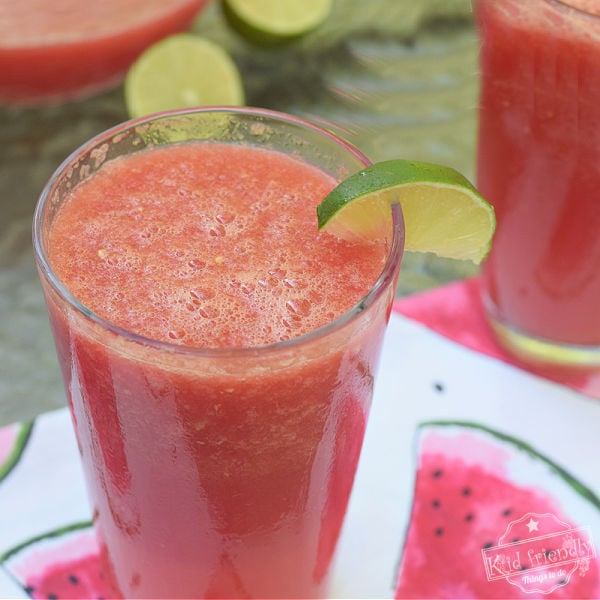
- Watermelon
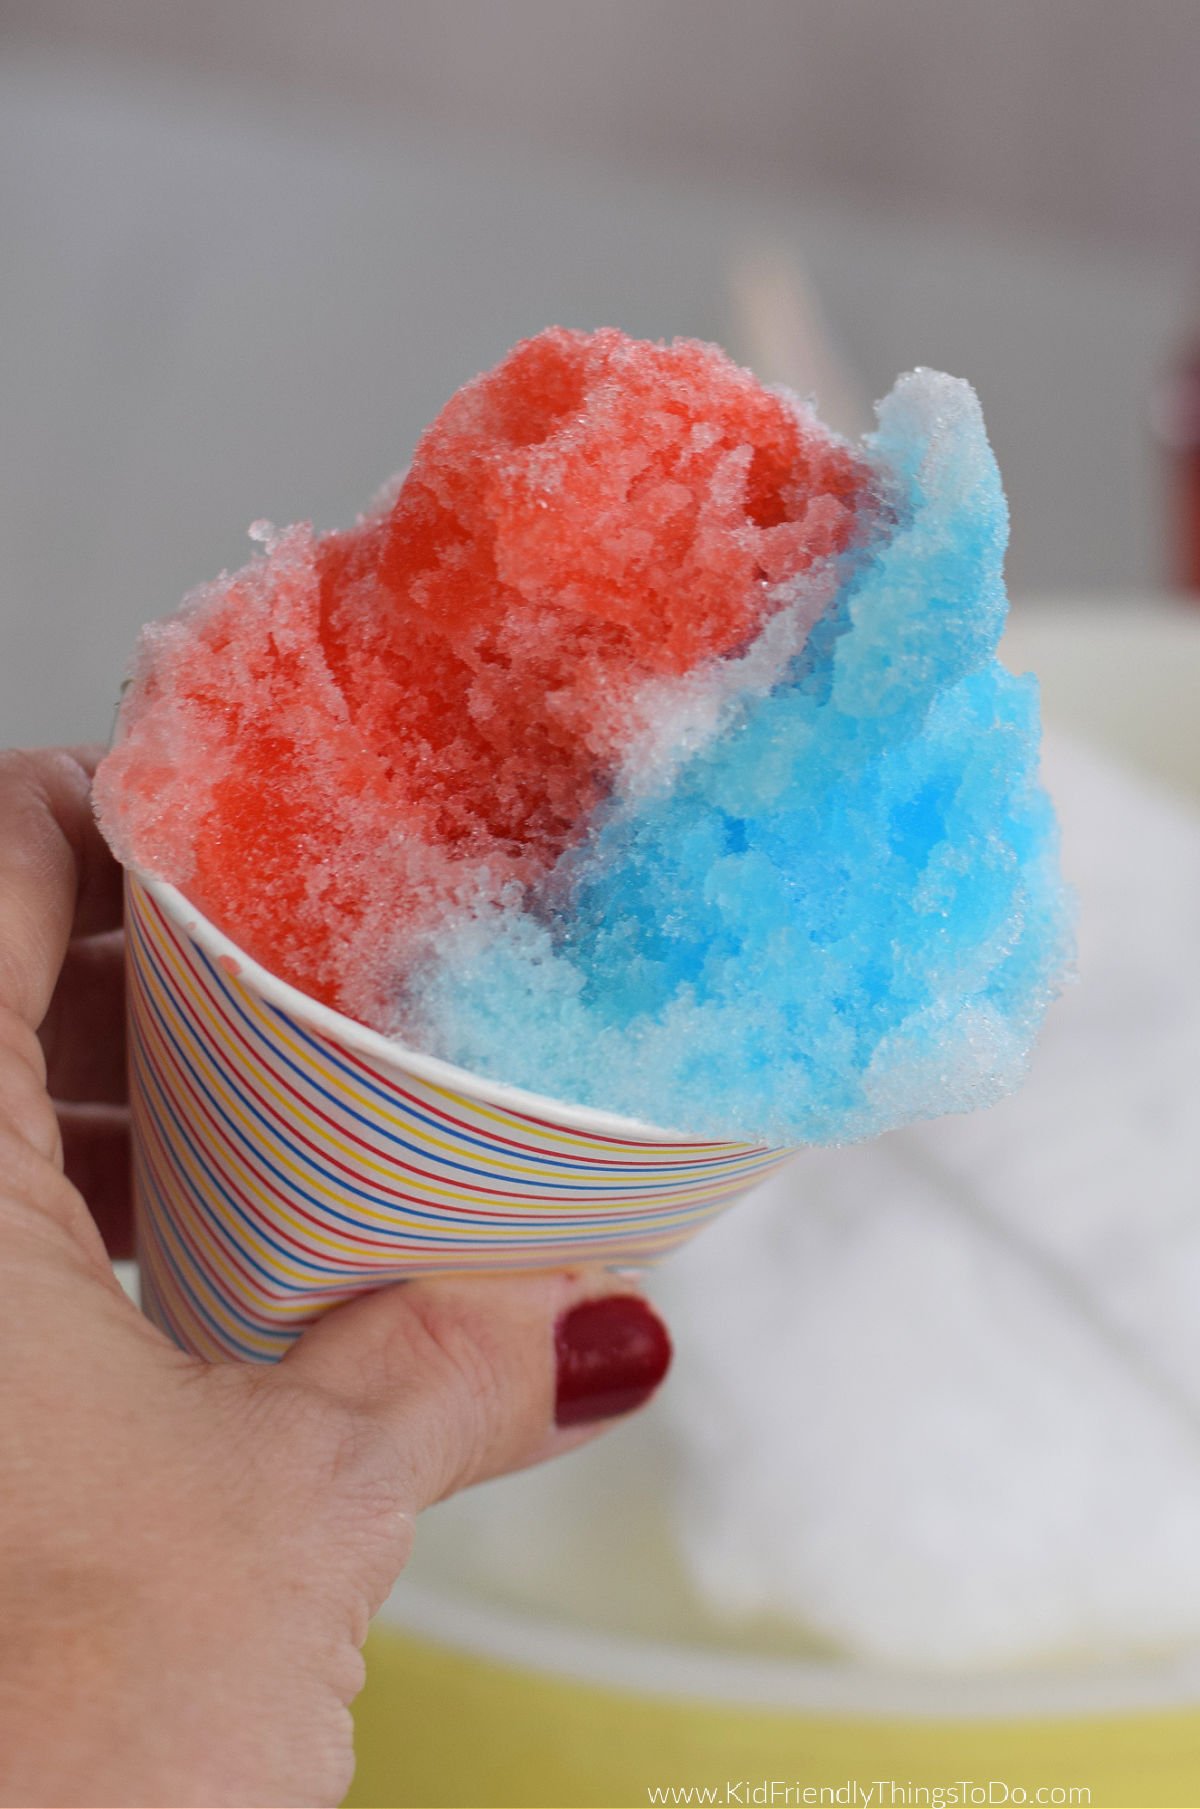
Snow Cone Syrup vs. Shaved Ice Syrup
Snow cone:
- crunchy texture
- Syrup sits more on top
Shaved ice:
- finer texture
- absorbs faster
This homemade syrup works well for both. If serving shaved ice, start with a little less syrup and add more as needed.
Making Snow Cone Syrup Without Kool-Aid
You can easily create your own using real fruit, fruit juice, or simple syrup flavored with extracts.
For Juice: 1 cup 100% fruit juice + 1 cup sugar.
For Real Fruit: 1 cup chopped fruit + 1 cup water + 1 cup sugar.
For Extract: 1 cup water + 1 cup sugar + 1/2 tsp extract up to 1 tsp. (added at the end).
Real Fruit Syrup
- Combine fruit, sugar, and water in a small pot over medium heat
- Bring to a boil, mashing the fruit and mixing to dissolve the sugar
- Reduce the heat and simmer gently for about 5 minutes (it will still look thin and watery)
- Strain through a fine-mesh sieve to catch any fruit pulp
- Allow to completely cool and thicken in the fridge before adding to ice
Fruit Juice Syrup
- Combine fruit juice and sugar in a small pot over medium heat
- Bring to a boil while mixing to dissolve the sugar
- Reduce to a simmer
- Only simmer for about 3-5 minutes
- Remove from heat; the mixture will thicken much more as it cools
- Allow to completely cool before adding to ice
Extract Flavored Syrup
- Combine sugar and water in a pot over medium heat
- Bring to a boil and mix to dissolve sugar
- Reduce heat and simmer for 1-2 minutes until crystal clear
- Remove from heat and stir in flavoring extract (and optional food coloring)
- Allow to cool completely before use
How to Make Hawaiian-Style Tropical Syrups
If you want to create tropical flavors inspired by Hawaiian shave ice at home, use our Real Fruit Syrup or Fruit Juice Syrup methods above with these tropical fruit combinations:
- POG Syrup: Use 1 cup of Passion Fruit-Orange-Guava juice blend.
- Mango or Pineapple Syrup: Use 1 cup of fresh mango puree or pineapple juice.
- The Hawaiian Special: Pour your tropical syrup over the ice, then drizzle 1-2 tablespoons of sweetened condensed milk right on top!
Non-Boiling Method
*I just tried this recipe to ensure it tastes good and is like the snow cone syrup. We love it.
- Make a syrup with one part sugar and one part warm water
- Just put the mixture in a container with a lid & let the kids shake it up until the sugar is dissolved
- Add a Kool-Aid packet for flavor, or flavor extract and food coloring
Making Snow Cones With Fresh Snow
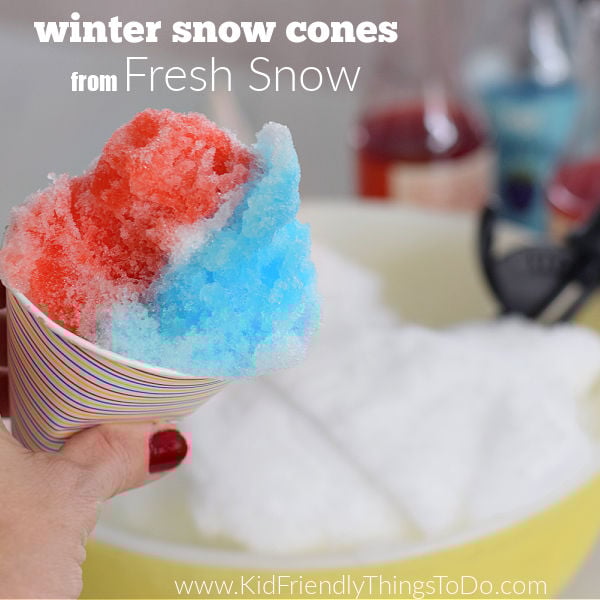
- Get a huge bowl and scoop up some fresh, fluffy snow. Get lots of it.
- Hand out some scoopers – measuring cups, ice cream scoops, spoons, whatever you have on hand.
- Give the kids some cups or snow-cone holders and let them fill them with snow.
- Now add some snow-cone syrup and a straw.
If snow days are your favorite excuse to stay cozy indoors too, you might also love some of our comfort drink recipes like Slow Cooker Hot Chocolate, White Hot Chocolate, or Mom’s Spiced Wassail
FAQs
Yes. You’ll need to add some sugar and boil it down to thicken it up, but fruit juice is a great way to make snow cone syrup.
Yes! Place homemade syrup into an airtight container and store it in the refrigerator for up to two weeks.
Yes! Make up some big batches and store them in the refrigerator for up to 2 weeks.
Yes! Homemade snow cone syrup works for shaved ice, too. Since shaved ice is finer than traditional snow cones, start with less syrup and add more as needed.
More Drink Recipes You Might Enjoy
Print the Snow Cone Syrup Recipe

Homemade Snow Cone Syrup
Ingredients
- 1.5 cups sugar
- 1.5 cup water
- 1 powdered drink packet like a Kool-Aid or Lemonade packet or extract flavor
Instructions
- Boil the sugar and water, mixing until dissolved
- Place on simmer for about 3 minutes – you'll see the mixture thicken up a bit
- Remove from heat and add your flavoring – Kool-Aid packet
- Mix ingredients together
- Place in the refrigerator to chill
- Pour into the squeezable container for kids to enjoy
Notes
Non- Boiling method:
- Make a syrup with one part sugar – one part warm water
- Just put the mixture in a container with a lid & let the kids shake it up until sugar is dissolved
- Add a kool-aid packet for flavor, or flavor extract and food coloring
- *I just tried this recipe to make sure it tastes good and is really like the snow cone syrup. We love it!
Nutrition
Let’s Hang Out
I’d love to see you over on Pinterest and on Facebook. Come by and say hello and then follow along for more fun ideas and recipes.