How to Make a Fairy Doll
This post may contain affiliate links – please read my disclosure statement.
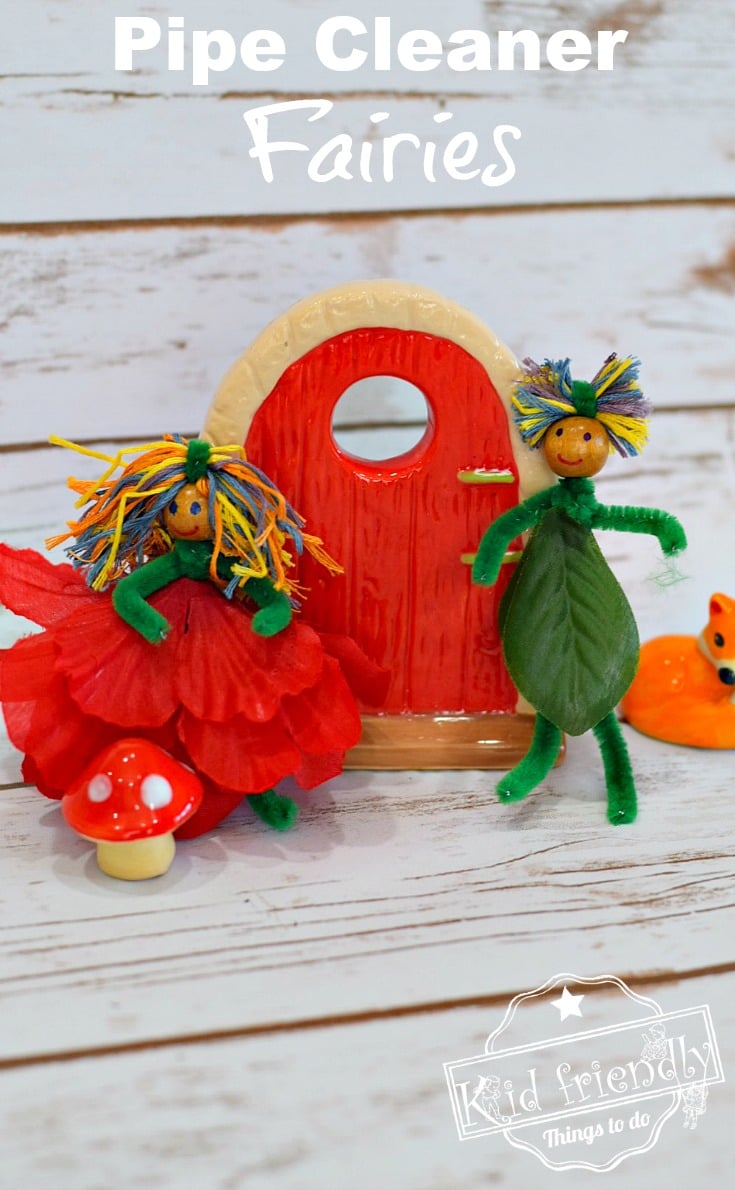
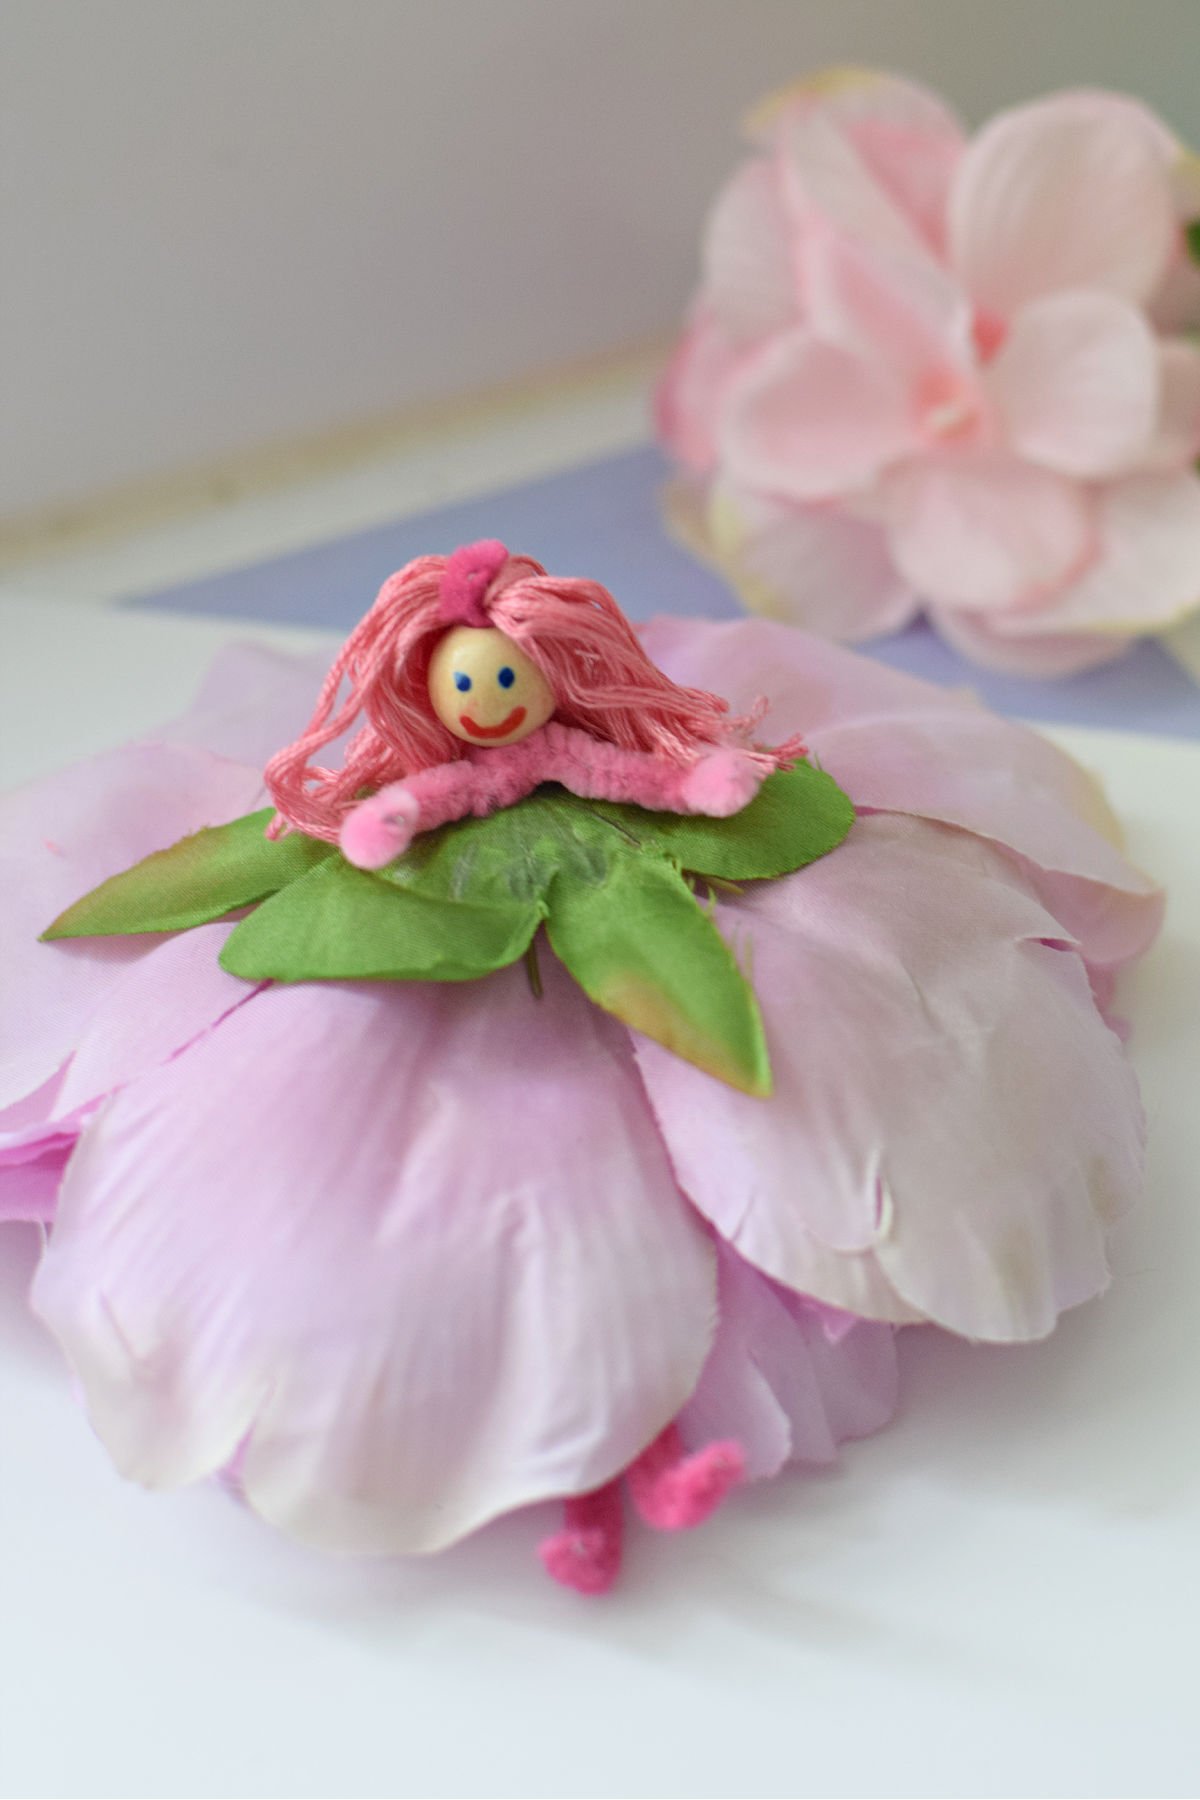
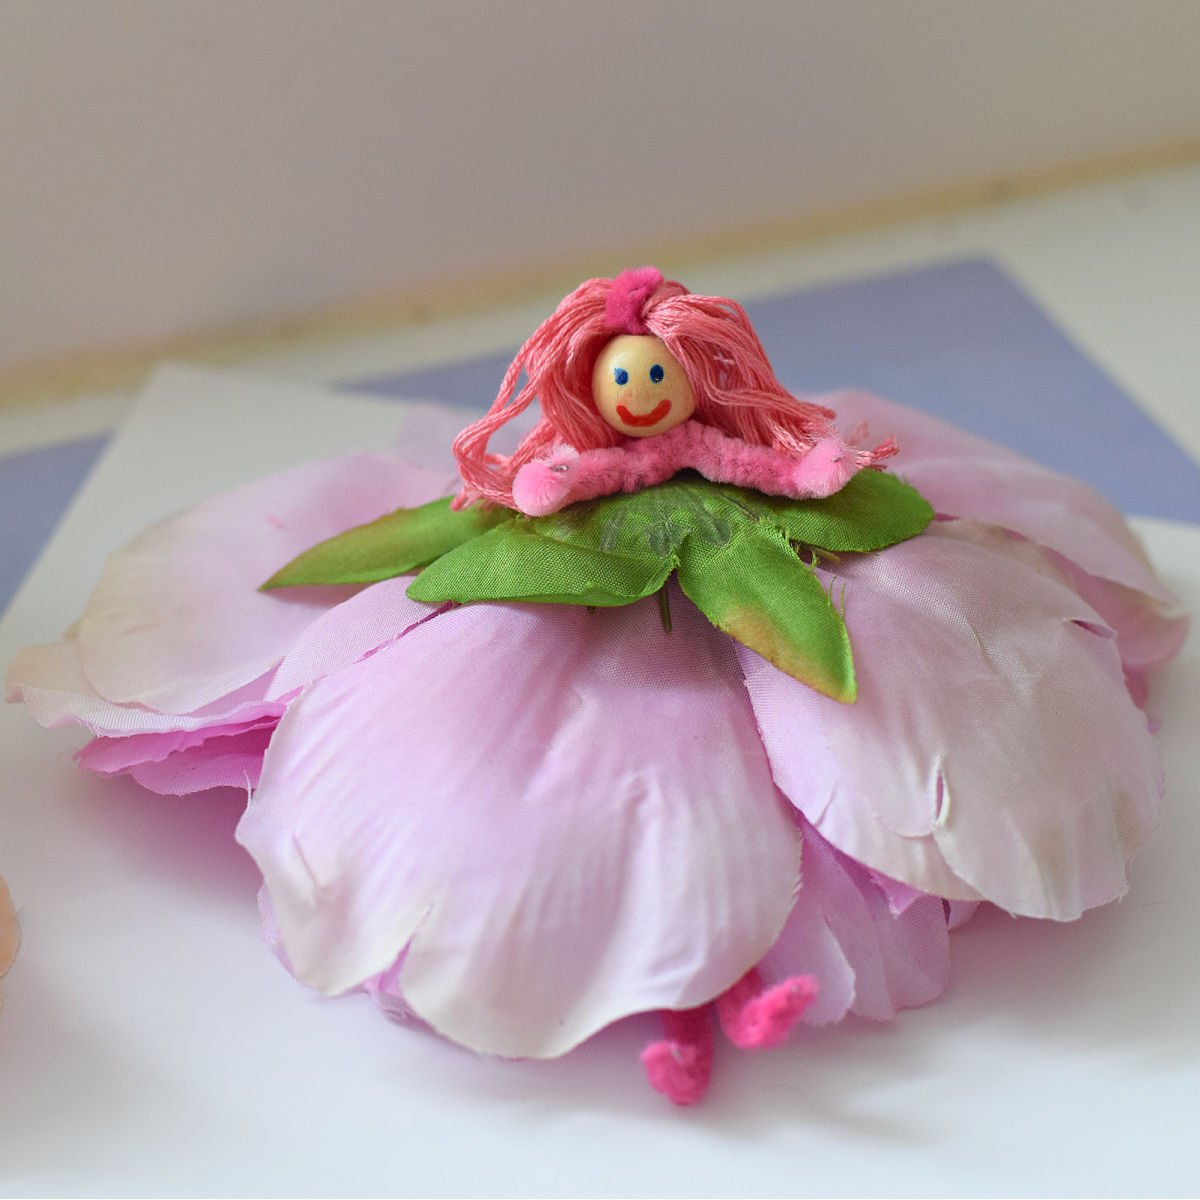
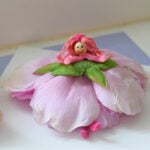
Make a fairy doll out of pipe cleaners, a bead, and an artificial flower. It’s easy to make with the kids, and they are such cute homemade fairy dolls to play with.
All activities, recipes, crafts, and games with children should be supervised by an adult. Small parts are a choking hazard.
Pipe Cleaner Fairy Doll
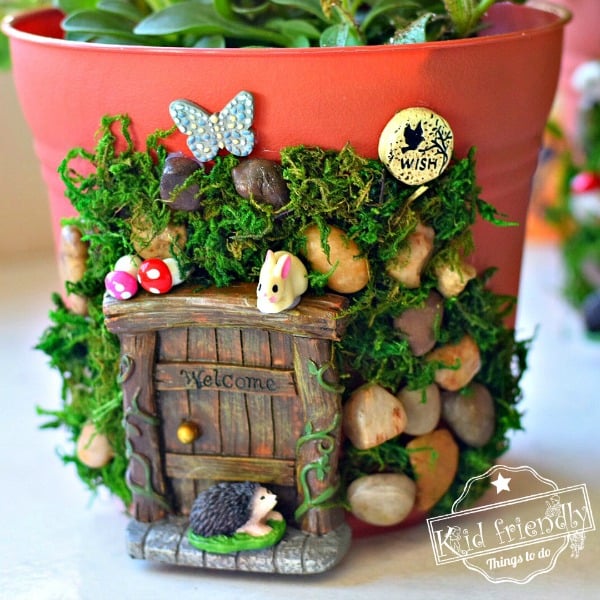
Years ago, our family was hiking in the woods when we stumbled onto fairy houses decorated with swings, gardens, tables, plates, and so much more. The houses were there, ready for the fairy’s arrival. They were everywhere… in the hollowed-out stumps of trees, at the bottom of trees, on top of logs, along the river bank. That hike was so much fun. That was the day our fairy house building began, and our love for fairies started. Since then, I have made many fairy house crafts like Fifteen Fairy Garden Ideas, How to Make a Fairy Farm, and Over 15 Fairy Party Snack Ideas.
This DIY Fairy Doll is made out of pipe cleaners. It is an easy craft for the kids, and they will have a doll to enjoy playing with.
Supplies You’ll Need for this Flower Fairy
- Pipe Cleaner – I used a pink pipe cleaner to match the pink hair on my DIY fairy doll
- Wooden bead for the head – The wood bead that I used is about 1/2 inch wide.
- Embroidery Floss for the hair – In the past, I have used a rainbow of colors, but this time I went with bright pink to match the fairy doll skirt and pipe cleaner
- An Artificial Flower for the skirt – I found an inexpensive bunch of flowers at Walmart, but you could also find them at The Dollar Tree
- Sharpies or Paint Markers – I used blue and red
- Scissors – You’ll want the scissors to be sharp enough to cut through the pipe cleaner
- Tacky Glue or Fabri-Tac glue – I use this as an alternative to a hot glue gun. If you want to use a hot glue gun, you can substitute it.
Optional: For a Boy Fairy – Artificial Leaves
How to Make this DIY Flower Fairy Doll
- Cut a small piece off of the pipe cleaner to use as arms – about 3 inches.
- Cut a piece of floss – about three feet long to use as hair.
- Wrap the floss around your about four fingers – or a round object to make a long loop of floss.

- With your long piece of pipe cleaner, center it and bend it over the loop of floss. Twist the pipe cleaner to secure it.
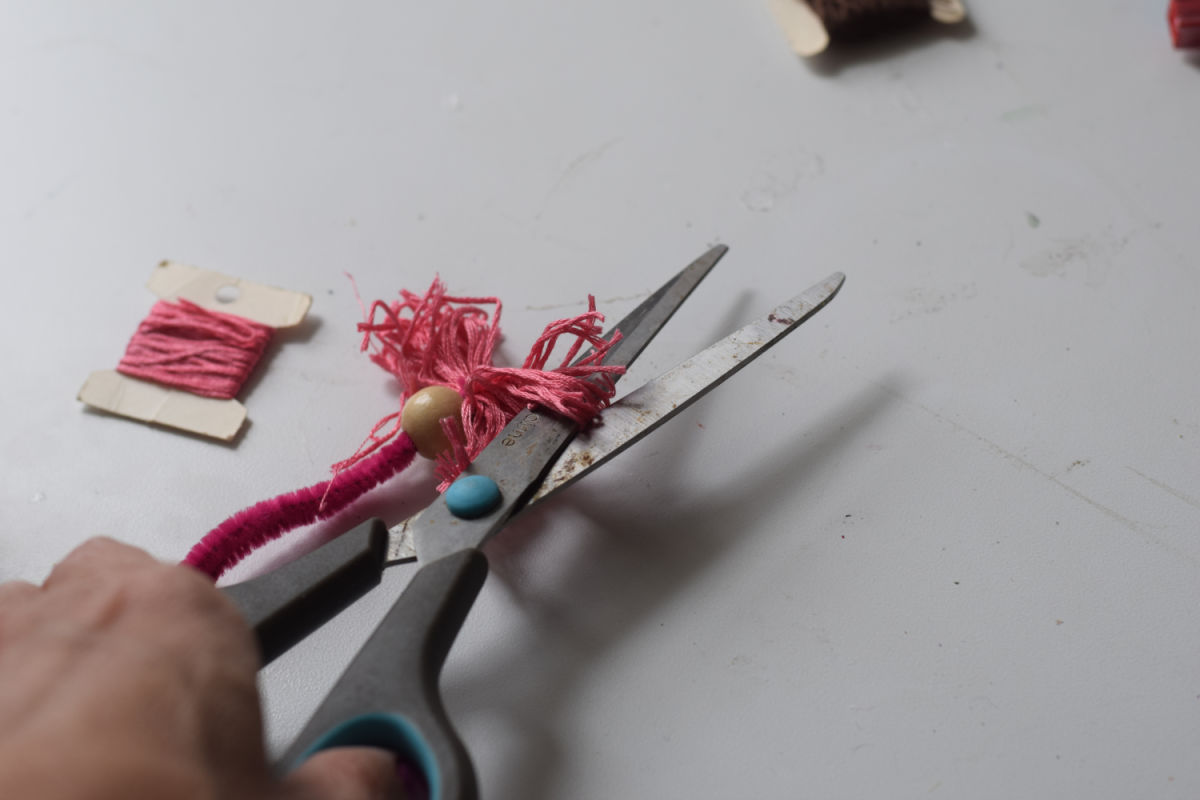
- Pull pipe cleaner – with hair through the wooden bead. The hair should be just above the bead.
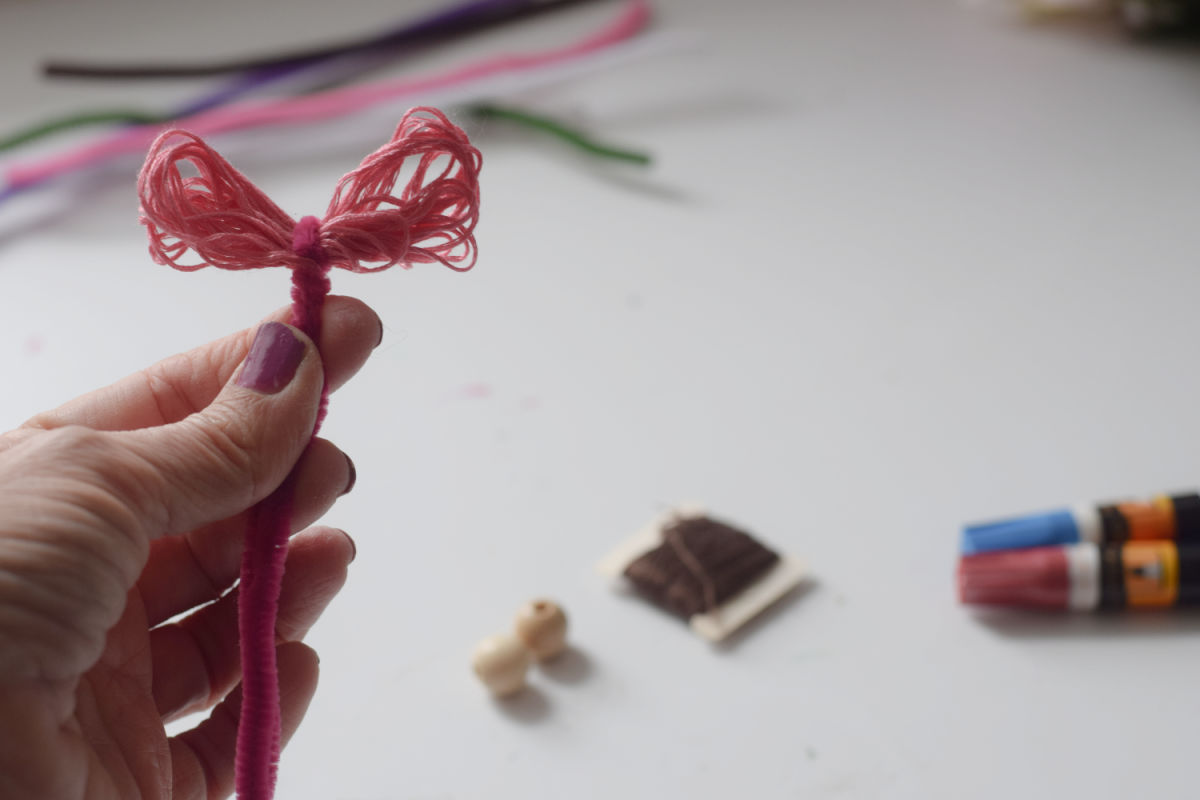
- Cut right down the center of the two loops of embroidery floss to let the hair flow down.
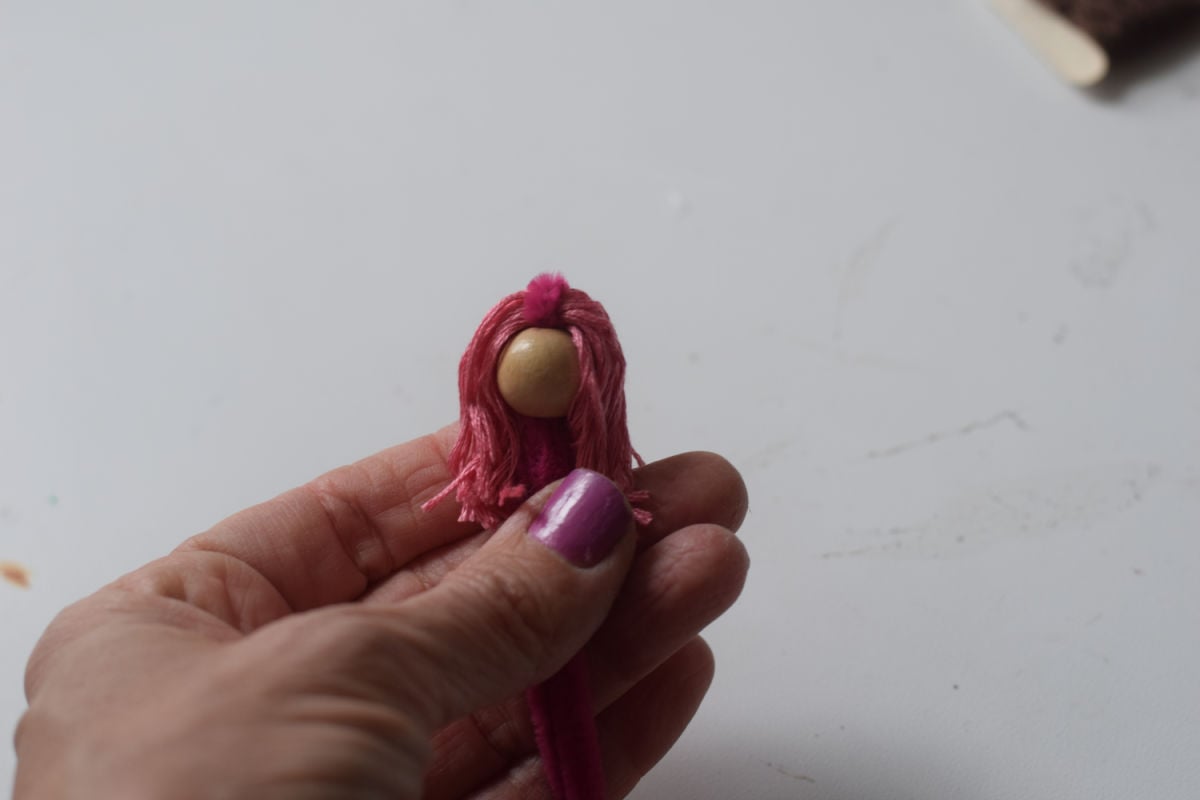
- Shape the hair and use glue to help secure the back of it to the back of the wooden bead
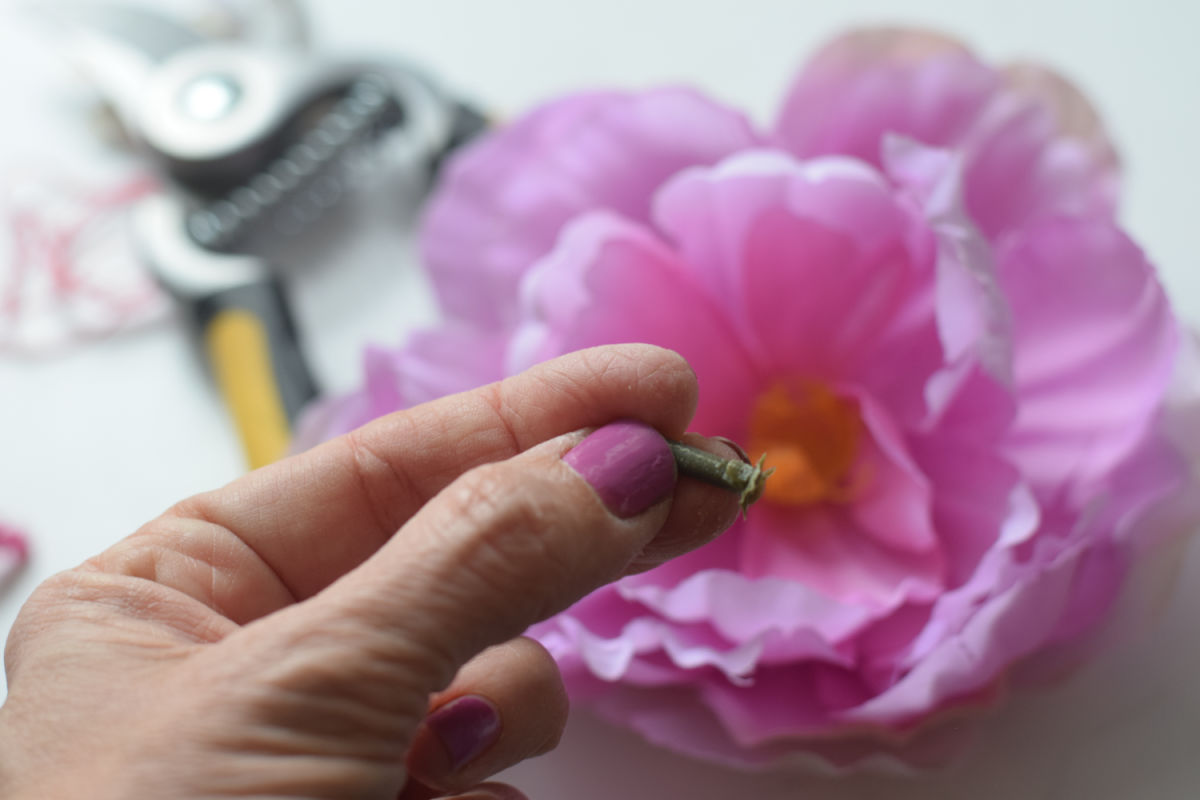
- Pull the middle of the flower out of the artificial flower.
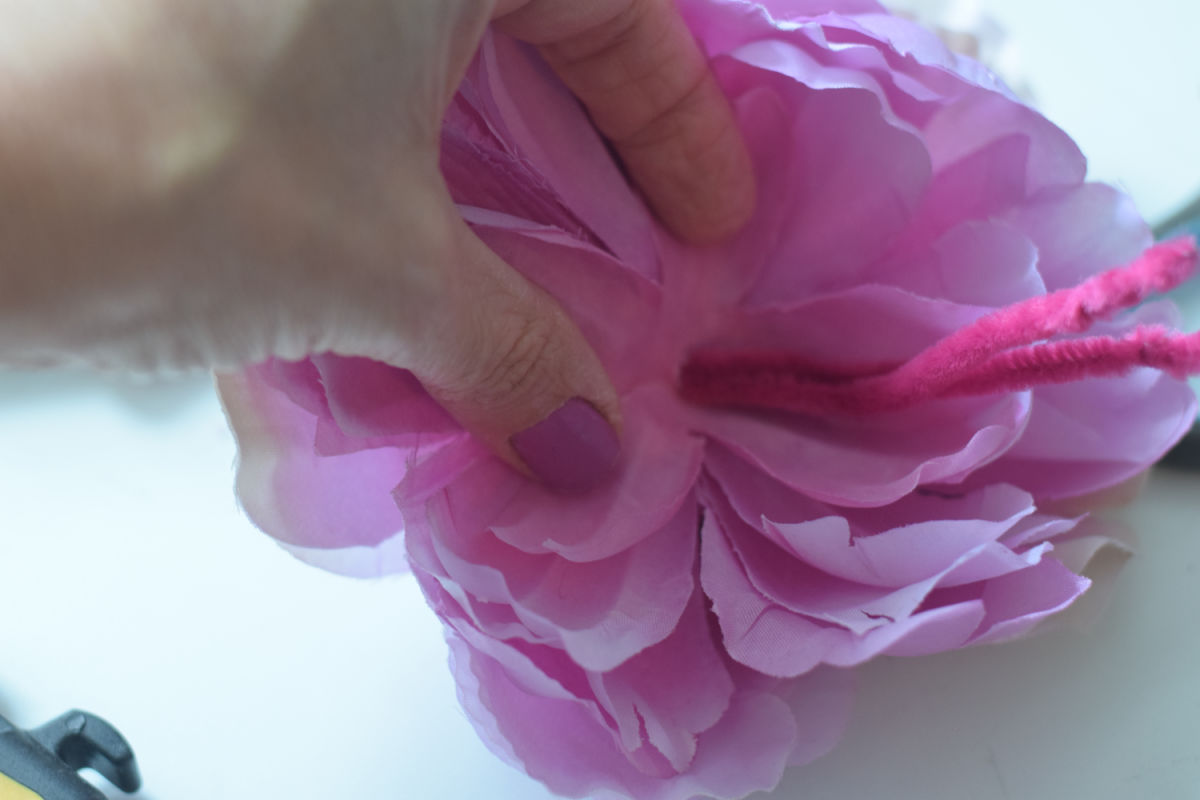
- Holding the flower petals upside down, pull the pipe cleaner and bead through the center of the artificial flower and glue under the flower to secure it to the pipe cleaner
- Wrap the small piece of pipe cleaner you cut earlier just under the wooden bead/face and twist to secure the fairy arms.
- Add facial features with Sharpies.
Accessories for your homemade fairy doll
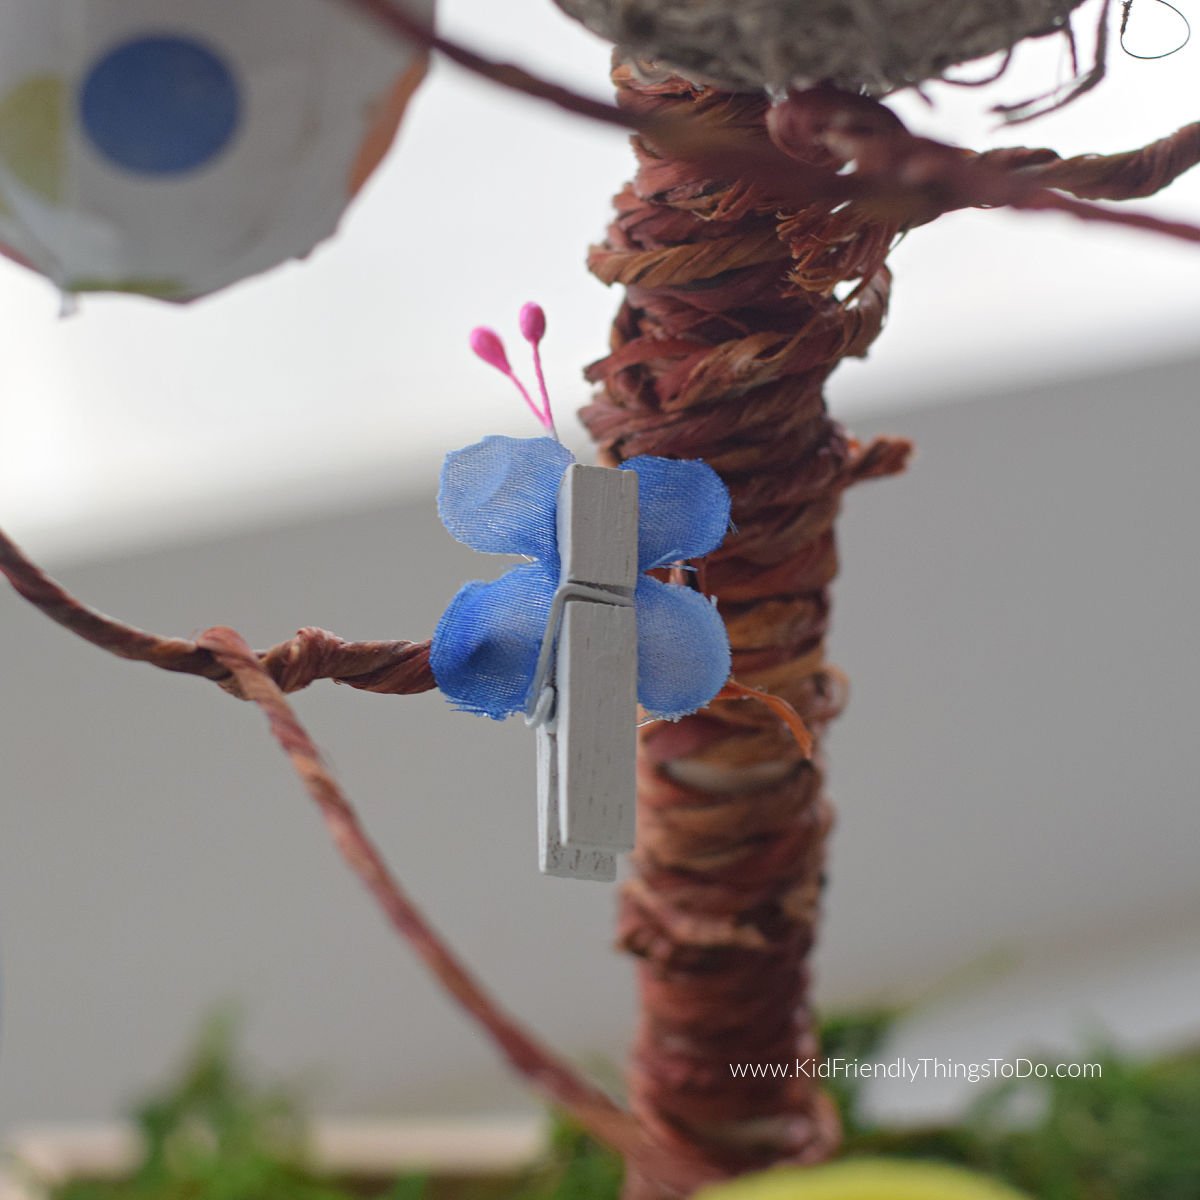
- Use a mini clothespin to clip a smaller simple flower to her back as fairy wings
- Make a mini fairy wand out of a toothpick and a star sticker so the fairies have magic wands
Variations
Make a Ballerina Fairy Doll by using cupcake wrappers as the skirt in place of the flower skirt
How to Make a Fairy Boy Doll
Follow the first few steps of making a fairy girl pipe cleaner doll. Trim the hair a bit more, and instead of using a flower, use the leaves from the flower as a covering for the boy
More Fairy Ideas You’ll Love
Printable Instructions for Pipe Cleaner Fairy Doll
How to Make a Fairy Doll
Materials
- 2 Pipe Cleaners
- Wooden bead for the head
- Embroidery Floss for the hair
- An Artificial Flower for the skirt
- Sharpies or Paint Markers I used blue and red
- Tacky Glue or Fabri-Tac glue
- Scissors
Instructions
- Cut a small piece of your pipe cleaner to use later – about 3 inches.
- Cut a long piece of floss – about three feet long to use as hair.
- Wrap the floss around your about four fingers – or a round object to make a long loop of floss.
- With your long piece of pipe cleaner, center it and bend it over the loop of floss.
- Twist the pipe cleaner to secure it.
- Pull pipe cleaner – with hair through the wooden bead.
- The hair should be just above the bead.
- Cut right down the center of the two loops of embroidery floss to let the hair flow down.
- Shape the hair and use glue to help secure the back of it to the back of the wooden bead
- Pull the middle piece of the flower out of the artificial flower.
- Holding the flower petals upside down, pull the pipe cleaner and bead through the center of the artificial flower and glue under the flower to secure it to the pipe cleaner
- Wrap the small piece of pipe cleaner you cut earlier just under the wooden bead/face and twist to secure
- Use the sharpies or paint pens to make facial features
Notes
Disclosure
This post may contain affiliate links. As an Amazon Associate, I earn a small commission from qualifying purchases. See my disclosure policy to read more. Adult supervision is required for each step of activities, recipes, crafts, and games with children. Small parts are a choking hazard.
~Melissa – KidFriendlyThingsToDo.Com