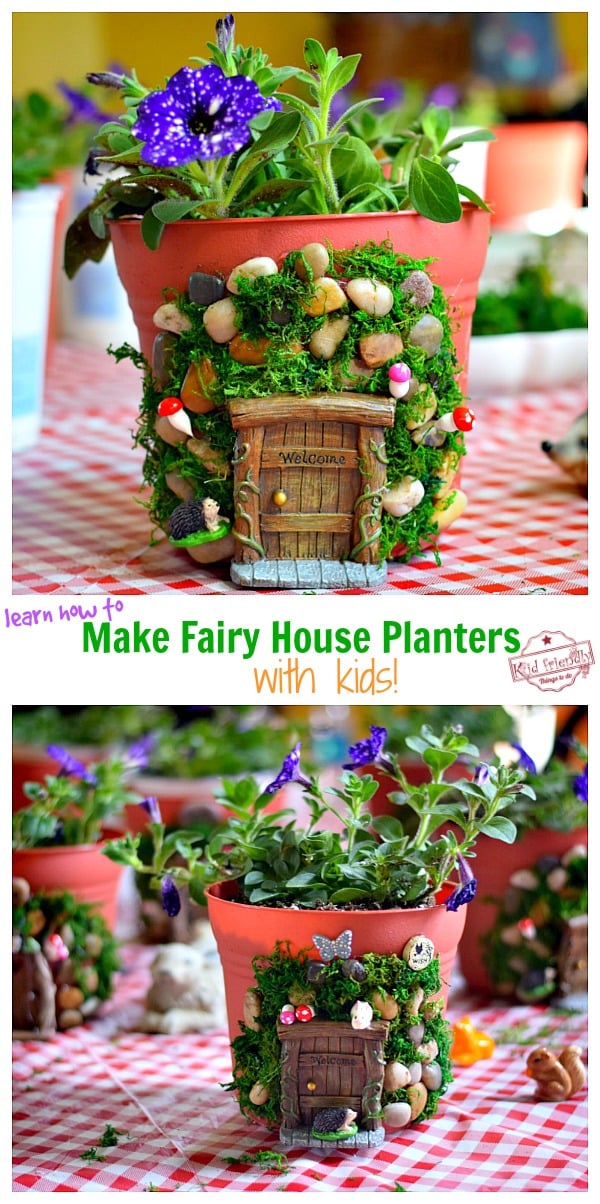
How To Make An Enchanted Fairy House Planter With Kids
This post may contain affiliate links – please read my disclosure statement.
Have you ever wondered…How you can build a Fun Fairy House with the Kids? Last week, I hosted a Garden Themed Birthday Party for my 10-year-old daughter. I’ve been dying to try these DIY Fairy House Planters and this was the perfect time to give it a go. I learned a lot through trial and error while making these Adorable Fairy Houses with the kids. I thought I’d share my experience and show you how to make these enchanting fairy houses with your kids this summer. Come on in and I’ll show you how to make these Fairy House Planters Kid Friendly…

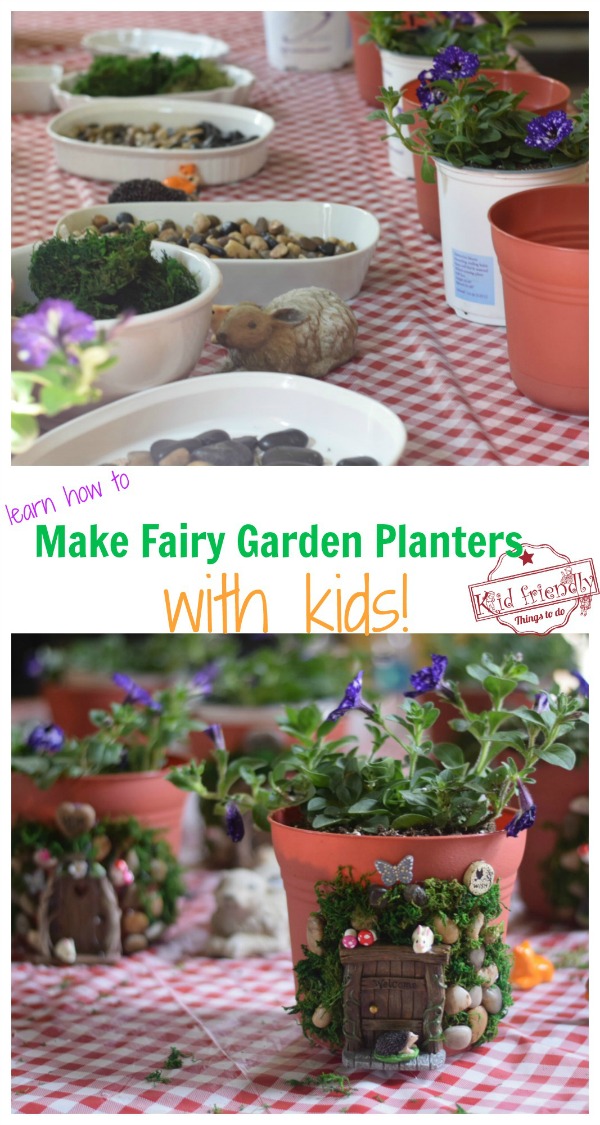
Fairy House Planter
Don’t you just love this Fairy House Planter? They make me smile every time I look at them.
Here’s a fun video to give you an idea of how this project will go.
I’m so glad that we finally got an opportunity to make these fairy houses. It’s such a fun memory.
While I planned the birthday slumber party, I did not intend on sharing this craft. Shocking isn’t it? Sometimes it’s just easier to craft without having to worry about the photography aspect, lighting, video taping, editing, and all of the hours of work it takes to post these ideas. I had already found a few tutorial on Pinterest for the craft. I figured that since it’s already out there from a few sources, that’s good enough. The only problem was that none of these tutorials were really geared toward making them with kids in mind. My intention was to make them with kids, so I thought I’d share my experience from that perspective. Here’s what I learned about this particular type of fairy house:
I’ll start off by sharing how I adapted this fairy planter craft for working with kids…
*If you look at other tutorials for Fairy House Planters, you’ll find that a lot of them use strong sealants and vice to get the big objects set in place. Some use other sealants up front that are pretty quick to dry, like Gorilla Glue, but still don’t really grip the objects fast enough for the kid’s attention span. We changed that up a bit. Instead of using a sealant up front, we used a low-temperature glue gun with an adult operating it (myself), to get the heavy objects, like rocks, in place. After the girls were done adding moss, they went off to play. Leaving the planters on their side, I squeezed a stronger sealant under the rocks and moss to give them a super strong seal. Our party was a slumber party, so we had plenty of time to let the sealant dry enough before we added extra accessories.
Here’s my recommendation for doing this with more than 1 kid…
*Allow plenty of time for the craft. If you can, do it in 2 stages. One for gluing rocks and the door, then finish up with moss, and decorations later (maybe an hour later)- after the strong sealant glue has had time to dry. A slumber party would be your best case scenario. You can start the craft right away and finish at the end.
*If you plan on doing this as a party craft, I would suggest either doing it with a small group of kids – ages 10+ like we had, or having plenty of assistants to help offer 1 on 1 with younger kids. Because the glue dries quickly and you can’t really pass it around, you’ll need plenty of glue guns for your adult helpers. Our party consisted of 6 girls ages 10 and 11 with my 15 year old daughter helping.
I could only find 1 glue gun, so I did the houses with the girls individually. The kids were older, so they could wait patiently while I worked as quick as I could with the other girls. They were able to chat, gather their supplies and plan out their planter fairy garden as they waited for me to come around and put glue down for them. I’m not sure you’d have the same patience from little ones. Hence, my suggestion to have plenty of glue guns and adult helpers to operate them on hand for young ones.
Younger kids…
*Another alternative and suggestion for really young ones is to have the door and rocks already glued on. They call fill in the moss, add the decorations and even help plant the flower. This will still provide them with plenty of fun crafting with you
Here are my Top Picks from Amazon for this DIY Fairy House
(affiliate links)
[box]  TRUEDAYS 6.6" Plastic Flowe...Shop on Amazon
  Forest Moss Preserved, Fresh Green, 8oz") SuperMoss (25322) Forest Mo...Shop on Amazon
SuperMoss (25322) Forest Mo...Shop on Amazon  Natural Polished Mixed Colo...Shop on Amazon
  Top Collection Miniature Fa...Shop on Amazon
  Top Collection 7" Miniature...Shop on Amazon
  Twig & Flower Fairy Garden ...Shop on Amazon
  Top Collection 6.25" Miniat...Shop on Amazon
  BEACON Fabri-Tac Premium Fa...Shop on Amazon
  E6000 231020 Adhesive with ...Shop on Amazon
 ") Gorilla Super Glue Gel, Two...Shop on Amazon
Gorilla Super Glue Gel, Two...Shop on Amazon  Darice LowTemp Mini Glue Gu...Shop on Amazon [/box]
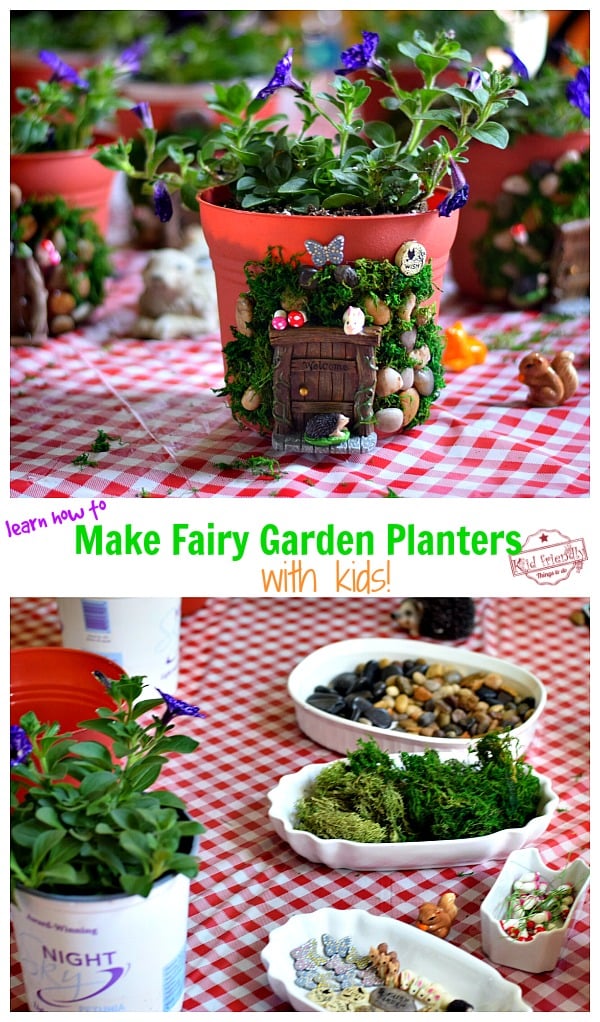
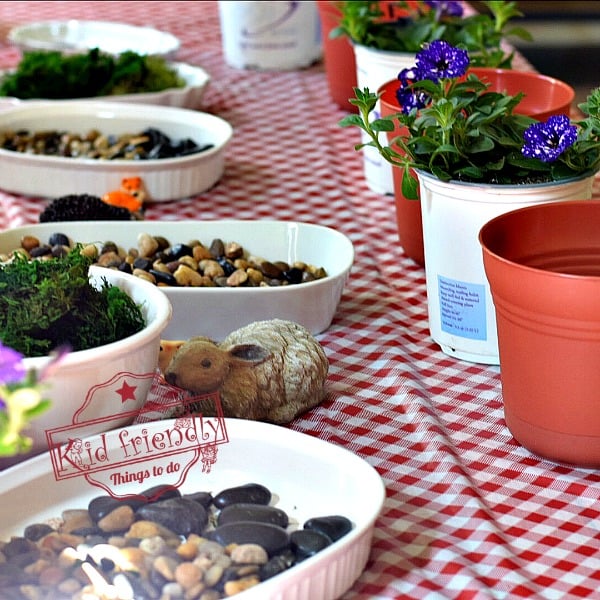
Here’s What You’ll Need for Your DIY Fairy House Craft or Party…
These are the items that I found at the Dollar Tree – only $1 per item!
- 6 inch plastic pot
- 8 inch clear saucers for the pots
- bags of stones
- Moss
- A plastic tablecloth to protect your work surface
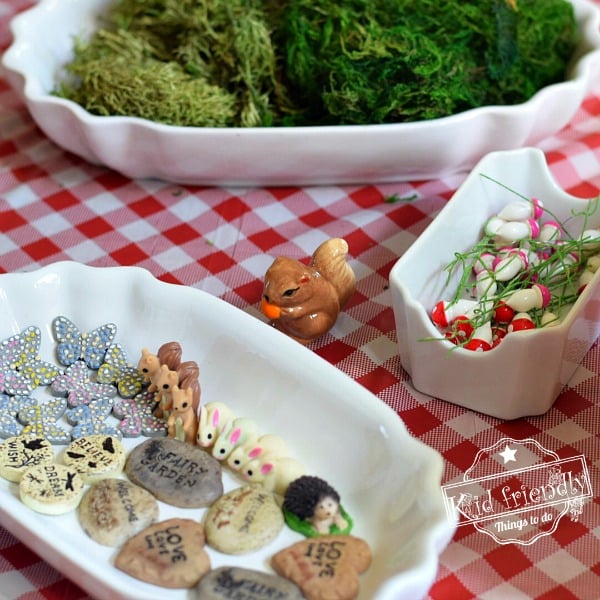
Now, the stuff that I couldn’t find at the Dollar Tree and found at Michael’s Craft Store – They have an aisle dedicated to Fairy Accessories
- Miniature Fairy Garden Door
- Miniature Woodland Animals (I bought a variety – enough for 1 per girl) – I had squirrels, rabbits and hedge hogs
- Miniature butterflies
- Miniature rocks that said, believe, wish, welcome, etc… (I bought 1 per girl)
- Miniature mushrooms with stems – these give a nice pop of color to the gray and brown stones
Other…
- 6 inch flower plant – I found beautiful Night Sky Petunias at Menards – Purple just happens to be my younger daughter’s favorite color
- Heavy rocks or other heavy object that fits into the planter – I found medium sized rocks around my flower beds. We only used them to hold the pot in place as we crafted
Now, lets’ talk glue…
Rocks can be pesky and tend to fall off of the plastic pot. So, you’ll want an arsenal of glue
- A LOW Temperature Glue gun with glue sticks – The kids or you will need to immediately place the rocks on, and might come into contact with the warm glue. I would ONLY use a low temp. gun for this. Hot glue is just too hot and can burn skin. *With that said, always be sure to have adult supervision with anything like this. Use your own judgement on whether or not you want the kids to push the objects into the warm glue. Because I’ve used my low temp. glue gun for years, I felt confident in letting the girls push the rocks into the warm glue, but I can not speak for you and your kiddos.
- A strong adhesive glue – I used E6000 Industrial Strength. It’s an industrial strength adhesive. You can find it at stores like Target or Michael’s craft store. I also had some Gorilla Super Glue in the cabinet and even added that for good measure. I did not want any sad faces, so I glued those rocks on tight!
- Tacky glue that’s waterproof – My glue of choice is Fabri-Tac. They don’t sponsor me. I just love it. It holds almost immediately. It’s not strong enough for the stones, but perfect for moss. If you have several kids – have a few bottles handy
Finally, on to the Instructions for these adorable Fairy House Planters
*If time allows, you’ll want to do this in 2 stages. Glue the rocks and moss, and then come back around an hour later, after the sealant glue has had time set, to glue the rest of the accessories with tacky glue.
- You’ll first want to set everything out for the kids.
- Have the kids gather their supplies and have them next to them, ready to glue on
- They’ll want a pile of stones, their door, and the other accessories for the fairy house
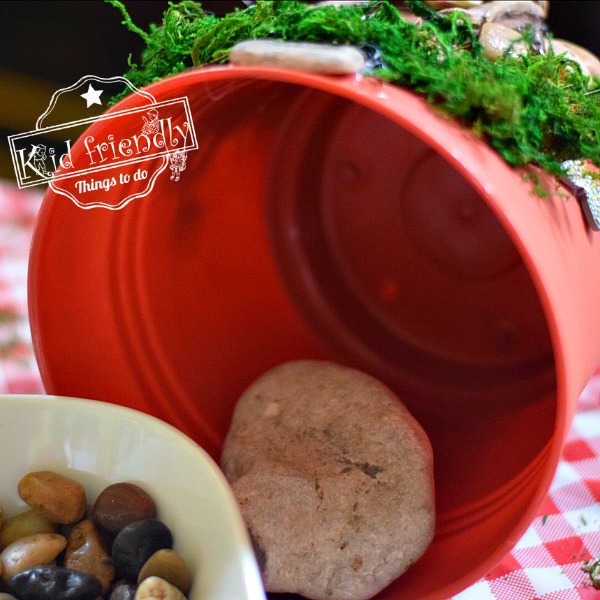
- *My 15-year-old and I did a practice run before the girls arrived. I’m so glad that we did. We learned that you’ll need a heavy object in the pot to hold it still. This way the kids can use both of their hands for crafting and not stress over the pot turning every time they try to decorate it
- Set your pot on its side and secure it in place with a heavy object
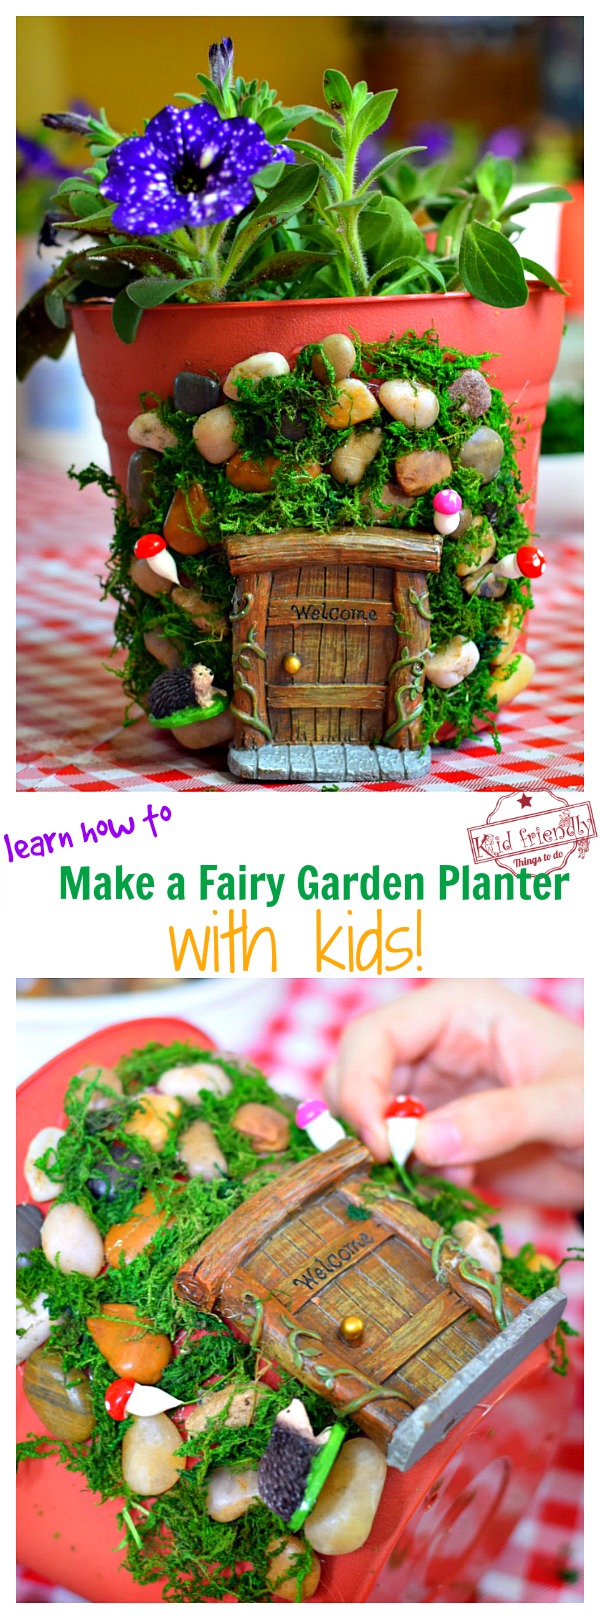
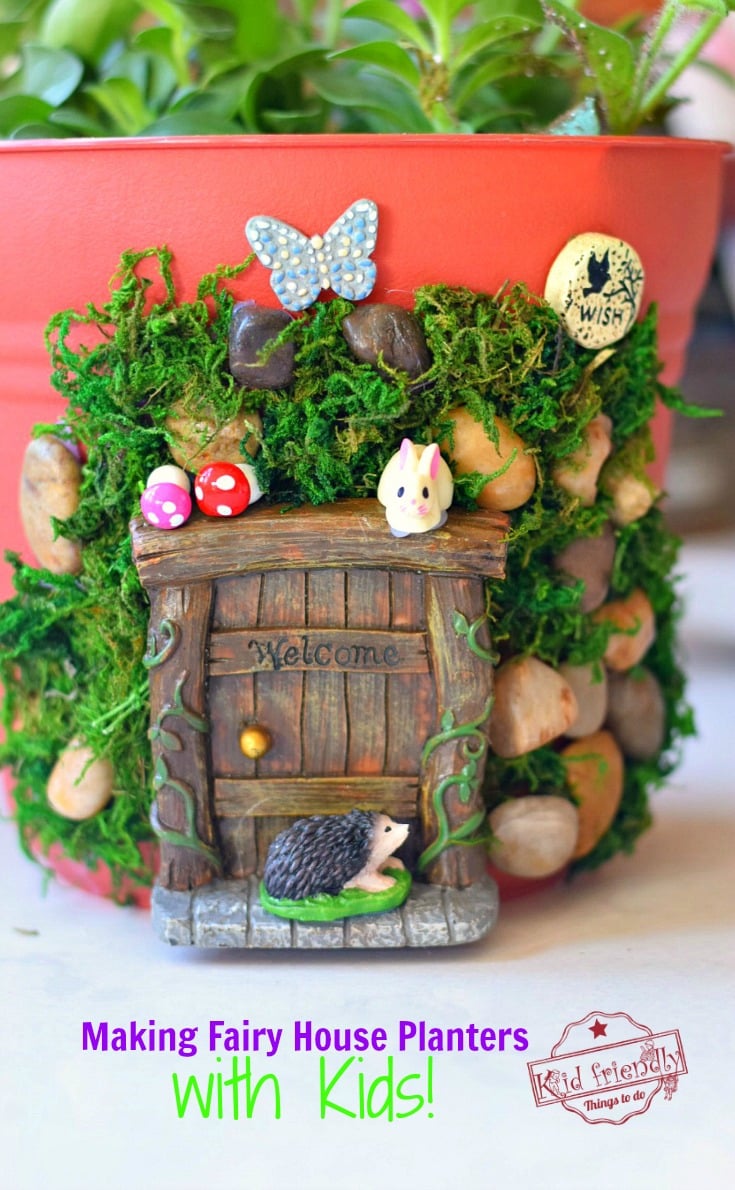
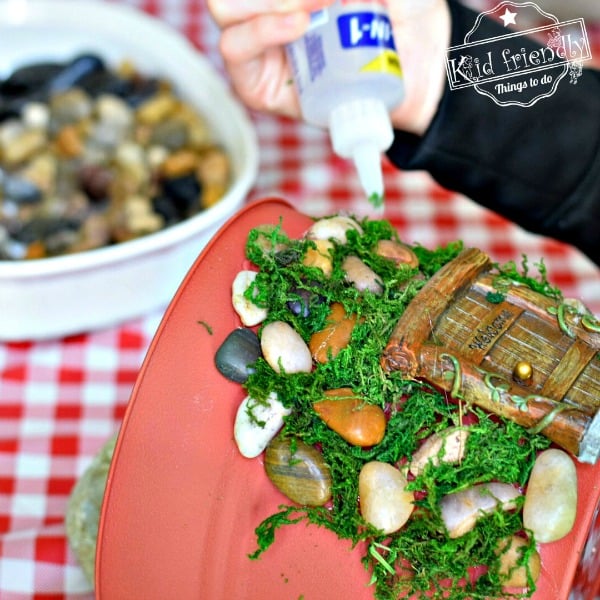
- Add some warm glue to the back of the door and place the door at the bottom of the pot
- Hold it down for a few seconds as the glue sets
- Going in an upside down U pattern around the house, place a couple of dabs of glue from your glue gun down for stones
- Quickly place the stones down before the glue sets – It sets quick, so only do a couple or few at a time
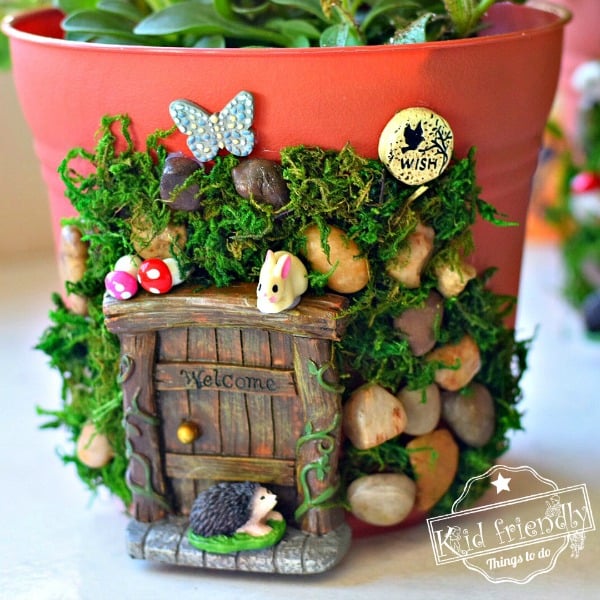
- *You don’t need to place stones right next to each other. Leave space between, because you’ll fill the empty spaces in with moss
- Once you’ve got all the stones in place, the kids can glue the moss down themselves with your tacky glue
- If a rock pops off while they work, just add another dab of warm glue and fix it or leave that space open for moss
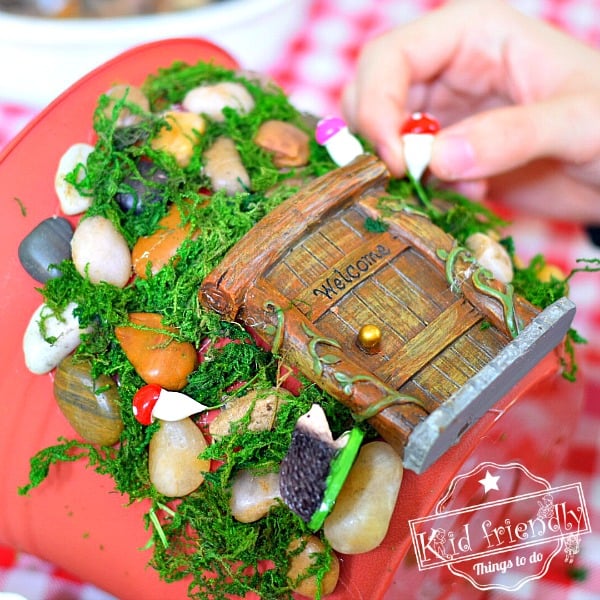
- If the rocks are holding nice and tight, then go ahead and add accessories using the warm glue gun
- You can trim the stems on the mushrooms, if needed
- If the rocks are popping off, then go ahead and fix them. Hold off on adding accessories. Meanwhile, while the kids do something else, go behind the door and all of the stones with your super strong industrial adhesive. Let the set up for at least an hour and then move on with the rest of your decorations
- Again, go behind the decorations with the stronger adhesive and let it set up
- *It really depended on how long the kids held the rocks in place while the warm glue set up. My girls had zero problems with the rocks popping off, but some of the girls that hurried through without letting the glue set had issues. If they do fall, just add more glue and try again. Don’t worry, I did this with 6 girls and 1 glue gun! You can do it!
Should you put your Fairy House Planter Outside in your Garden?
- IF you went behind everything with both of the strong adhesives that I suggested – YES! You can definitely leave it outside. I still have one sitting on my back porch. There is some fading from the sun, but everything is still perfect and just like we left it. I live in the Chicago are which has harsh winds, and temperatures. It’s a great place to test the strength of the glue.
That’s it! I hope that I helped you with some suggestions on making these DIY Fairy Houses with kids.
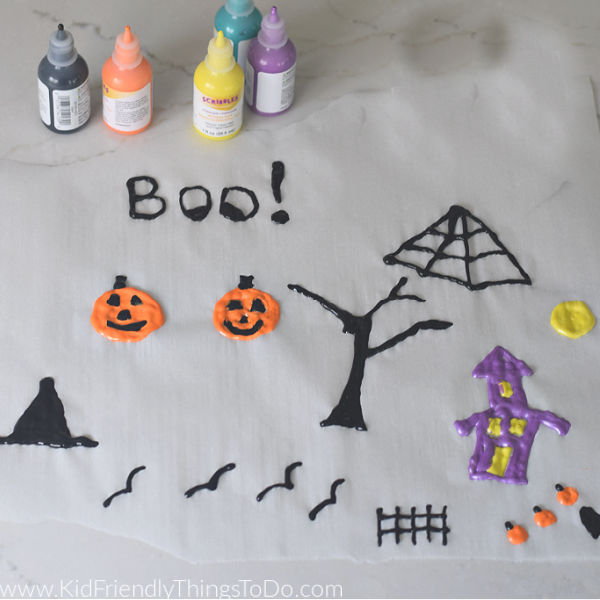
Now…if you still need some fun crafts for spring, check these out…
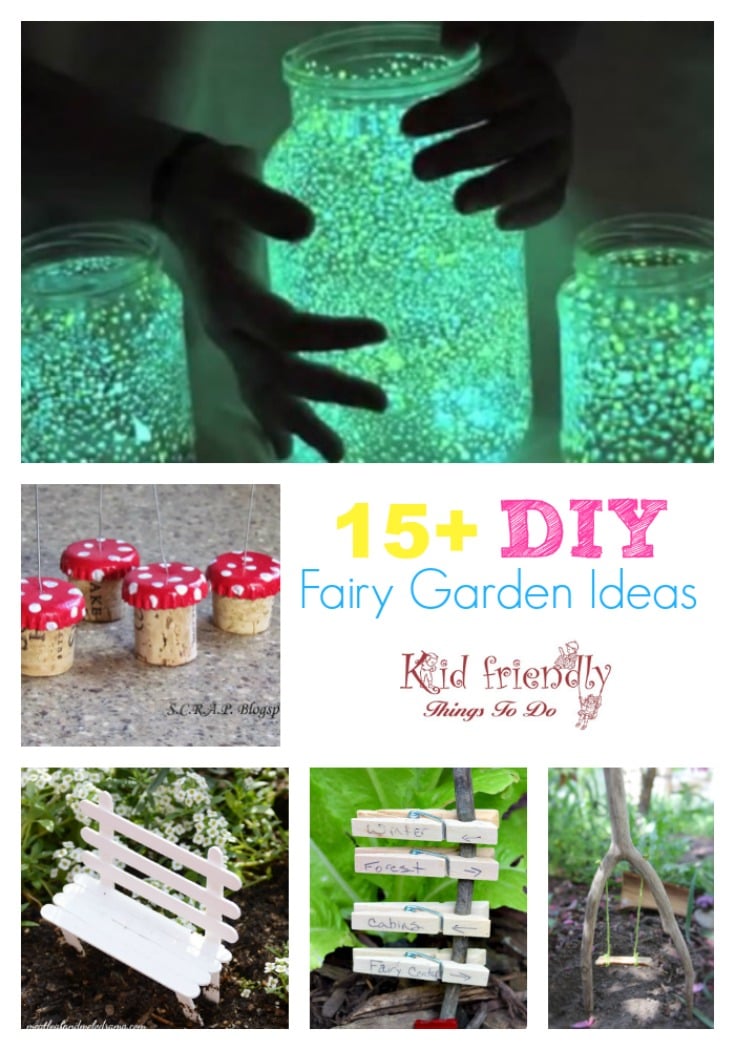
Over 15 DIY Fairy Garden Ideas
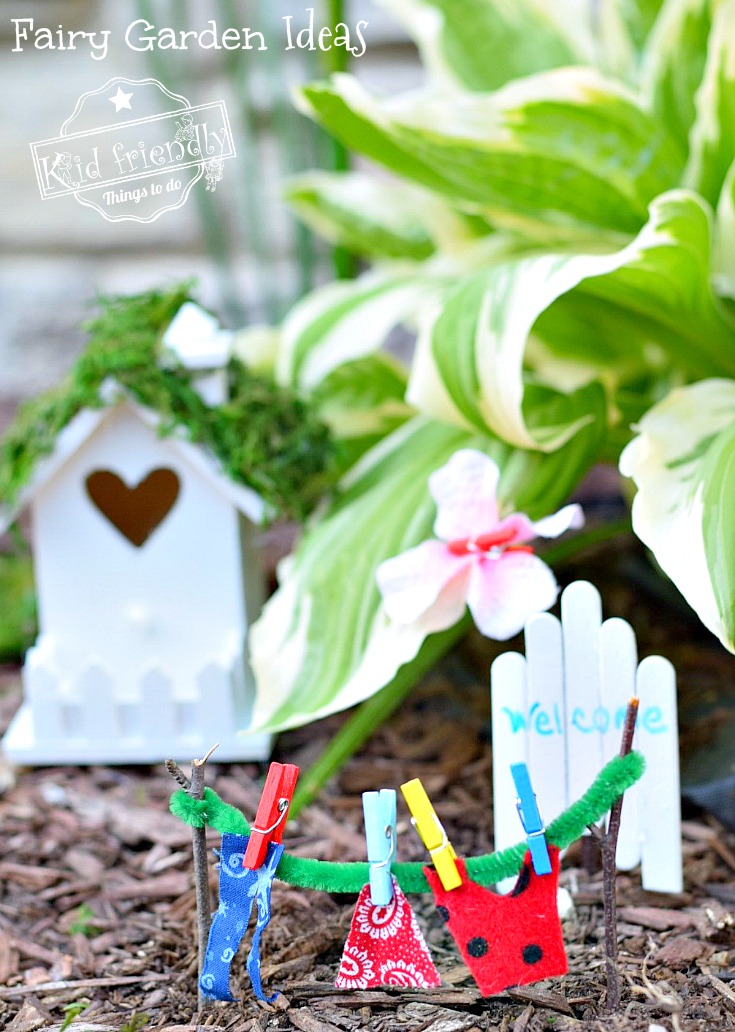
Make a clothesline for your Fairy Garden


How cute they are! thanks for your sharing, I will try making them for my baby. hope to success like you
You will do great! Thank yous so much for you wonderful compliment.