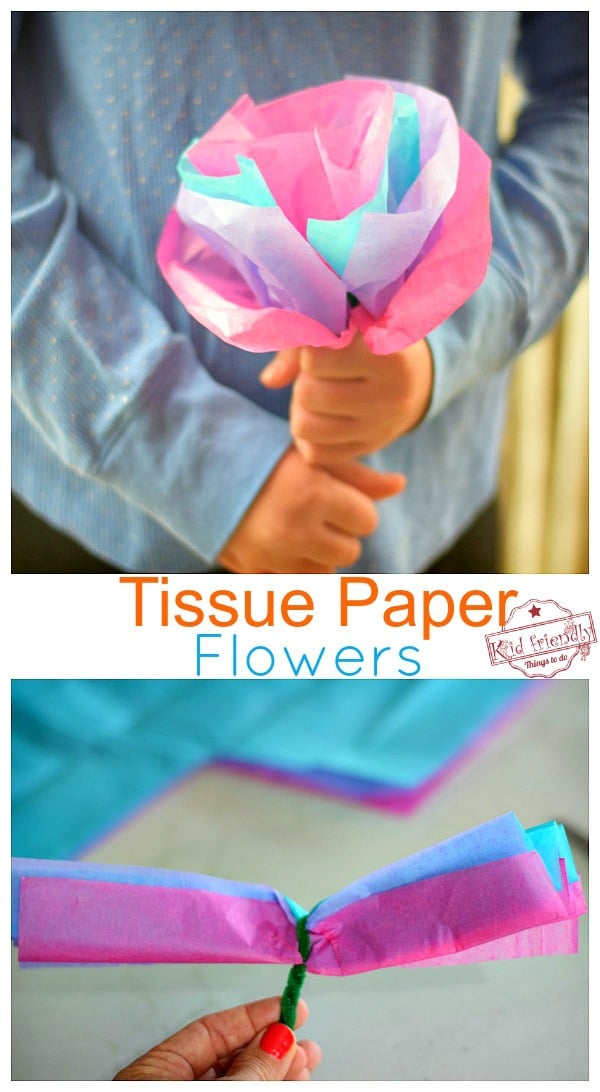
How to Make Tissue Paper Flowers
This post may contain affiliate links – please read my disclosure statement.
Making tissue paper flowers has been one of my favorite spring crafts for years. As a room parent for all four of my kids’ kindergarten classes, I helped hundreds of little hands fold, twist, and fluff these colorful flowers for Mother’s Day celebrations, classroom parties, and spring bulletin boards. Even after all these years, it’s still one of those simple crafts that every child gets excited about because each flower turns out a little different.
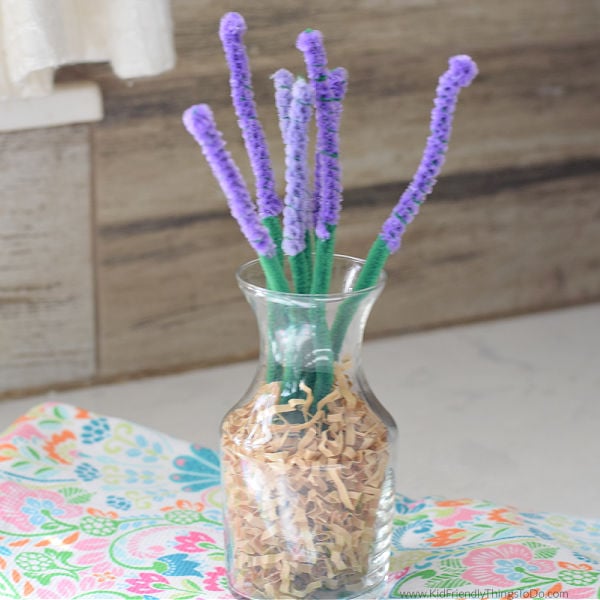
I’ve also made these tissue paper flowers countless times at home with my own four kids. One of the things I love most is how easy they are to customize throughout the year. In the spring, we reach for soft pastel colors like the flowers pictured here. At Christmas, we simply swap the tissue paper for festive reds and greens to create homemade holiday flowers that are just as beautiful. It’s an inexpensive craft that never seems to go out of style.
In this tutorial, I’ll show you two easy ways to make tissue paper flowers. The classic version creates soft, fluffy blooms, while my favorite technique is to round the edges of the folded tissue paper before separating the layers. That one simple step gives the flowers a fuller, more realistic look—perfect for homemade bouquets, classroom decorations, or heartfelt gifts that parents and grandparents will treasure.
Why Kids Love Making These Easy Tissue Paper Flowers
- Easy enough for preschool and kindergarten kids
- Makes a heartfelt Mother’s Day gift
- Great classroom craft
- Easy to customize for every season
- Beautiful enough to display at home
Supplies Needed to Make Tissue Paper Flowers
- 4 pieces of tissue paper – At least two different colors
- Green chenille stems (pipe cleaner)
- Scissors
How to Change the Size of Your Tissue Paper Flowers
Make small tissue paper flowers – You can easily make small or giant tissue paper flowers just by adjusting the size of the tissue paper rectangles.
Smaller rectangles create mini flowers, while larger rectangles create oversized blooms perfect for decorations and classroom displays.
| Flower Size | Rectangle Size | Best For |
|---|---|---|
| Mini | 3 x 5 in. | Cards & bouquets |
| Medium | 4 x 6 in. | Gifts |
| Large | 6 x 10 in. | Classroom displays |
| Giant | 8 x 12 in. | Party decorations |
How to Make Flowers out of Tissue Paper
One of the best things about making flowers out of tissue paper is that every flower can look completely different. Try mixing pastel colors for spring, bright colors for birthday parties, or red and green tissue paper for Christmas decorations. Simply changing the colors or petal shape creates an entirely new look.
Step 1: Cut and Layer the Tissue Paper
- For small flowers – Cut out 3 x 5-inch rectangles or smaller
- For Large flowers, like the ones above – cut the rectangle larger – about 6″ x 10″
- Layer 4 pieces of tissue paper – alternate the beautiful colors on top of each other
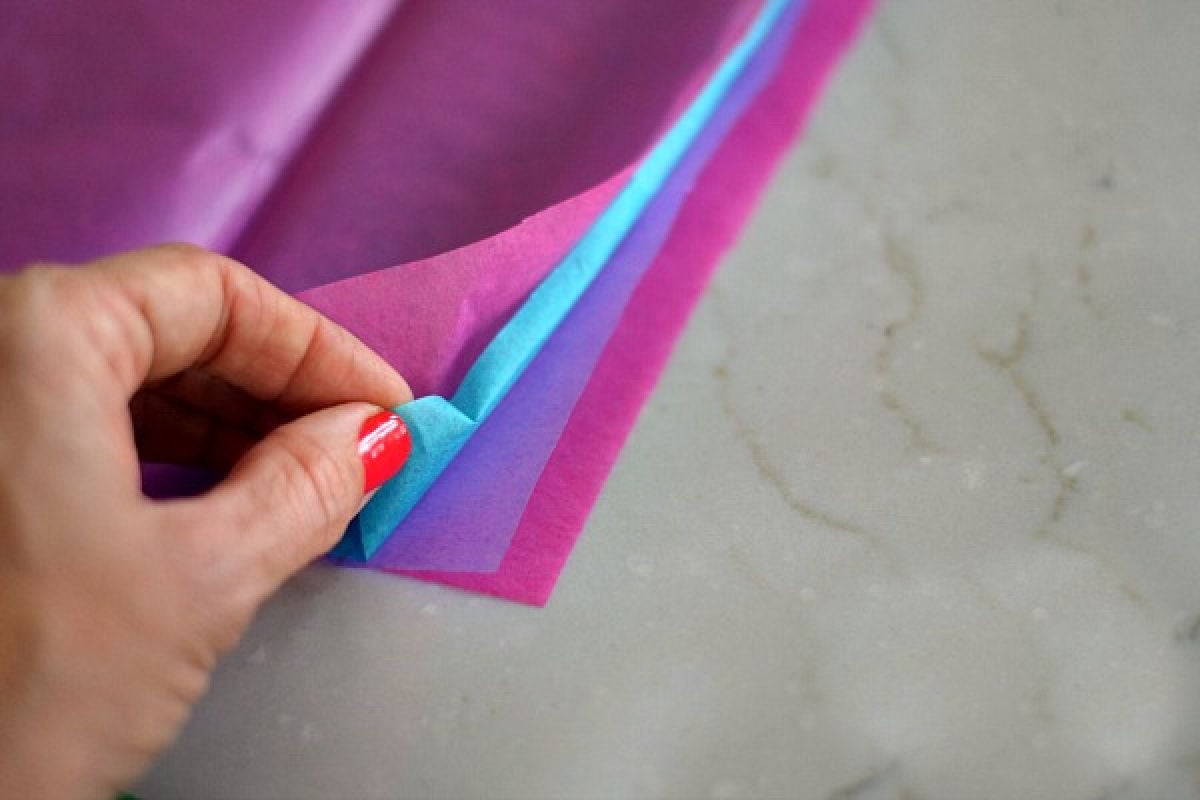
Step 2: Accordion Fold the Tissue Paper
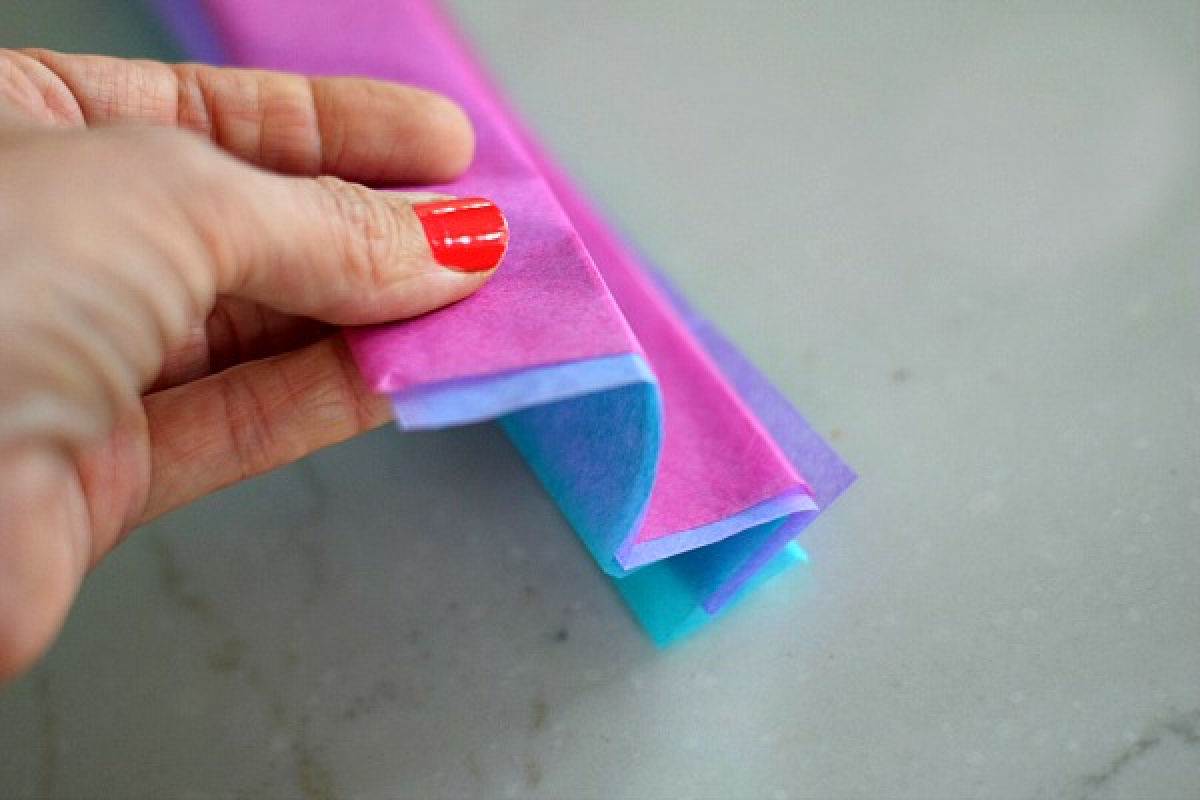
- Accordion Fold the tissue paper – with the papers stacked together, start at one end and make a 1/2 inch fold, then flip the paper over and fold it the other way. Flip it again, and make another fold. Do this until you get it all folded
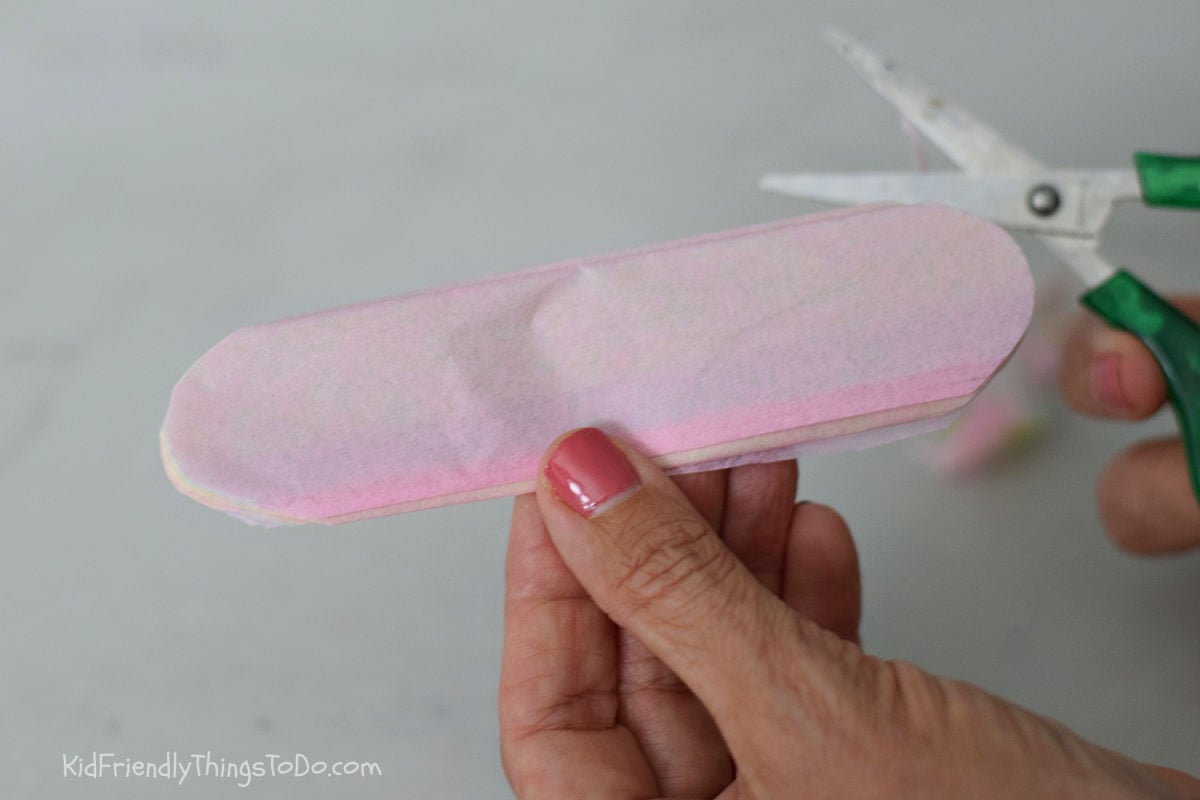
- *For a rounded edge – After the stacked paper is folded, you can now take your scissors and curve the ends of the tissue paper
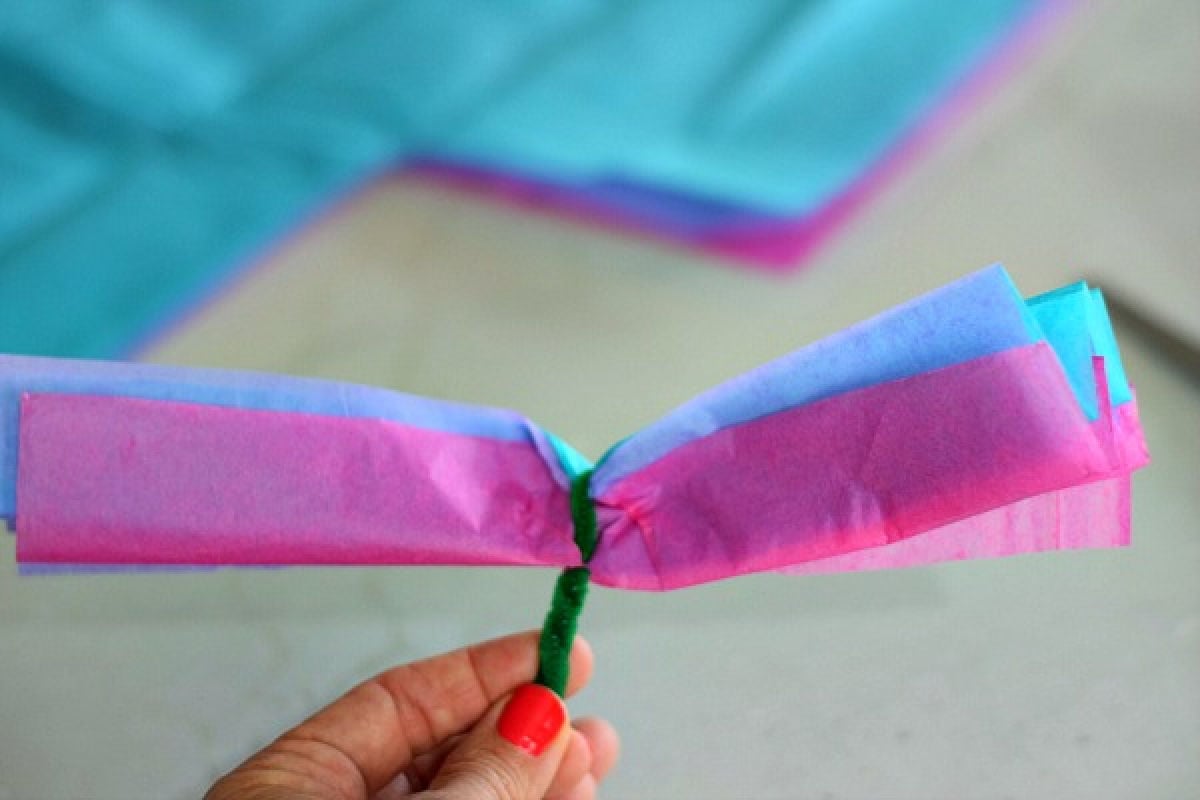
Step 3: Add the Pipe Cleaner Stem
- Lay your pipe cleaner down. Place the center of the accordion rectangle across it, about 2 inches down from the top of the pipe cleaner.
- Fold the pipe cleaner over the folded tissue paper, making a tight fit around the tissue paper.
- Twist the pipe cleaner several times, so that the middle of the accordion fold is pulled together and bunched up
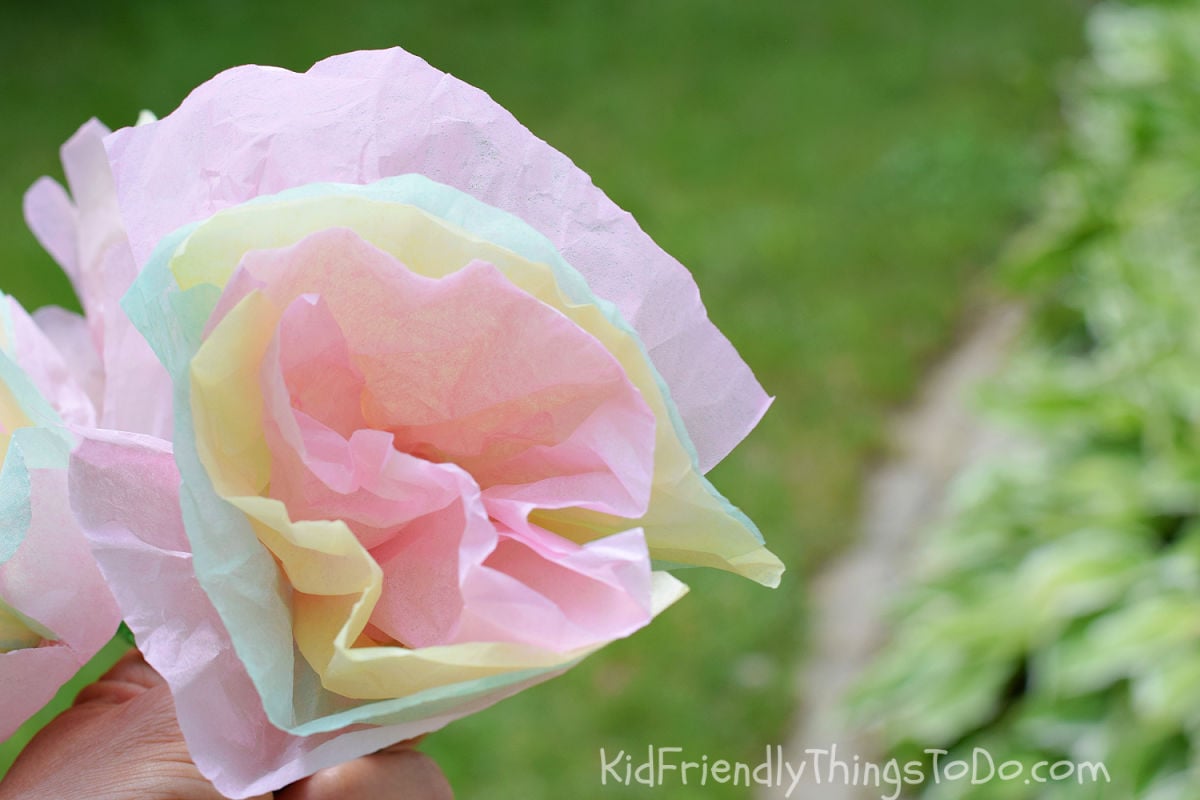
Step 4: Fluff and Shape the Tissue Paper Flower
- Now, carefully start pulling up the tissue paper sections from the center to the outside, one at a time
- You can cup the finished flower in your hands and squeeze down a bit to mold it
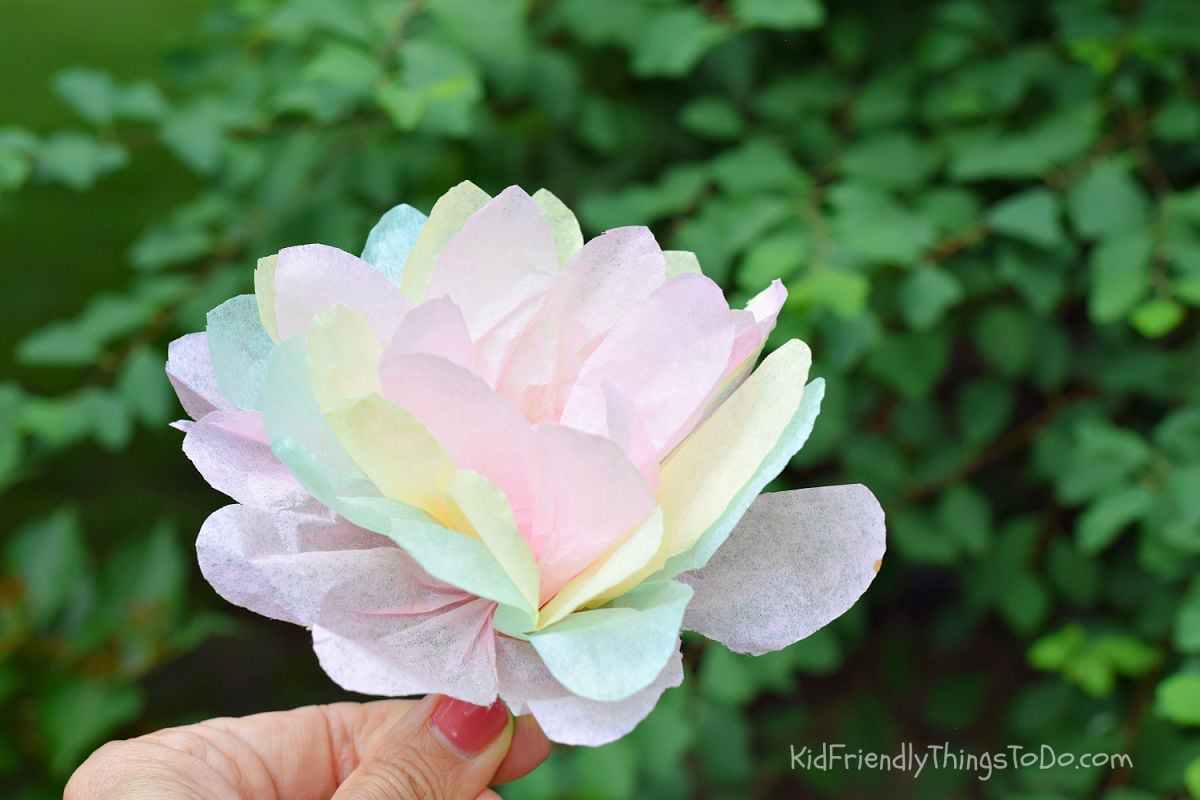
How to Make Flowers with Tissue Paper Using Scalloped Petals
If you love the classic fluffy flower, you’ll love this simple variation even more. Before pulling apart the tissue paper layers, use scissors to round each end of the folded stack. Once the petals are gently separated, the flower has a softer, fuller look that resembles a blooming peony. It’s my favorite way to make tissue paper flowers for bouquets and Mother’s Day gifts.
Step 1
After you accordion fold your tissue paper, round the edges
Step 2
Follow setp 3 and 4 above to finish your flower
Making Tissue Paper Flowers with Kids
I’ve made tissue paper flowers with my own four kids and with hundreds of kindergarten students as a room parent over the years. It’s one of those crafts that always ends with proud smiles because every child creates something beautiful. Besides being fun, this activity encourages creativity while helping children practice folding, pinching, twisting, and carefully separating the tissue paper layers.
Teacher Tip: For younger children, cut the tissue paper rectangles ahead of time so they can focus on folding, twisting, and fluffing their flowers.
Besides being fun, making tissue paper flowers helps children strengthen fine motor skills through folding, twisting, pinching, and carefully separating each layer of tissue paper. These are the same hand muscles children use later for writing, cutting with scissors, and many everyday classroom activities.

Making Tissue Paper Flowers for Every Season
| Occasion | Color Ideas |
|---|---|
| Spring | Pink, Yellow & Lavender |
| Mother’s Day | Pink, Coral & White |
| Summer | Bright Rainbow Colors |
| Fall | Orange, Gold & Burgundy |
| Christmas | Red & Green |
| Cinco de Mayo | Red, White & Green or Bright Fiesta Colors |
One of the things I love most about this craft is how easy it is to change the look just by switching the tissue paper colors. We’ve made soft pastel flowers for Mother’s Day, bright rainbow flowers for classroom parties, and every Christmas my kids loved making festive red and green flowers to decorate gifts and holiday tables.
Cinco de Mayo tissue paper flowers are a fun way to decorate for a fiesta. Use bright yellow, orange, pink, and turquoise tissue paper, or stick with the traditional Mexican flag colors of red, white, and green for colorful table decorations.
Fun Ways to Use Tissue Paper Flowers
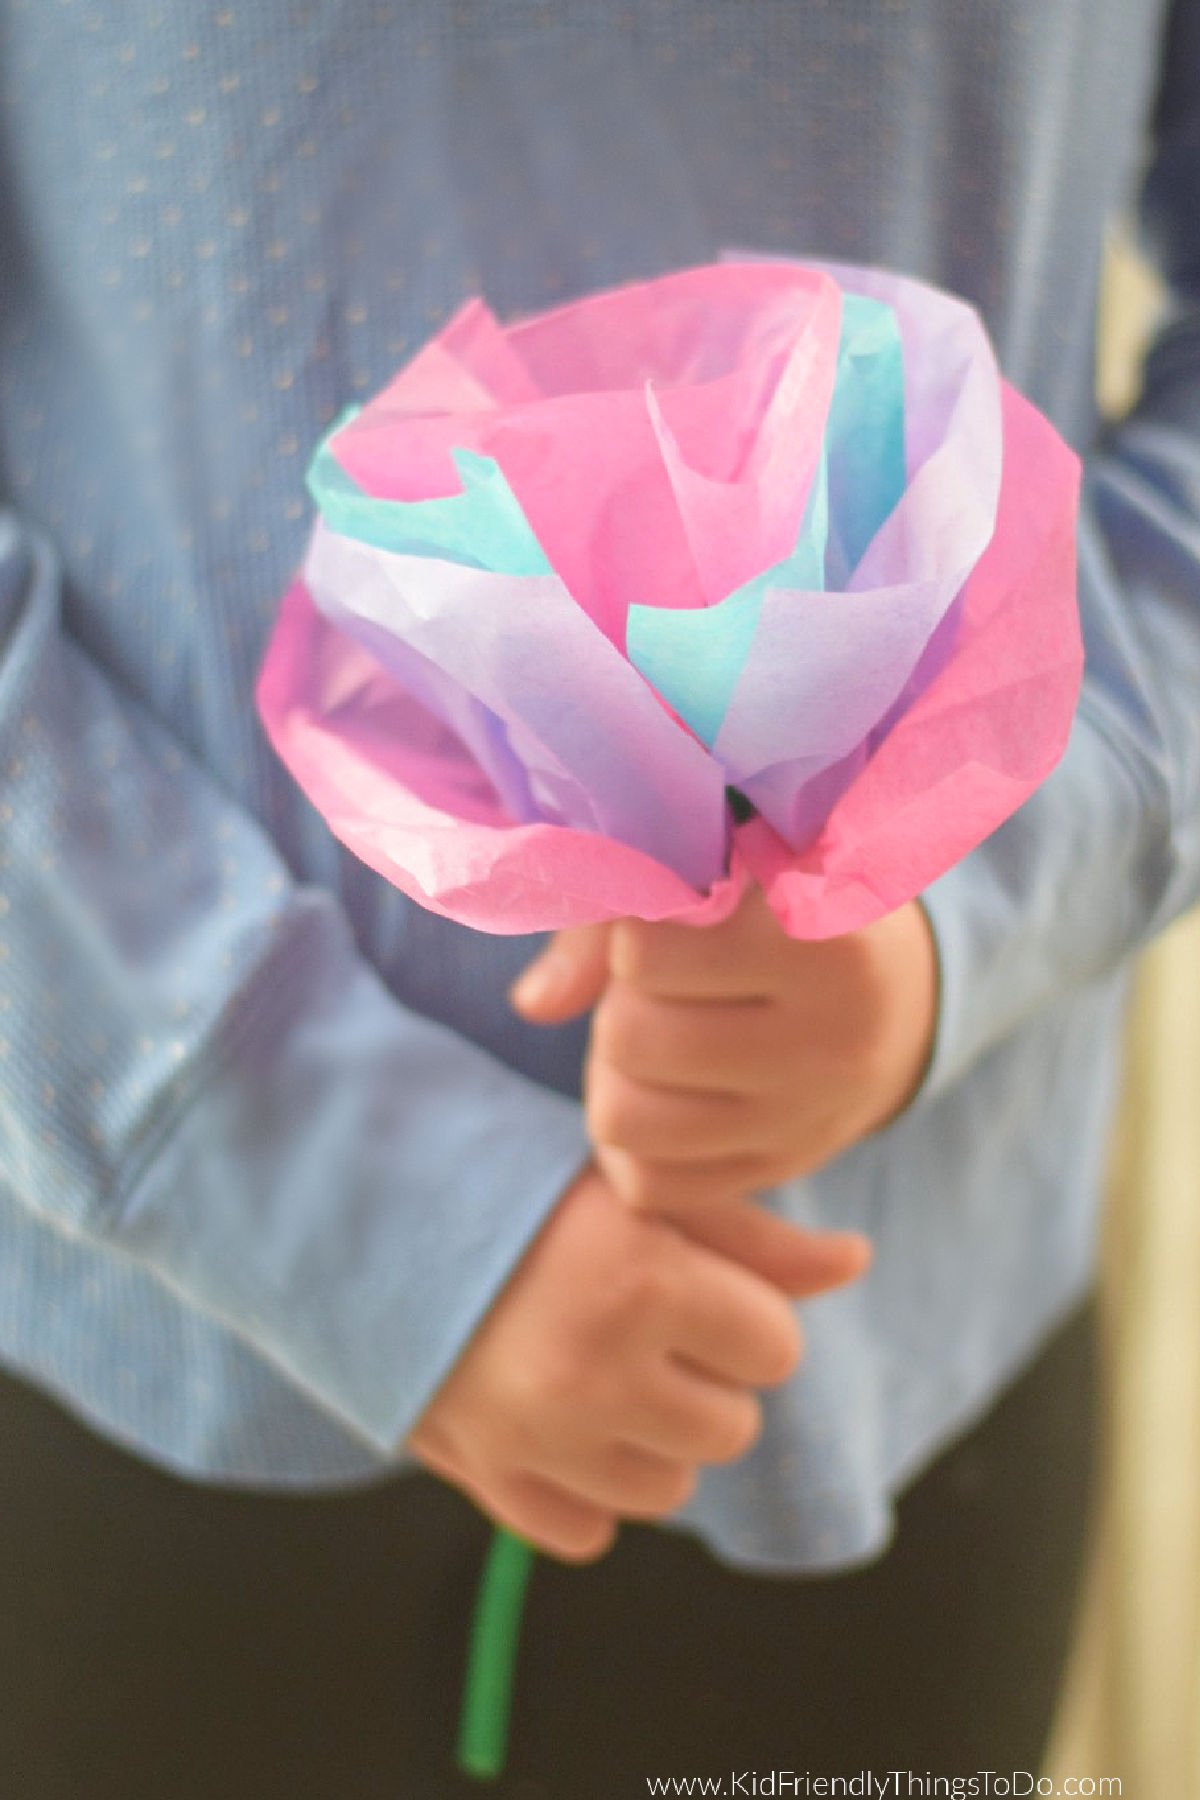
Tissue paper flowers are a great gift for friends or on Mother’s Day.
- Make colorful bouquets for Mother’s Day gifts or use as centerpieces
- Use them as classroom or bulletin board decorations
- Create spring party centerpieces
- Hang them around doorways or windows for cheerful decorations
- Add them to gift wrapping for a homemade touch
- Use them as wall decorations
FAQs
Yes! Younger kids may need help with cutting and accordion folding, but preschoolers love fluffing and shaping the flowers.
I usually use between 4 and 8 sheets of tissue paper. More layers create fuller flowers.
Easy! Shorten the pieces of tissue paper. The flower will be as wide or narrow as you want it to be, depending on the length of the tissue paper you use
Regular gift-wrap tissue paper is my favorite because it’s lightweight, inexpensive, and easy for kids to separate into fluffy petals. I usually use 4–8 sheets depending on how full I want the flower to be.
More Flower Crafts You’ll Love
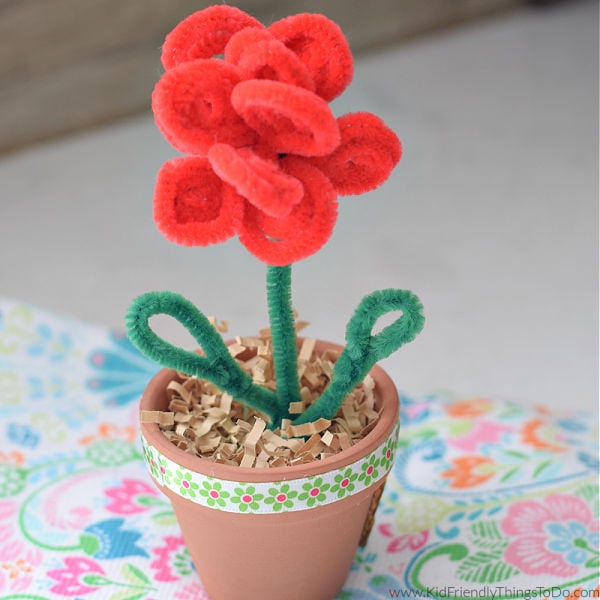
When springtime rolls around, we all look for bright, cheery, and colorful ways to brighten up the house. I love to get out some of the cheerful crafts the kids have made over the years, like these plastic spoon flowers, recycled water bottle flowers, or this adorable popsicle stick flower pot.
Supplies We Like for Making Tissue Paper Flowers
[box]  Creative Hobbies Rainbow Ti...Shop on Amazon
 ") EBOOT 100 Pieces Pipe Clean...Shop on Amazon
EBOOT 100 Pieces Pipe Clean...Shop on Amazon  CCR Scissors 8 Inch Soft Co...Shop on Amazon
  Paper Edger Scissors Craft ...Shop on Amazon
 ") Baker Ross Ltd Maped Kidicu...Shop on Amazon
Baker Ross Ltd Maped Kidicu...Shop on Amazon  Stanley 5” Kids Scissors,...Shop on Amazon[/box]
Watch How to Make Tissue Paper Flowers Step-by-Step

Tissue Paper Flowers
Equipment
- 1 Pair of scissors
Materials
- 4 pieces tissue paper try to use at least 3 different colors for contrast
- 1 green pipe cleaner
Instructions
- For a smaller flower cut tissue paper into 3×5 inches. For a larger flower cut tissue paper into 6×10 inches
- Alternating colors – Set the cut tissue paper on top of each other so they line up evenly
- Accordian fold the tissue paper
- Center the tissue paper over the pipe cleaner and set it down about 2 inches from the top of the pipe cleaner
- Fold the pipe cleaner around the center of the tissue paper and twist it to make it secure and hold the paper tightly
- Gently pull the edges of the tissue paper up one-by-one
- Use your hands to form the flower into a more rounded shape
More from Kid Friendly Things To Do
- Old Fashioned Fresh Peach Cobbler
- Leprechaun Trap Ideas for Kids
- Slushy Recipe
- Lightning Bug Craft (Printable for Kids)
- Fish Craft for Kids
- Olive Garden Meat Sauce Recipe
~Melissa
KidFriendlyThingsToDo.Com

Thank you for posting the “how to’s” of the tissue paper pipe cleaner craft. I remember doing them as a kid, but that was a long time ago (I’m now a grandma : ). You made it so easy to pick up where I left off!
Gwen Young
You are very welcome. I hope the pictures help explain it. I need to make a video on this craft to help even more. Enjoy your tissue paper flowers.