DIY – An Uncle Sam Hat Made From A Solo Cup Craft
This post may contain affiliate links – please read my disclosure statement.
Oh my goodness…I just love this cute Uncle Sam hat! How cute would these look on the patriotic decorated table? Or, on a classroom of little ones on Flag Day?! So cute! Here are the instructions:
You’ll Need: For each hat:
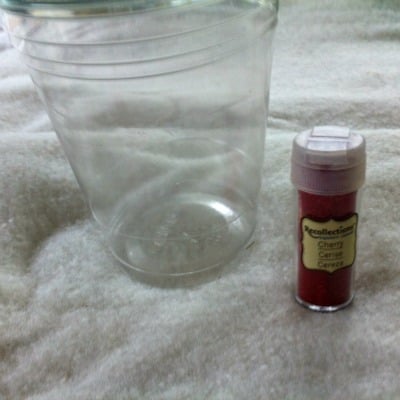
- A Clear Solo Cup – 5″ tall
- A Hole Punch
- Red ribbon (3 ft.)
- Red glitter – I like to use the super fine glitter. I think it sticks better
- Spray Adhesive (or hairspray)
- White rick-rack (about 40″)
- Navy Blue Felt – I found a sheet with an adhesive backing, but that’s not necessary
- (you’ll need a 1″x12″ strip, and a 6″x6″ square)
- Red or White Star to accent the hat
- A warm glue gun
Now, on to the hat!:

- Protect your crafting surface and set out your supplies
- With the cup upside down, decide where you want the ribbon to go. This will tie the hat onto the kid’s heads. There should be a hole on either side of the cup, about 6 inches apart. Punch holes into each side of the cup to hold your ribbon.
- If you can’t find a hole punch…here’s a little trick I discovered. Using the warm glue gun, hold the warm tip up to the plastic cup and let it melt a hole into the side.
- Cut the 3 ft. of ribbon in half, and tie one to each hole. Tying a knot to secure it

[box] [/box]
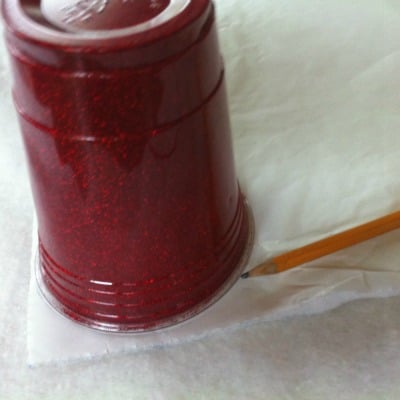
- Generously spray the inside of the hat with the adhesive spray, and sprinkle the red glitter all around. Roll the cup around spreading out any extra glitter, until the inside is filled with glitter

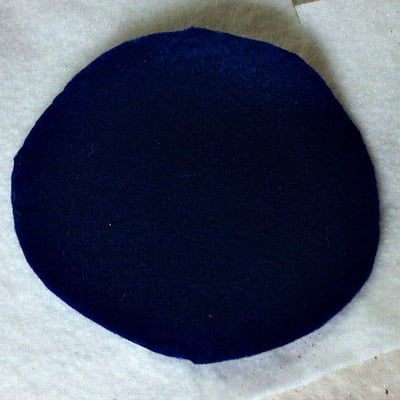
- Cut a circle out of the 6″ square of blue felt that is about 5″ in diameter. I turned my cup upside down and traced it, then cut the circle out a little larger than my traced circle. About 1/2″ wider all around. Set your circle aside

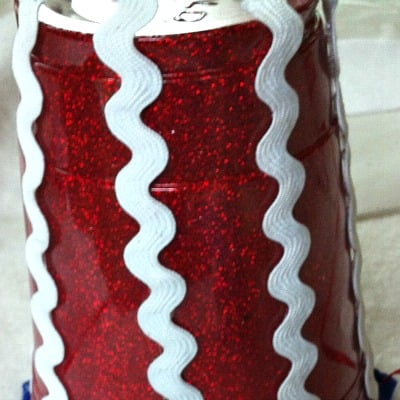
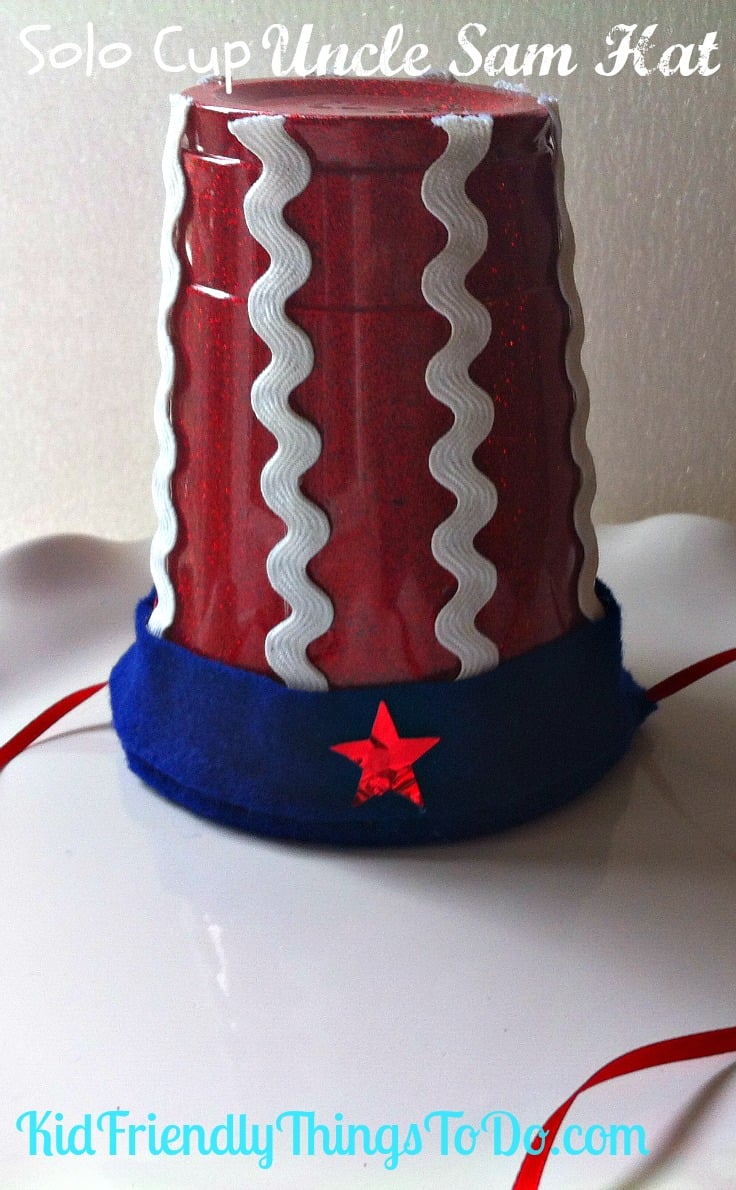
- Cut the rick-rack into 5 inch sections – You’ll need 8 pieces – and using your warm glue gun, glue them onto the outside of the cup – going vertically and spacing them about 2 inches at the widest part of the cup – the mouth. They will only be about 1 inch apart at the smallest part of the cup

- Now, get your blue felt circle. If you have the adhesive blue felt – like I did – peel the backing off and center the upside down cup over the sticky side. (If you don’t have the adhesive back, you’ll need to use the warm glue in this step)
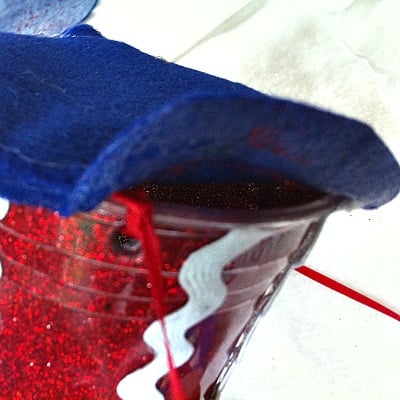
- Stick the cup to the felt, and with the extra 1/2″ of overhanging felt, pull it over the lip of the cup. Glue to secure the edges to the sides of the cup

- With your cup upside down, Wrap the 1″x12″ piece of navy felt around the bottom of the cup, as close to the bottom as you can get, covering the edge of the navy blue felt that is already there. Glue to secure.
- Add a red or white star as embellishment! You’re done!
- Happy Fourth of July!
Some items you might need for this craft:
~Melissa – KidFriendlyThingsToDo.com

