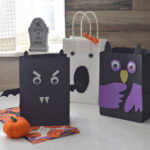
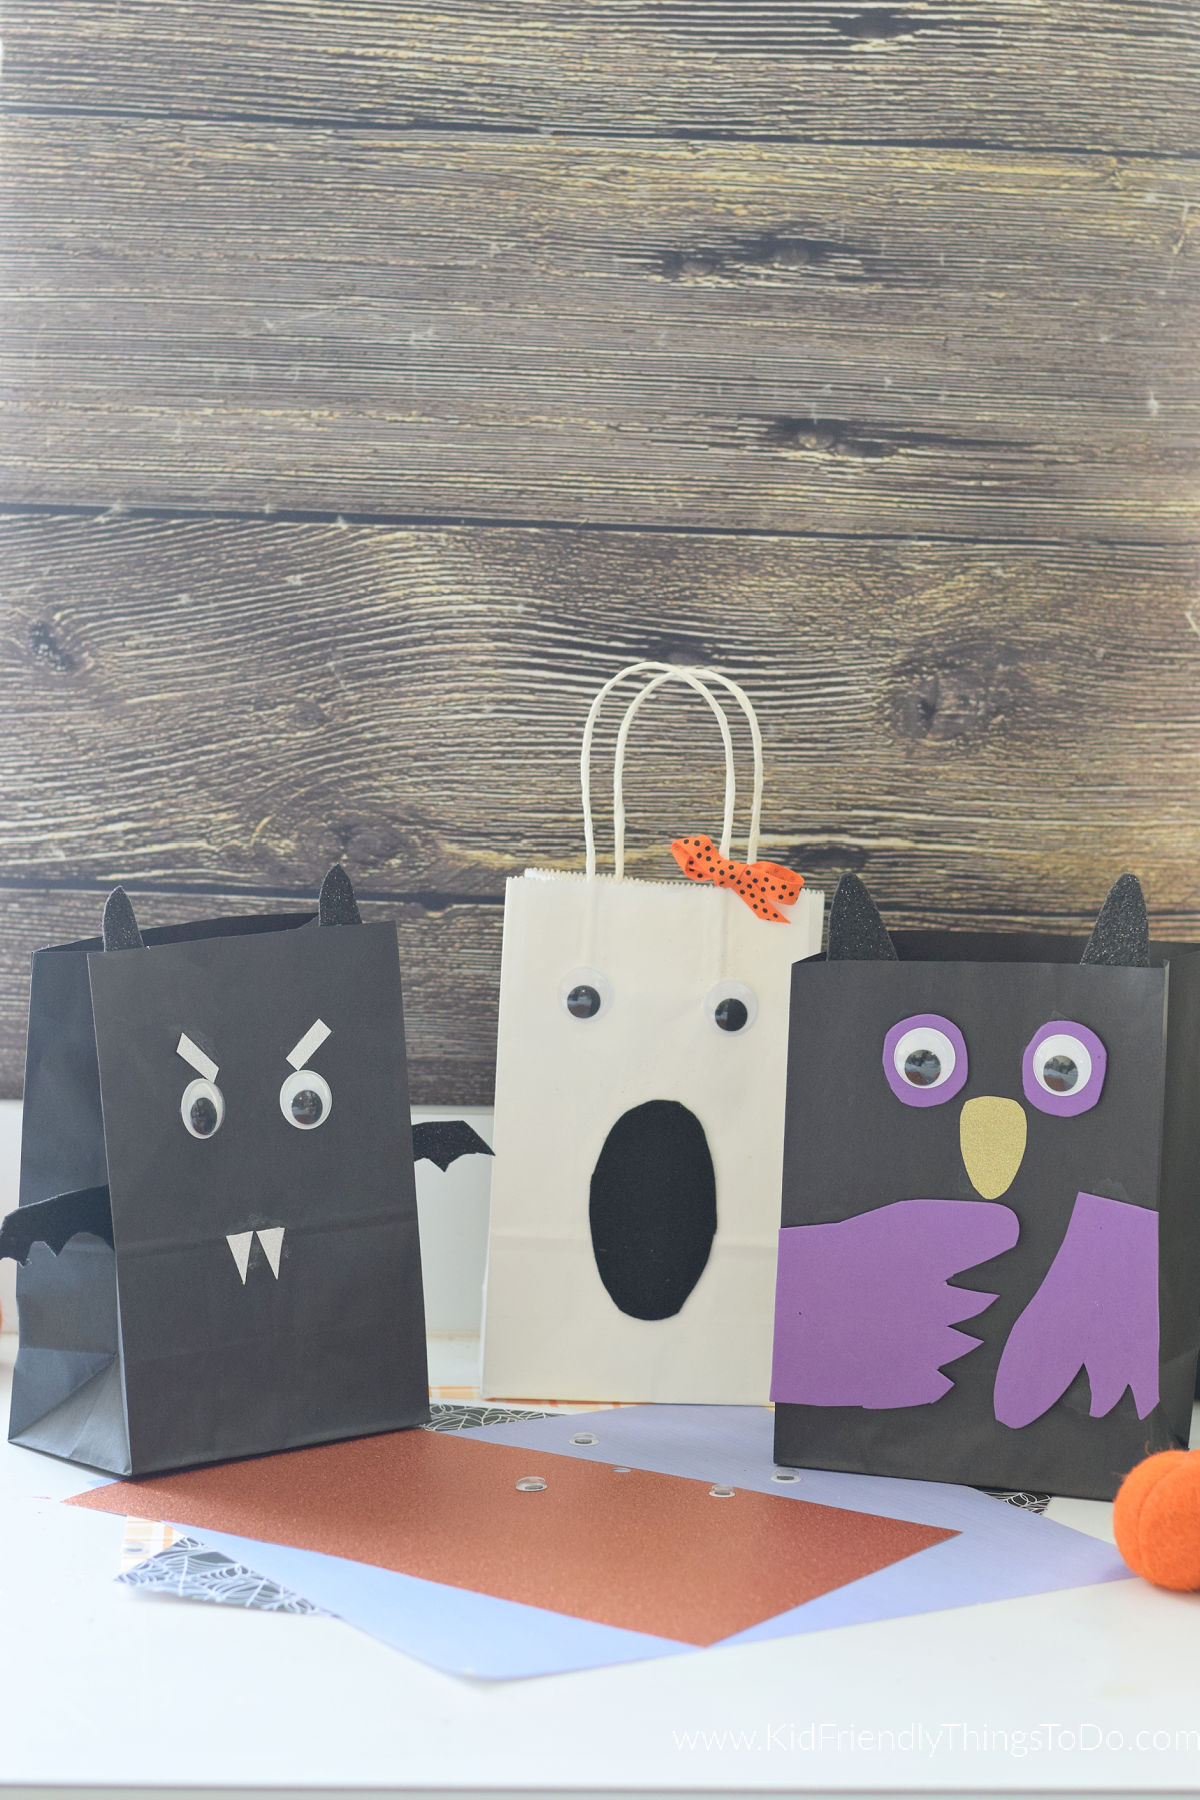
Add some simple embellishments to a classic gift bag, and Voila’, you have the cutest DIY gift bags for your Halloween party.
This post may contain affiliate links. As an Amazon Associate, I earn a small commission from qualifying purchases. See my disclosure policy to read more. Adult supervision is required for each step of activities, recipes, crafts, and games with children. Small parts are a choking hazard.
Gift Bags for Halloween
Around here, I love a good craft. I especially love a craft that is practical, cute, and especially if it involves a Halloween celebration idea. Throughout the years, I have cataloged several Halloween ideas, crafts, treats, and game ideas to share with you, like making a Halloween fabric ghost, a DIY Monster Wreath to spruce up the front door, Lollipop Ghosts to give out to trick-or-treaters, or a garbage bag bat to hang from the trees.
I love these gift bags because they are so easy to make. Not only are they cute, but your guests will be delighted to get any treat in these spooky, fun Halloween bags. If you are looking for Halloween treat bag ideas, look no further. I think you are going to love these bags to use to fill with candy, as Halloween decor, or as Halloween Goody Bags.
What You’ll Love About These Gift Bags for Halloween
- They are simple to make with very few supplies.
- Kids will love them
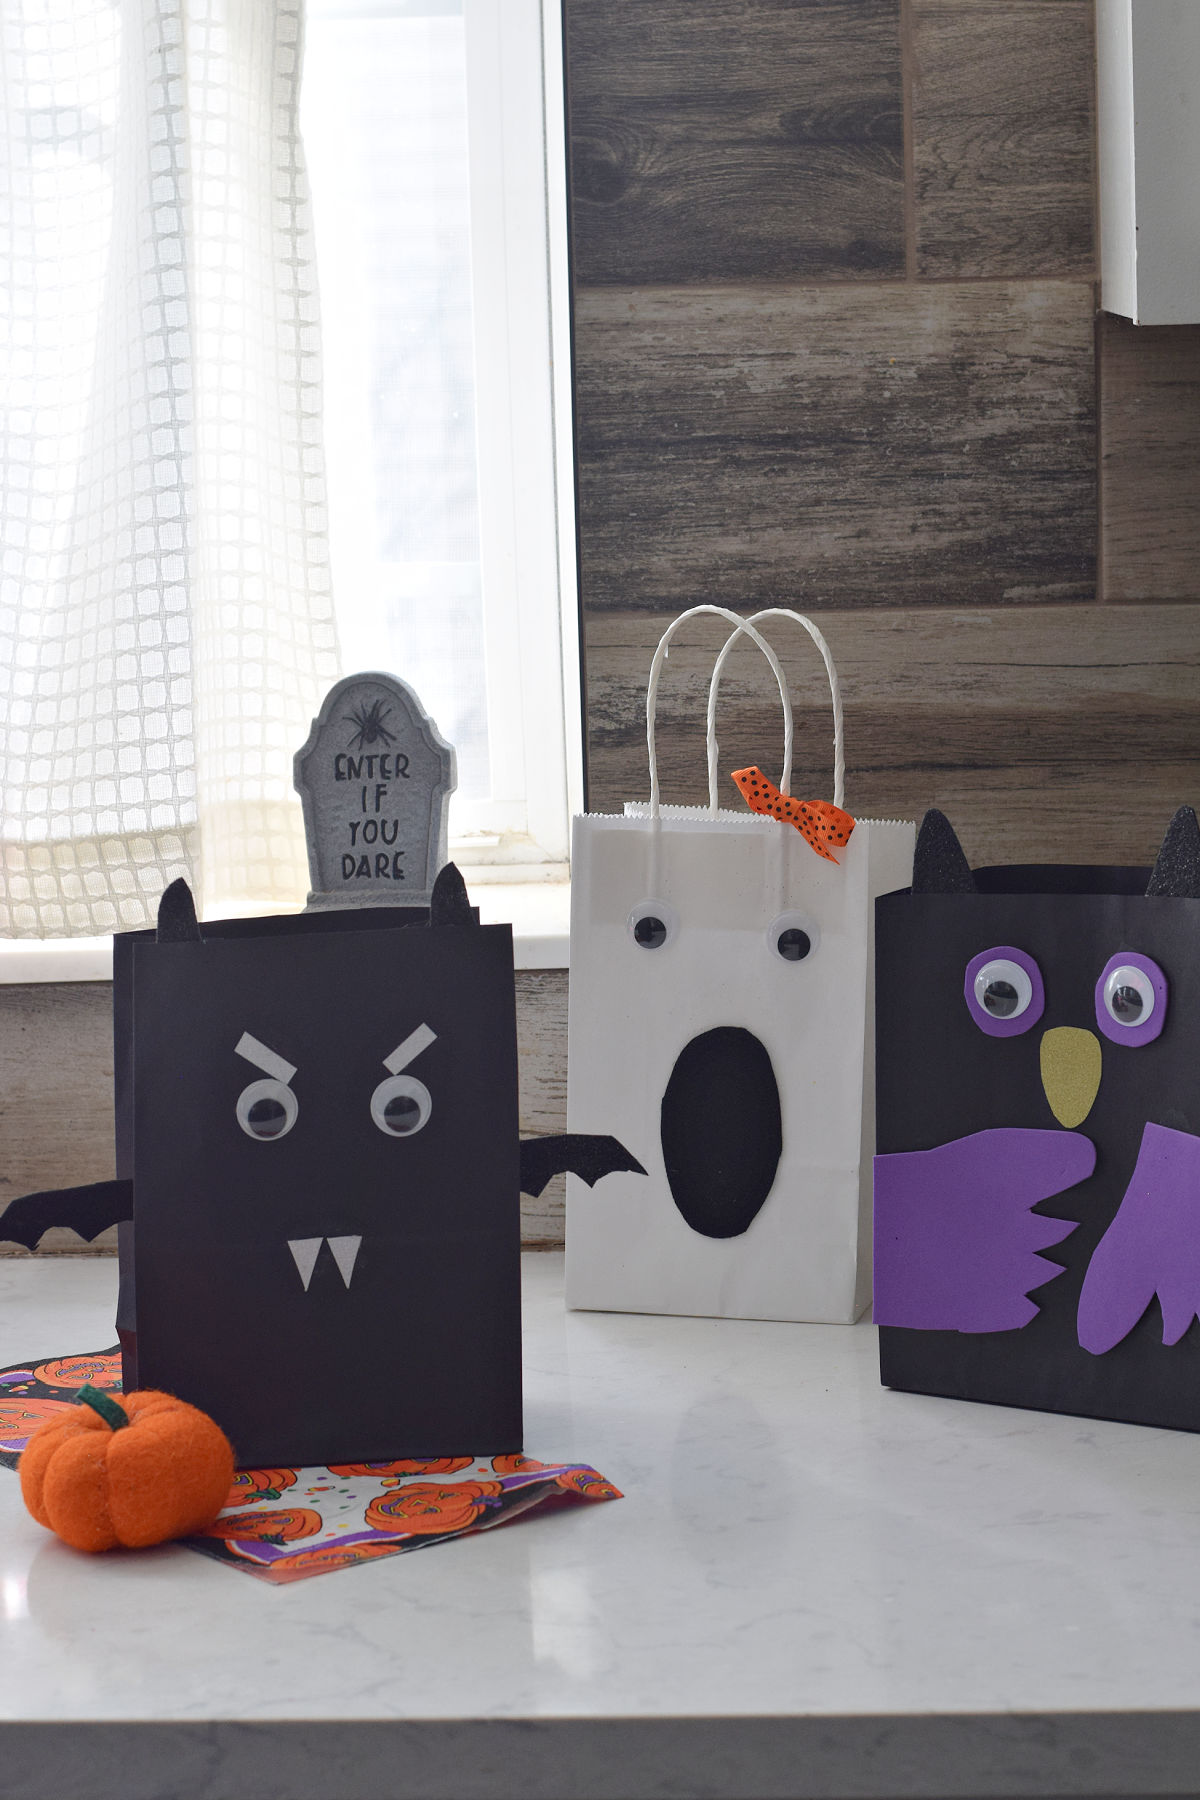
- Pick one (the easiest is the ghost), or make all three and have a fun variety of Halloween treat bags to give treats out.
- The classic bat, owl, and ghost have all made an appearance in this Halloween bag craft.
- Fill these bags with all of the goodies at your Halloween party to give out as goody bags
Supplies You’ll Need for These DIY Halloween Treat Bags
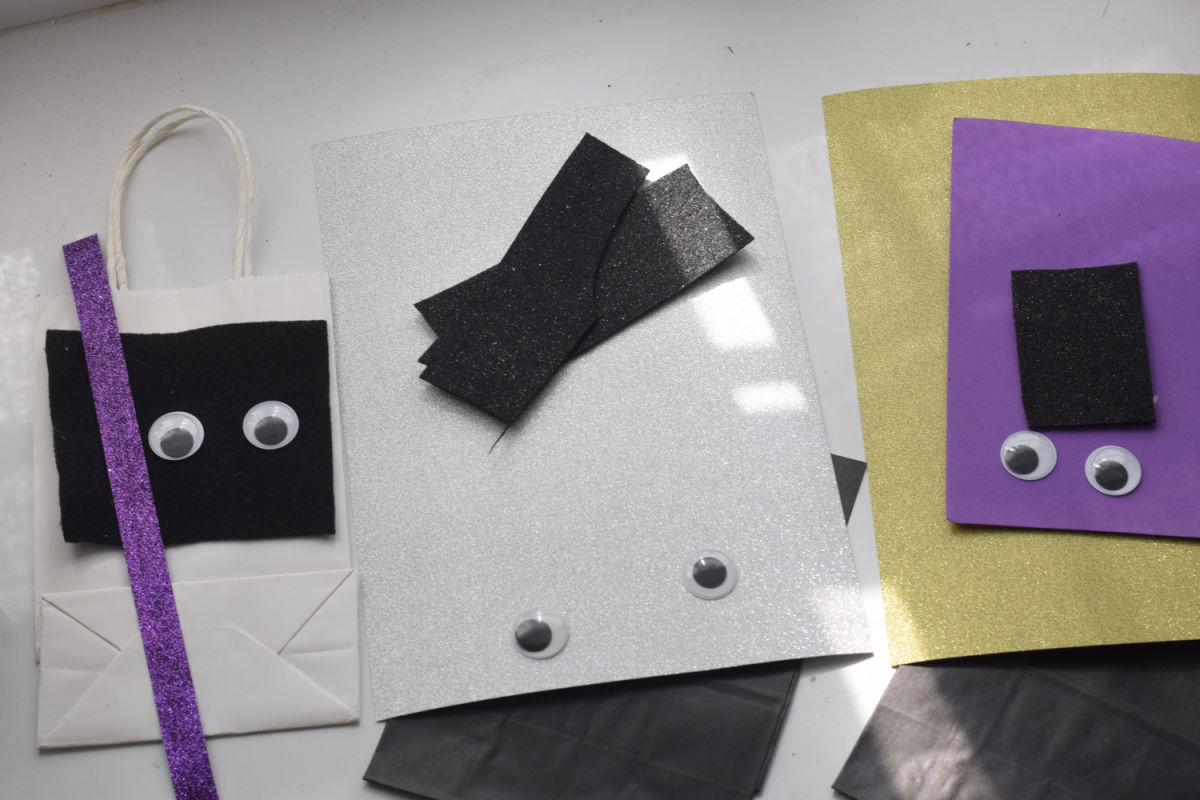
Supplies For The Owl:
- Black Gift Bag – The black paper bags that I had were taller than my white bag, so I trimmed them to eight inches tall so they matched the ghost bag. This is completely optional and preferred.
- Purple Foam Paper
- Large Googly Eyes – about 1 inch in diameter
- Gold Glitter Paper or Yellow Foam for the nose
- Stiff black felt for the ears
- Glue
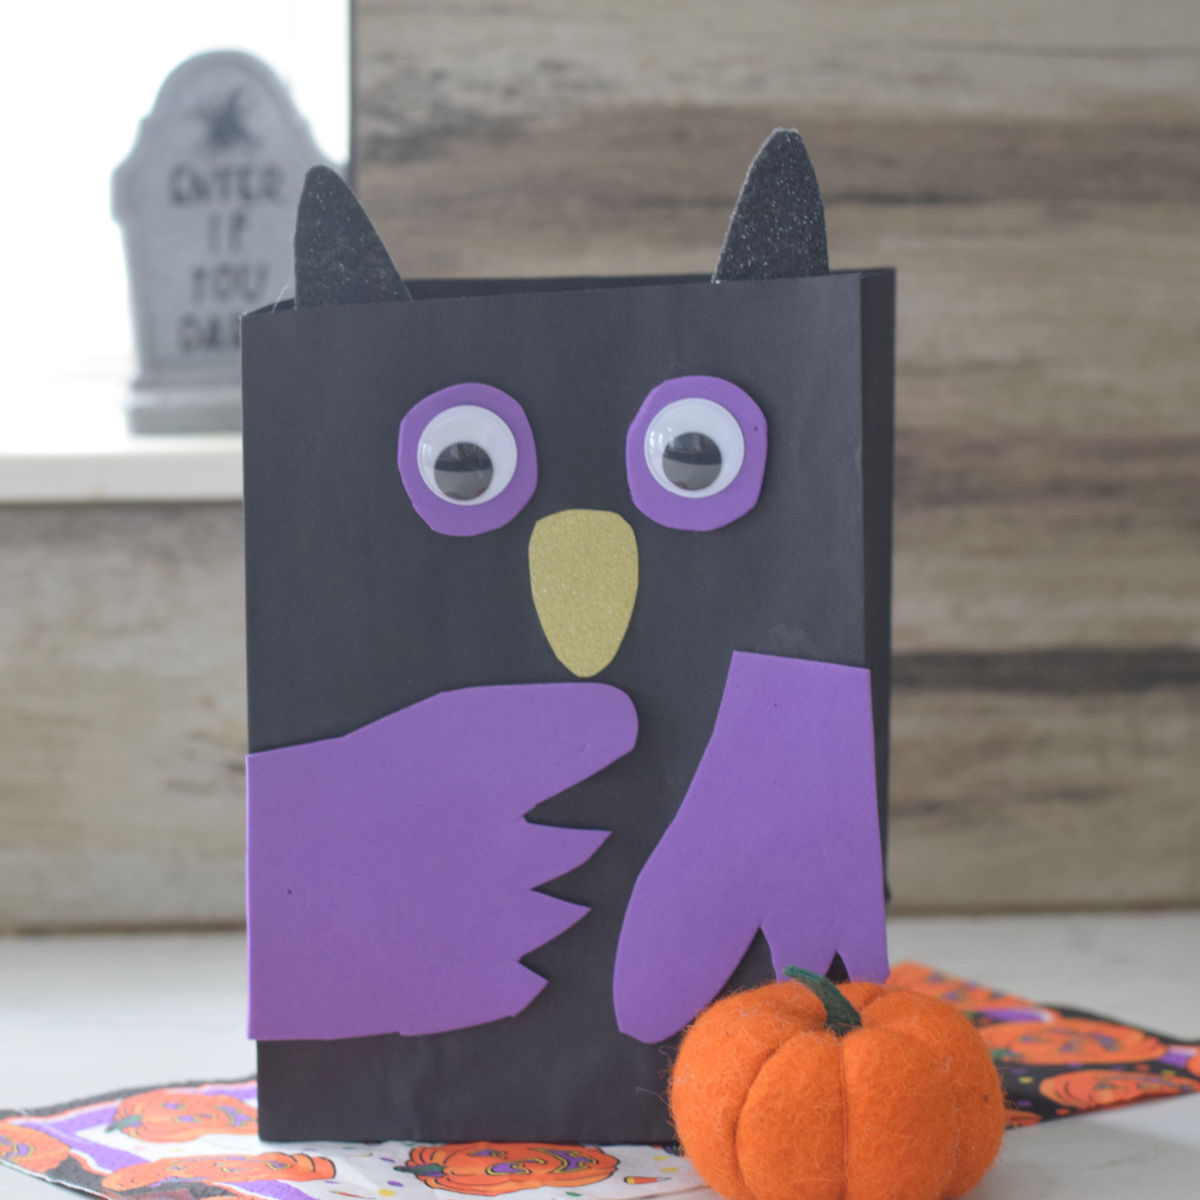
How to Make an Owl Gift Bag
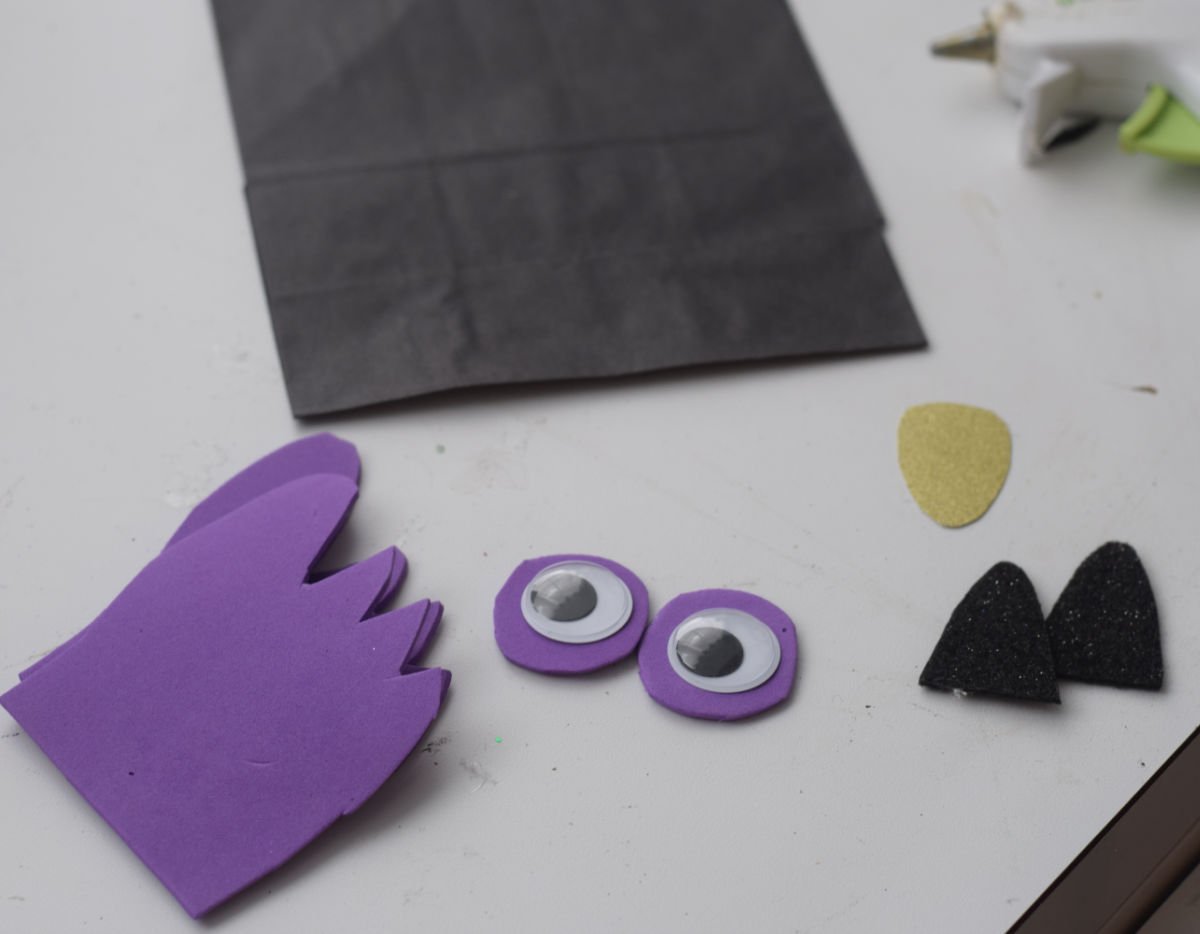
- Cut owl wings out of the purple foam paper. The wings I made were approximately 4×3 inches with 4 farther all curved upward and the top one being a bit longer and wider than the others
- Using the purple foam, cut out circles that are larger than the googly eyes
- Cut gold glitter paper for the nose – It is in the shape of an oval that’s a little wider on the top.
- Cut out two owl ears from the stiff felt
Assembling
- Glue the purple circles about one inch down from the top of the bag
- Glue eyes onto the center of the circles
- Add the nose below the eyes
- Glue one wing on the left side of the bag with the larger feather just under the nose pointing to the right.
- Place the other wing pointing down on the other side of the bag. Trim any extra wing that extends past the side of the bag
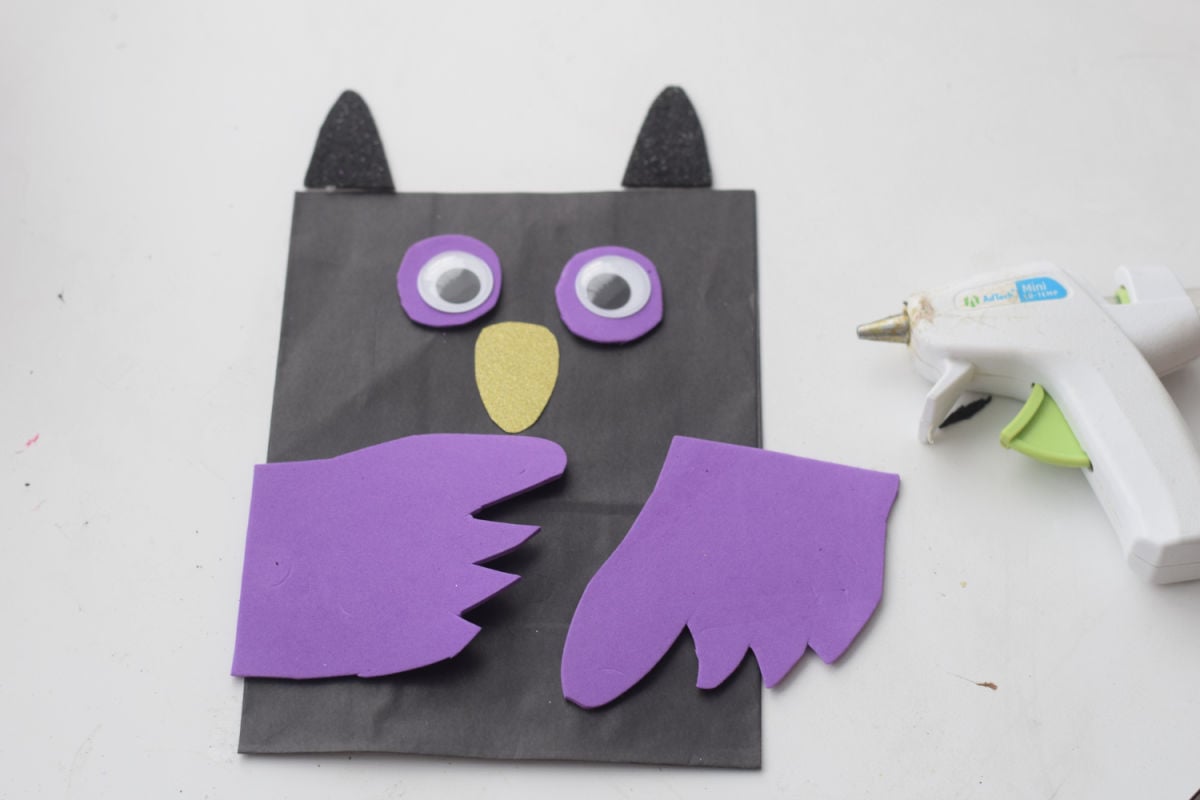
- Glue the ears on the inside of the bag at the top of the bag.
Ghost Gift Bag Supplies
- White Gift Bag
- Large Googly Eyes – about one inch
- Black foam paper
- Ribbon
- Glue
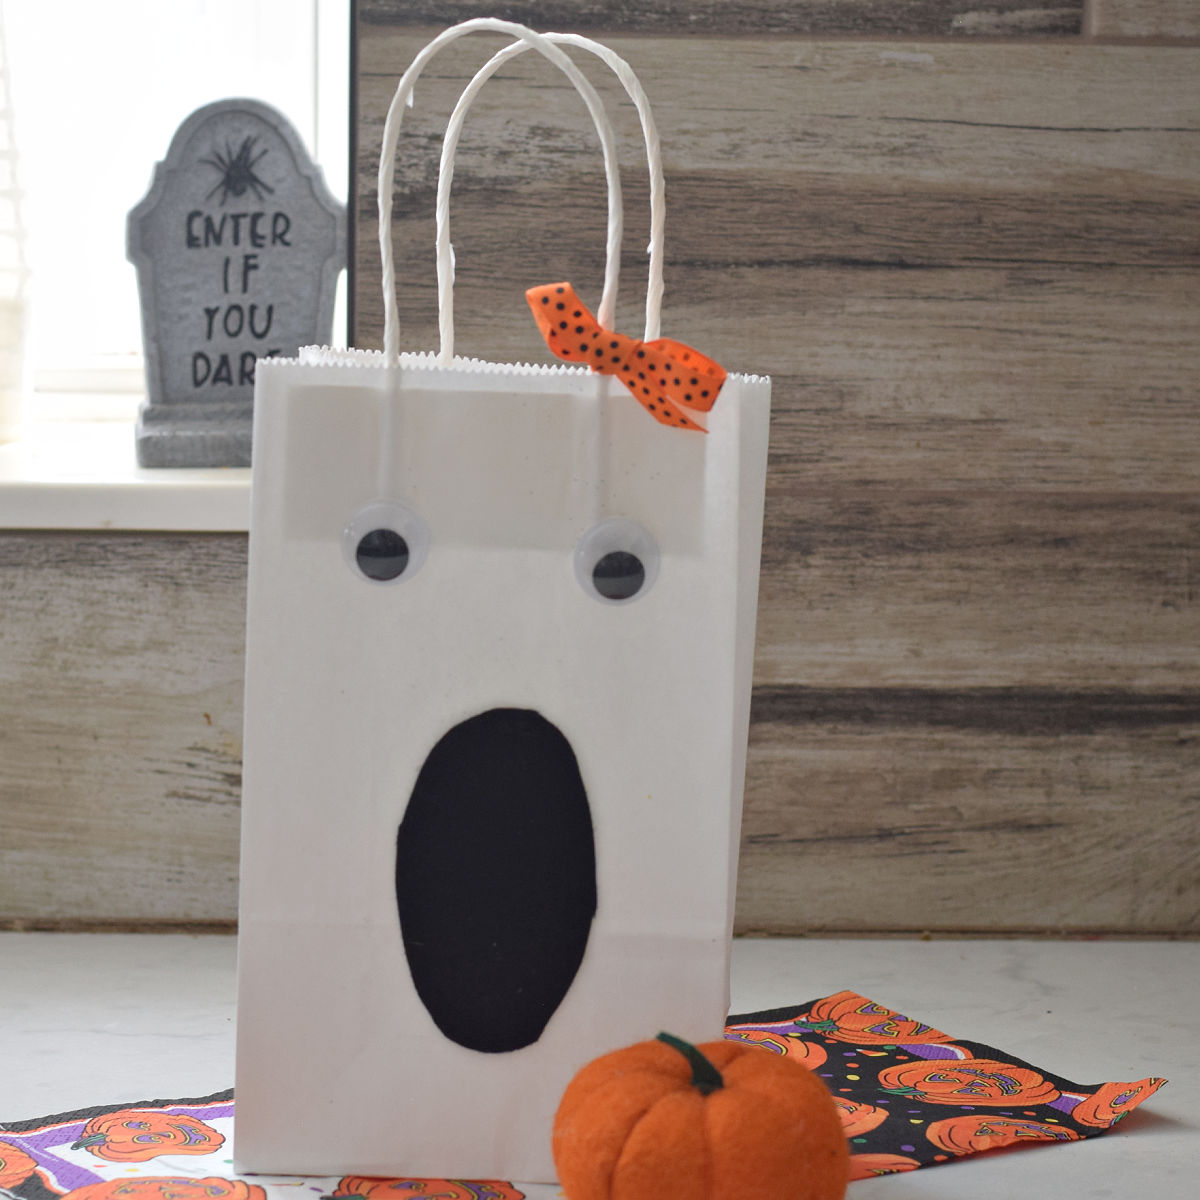
How to Make the Ghost Halloween Bag
- Cut a black foam four-inch long oval for the ghost mouth.
- Glue the eyes and mouth onto the white bag.
- Tie a bow onto the bag’s handles, or if there are no handles, then glue the bow to the top right of the bag.
Bat Gift Bag Supply List:
- Black Paper Bag
- Large Googly Eyes – about 1 inch
- Stiff black felt – for the ears and wings
- Silver Glitter Paper for the eyebrows and fangs
- Glue
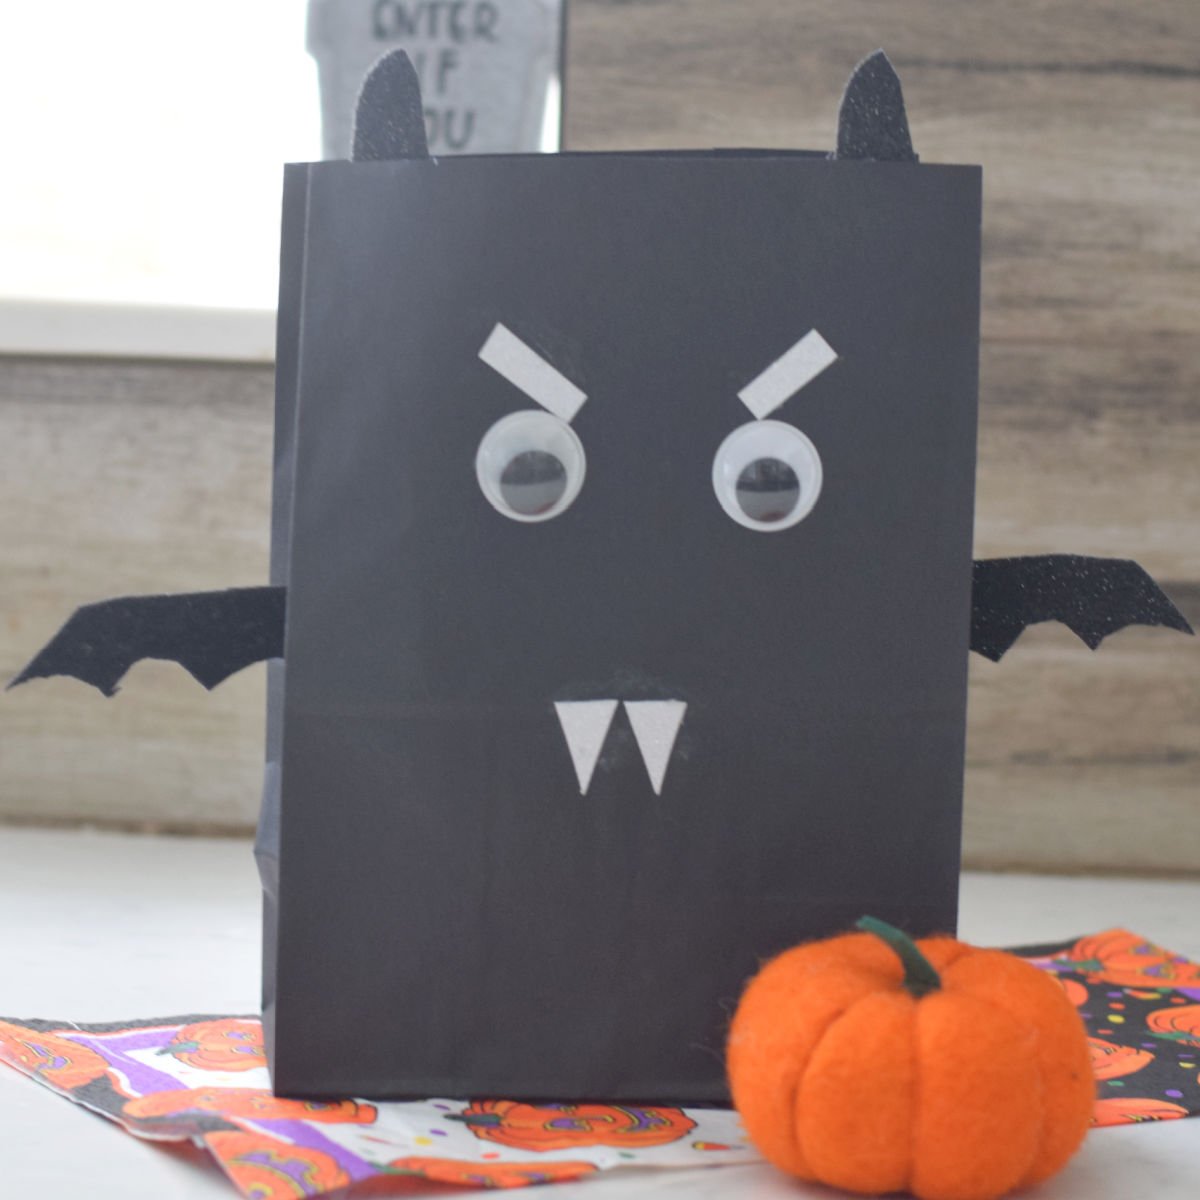
How to Make Bat Gift Bags for Halloween
Cut triangles from the stiff black foam for the bat’s ears and cut bat wings.
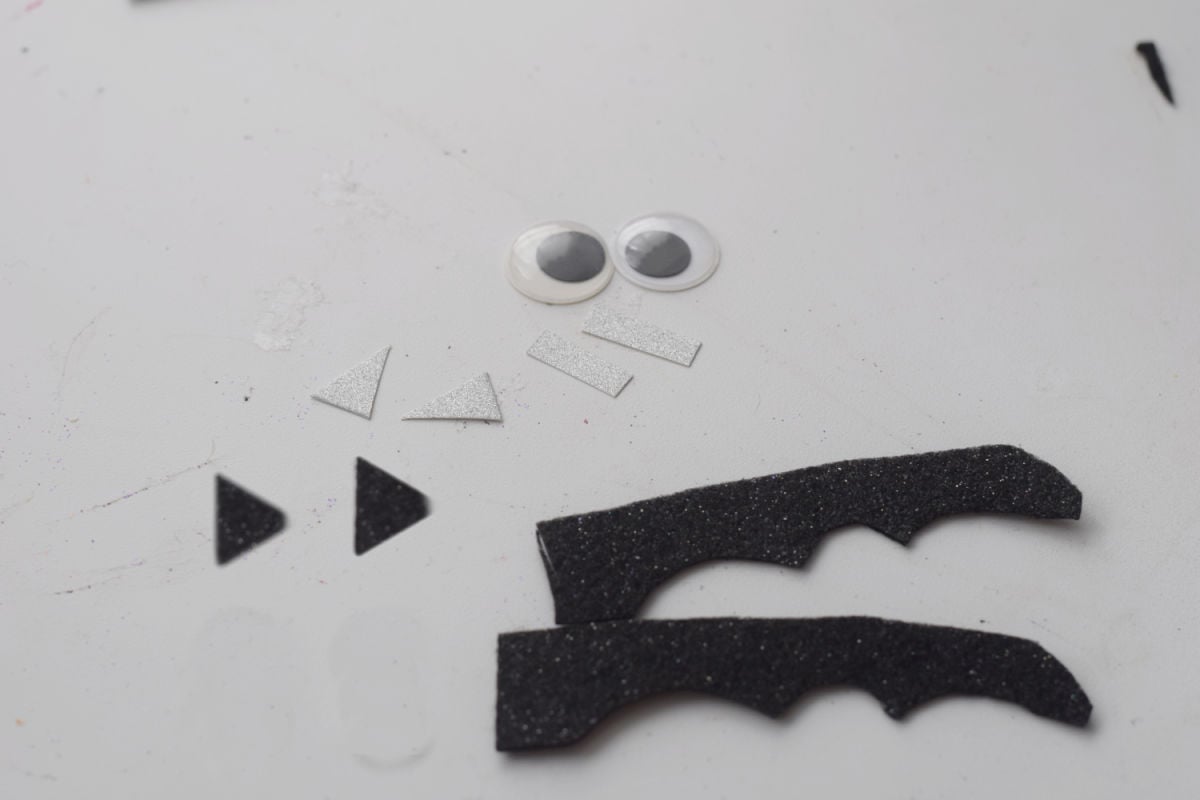
Glue the eyes onto the bag
From the silver glitter paper, cut small rectangles for the eyebrows and small triangles for fangs
Point the eyebrows so they are at a slant above the eyes giving the bat a mad expression
Glue fangs about two inches below the eyes
Cut small slits in the sides of the bag. Insert and glue the bat wings
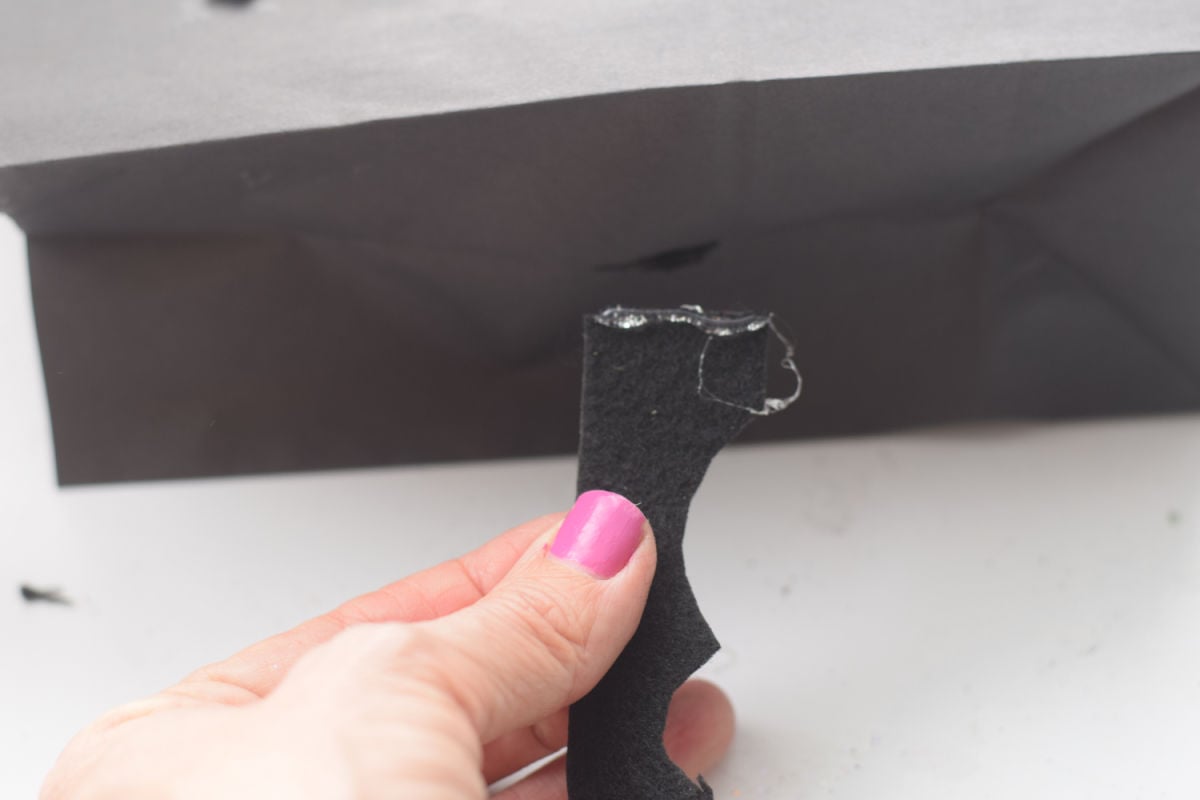
Glue the ears onto the inside of the bag at the top
FAQs
What type of glue do you use for making these DIY treat bags
I like to use a combination of tacky glue that dries almost instantly, like Beacon 3in1 for the parts that need a little extra security, a glue stick, and sometimes a low-temperature glue gun.
How do you make bat wings?
First, cut out narrow rectangles. Cut a slant at one end pointing downward. From the pointed edge of the slant, start cutting out curved sections, 2-3 in a row
More Halloween Crafts You’ll Love
Let’s Hang Out
Come and find me on Pinterest and Facebook for more recipes, crafts, party treats, and holiday games!
Printable Instructions
How to Make Three Different Halloween Gift Bags
Materials
Owl Gift Bag
- Black Gift Bag
- Purple Foam Paper
- Large Googly Eyes about 1 inch
- Gold Glitter Paper or Yellow Foam for the nose
- Stiff black felt for the ears
- Glue
Ghost Gift Bag
- White Gift Bag
- Large Googly Eyes – about one inch
- black foam paper
- Ribbon
- Glue
Bat Gift Bag
- Black Paper Bag
- Large Googly Eyes about 1 inch
- Stiff black felt for the ears and wings
- Silver Glitter Paper for the eyebrows and fangs
- Glue
Instructions
Owl
- Optional: Trim the bag to about 8 inches tall
- Cut owl wings out of the purple foam paper. The wings I made were approximately 4×3 inches with 4 feathers all curved upward and the top one is a bit longer and wider than the others
- Using the purple foam, cut out circles that are larger than the googly eyes
- Cut gold glitter paper for the nose – It is in the shape of an oval that's a little wider on the top.
- Cut out two owl ears from the stiff felt
Assembling the Owl
- Glue the purple circles about one inch down from the top of the bag
- Glue eyes onto the center of the circles
- Add the nose below the eyes
- Glue one wing on the left side of the bag with the larger feather just under the nose pointing to the right.
- Place the other wing on the other side of the bag pointing down .
- Trim any extra wing that extends past the side of the bag
- Glue the ears on the inside and top of the bag.
Ghost
- Cut a black foam four-inch long oval for the ghost mouth.
- Glue the eyes and mouth onto the white bag.
- Tie a bow onto the bag's handles, or if there are no handles, then glue the bow to the top right of the bag.
Bat
- Cut triangles from the stiff black foam for the bat's ears and cut bat wings.
- Glue the ears onto the inside of the bag at the top
- Glue the eyes onto the bag
- From the silver glitter paper, cut small rectangles for the eyebrows and small triangles for fangs
- Point the eyebrows so they are at a slant above the eyes giving the bat a mad expression
- Glue fangs about two inches below the eyes
- Cut small slits in the sides of the bag. Insert and glue the bat wings
Notes
This post may contain affiliate links. As an Amazon Associate, I earn a small commission from qualifying purchases. See my disclosure policy to read more. Adult supervision is required for each step of activities, recipes, crafts, and games with children. Small parts are a choking hazard.
~Melissa – KidFriendlyThingsToDo.Com –

