Catching Snowflakes Craft (Plus Printable!)
This post may contain affiliate links – please read my disclosure statement.
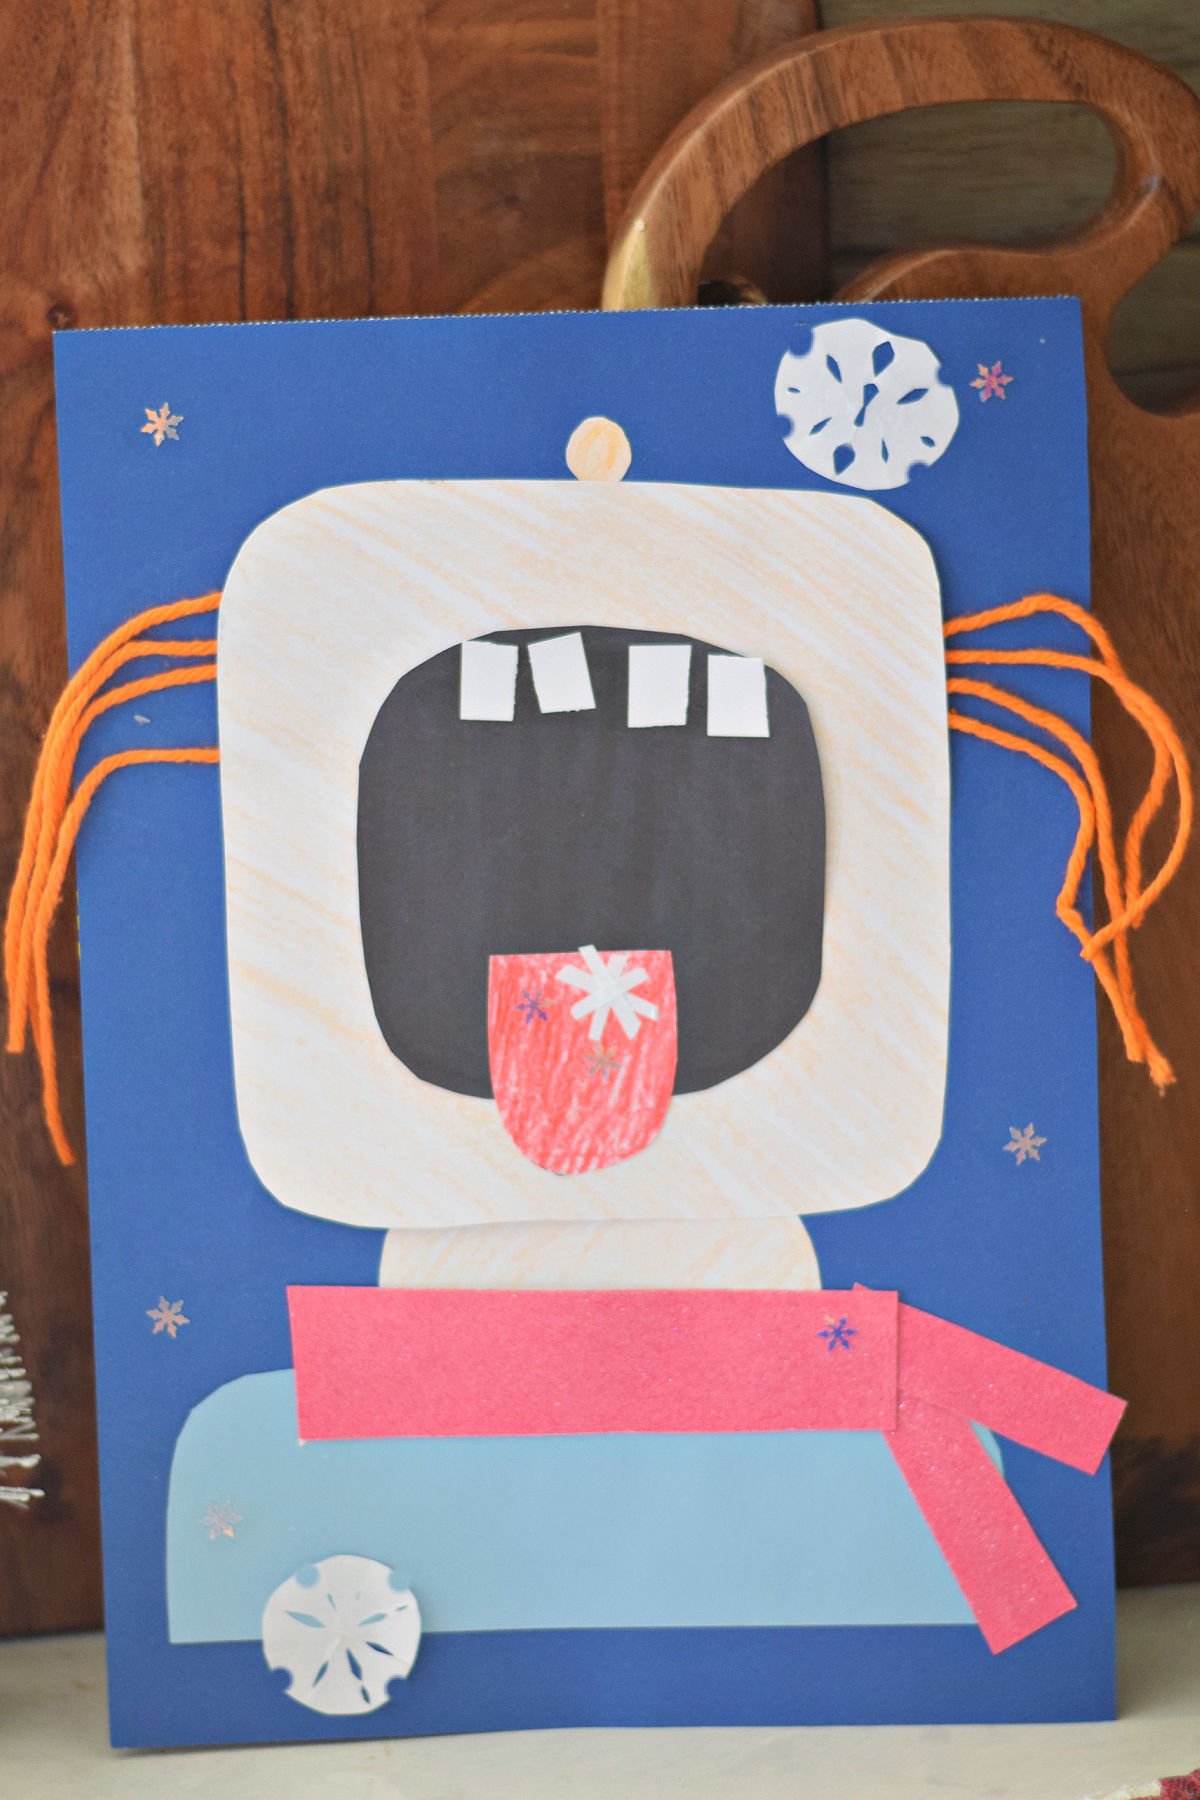
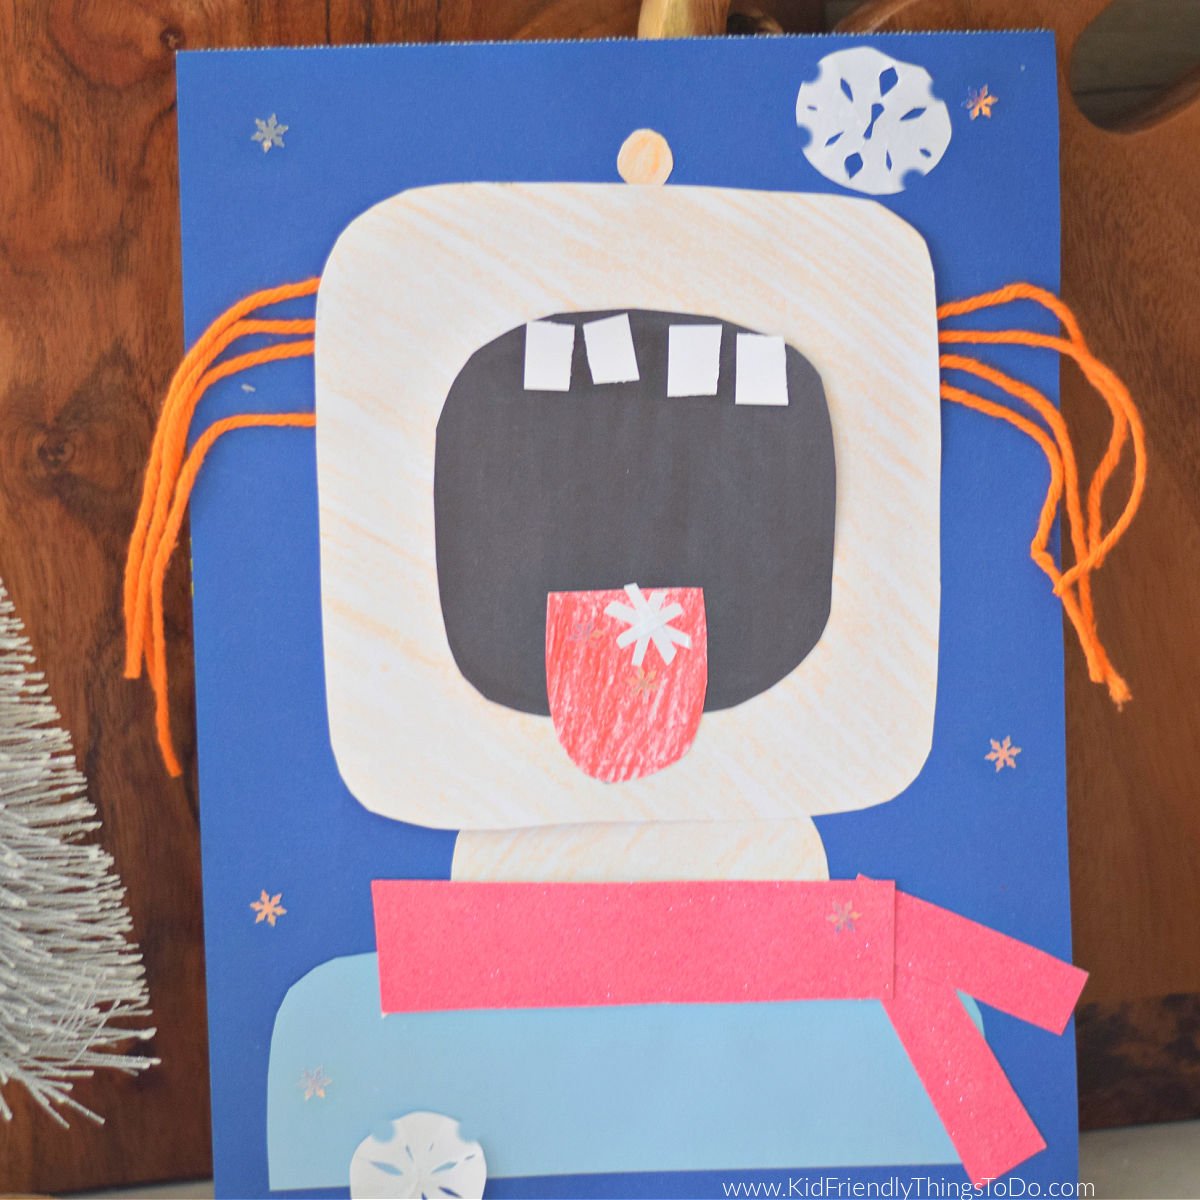
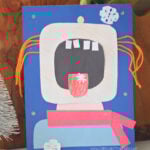
This Catching Snowflakes Craft is such a fun and playful winter activity for kids! The finished project shows a sweet little kid with their head tilted back, mouth wide open, ready to catch falling snowflakes. It perfectly captures that magical feeling of playing outside on a snowy day—all with paper and glue.
Best of all, I’ve included a free printable to make prep quick and easy.
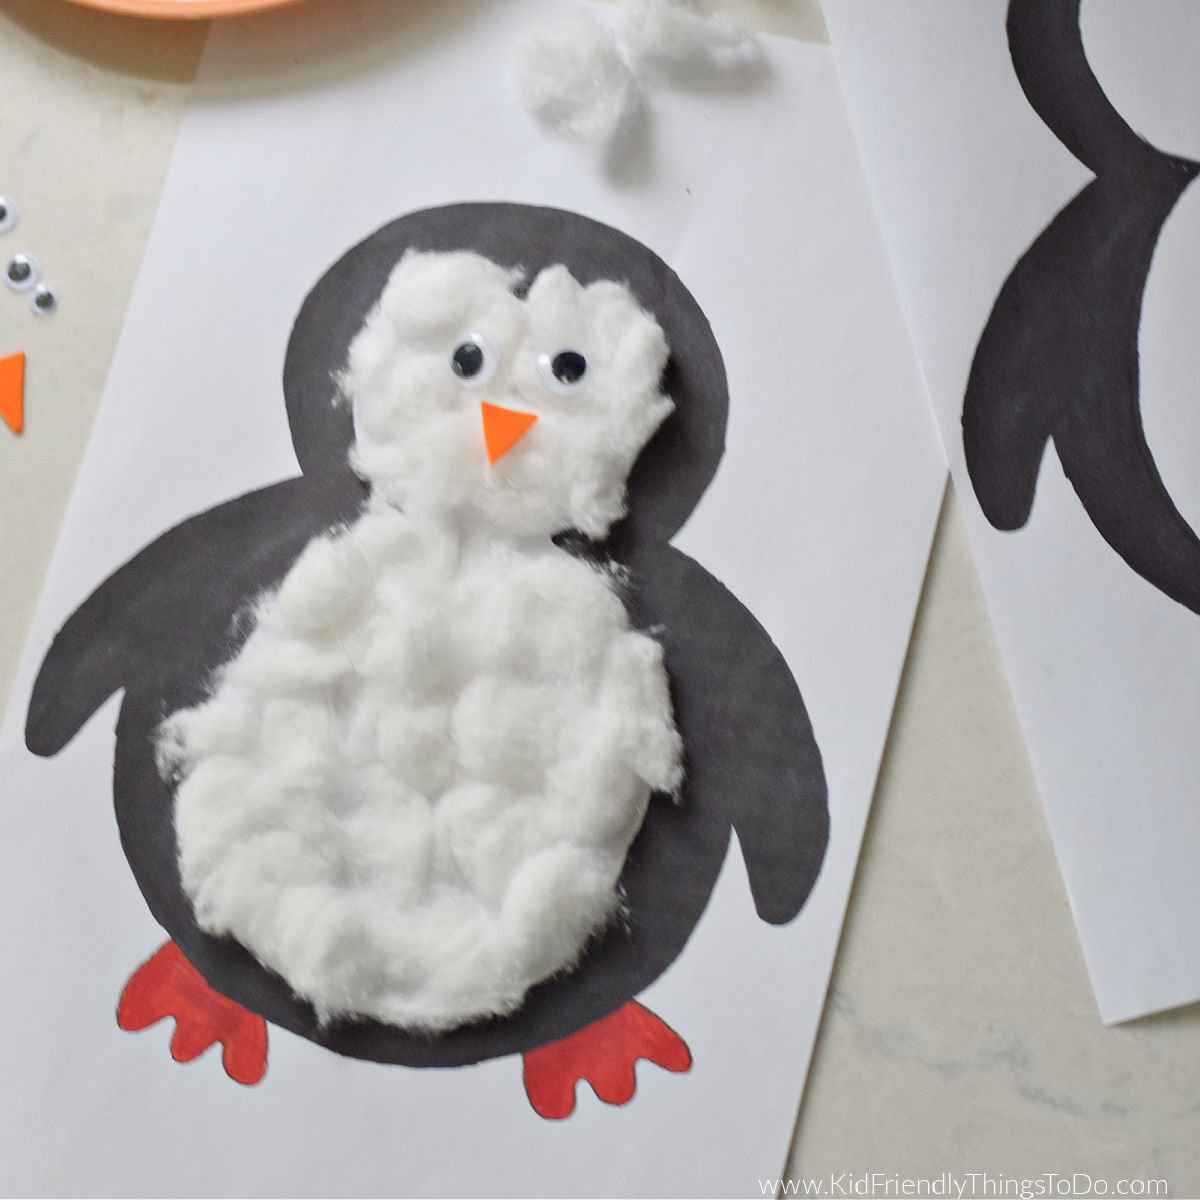
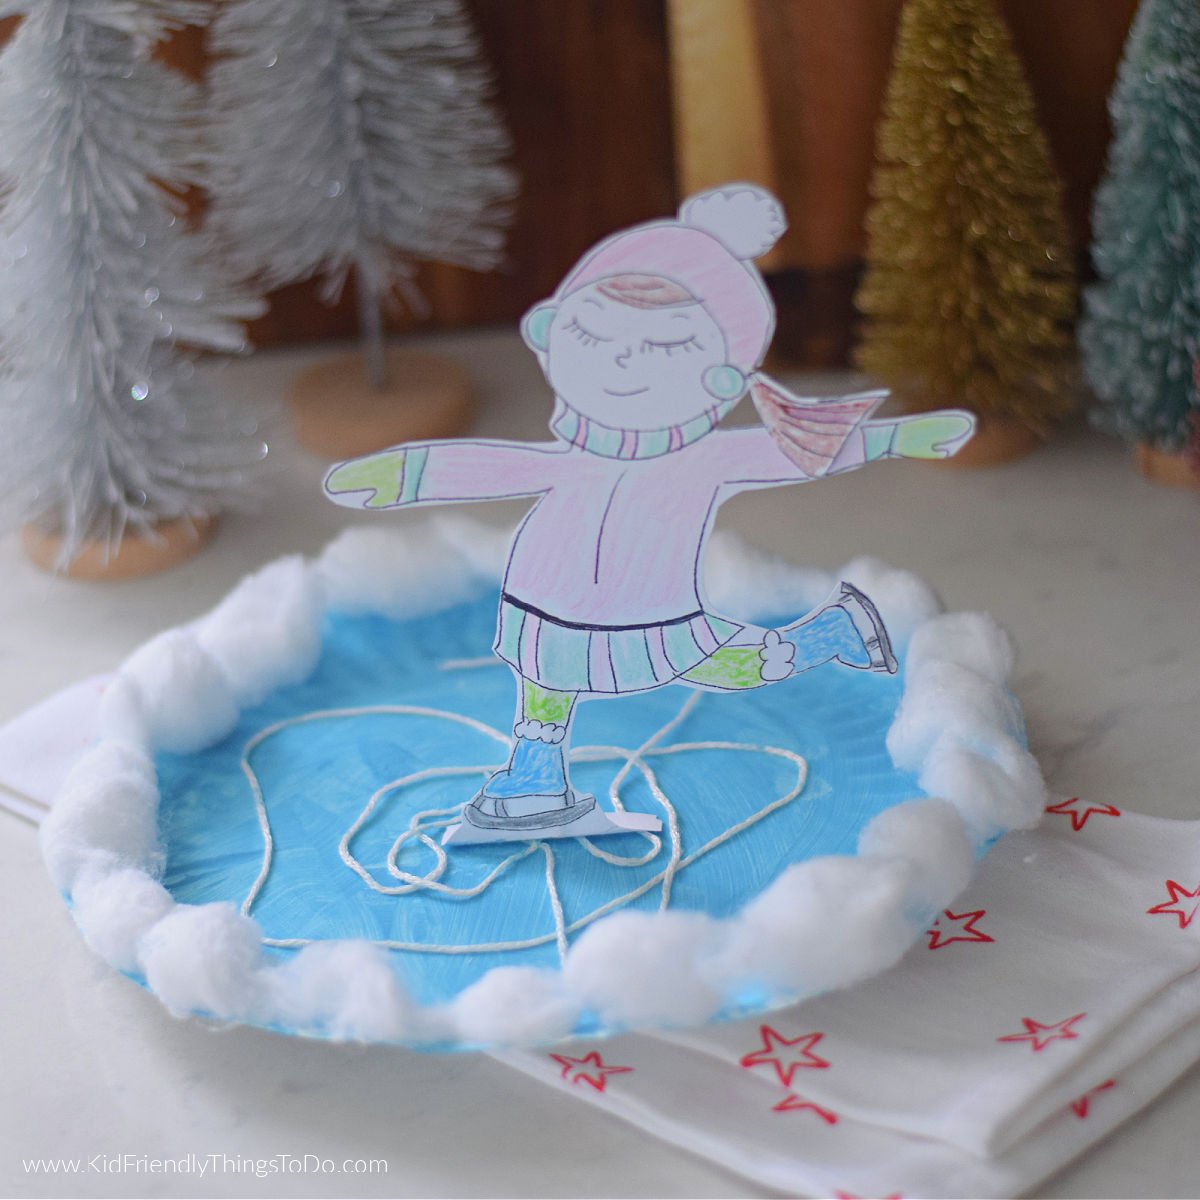
If you’re looking for more winter craft ideas, this is just one of many fun projects we’ve been loving lately – including favorites like no-sew sock snowmen, paper doily snowman, and this penguin sensory bottle craft —all perfect for classrooms, homeschool, or a snowy afternoon at home. Winter crafts are a great way to keep kids engaged indoors while still celebrating the season with snow, weather, and cozy themes.
Why We Love This Craft
- Low-prep and all paper
- Encourages creativity and fine motor skills
- Perfect for winter, snow, or weather themes
- Easy to adapt for different ages
Supplies Needed
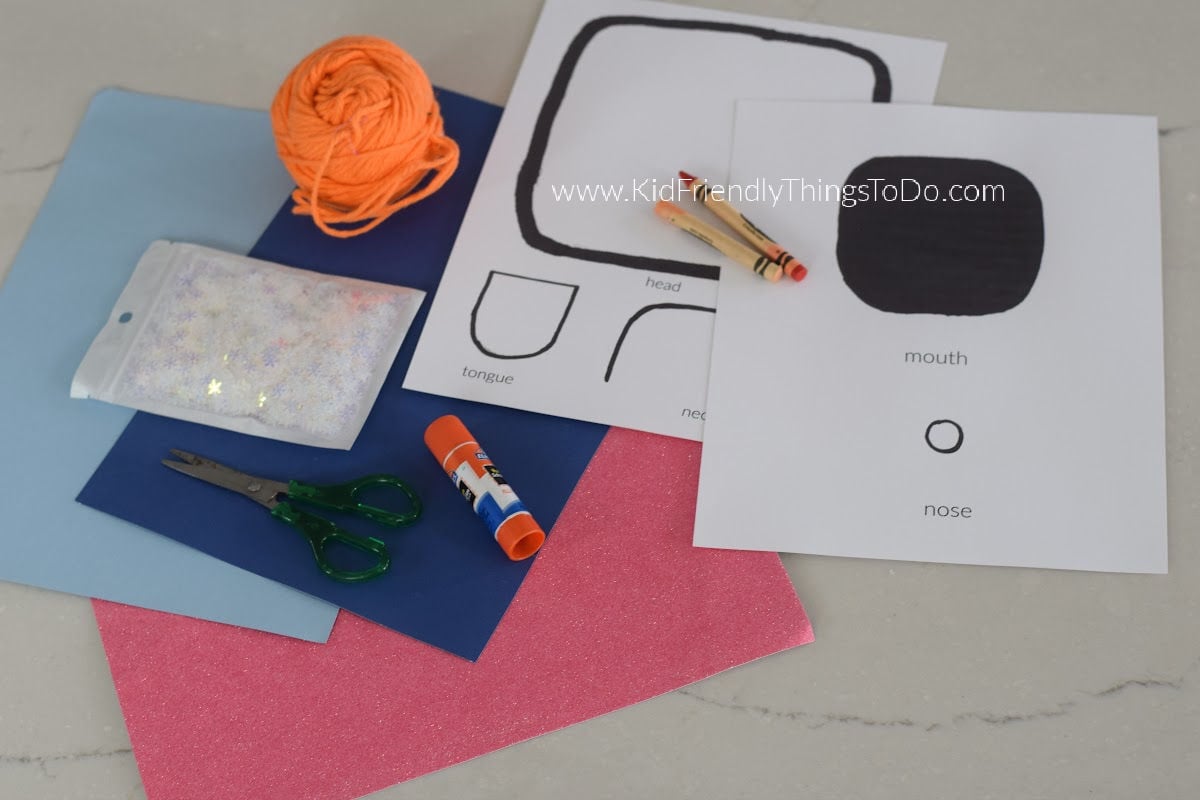
- Catching Snowflakes printable– Printable 1 – Printable 2
- Cardstock (I used dark blue for the sky)
- White Cardstock for printing, teeth, and snowflakes – keep scraps after cutting printables for teeth and snowflakes
- Glitter paper or material for a scarf
- Crayons or markers
- Scissors
- Glue stick
- Yarn (for hair)
Sky color ideas: dark blue, bright blue, gray, or even black all work beautifully.
How to Make the Catching Snowflakes Craft
Print
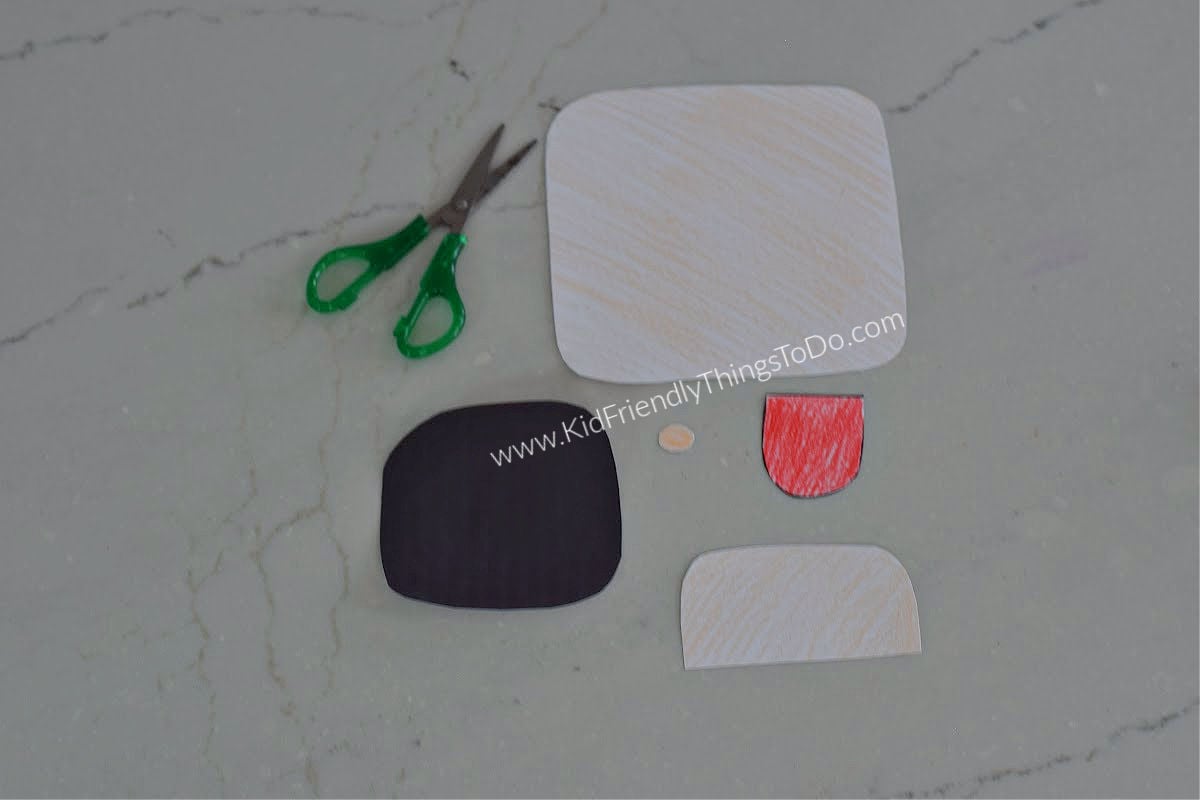
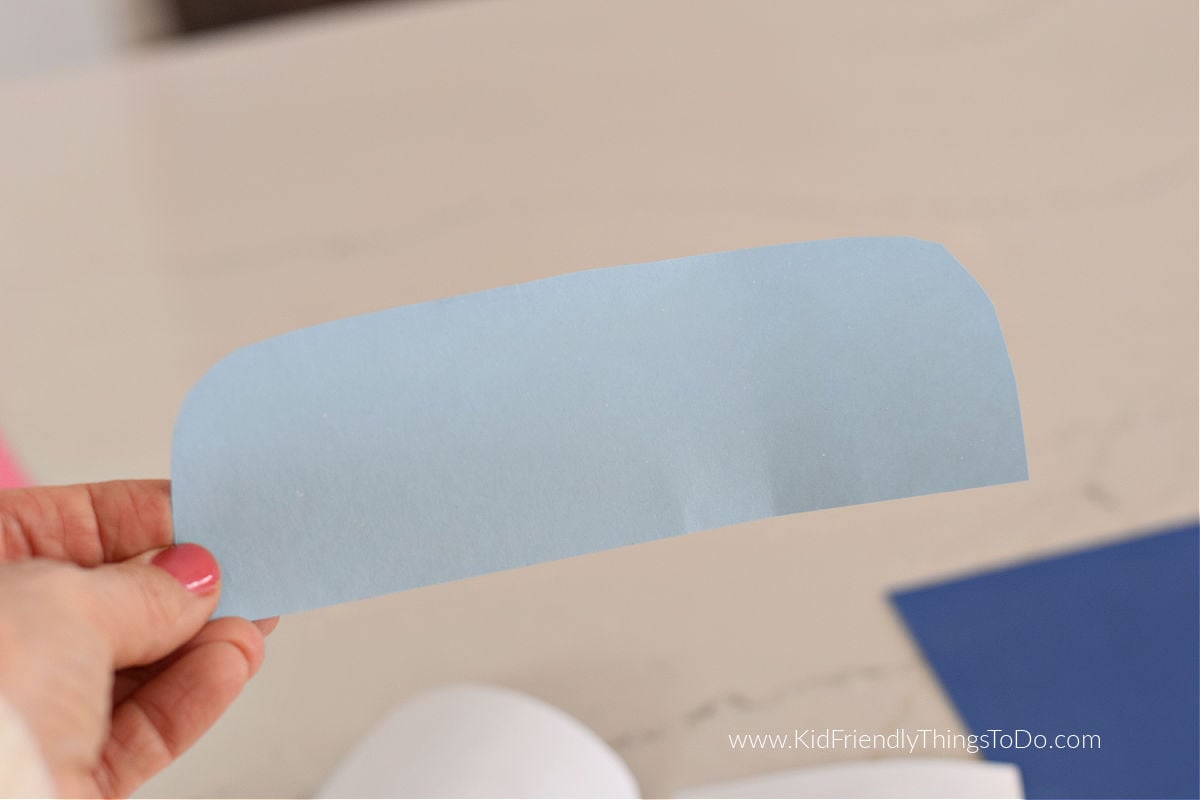
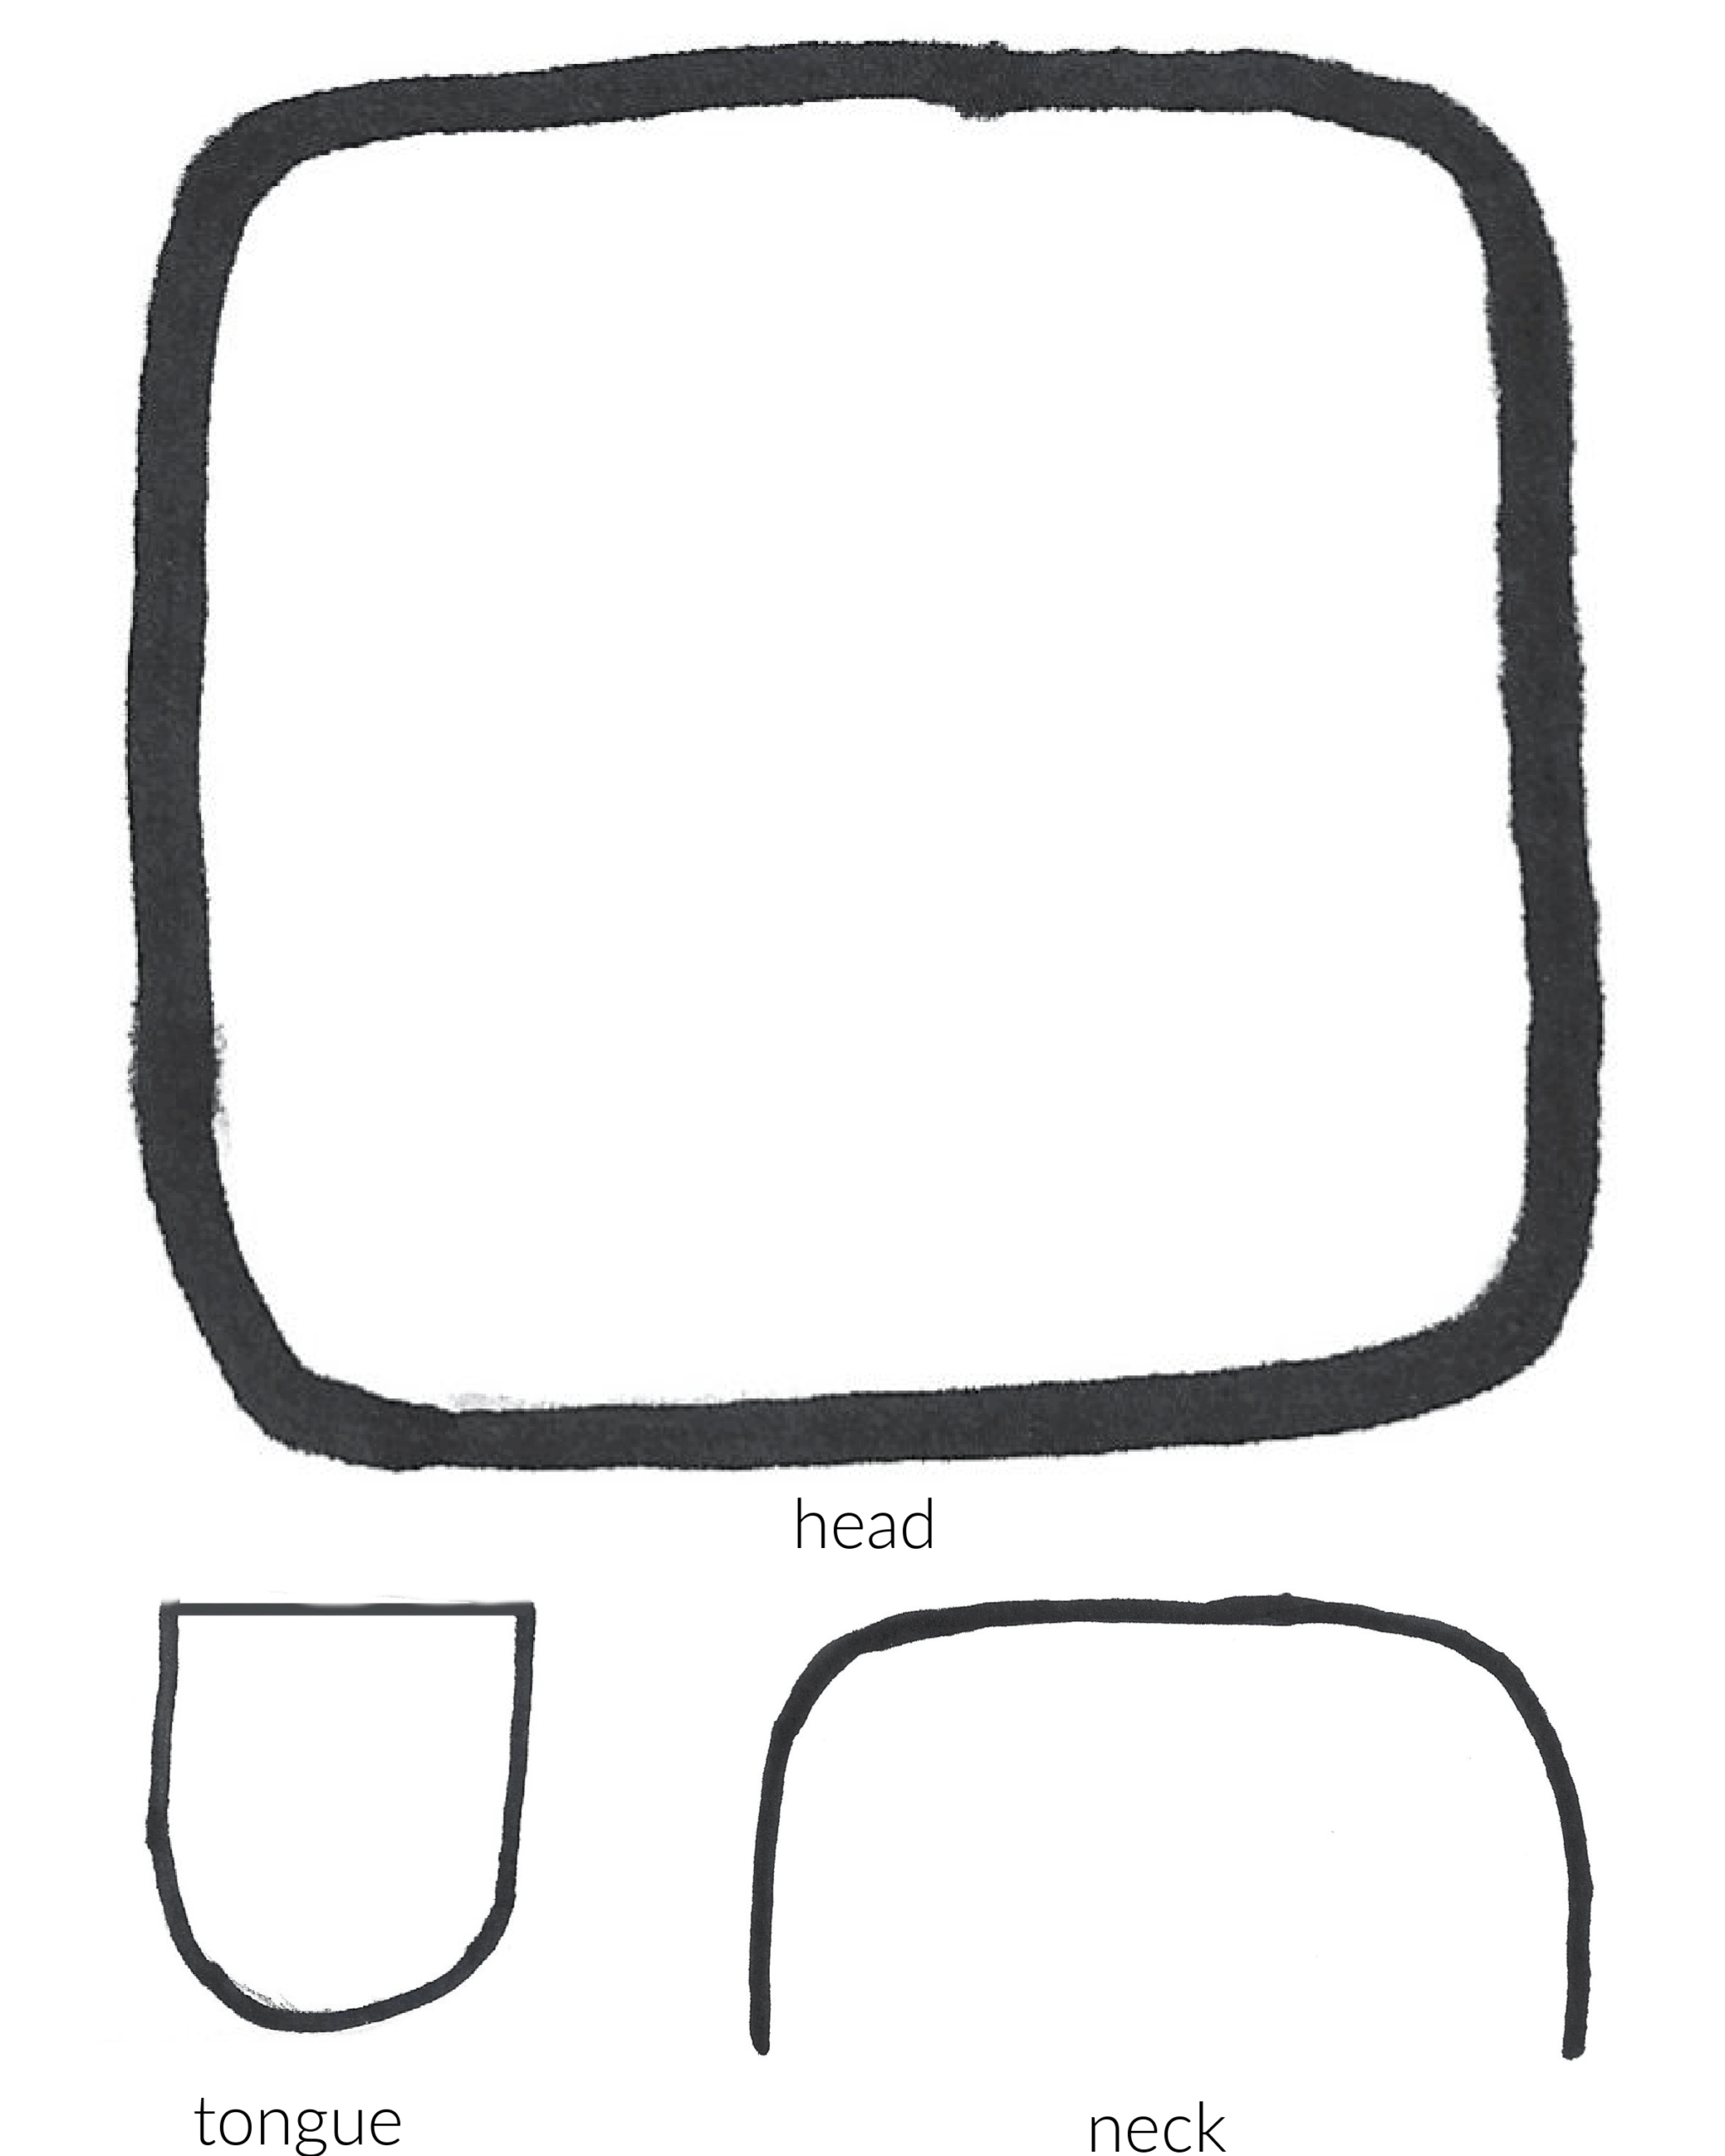
Have kids cut out the template pieces: head, neck, mouth, tongue, nose, and shoulders.
Color the pieces
Let kids color everything before assembling. This is a great time to personalize skin tones, clothing colors, and facial details.
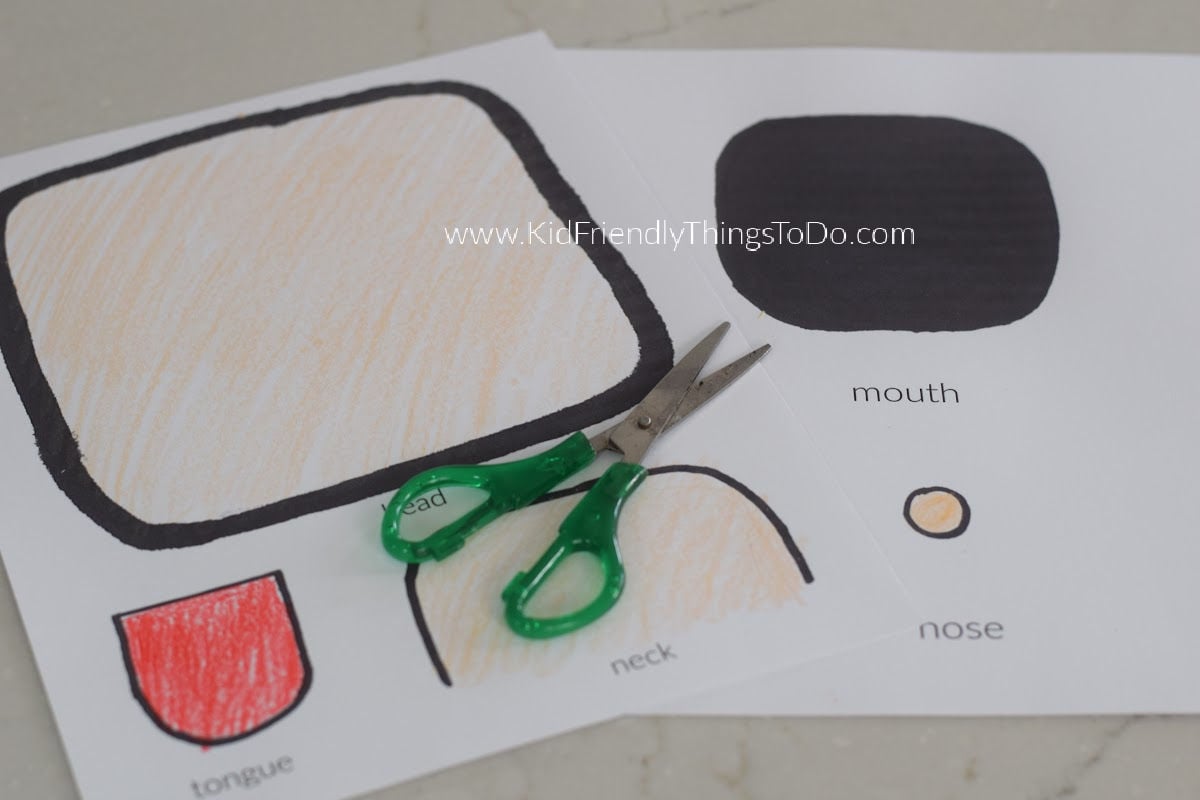
Cut
Cut the pieces out and get ready to assemble – save some of the white scraps for teeth.
Assembling
Glue the pieces onto a sheet of cardstock. I used dark blue for the background to represent the winter sky and provide a contrast to the snowflakes.
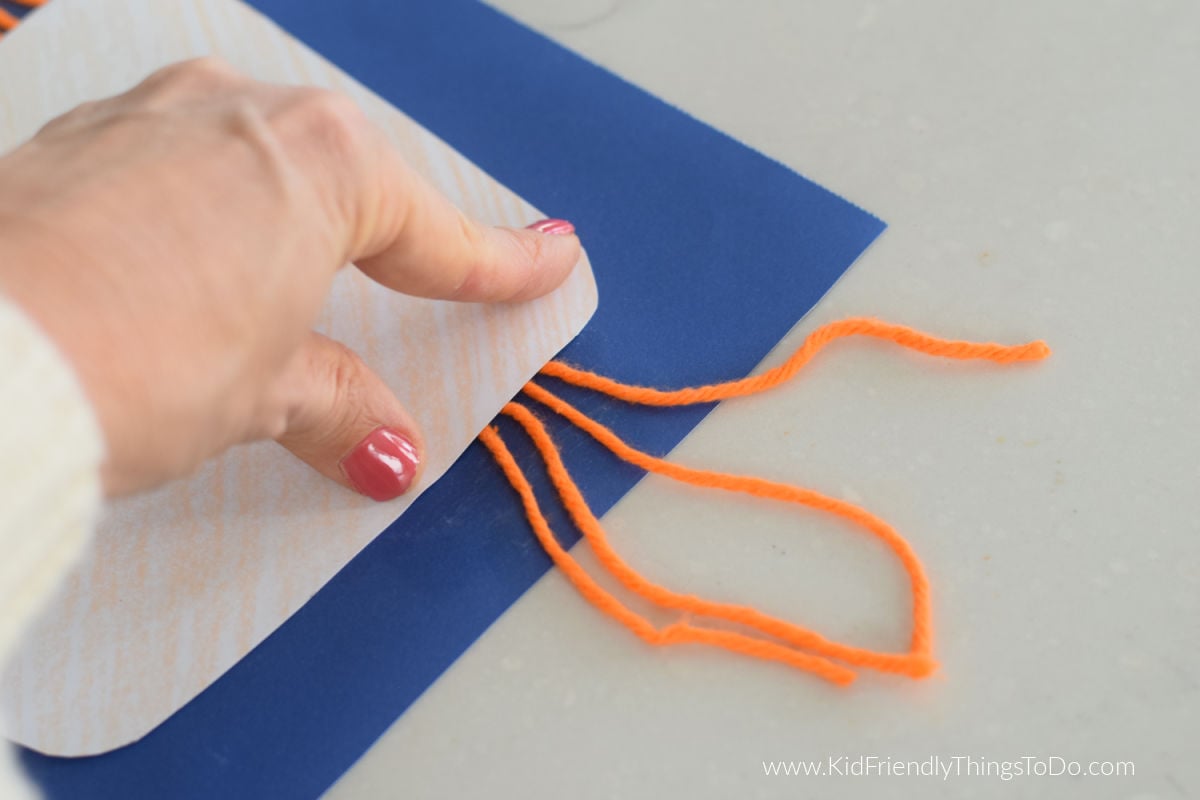
Head and Hair:
Glue the head. Lift the head’s top corners and glue yarn pieces underneath, letting them hang off to the side. Lift the head’s top corners and glue yarn pieces underneath, letting them hang off to the side.
Glue the neck and shoulders in place.

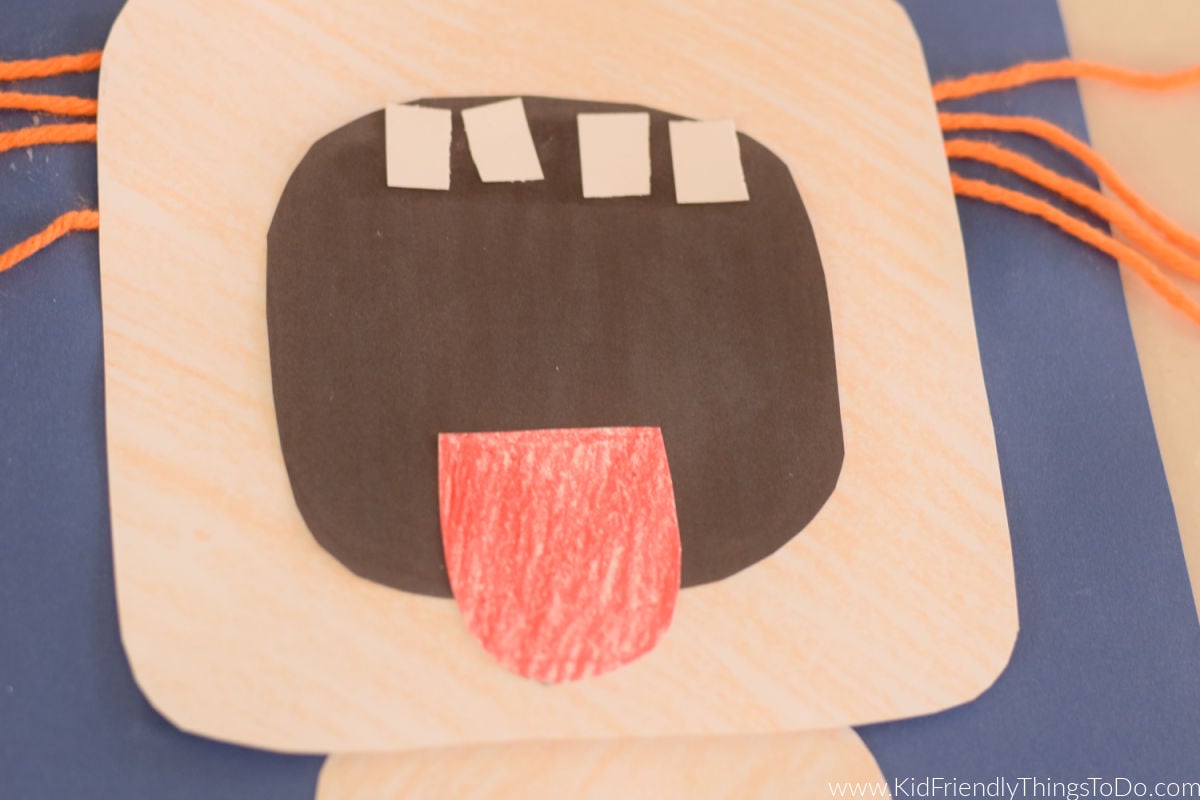
Tongue and Teeth:
Add the mouth and tongue, making sure the tongue is ready to “catch” snowflakes.
Cut some teeth from leftover scrap paper and glue those on
Scarf Detail
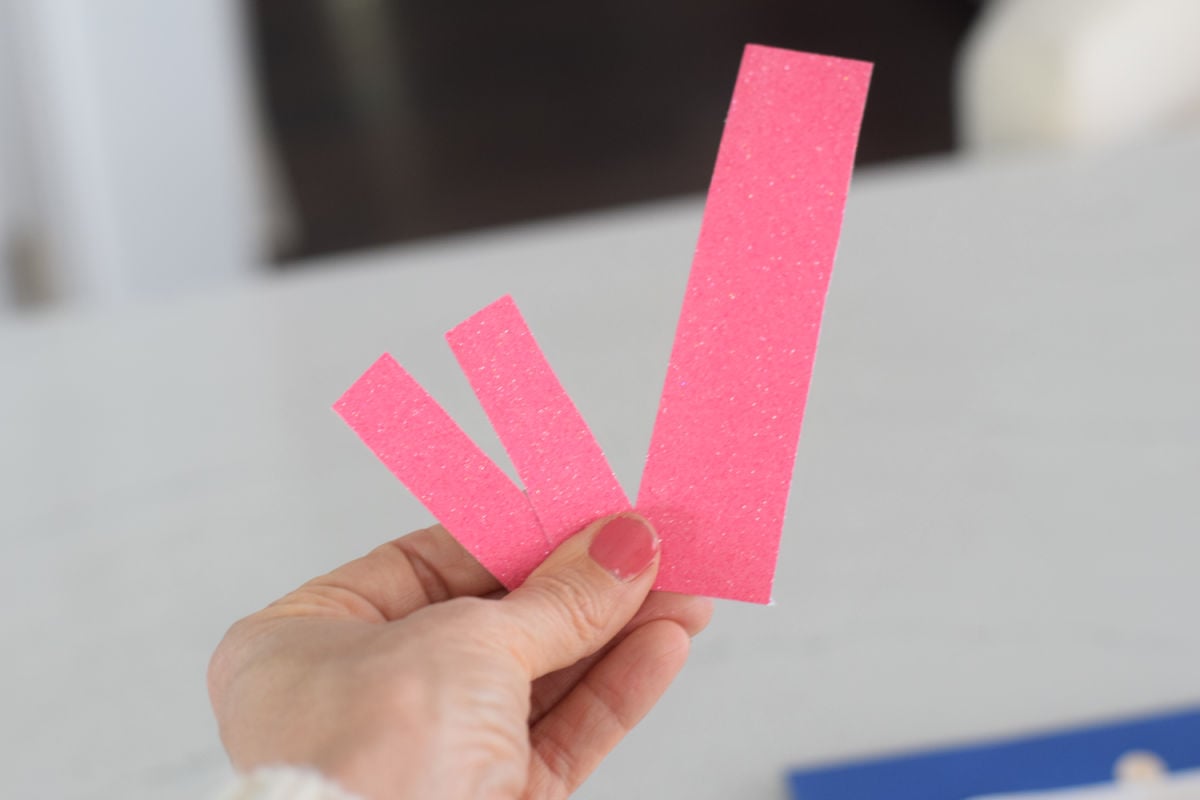
To finish off the winter look, I added a sparkly scarf made with bright-pink glitter paper. Simply cut one rectangle slightly longer than the neck for the scarf wrap, then cut two smaller rectangles to glue underneath as the hanging scarf pieces. This is a fun way to add color, texture, and personality to the project—and kids love the extra sparkle.
Snowflakes:
Glue Snowflakes on the tongue, clothes, and around the sky. I used a mix of paper and glitter snowflakes for extra sparkle. Here’s a tutorial on making snowflakes with coffee filters that might be useful.
Finish and admire!
Each one turns out a little different—and they’re all adorable.
Teacher & Parent Tips
Great for bulletin boards—pair with a winter quote or snow theme
Pre-cut pieces for younger kids
Encourage kids to add extra snowflakes or clothing designs
For preschool or younger students, pre-cutting the templates can shorten active time to about 15–20 minutes.
Grab the Printable
To make this craft super easy, I’ve created a printable template you can download and use at home or in the classroom.
You’ll need to print both templates. Press CTRL + P to print. If the printable doesn’t appear in the preview, check your settings and adjust to Fill Page or Shrink to Fit.
Printable 1 – Head, tongue, and neck
Printable 2 – Mouth, nose, and shoulders
More Winter Crafts You’ll Love

Approximate Time Frame for Craft
Prep Time
5–10 minutes
- Print the templates
- Cut cardstock backgrounds (if needed)
- Optional: pre-cut snowflakes or scarf pieces for younger kids
Active Craft Time
20–30 minutes
- Cutting out template pieces
- Coloring the face, clothing, and details
- Gluing everything onto the background
- Adding yarn hair, scarf, and snowflakes
Total Time
25–40 minutes
Catching Snowflakes Craft (Free Printable!)
Materials
- Catching Snowflakes printable
- Cardstock or construction paper (I used dark blue for the sky)
- White Cardstock for printing, teeth, and snowflakes Keep scraps after cutting printables for teeth and snowflakes
- Glitter paper or material for a scarf
- Crayons or markers
- Scissors
- Glue stick
Instructions
- Print Have kids cut out the template pieces: head, neck, mouth, tongue, nose, and shoulders.
- Color the piecesLet kids color everything before assembling. This is a great time to personalize skin tones, clothing colors, and facial details.
- Cut: Cut the pieces out and get ready to assemble
- Assembling: Glue the pieces onto a sheet of cardstock. I used dark blue for the background to represent the winter sky and provide a contrast to the snowflakes.
- Head and Hair: Glue the head. Lift the head's top corners and glue yarn pieces underneath, letting them hang off to the side. Lift the head's top corners and glue yarn pieces underneath, letting them hang off to the side.
- Body: Glue the neck and shoulders in place.
- Tongue and Teeth: Add the mouth and tongue, making sure the tongue is ready to “catch” snowflakes.Cut some teeth from leftover scrap paper and glue those onto the mouth.
- Scarf Detail: To finish off the winter look, I added a sparkly scarf made with bright-pink glitter paper. Simply cut one rectangle slightly longer than the neck for the scarf wrap, then cut two smaller rectangles to glue underneath as the hanging scarf pieces.
- Snowflakes: Glue glitter or paper snowflakes onto the tongue, clothes, face, and sky.