Salt Painting Craft for Kids
This post may contain affiliate links – please read my disclosure statement.
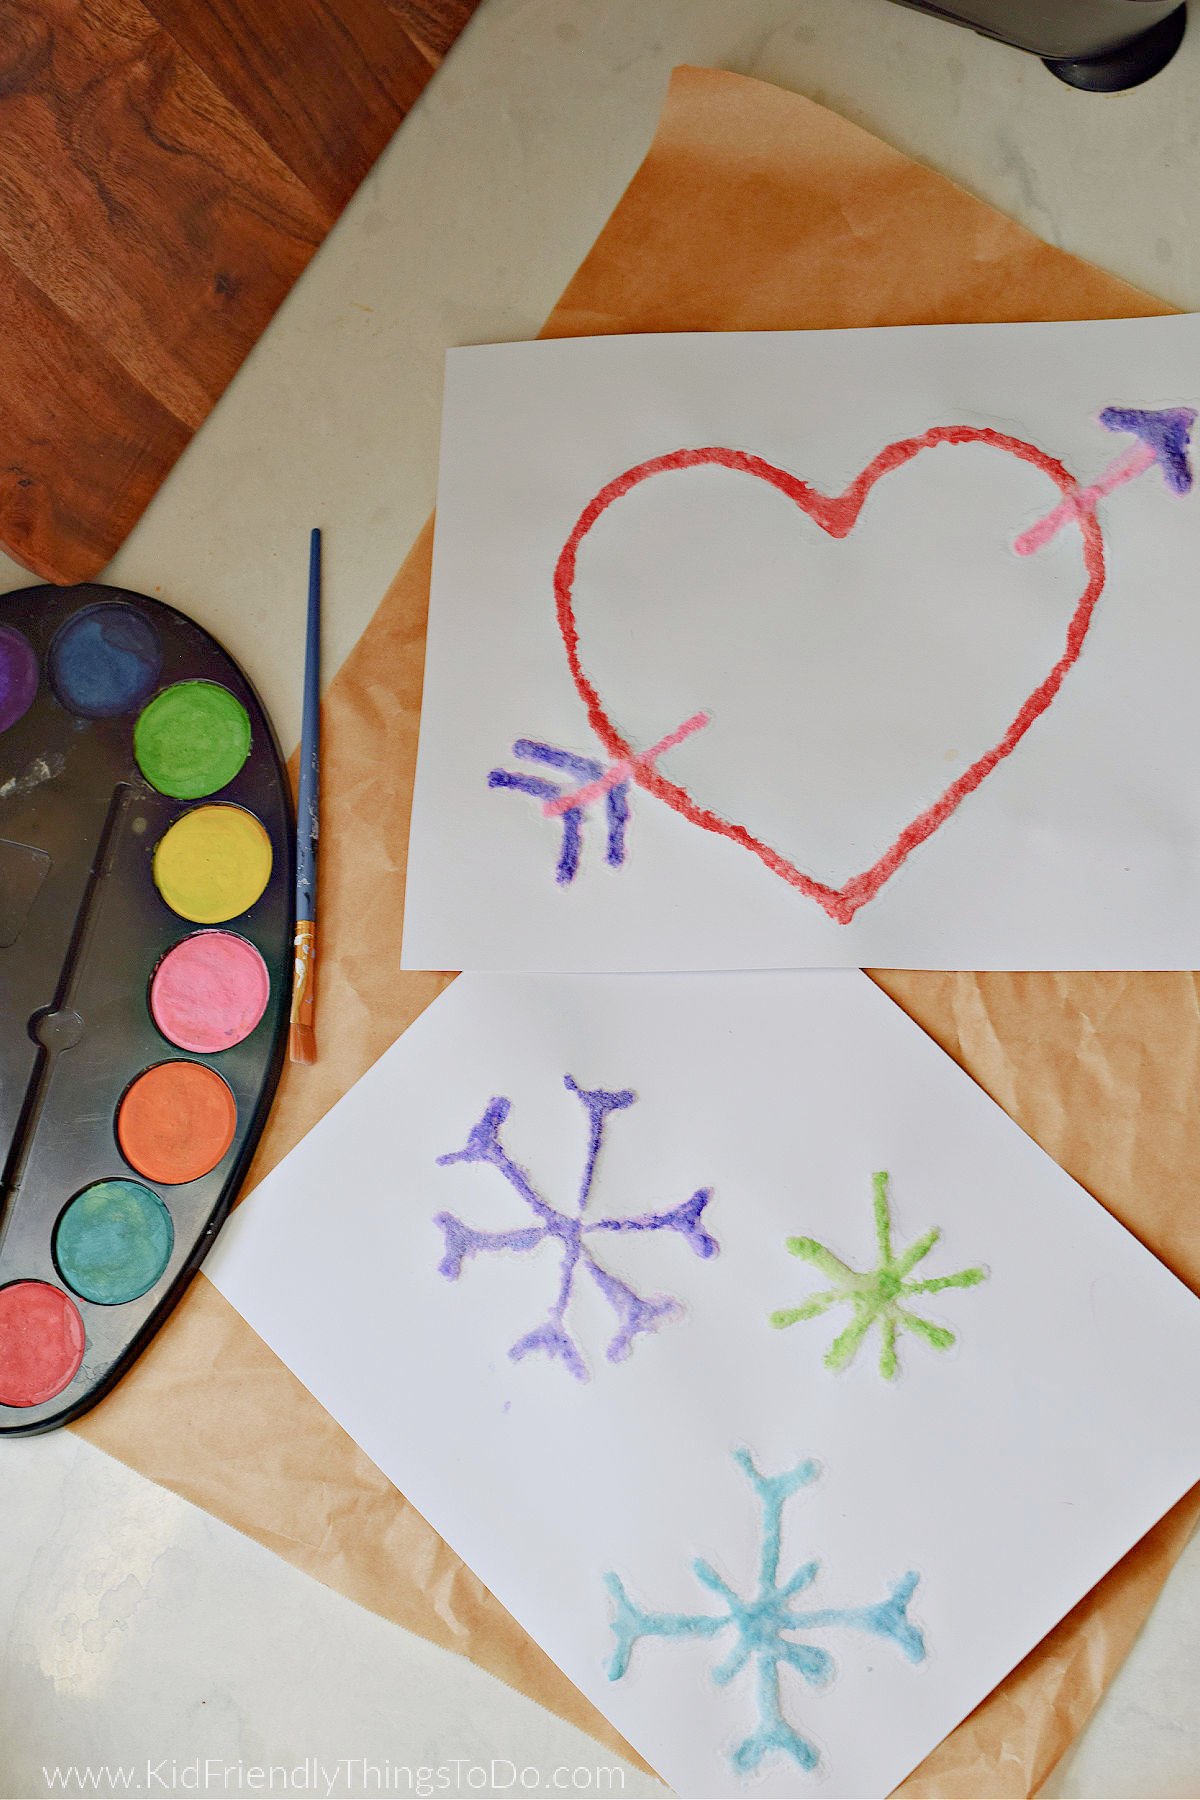
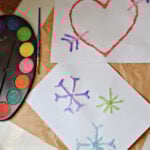
Salt painting craft for kids is one of those magical art activities that works any time of year. It combines glue, salt, and watercolor to create raised, colorful designs that seem to “travel” on their own. It feels like part art project, part science experiment — and kids love watching the color spread.
Since it’s late January, snowflakes and hearts with arrows make perfect seasonal designs, but this technique works for absolutely any shape or theme.
Any time of year is a good time for hands-on art projects and crafts with the kids. I especially love activities like blowing up a balloon with baking soda and vinegar, how to make a marble run, and making a homemade thermometer that double as learning activities.
Why You’ll Love This Craft
- Works year-round
- Uses basic supplies
- Doubles as art + science
- Great sensory experience
- Unique raised 3-D effect
- High engagement for all ages
Supplies Needed
- Cardstock (recommended over thin paper)
- White school glue (liquid glue)
- Table salt
- Watercolor paints + water
or colored water (food coloring + water) - Paintbrush
- Small cup or palette for paint water
Optional
- Dropper or pipette (not required but fun to try)
How To Make Salt Paintings
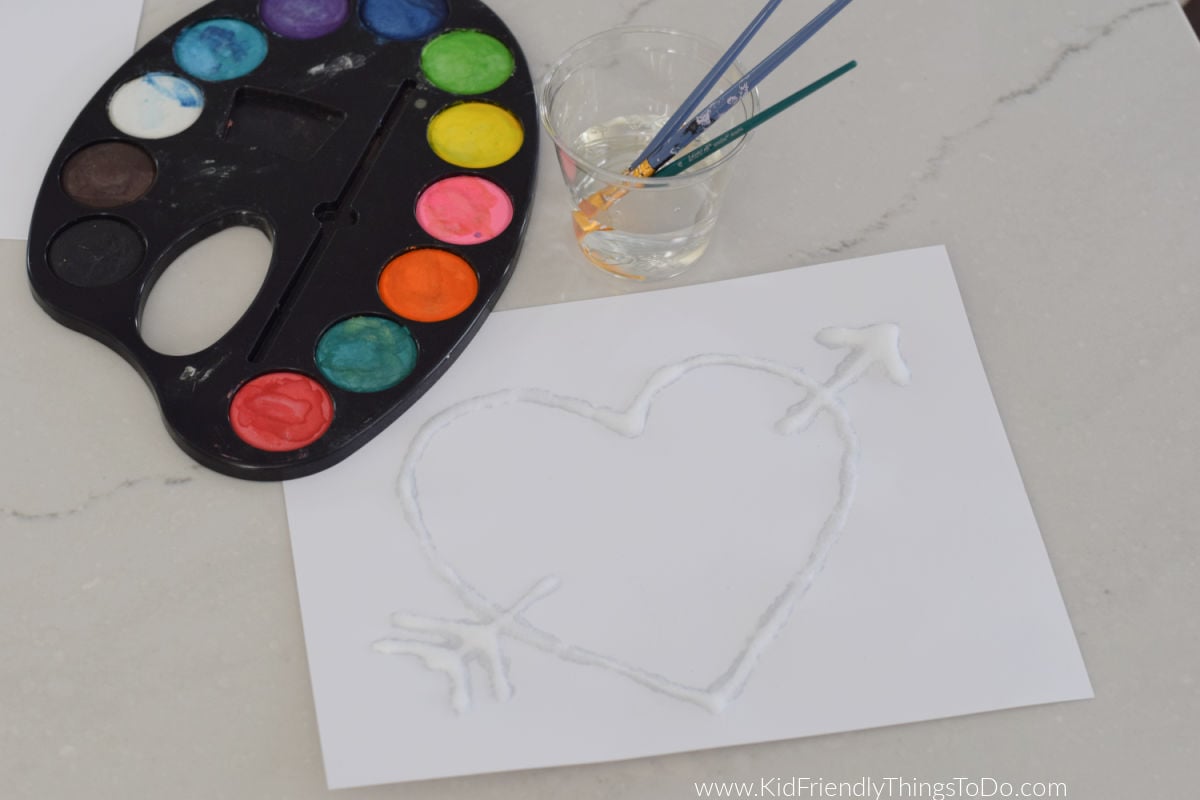
- Place cardstock on a protected surface
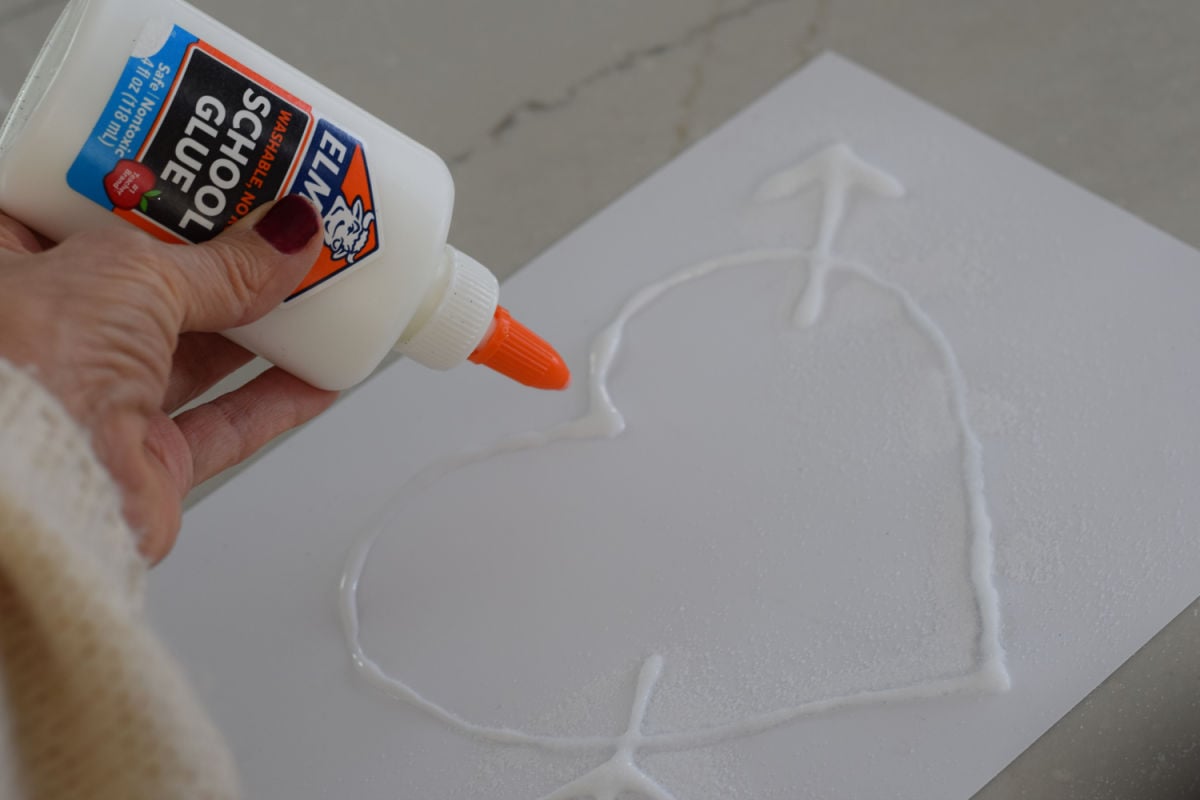
- Draw your design using liquid school glue
- Make lines thick enough to hold salt
- Sprinkle table salt over the glue like glitter
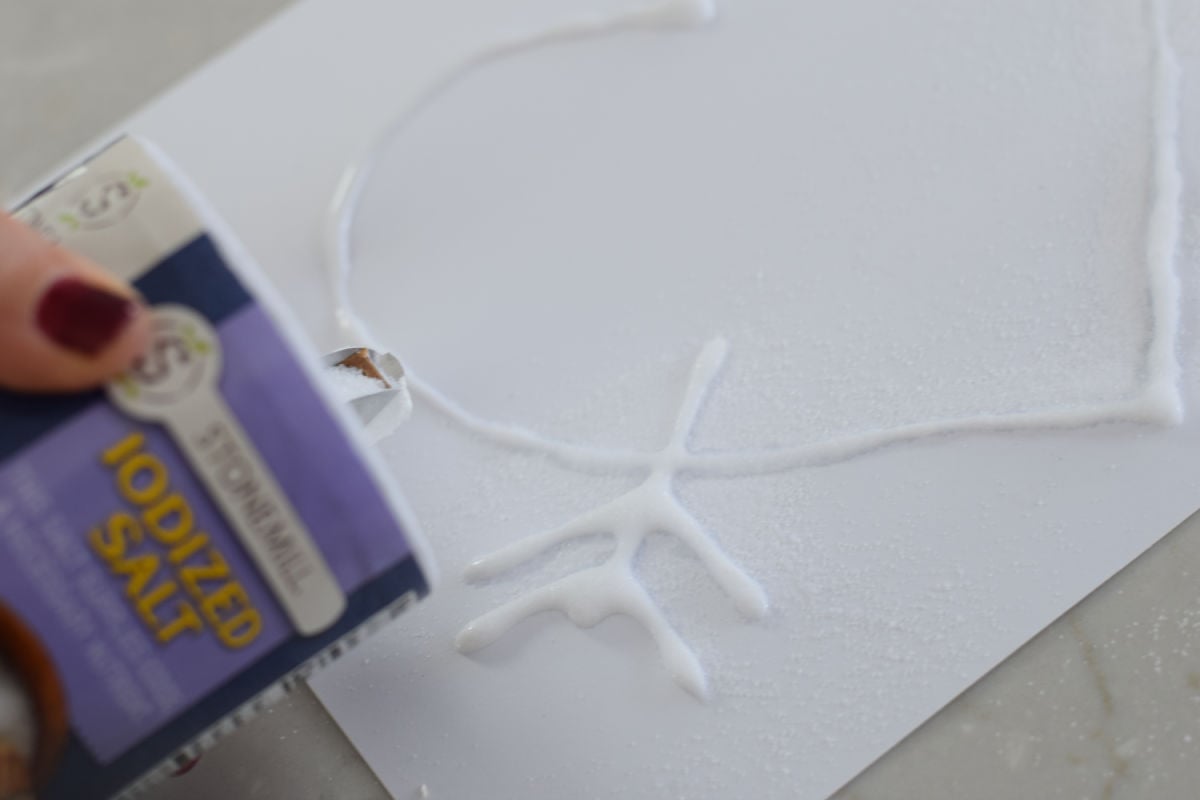
- Gently shake off excess salt
- Curve the paper slightly and pour extra salt into the trash, or into a container to use on another painting
- Let the glue sit until tacky and thickened (not fully dry)
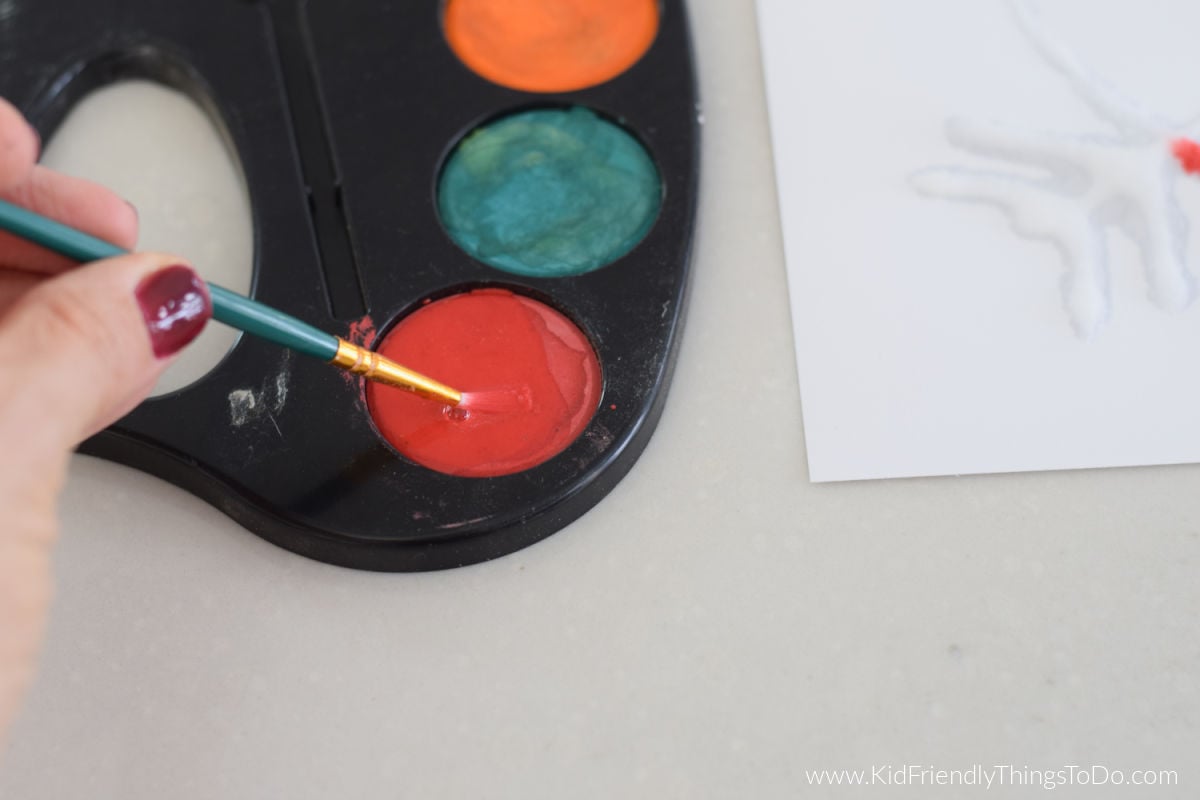
- Mix watercolor with plenty of water
- Load your brush with very wet color
- Lightly touch the salt line with the brush
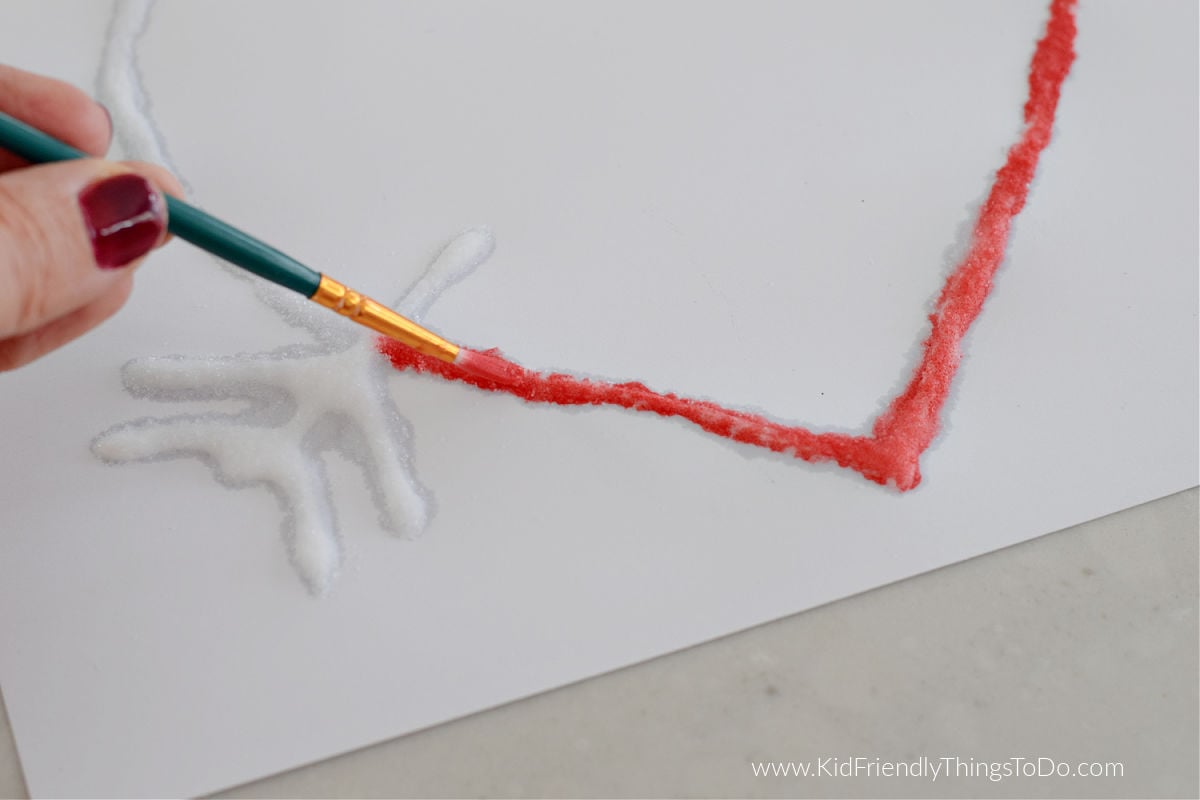
- Watch the color travel across the raised salt paths
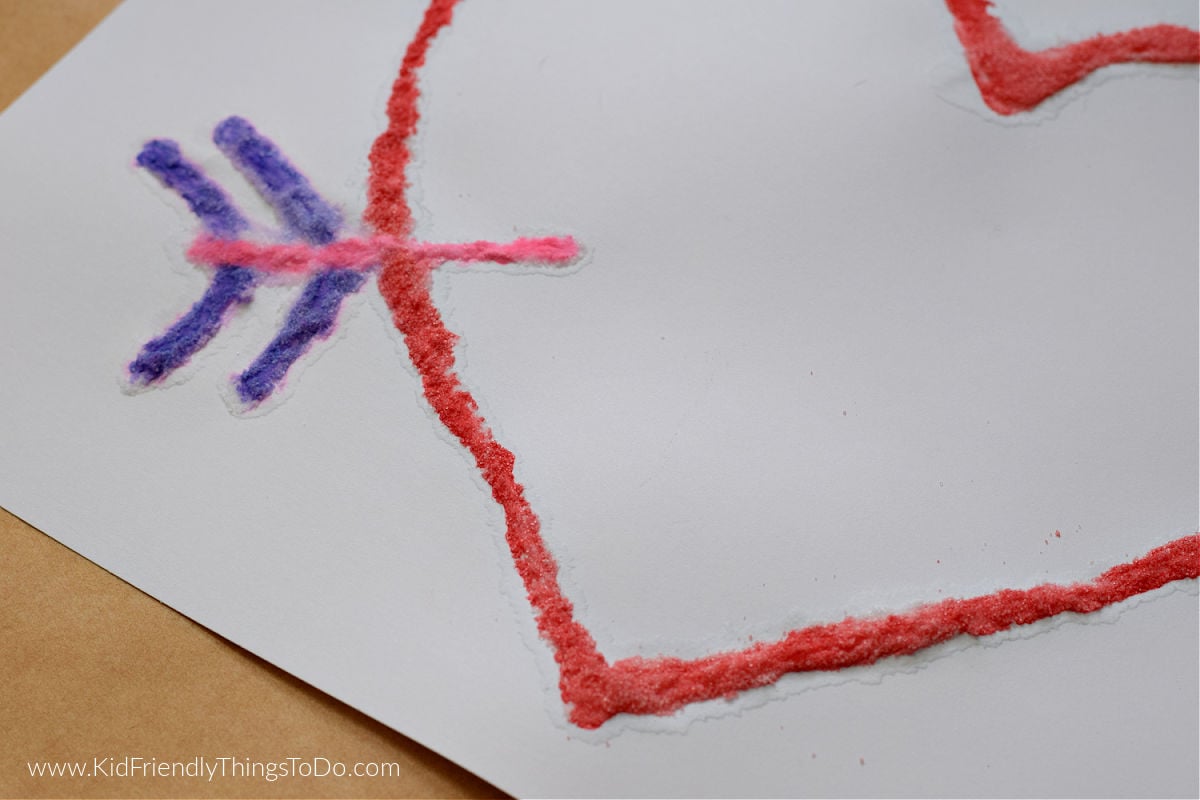
- Repeat with additional colors as desired

- Let the artwork dry completely
Why Cardstock Works Best
Salt gets heavy and the glue adds moisture. Cardstock holds up better than thin paper and reduces curling and tearing while drying.
Glue Drying Note (Important)
Different tutorials give different advice:
- Some say paint immediately
- Some say let glue dry fully
- A good middle ground is best: let the glue become tacky but not hard
This helps the salt stay raised while still absorbing color beautifully.
Tips for Best Results
- Thick glue lines work better than thin ones
- Use very wet paint — moisture helps color travel
- Touch the brush lightly — don’t drag
- Let kids observe how the color spreads
- Try one color at a time for clearer effects
- Protect your table — this can get drippy
Variations
- Snowflakes for winter
- Hearts and arrows for Valentine’s Day
- Names in salt lettering
- Rainbow lines
- Simple shapes for toddlers
- Try droppers for more controlled color drops
FAQs
Does this have to use watercolor?
No – food coloring mixed with water works too.
Can I use regular paper?
You can, but cardstock holds up much better.
Do I need a dropper?
No – a paintbrush works perfectly. Droppers are optional.
Is this messy?
A bit – but manageable with table covering.
Time Needed
Prep time: 5 minutes
Active time: 15–20 minutes
Dry time: several hours
Salt Painting Craft for Kids
Instructions
- Place cardstock on a protected surface
- Draw your design using liquid school glue
- Make lines thick enough to hold salt
- Sprinkle table salt over the glue like glitter
- Gently shake off excess salt
- Curve the paper slightly and pour extra salt into the trash, or into a container to use on another painting
- Let the glue sit until tacky and thickened (not fully dry)
- Mix watercolor with plenty of water
- Load your brush with very wet color
- Lightly touch the salt line with the brush
- Watch the color travel across the raised salt paths
- Repeat with additional colors as desired
- Let the artwork dry completely