Penguin Sensory Bottle Craft (Winter Sensory Play for Kids)
This post may contain affiliate links – please read my disclosure statement.
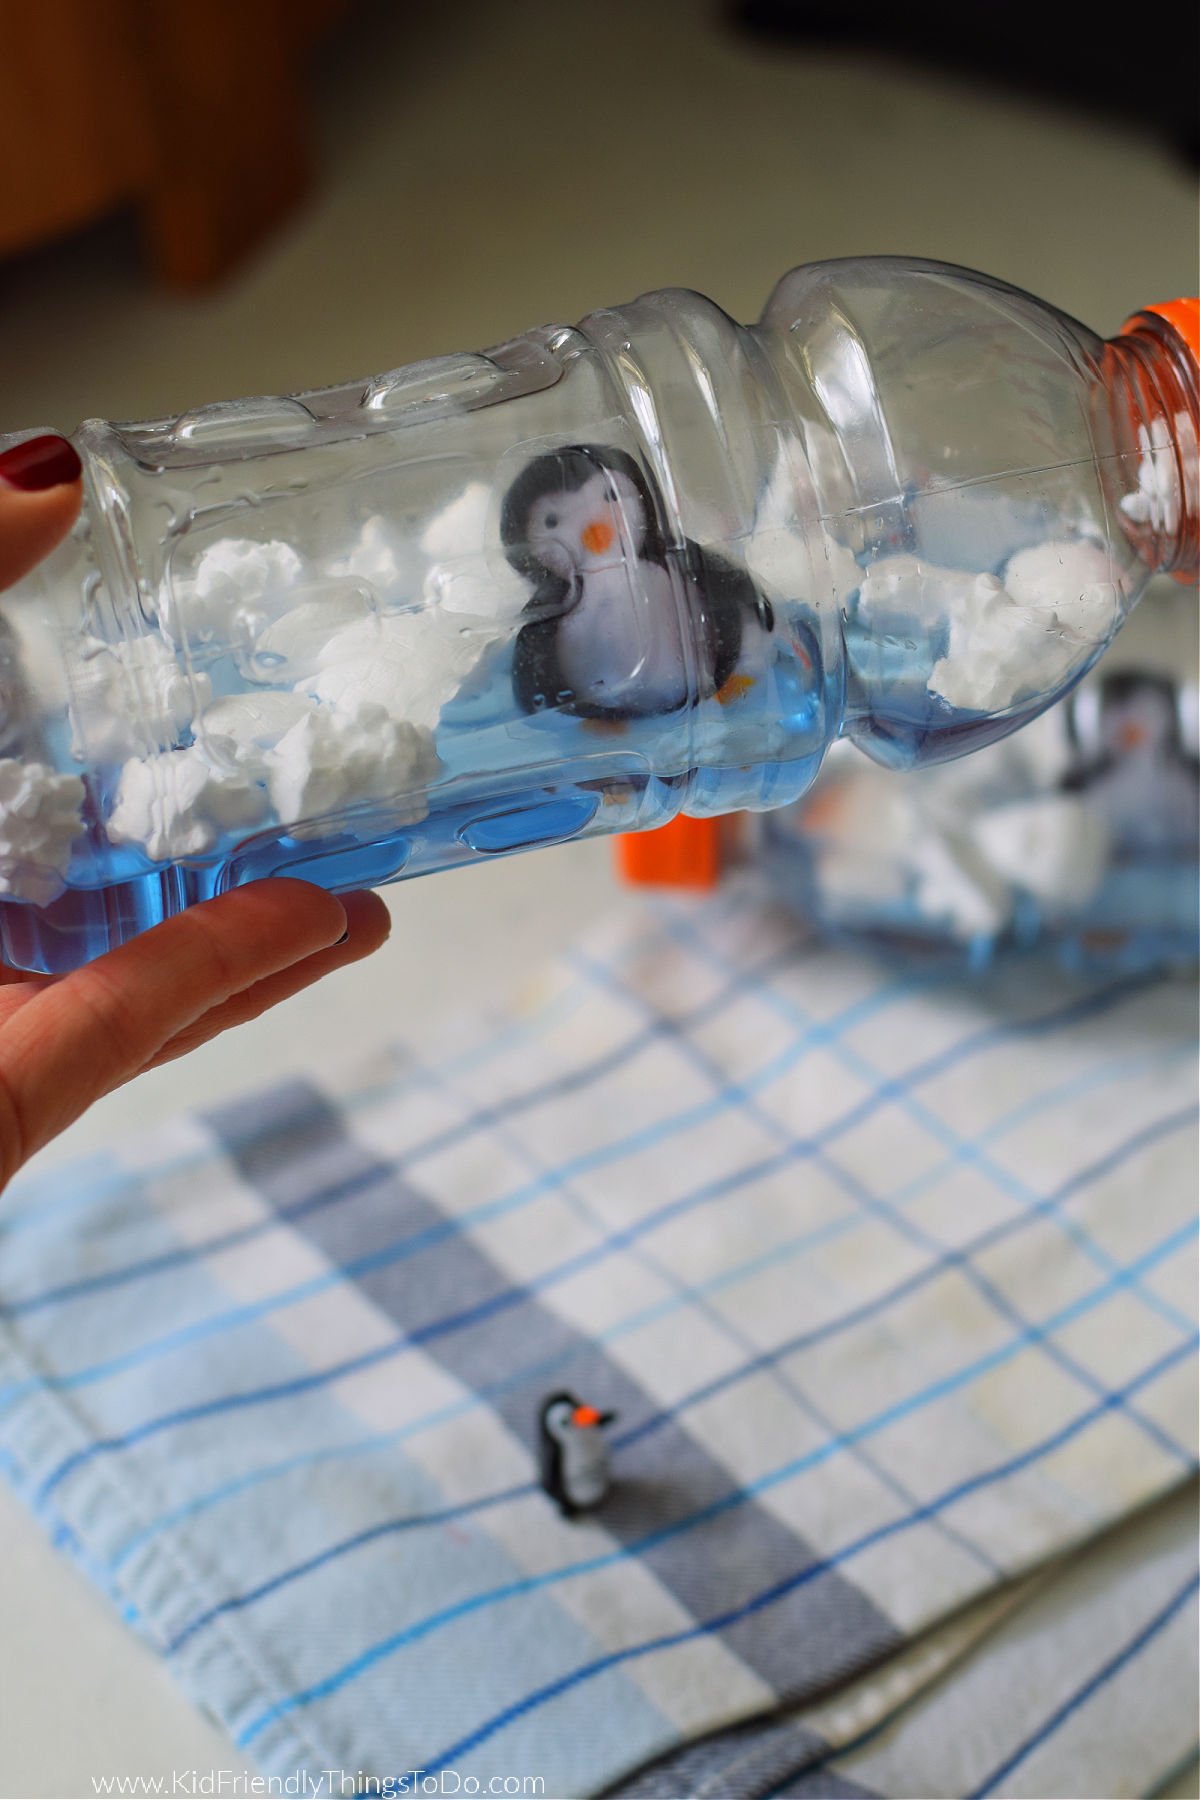
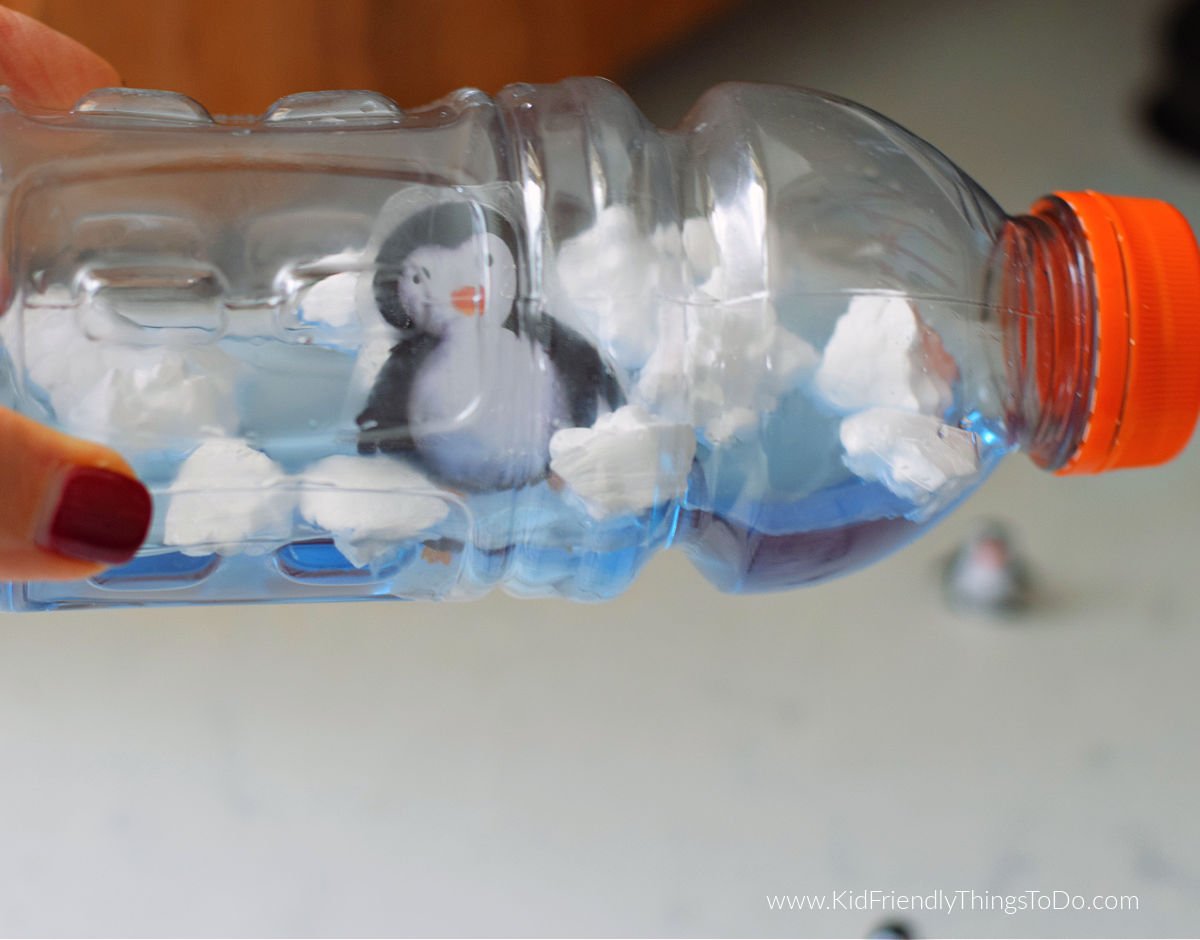
A penguin sensory bottle is a calming, engaging winter sensory bottle that kids can explore again and again. This easy DIY sensory bottle for kids is perfect for winter sensory play, preschool learning, and calm-down time at home or in the classroom. Featuring a penguin inside the bottle and floating icebergs, this sensory activity for kids encourages focused play, gentle movement, and imaginative winter fun. This version features a penguin inside the bottle, surrounded by floating icebergs, making it extra magical to shake, tilt, and observe. It’s a great hands-on sensory activity for home, classrooms, or therapy settings and pairs perfectly with a winter or Antarctica theme.
In this tutorial, I’ll walk you through exactly how I made our penguin sensory bottle using a large-mouth Gatorade bottle, a laminated printable penguin, and a strong, waterproof putty to secure everything in place.
Crafting With Kids in Winter
Crafting with kids in winter is always so much fun. When it’s cold outside, winter crafts for kids are a great way to stay cozy indoors while still encouraging creativity and hands-on learning. We love creating winter crafts like this toilet paper tube snowman, making coffee filter snowflakes, and this water bottle penguin craft. Sensory activities like this penguin sensory bottle help children slow down, explore movement, and enjoy seasonal play.
I spotted a similar sensory bottle on Pinterest with no instructions, so this one came together through a little trial and error. After a few attempts, I found a simple version kids love that requires just a bit of adult prep. I hope you enjoy making it together!
Why This Penguin Sensory Bottle Works for Winter Sensory Play
- Encourages calm, focused play
- Builds fine motor skills through tilting and controlled movement
- Sparks imaginative storytelling
- Perfect for winter, animal, or sensory units
- Uses mostly inexpensive, easy-to-find materials
Kids love watching the “icebergs” drift around the penguin as they slowly tip the bottle from side to side, making this a favorite sensory activity for kids during the winter months.
Materials Needed for a Penguin Sensory Bottle
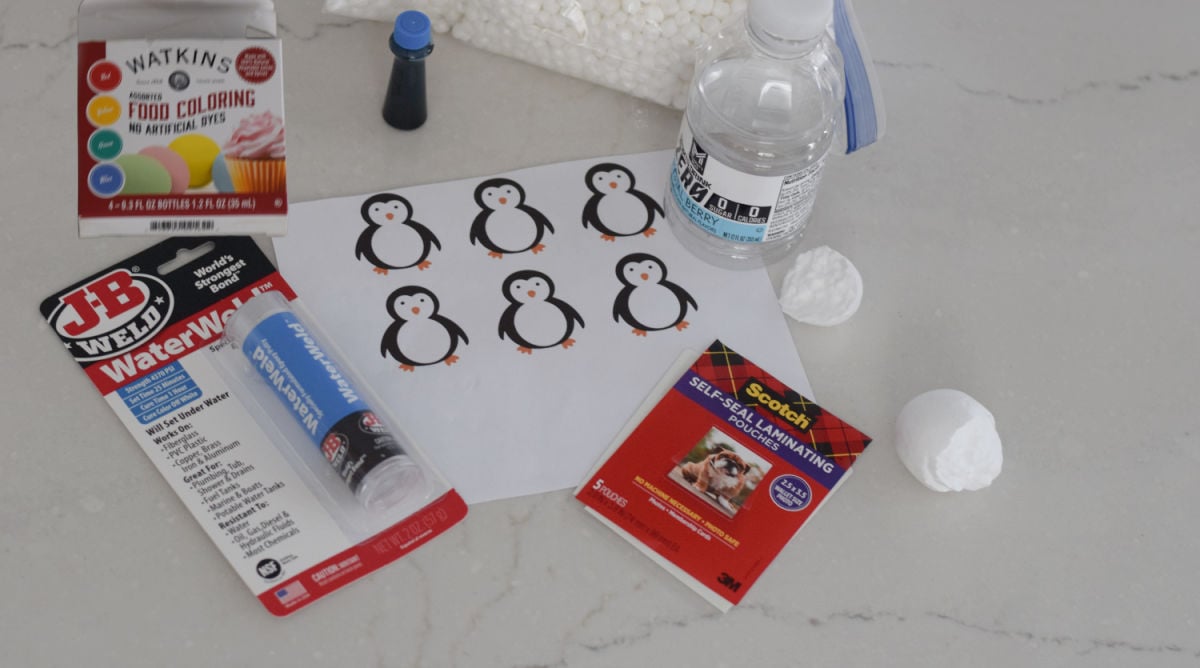
Strong glue – for sealing the lid. I use a glue called Beacon 3-in-1, but super glue would also work for this purpose.
Large-mouth Gatorade bottle (clean and dry)
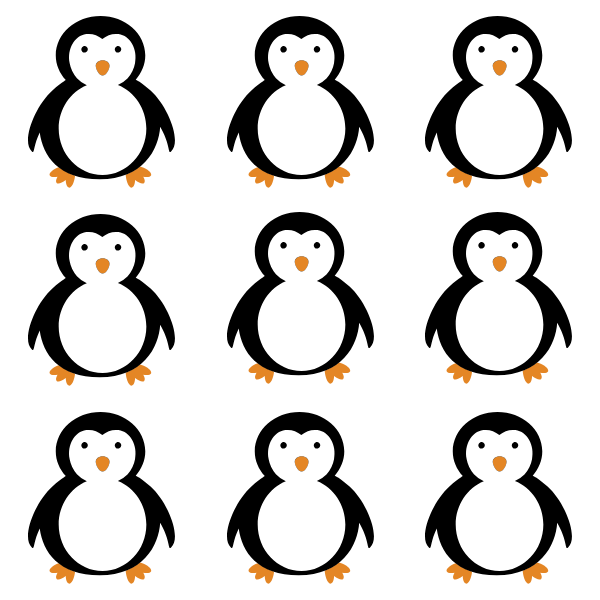
Penguin printable – I made one for you that you can print off for FREE.
I have experimented with different types of penguins, including resin penguins and penguin erasers. While they can attach to the bottom of the bottle, I found that they were too small and ended up submerged in the water. The printable penguin I use is tall enough to remain above the water, making it more suitable for this craft.
Self-laminating pouch (or a laminating machine if available)
Scissors
WaterWeld (or similar waterproof epoxy putty)
Kid-safe connected chopsticks or aquarium tweezers (long tweezers)
Water
Natural blue food dye
Broken-up Styrofoam pieces (for icebergs)
How to Make a Penguin Sensory Bottle Step by Step
1. Prepare the Penguin (Penguin Sensory Activity Prep)
Start by printing your penguin printable. Place it inside a self-laminating pouch and press firmly to remove air bubbles.
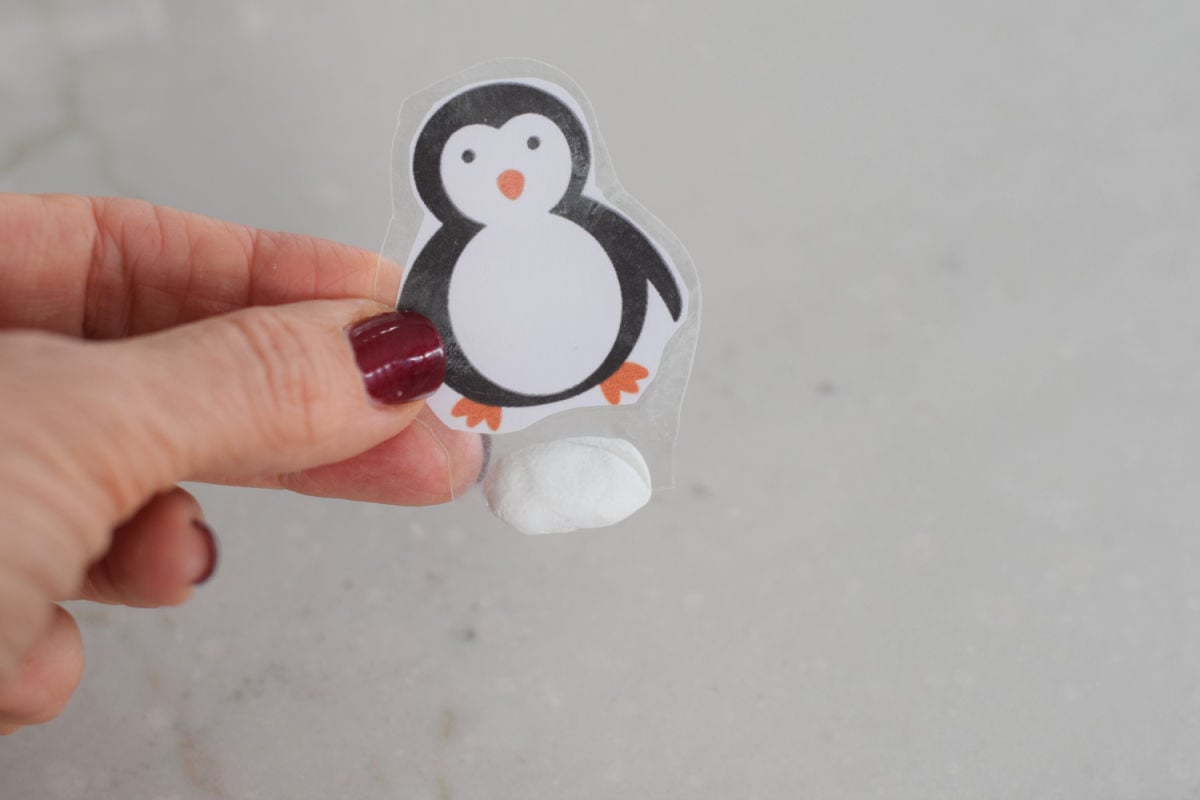
Once laminated, cut around the penguin, but leave about ½ inch of clear lamination under the penguin’s legs. This extra lamination serves as a mounting tab, helping the penguin stay anchored inside the bottle.
Note: I’ve noticed that a small amount of water can eventually seep into self-laminated printables, causing slight ink bleeding. It’s not very noticeable, but using a heat laminating machine may seal the paper better.
2. Attach the Penguin Inside the Sensory Bottle (Prep this for the kids)
Wear gloves to mix and knead a small amount of WaterWeld putty according to the package directions. Press the putty onto the clear laminated tab under the penguin’s legs.
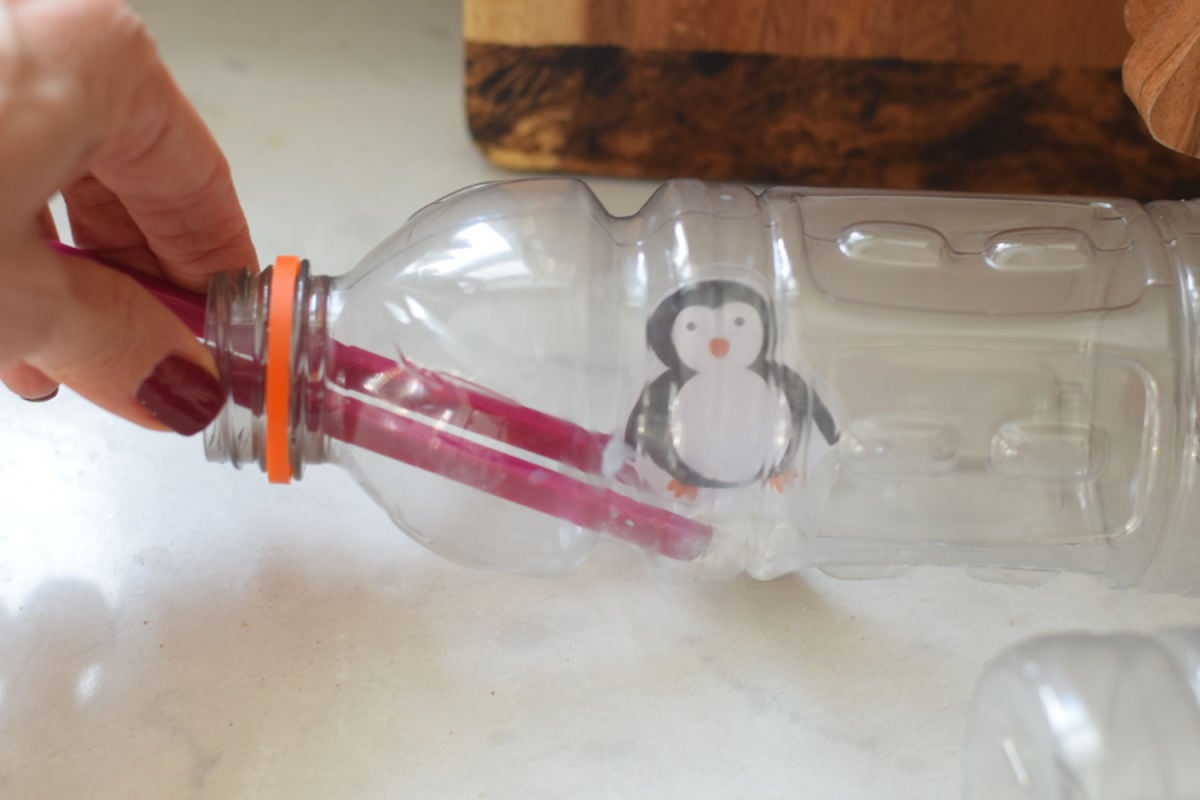
Gently bend the penguin slightly so it can fit through the opening.
Place the penguin inside the bottle.
Use connected kid chopsticks or aquarium tweezers to:
- Move the penguin a little further down the bottle
- Press the penguin down into the putty
- Adjust placement
- Apply pressure so it bonds firmly to the bottom of the bottle
These tools make a big difference and help ensure the penguin stays put.
Allow the putty to set for 20 minutes or longer. (Overnight is even better if you have the time.)
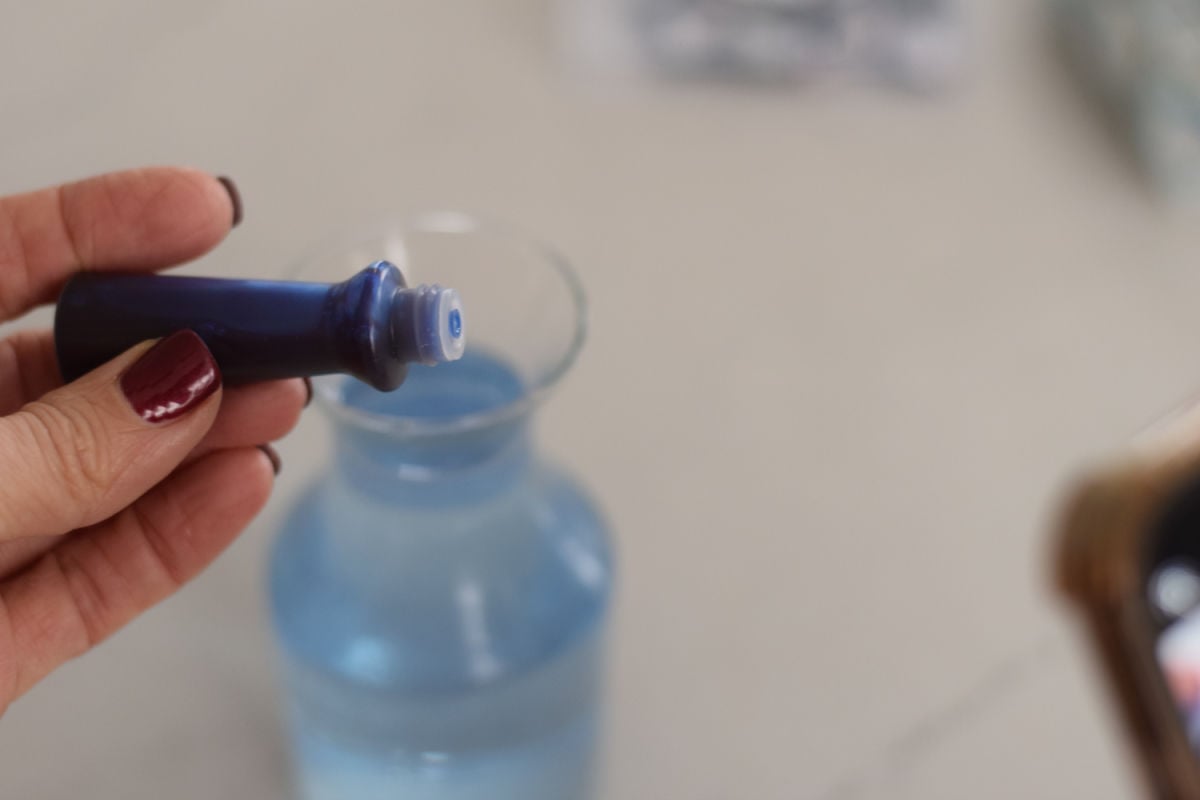
3. Color the Water for a Winter Sensory Bottle
In a separate cup, mix about 1 cup of water with a tiny drop of natural blue food dye. You’re aiming for a very light, icy blue—not dark.
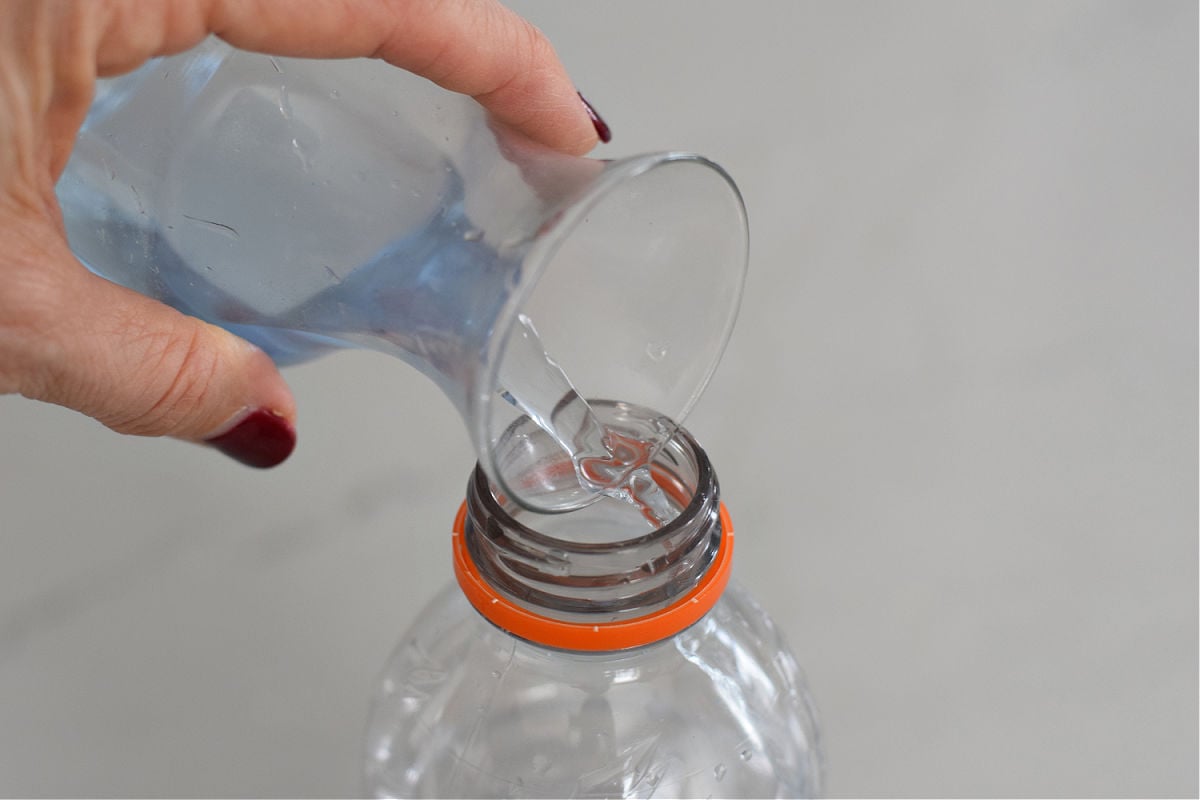
4. Assemble the Penguin Sensory Bottle
Once the putty has set:
- Pour the colored water into the bottle
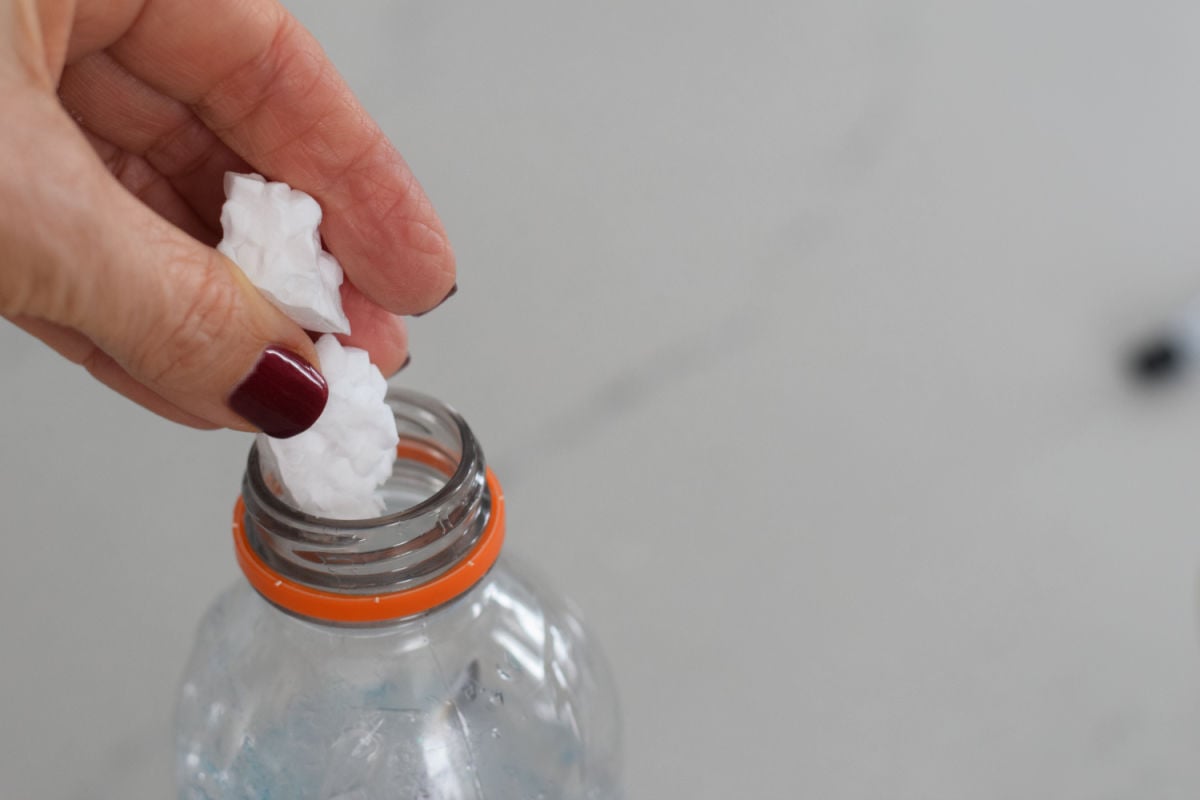
- Add small, broken-up pieces of Styrofoam to represent icebergs
5. Seal the Bottle for Safe Sensory Play
Secure the lid tightly, then glue the lid closed using hot glue or strong adhesive. This step is especially important if the bottle will be used by younger children.
Allow the glue to fully dry before play.
How Kids Use This Penguin Sensory Bottle
Kids can:
- Slowly tilt the bottle side to side
- Watch the icebergs float and drift around the penguin
- Practice calming breaths while observing movement
- Create winter or polar animal stories
This bottle works beautifully as a calm-down bottle for kids, quiet-time activity, or sensory center addition in preschool and home settings.
Tips & Variations for Winter Sensory Bottles
- Try adding a little glycerin to slow the movement (optional)
- I tried adding glitter and did not like it. Some of it stuck to the foam pieces and to the top of the bottle. It was kind of stressful for me, so I would not want to put that onto the kids.
- Use white foam beads instead of or in addition to Styrofoam for a different look
- Pair with books about penguins or Antarctica
- Make a whole set of winter sensory bottles with different animals
Final Thoughts on This Penguin Sensory Bottle Craft
This DIY penguin sensory bottle is simple to make but feels extra special thanks to the penguin being securely inside, making it a standout winter sensory play idea. It’s sturdy, visually engaging, and endlessly fascinating for kids during the winter months.
If you try this craft, I’d love to hear how it turned out and what variations you added!
More Winter Crafts You’ll Love


Penguin Sensory Bottle Craft (Winter Sensory Play for Kids)
Materials
- Strong glue – for sealing the lid. I use a glue called Beacon 3-in-1, but super glue would also work for this purpose.
- Large-mouth Gatorade bottle (clean and dry)
- Penguin printable – I made one for you that you can print off for FREE.
- Self-laminating pouch (or a laminating machine if available)
- Scissors
- WaterWeld (or similar waterproof epoxy putty)
- Kid-safe connected chopsticks or aquarium tweezers (long tweezers)
- Water
- Natural blue food dye
- Broken-up Styrofoam pieces (for icebergs)
Instructions
1. Prepare the Penguin (Penguin Sensory Activity Prep)
Start by printing your penguin printable. Place it inside a self-laminating pouch and press firmly to remove air bubbles.Once laminated, cut around the penguin but leave about ½ inch of clear lamination under the penguin’s legs. This extra lamination serves as a mounting tab, helping the penguin stay anchored inside the bottle.Note: I’ve noticed that a small amount of water can eventually seep into self-laminated printables, causing slight ink bleeding. It’s not very noticeable, but using a heat laminating machine may seal the paper better.2. Attach the Penguin Inside the Sensory Bottle (Prep this for the kids)
Wear gloves to mix and knead a small amount of WaterWeld putty according to the package directions. Press the putty onto the clear laminated tab under the penguin’s legs.Gently bend the penguin slightly so it can fit through the opening.Place the penguin inside the bottle.Use connected kid chopsticks or aquarium tweezers to:These tools make a big difference and help ensure the penguin stays put.Allow the putty to set for 20 minutes or longer. (Overnight is even better if you have the time.)3. Color the Water for a Winter Sensory Bottle
In a separate cup, mix about 1 cup of water with a tiny drop of natural blue food dye. You’re aiming for a very light, icy blue—not dark.4. Assemble the Penguin Sensory Bottle
Once the putty has set:Pour the colored water into the bottleAdd small, broken-up pieces of Styrofoam to represent icebergs5. Seal the Bottle for Safe Sensory Play
Secure the lid tightly, then glue the lid closed using hot glue or strong adhesive. This step is especially important if the bottle will be used by younger children.Allow the glue to fully dry before play.Move the penguin a little further down the bottlePress the penguin down into the puttyAdjust placementApply pressure so it bonds firmly to the bottom of the bottlePour the colored water into the bottleAdd small, broken-up pieces of Styrofoam to represent icebergs
