The Easiest DIY Lavender Wreath
This post may contain affiliate links – please read my disclosure statement.
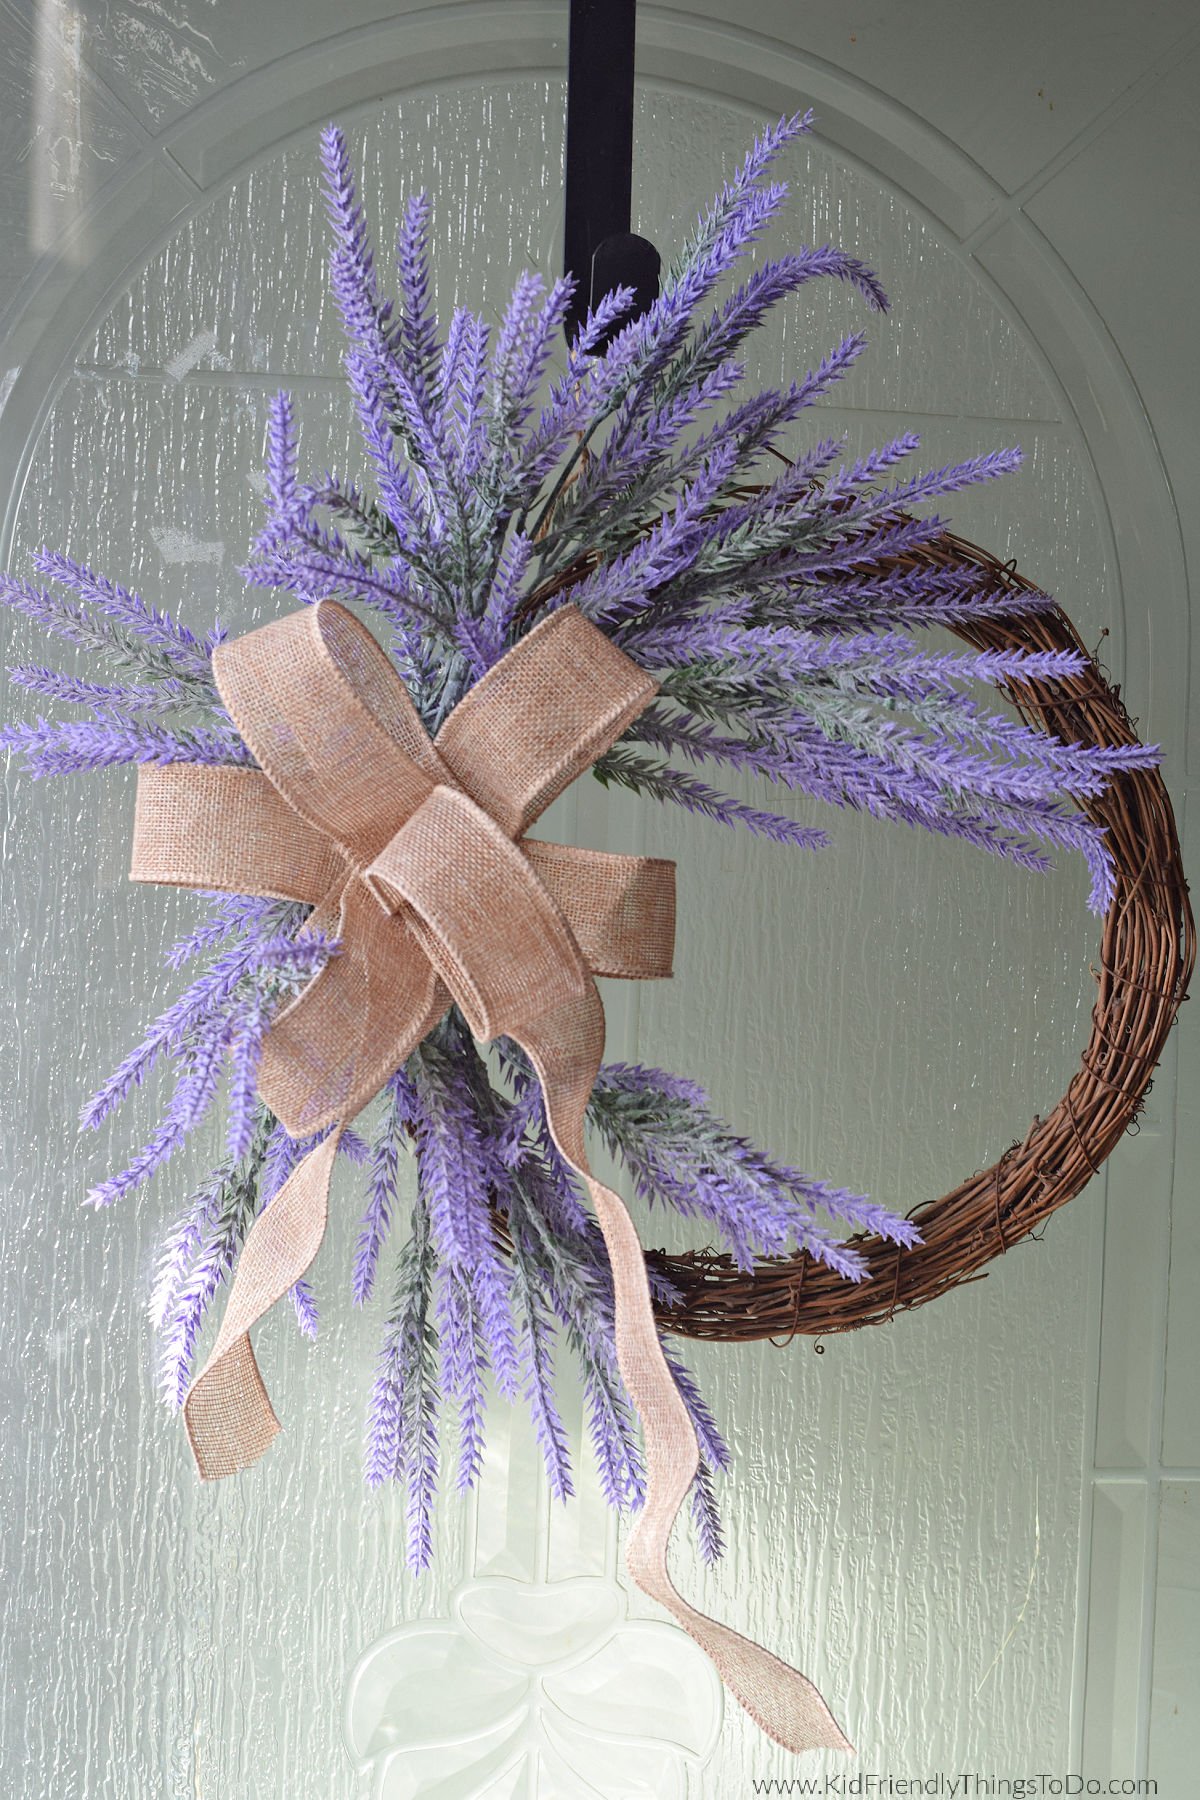
This artificial lavender wreath is easy to make and perfect for decorating the porch in spring and summer. This DIY Spring wreath is simple and rustic, with a grapevine wreath base, purple bundles of lavender, and a burlap ribbon.
Adult supervision is required for each step of activities, recipes, crafts, and games with children. Small parts are a choking hazard.
DIY Spring Wreath
Lately, I’ve been adding easy-to-make wreaths to the arts and crafts category. Making a homemade wreath like this one and this simple Easter grapevine wreath and this post on Over twenty-seven spring wreaths you can make for the home are great ways to add color to your home without breaking the bank.
What You’ll Love about this DIY Wreath
- It is and easy DIY wreath to make
- A colorful wreath for your front door
- This wreath is perfect for spring and summer
Supplies Needed for this Easy Wreath
- Artificial Lavender Bunches – I found lavender bunches online that had so many bunches of lavender that I was able to use them on two different wreaths.
- Grapevine Wreath – I bought a pair of 12-inch grapevine wreaths and used them both on different wreath projects. A sixteen-inch or eighteen-inch wreath would be even better for a front door
- Floral wire – I used green floral wire to blend in with the stems.
- Burlap Ribbon – I found a burlap ribbon online that is 1&1/2 inches wide.
- Twine – You’ll use this to hang the wreath.
Equipment Needed
- Wirecutter
- Glue – I used a low-temperature glue gun and glue sticks
How to Make a Simple Lavender Wreath
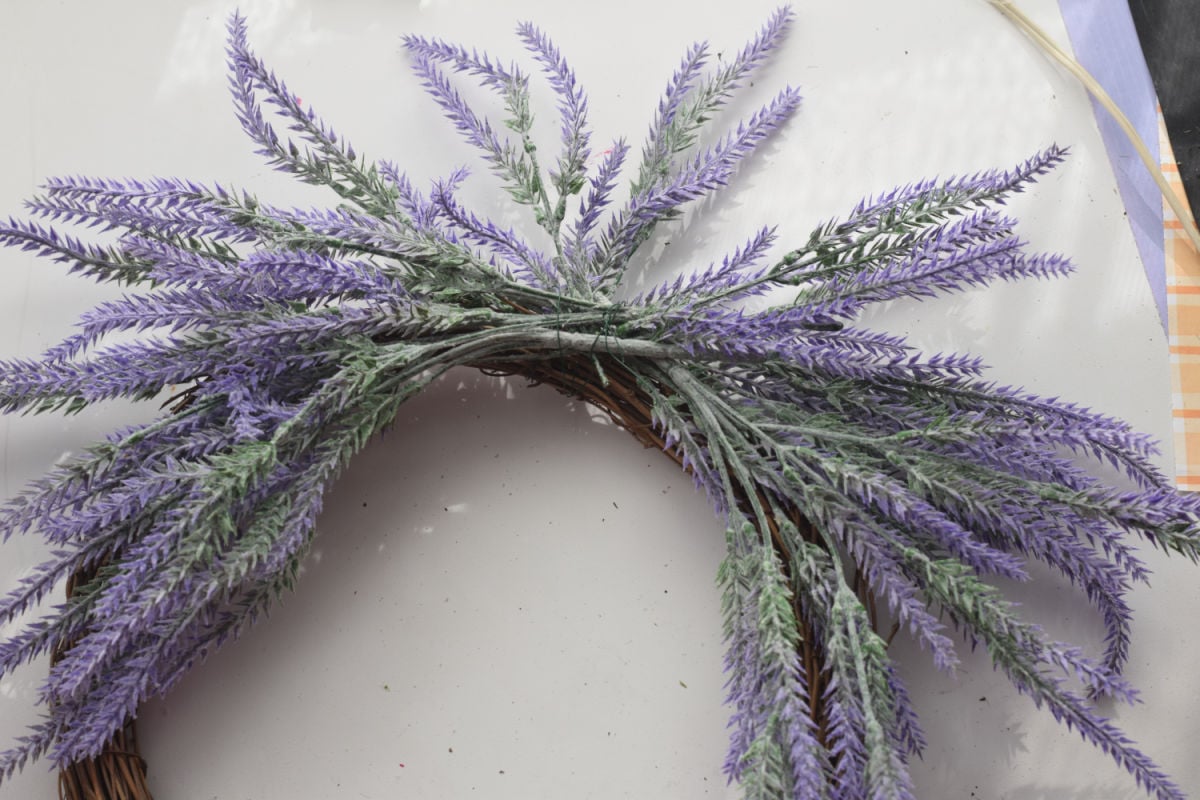
Spread four bunches of lavender so that they are fanned out
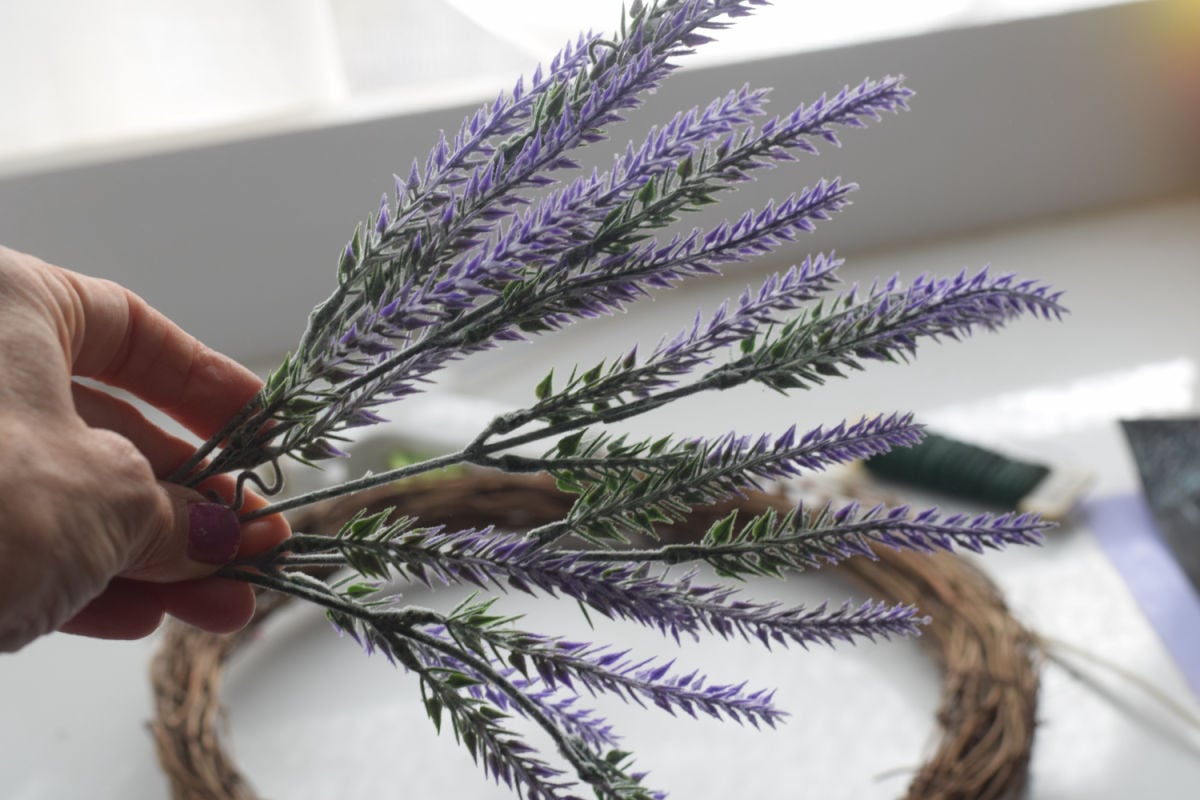
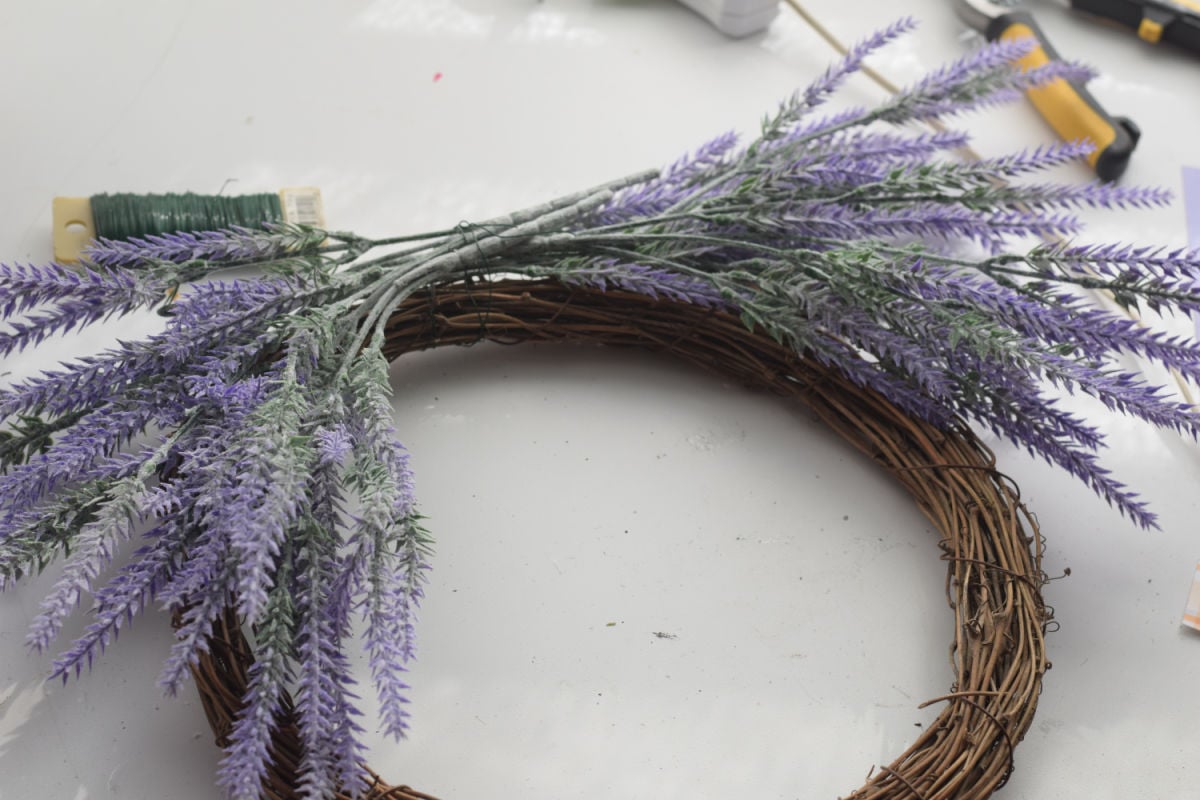
Place four bunches of lavender going in opposite directions overlapping at the stems onto the grapevine wreath. Stagger them so they are not even on top of each other
Use the floral wire to secure those to the wreath
Take one more bunch of lavender and cut the purple florets off of the stem
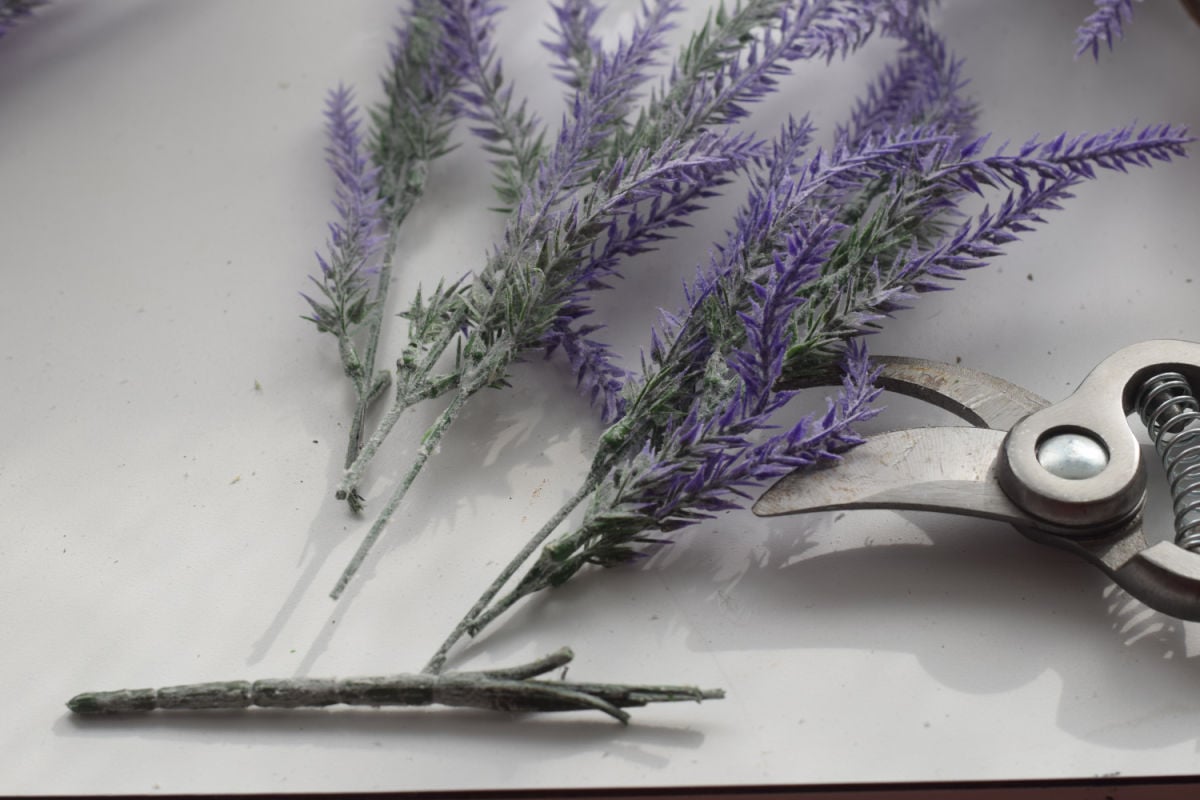
Tuck those into the middle of the other bunches to fill in the gap with more lavender
Use floral wire to secure the lavender to the wreath
Start making the burlap ribbon
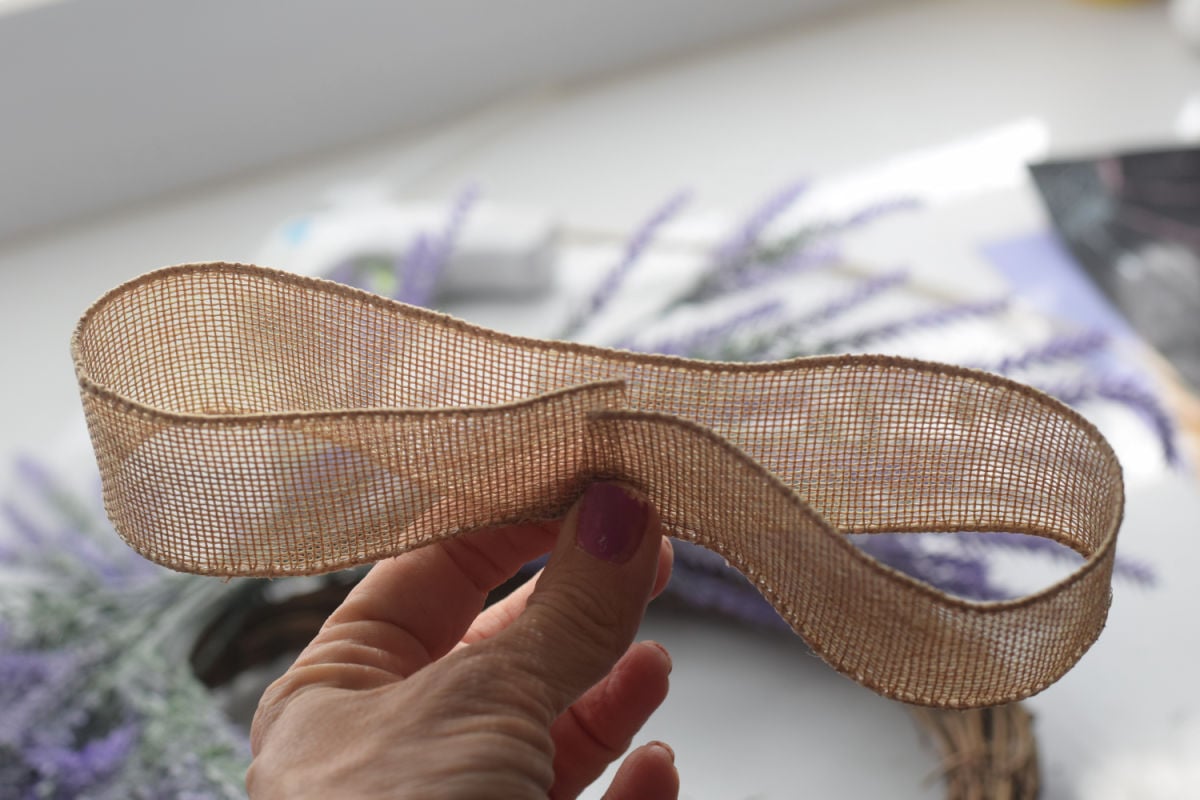
Cut three sixteen-inch pieces and fold the edges toward the middle
Glue the two edges together in the center of the ribbon
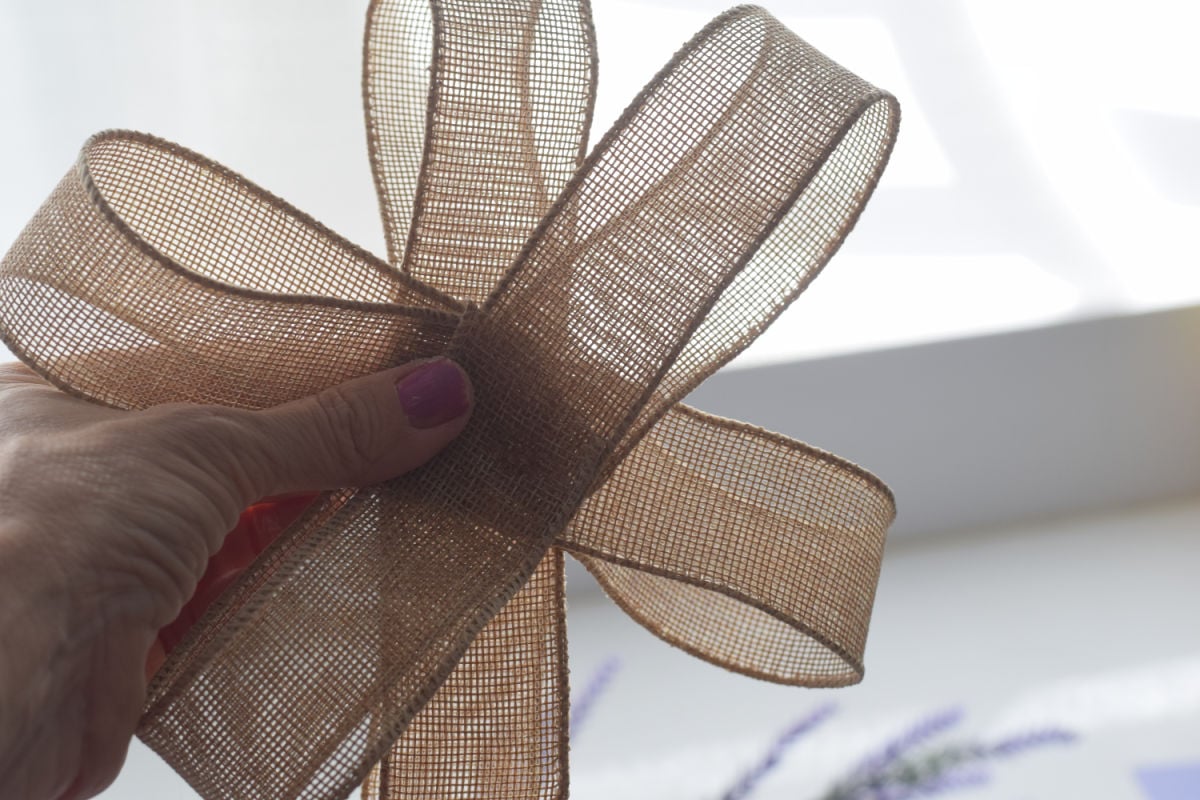
Place the three folded ribbon pieces across each other forming an X and then one piece across the X piece.
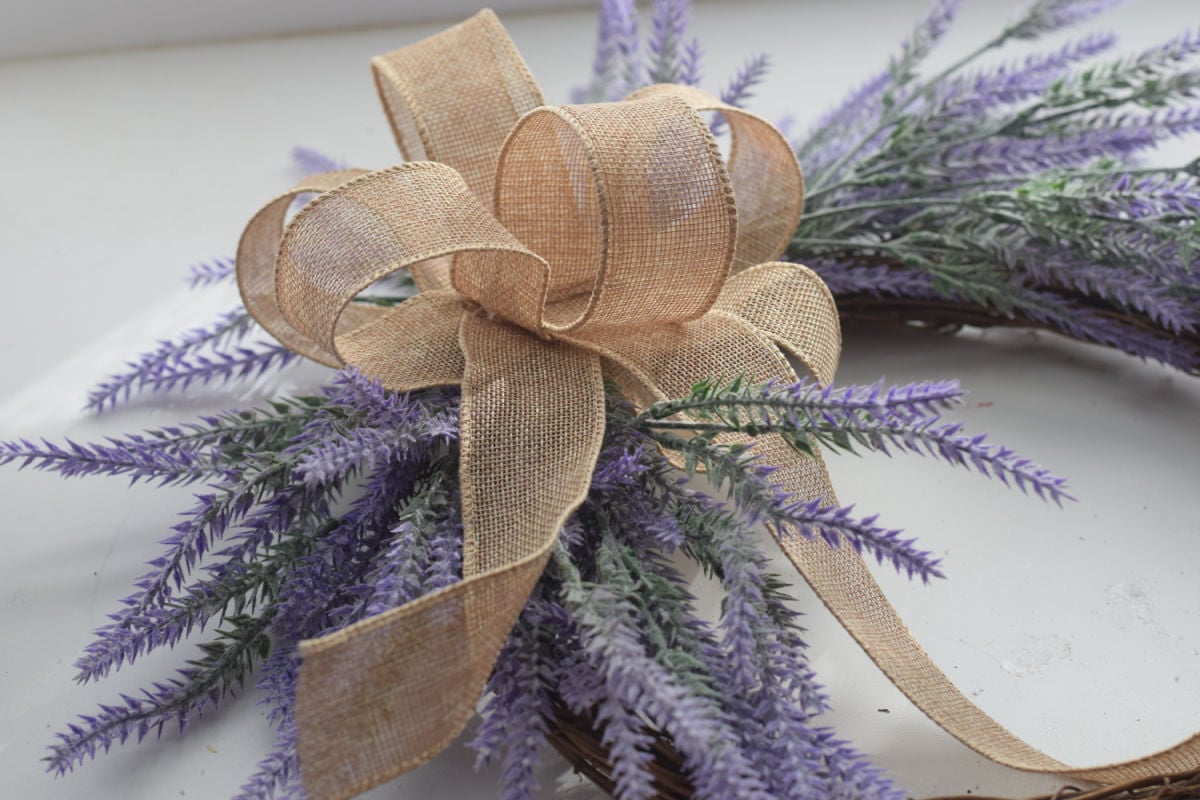
Glue the ribbon to the lavender about 3/4 of the way down the lavender
Cut more ribbon for the ribbon tail and tuck those into the ribbon so that they hang down
Glue them in place
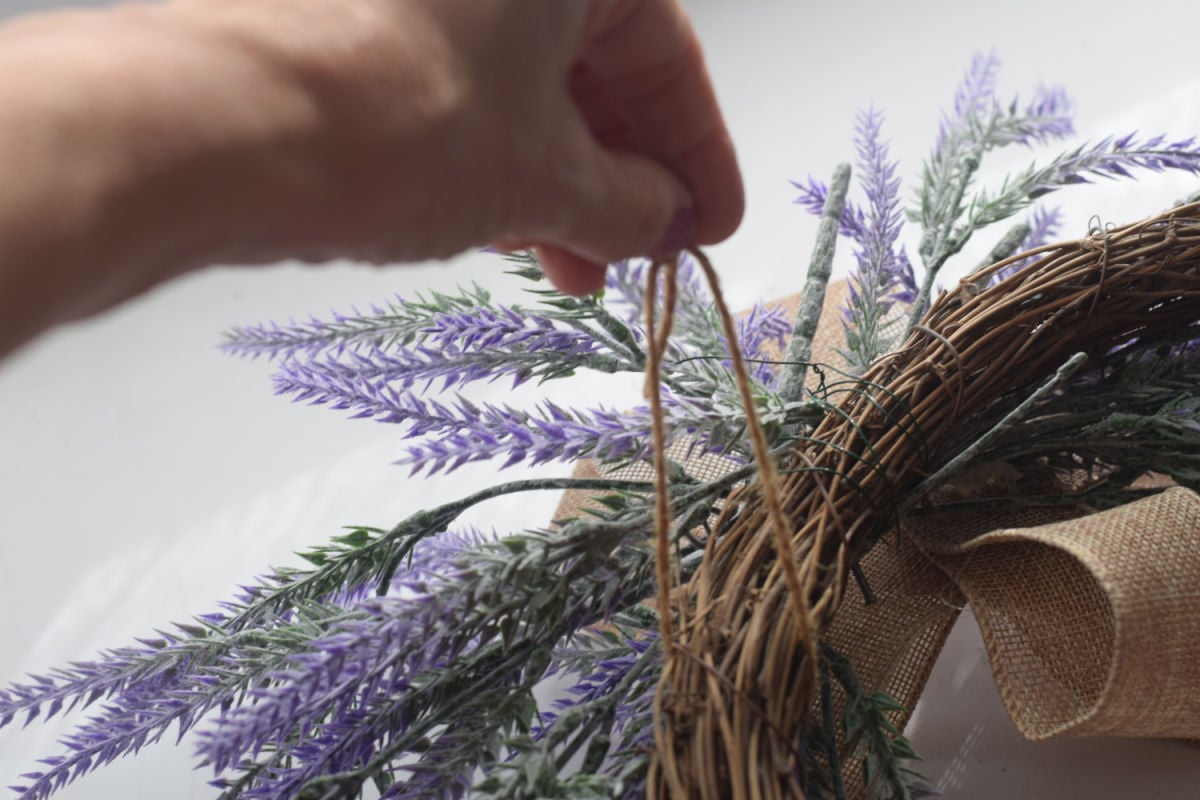
Tie the twine into a loop to hang the wreath from and position it at the top of the lavender. Don’t glue this down so you can reposition it to your liking
More Spring Crafts You’ll Enjoy
Let’s Hang Out
Printable Instructions
The Easiest DIY Lavender Wreath
Equipment
- wire cutter
- glue I used a low-temp glue gun and glue sticks
Materials
- Artificial Lavender Bunches
- Grapevine Wreath
- Floral wire
- Burlap Ribbon
- Twine
Instructions
- Spread four bunches of lavender so that they are fanned out
- Place four bunches of lavender going in opposite directions overlapping at the stems onto the grapevine wreath. Stagger them so they are not even on top of each other
- Use the floral wire to secure those to the wreath
- Take one more bunch of lavender and cut the purple florets off of the stem
- Tuck those into the middle of the other bunches to fill in the gap with more lavender
- Use floral wire to secure the lavender to the wreath
- Start making the burlap ribbon
- Cut three sixteen-inch pieces and fold the edges toward the middle
- Glue the two edges together
- Place the three folded ribbon pieces across each other forming an X and then one piece across the X piece
- Glue the ribbon to the lavender about 3/4 of the way down the lavender
- Cut more ribbon for the ribbon tail and tuck those into the ribbon so that they hang down
- Glue them in place
- Tie the twine into a loop to hang the wreath and position it at the top of the lavender. Don't glue this down so you can reposition it to your liking
~ Melissa – KidFriendlyThingsToDo.com

