DIY Easy to Make Easter Wreath
This post may contain affiliate links – please read my disclosure statement.
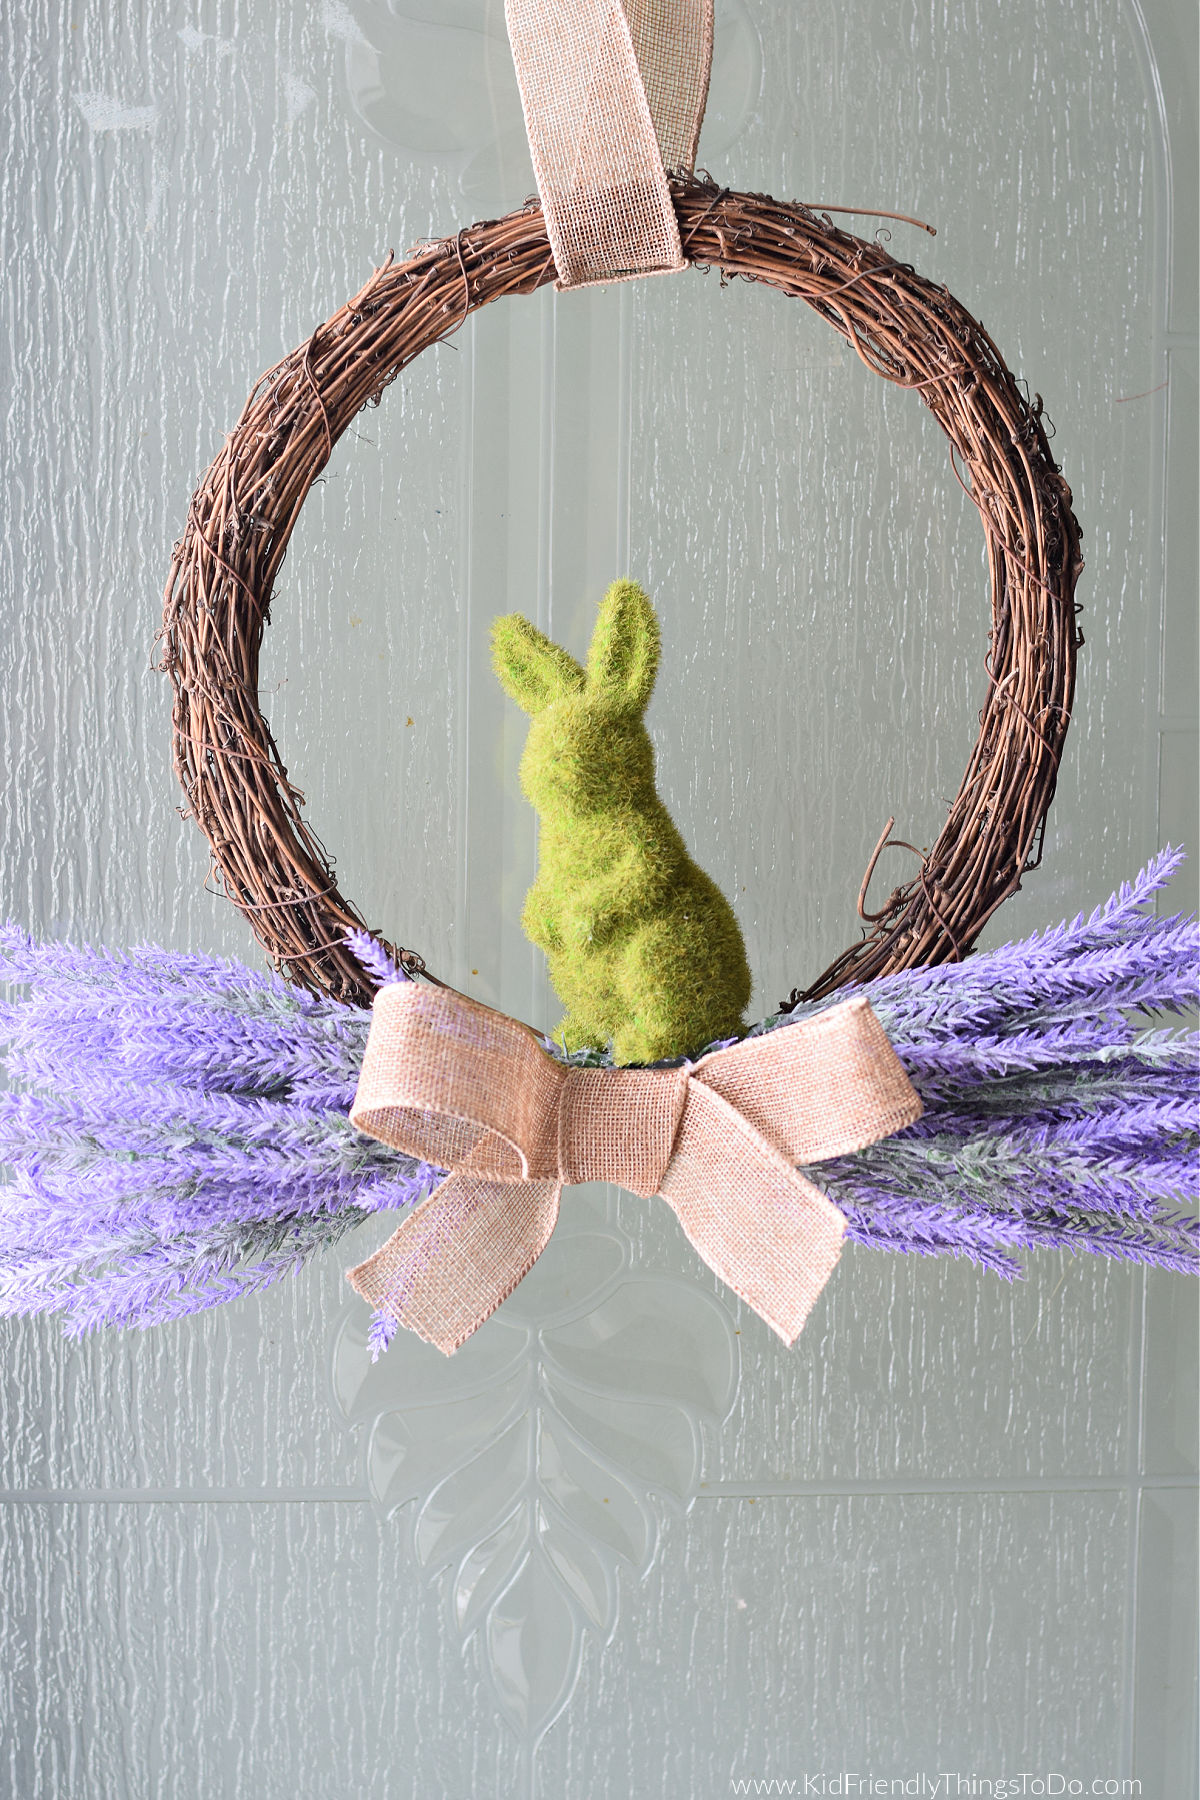
An easy-to-make Easter Wreath that is perfect for decorating your front door. Beautiful and simple for spring and Easter.
All activities, recipes, crafts, and games with children should be supervised by an adult. Small parts are a choking hazard.
DIY Easter Wreath
I don’t usually add Home and Garden crafts to my arts and crafts categories, but I just couldn’t resist making a simple Easter wreath and showing you how you can make it yourself. Usually, you’ll find more kid-related Easter crafts on the site, but occasionally I love making adult crafts like this one and making this Easter tree for Easter decoration. Or, I’ll post a bunch of great ideas for decorating like this post on Spring porch decorations and ideas.
As you probably know, wreaths are expensive. Sometimes, when I grab the ticket and look at the price, I can’t believe how much they cost at the store. It’s so gratifying to go home and make an inexpensive and pretty wreath to be used for years to come. I can’t wait to show you how easy this Easter wreath DIY is to make.
What You’ll Love about this DIY Easter Wreath
- Compared to the store prices, this wreath is inexpensive
- It’s fun to make and can be changed to fit your own creative expression
- This Easter wreath is simple and pretty
Supplies You’ll Need for Your Easter Wreath
- A grapevine wreath base – You can find this at most local craft stores. I bought my grapevine wreath online, which is obviously convenient, but I think they are less inexpensive at local craft stores like Michaels and Joann Fabric Store.
- Artificial Lavender – I found artificial lavender bunches online for this craft. There was so much that I even had some leftovers for a second wreath.
- Moss Bunny – There are so many moss bunnies to choose from. I love all of the different positions that they are posed in. A pair of bunnies would be adorable on your Easter Wreath.
- Burlap Ribbon with wired edges – My wire ribbon was 1&1/2inches wide
- Floral Wire – This floral wire is another supply that you can find both online or at most craft stores
- Twine to hang the wreath from
- Glue – I like to use a low temp glue gun, but you can use a regular temp glue gun
Equipment Needed
Wire Cutter
Low-Temp Glue Gun and glue sticks – You don’t have to use a low-temp one like I do. I use a low-temp glue gun to avoid the hot lave glue in the regular ones. It’s just my personal preference.
How to Make an Easy Easter Wreath
Step One
Set your grapevine wreath out on your work surface and plug your glue gun in
Pick out about six bunches of lavender.
Divide the lavender in half and set them so they overlap each other with the lavender sticking out in opposite directions.
Use your floral wire to wrap around the middle part and twist it to secure it in place

Step Two
Cut more wire to attach the lavender to the bottom of the wreath
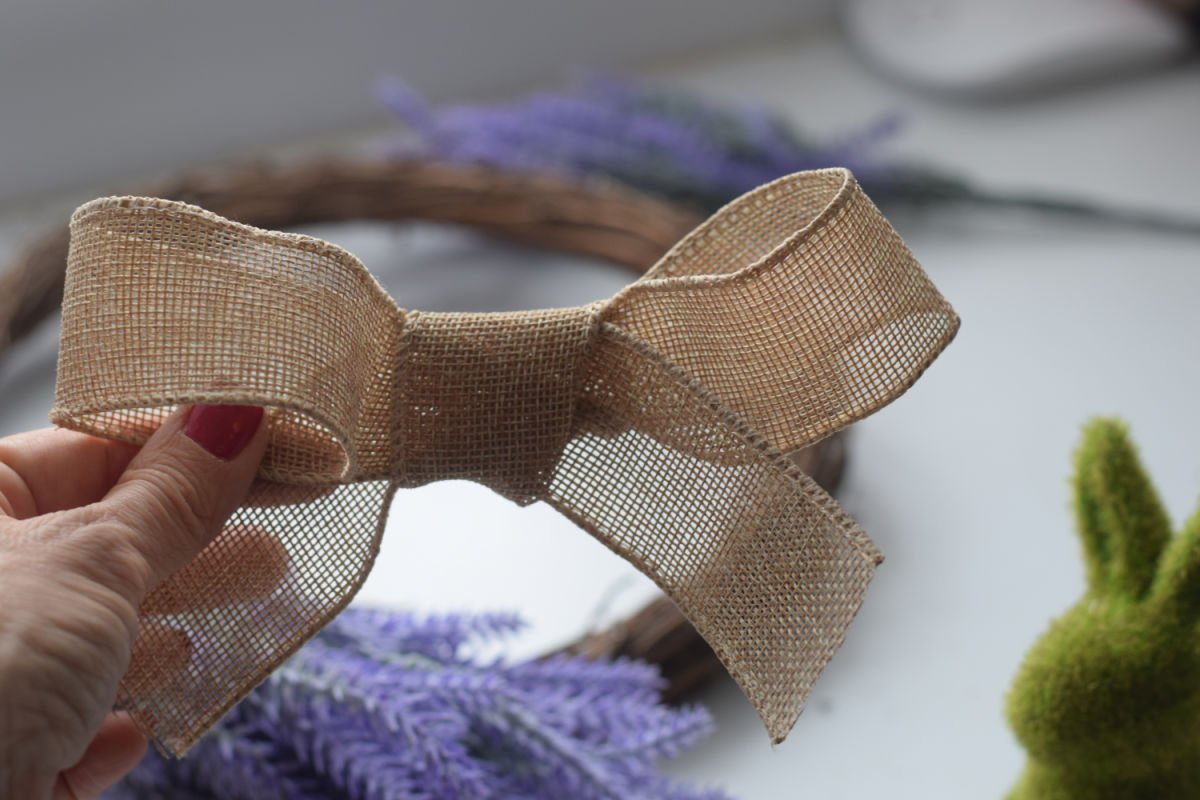
Cut about one foot off the burlap ribbon and tie it into a nice bow. Trim it if necessary
Step Three
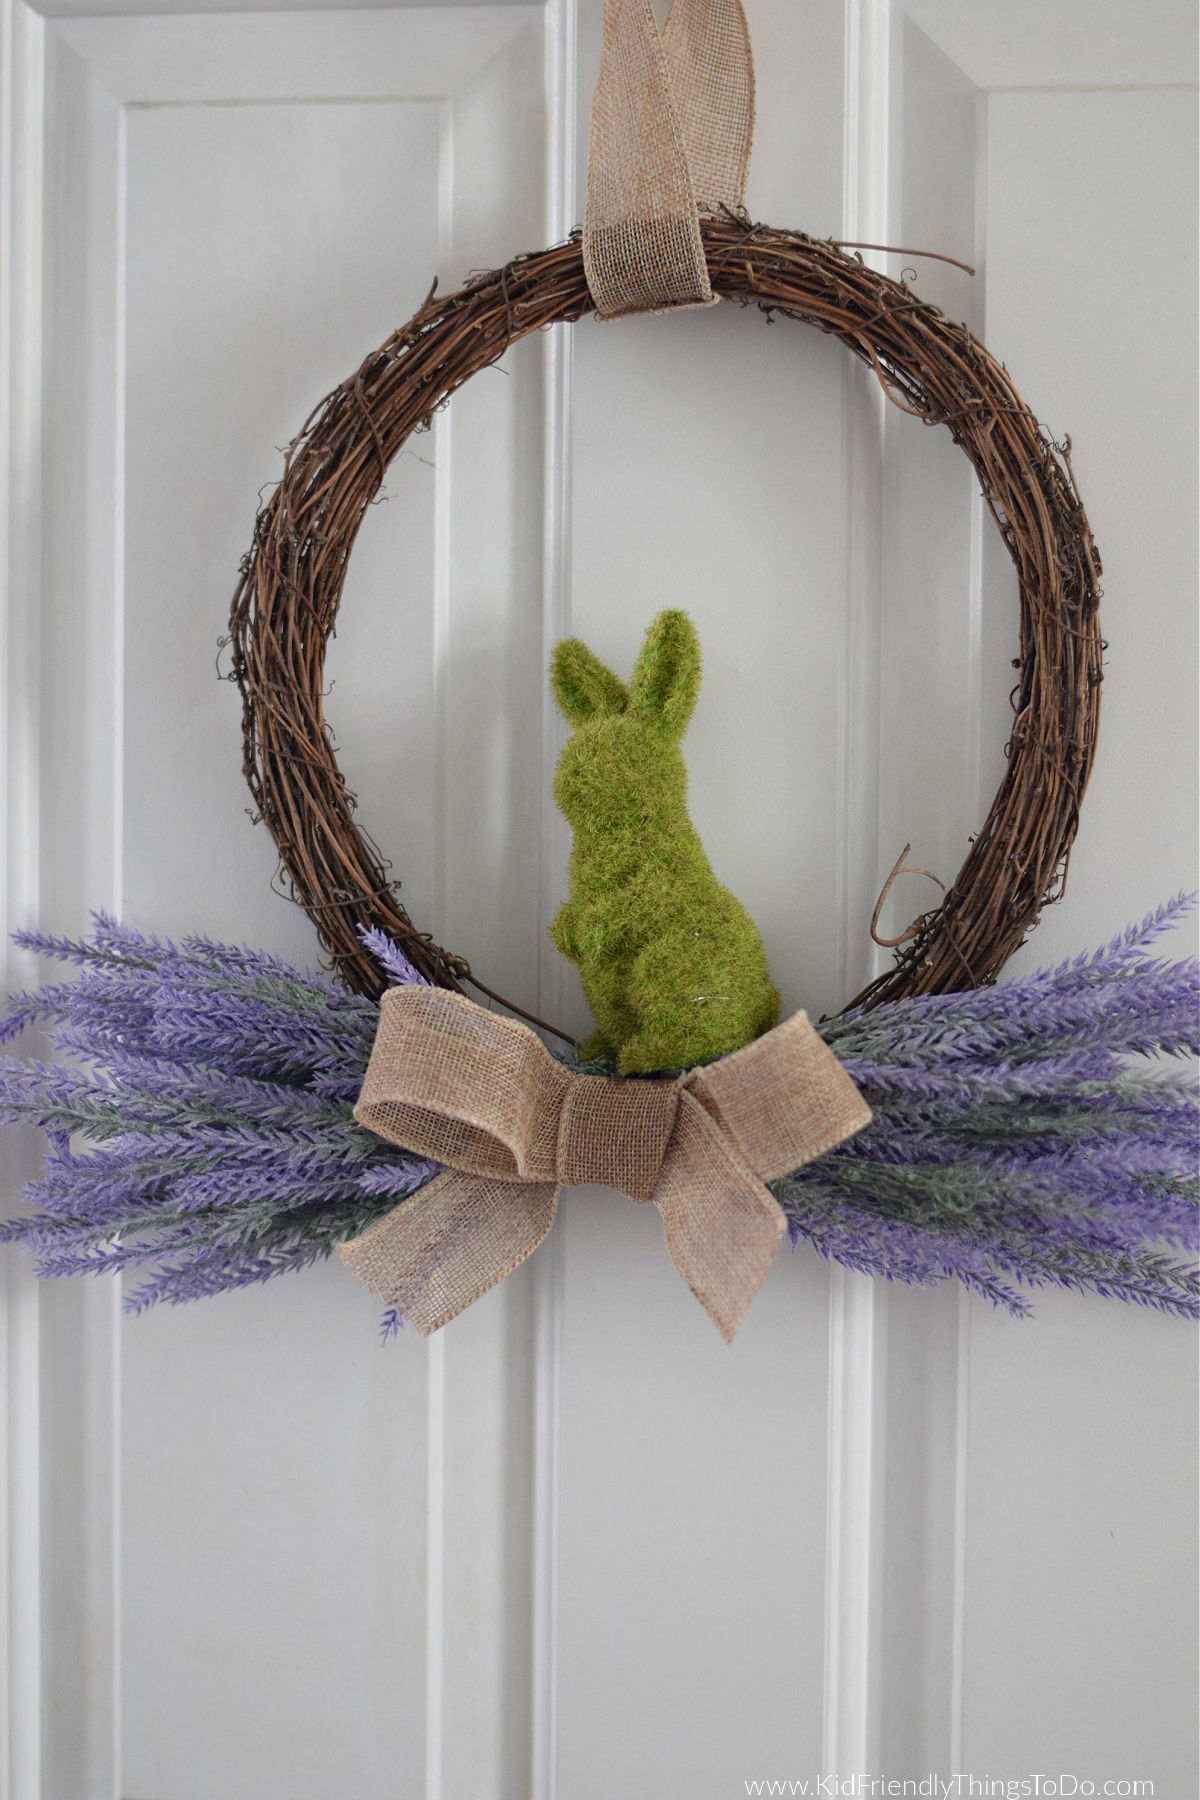
Glue that to the front of the lavender
Glue the bunny to the center of the wreath over the lavender and grapevine
Add more ribbon or rope string to the top of the wreath to hang it with
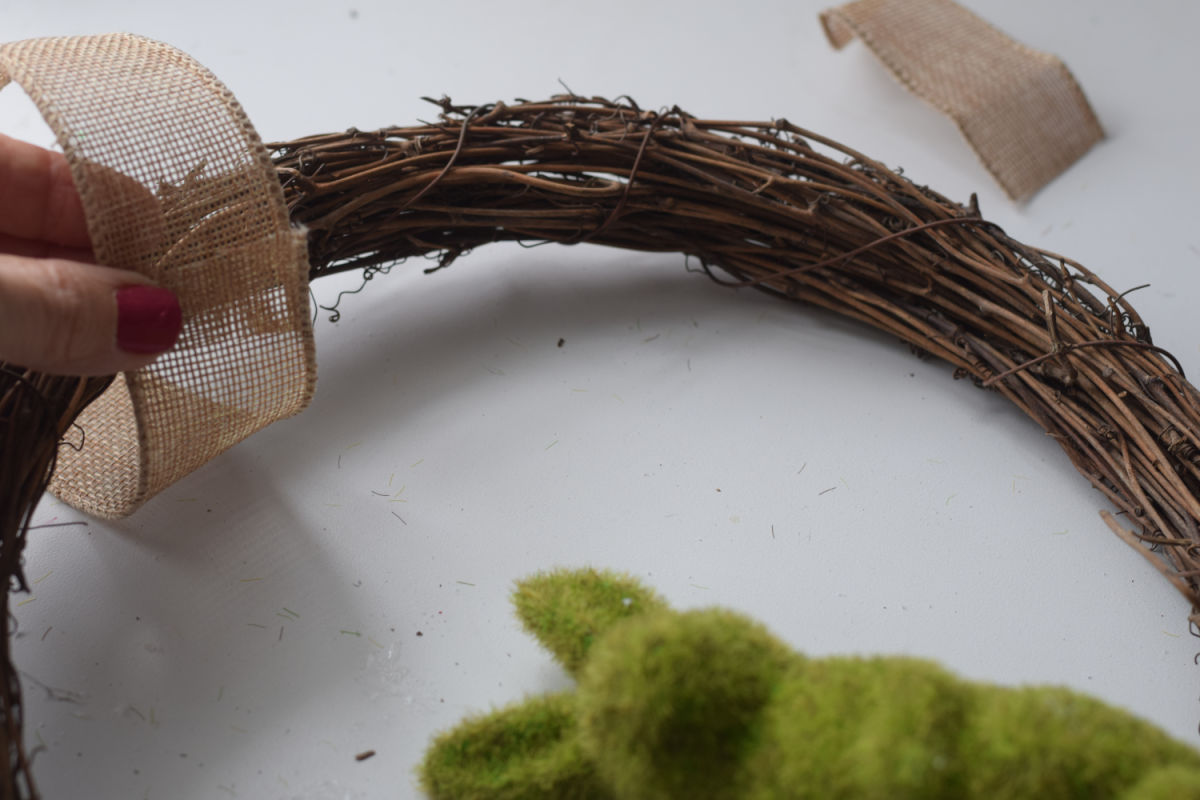
Hang your wreath with a wreath hanger on an inside door or on your front door as a decoration
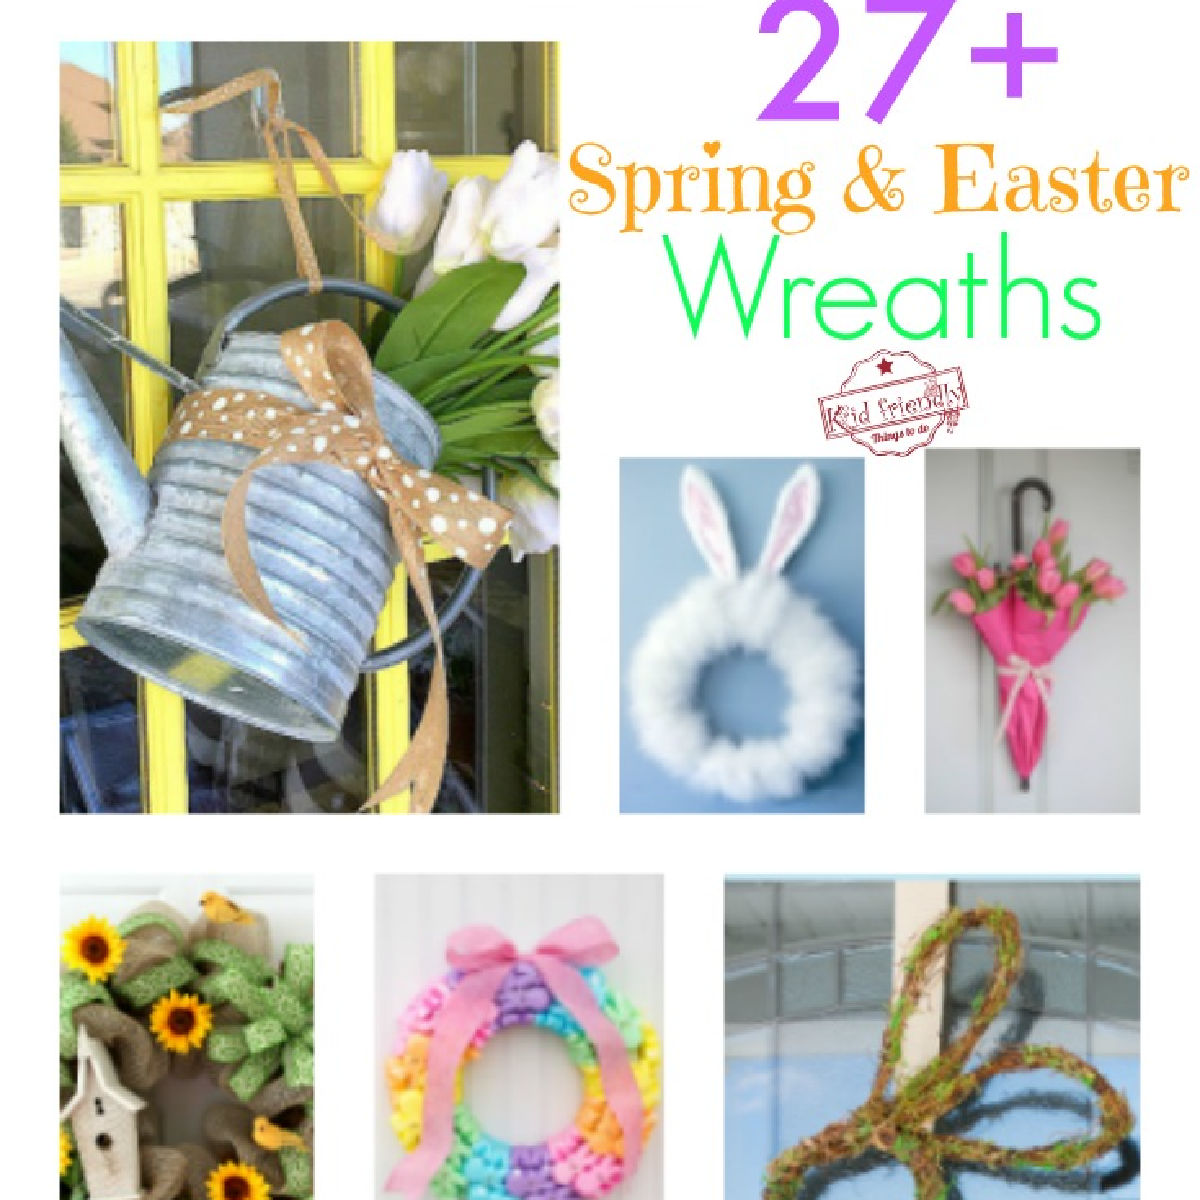
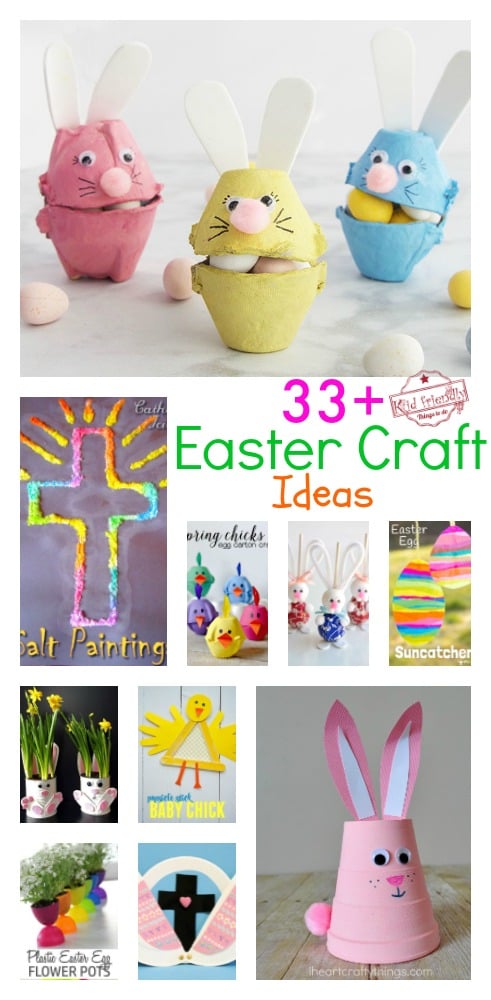
More Easter Crafts You’ll Enjoy

Top Amazon Picks
(affiliate links)
[box]  Touch of Nature 22210 Bird ...Shop on Amazon
  AdTech Hybrid Cordless Hot ...Shop on Amazon[/box]
Let’s Hang Out
Come and find me on Pinterest and Facebook for more recipes, crafts, party treats, and holiday games!
Printable Instructions

DIY Easy to Make Easter Wreath
Materials
- 1 Grapevine Wreath My wreath is 12 inches and they are quite nice, but I really think a 16, 18, or 24 inch would be beautiful
- 6 Artificial Lavender bunches
- 1 Wired Burlap Ribbon 1/2 inch wide
- 1 Moss Bunny Mine is about 6 inches tall
- Twine (optional) for hanging the wreath
Instructions
- Set your grapevine wreath out on your work surface and plug your glue gun in
- Pick out about six bunches of lavender.
- Divide the lavender in half and set them to overlap, with the lavender sticking out in opposite directions.
- Use your floral wire to wrap around the middle part and twist it to secure it in place
- Cut more wire to attach the lavender to the bottom of the wreath
- Cut about one foot off the burlap ribbon and tie it into a nice bow. Trim it if necessary
- Glue that to the front of the lavender
- Glue the bunny to the center of the wreath over the lavender and grapevine
- Add more ribbon or rope string to the top of the wreath to hang it with
Notes
~ Melissa – KidFriendlyThingsToDo.com