
A DIY Melted Snowman Salt Dough Ornament
This post may contain affiliate links – please read my disclosure statement.
I’ve made salt dough ornaments with my kids for Christmas, and I still have some of those sweet handmade keepsakes years later. Pulling them out of the ornament box brings back so many memories.
These melted snowman and candy cane ornaments were such a fun project for us. They’re simple shapes that kids can help make and decorate, and I love how each one turns out a little differently.
My biggest tip is to add the water gradually. You want a thick, workable dough, not a sticky mess. Once it’s mixed, the kids can start shaping their ornaments.

Why You’ll Love These Salt Dough Ornaments
- Keepsakes that last. I still have ornaments my kids made years ago.
- Simple shapes. Kids can help shape and decorate the ornaments.
- One dough, two ornaments. Make melted snowmen and candy canes from the same basic recipe.
Safety: These ornaments are decorations, not food. Keep the salty dough and finished ornaments away from pets and young children who may put them in their mouths. An adult should handle the oven.
Salt Dough Ornament Recipe
The dough uses twice as much flour as salt, plus water. You’ll find the exact measurements in the How-To card below. Add the water a little at a time to get a dough that holds together without becoming too sticky.
How to Make Salt Dough Ornaments
Step 1: Mix the flour and salt together in a large bowl.
Step 2: Gradually add water and mix until a thick, workable dough forms. Stop adding water if it becomes too sticky.
Step 3: Once the dough holds together, it’s ready for shaping into ornaments.
Shaping Salt Dough Ornaments
Step 1: Set out wax paper for the kids to shape their dough on.
Step 2: Shape the ornaments and use a straw to make a hanging hole before baking.
Step 3: Transfer the ornaments to a baking sheet.
How Long to Bake Salt Dough Ornaments
Bake at 250°F for about 1½ hours. The exact time can vary depending on the thickness and size of your ornaments. Check that they’re thoroughly dry before painting.
How to Paint and Seal Salt Dough Ornaments
- Paint as needed – you can also add glitter glue
- Let dry
- Seal with Mod Podge or another clear craft sealant
How to Make a Melted Snowman Salt Dough Ornament
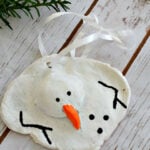
Step 1: Give the kids a ball of dough and roll it into a slightly flattened, oblong shape for the melted snowman’s body.
Step 2: Use a smaller ball of dough for the head and place it on the body.
Step 3: Shape a tiny carrot nose from a piece of dough and attach it to the head.
Step 4: Use a straw to make a hanging hole, then bake, cool, paint, and seal as described above.

Salt Dough Candy Cane Ornaments
- Make the basic salt dough recipe
- Make another basic recipe, but this time add red food coloring to the water before mixing in with the flour/salt mixture
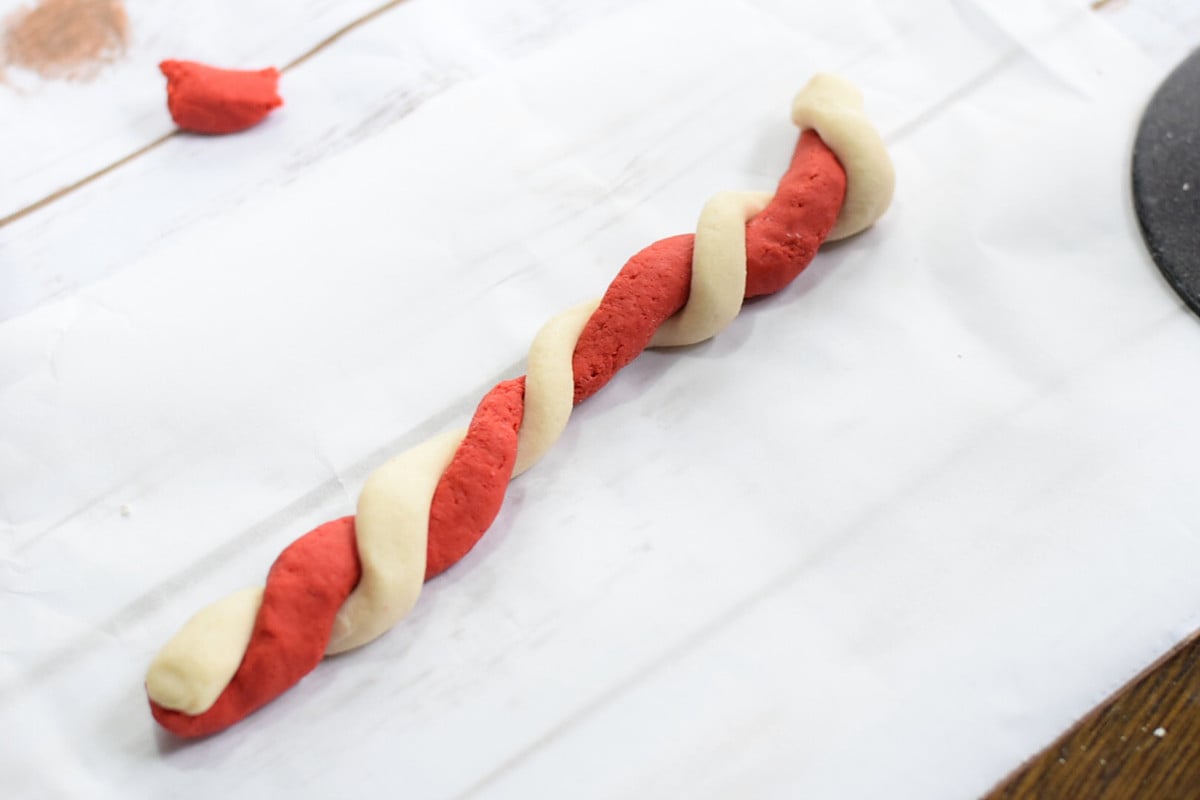
- Take a pinch of salt dough from each color and roll them just like you would with playdough to form long tubes

- Wrap the 2 tubes around each other like the image above and shape into a candy cane shape
- Bake as directed at the top of the post and seal when cooled
- Add a ribbon to the top for hanging

Melissa’s Tips for Salt Dough Ornaments
- Add water gradually. Too much makes the dough sticky.
- Make the hanging hole before baking. A straw works great.
- Paint after cooling. Let the paint dry, then seal with Mod Podge.
- Save them. Some of ours have lasted for years.
Salt Dough Ornaments FAQs
Can you eat salt dough ornaments?
No. These are decorative ornaments, not food. Keep them away from pets and small children.
How long do salt dough ornaments last?
I still have salt dough ornaments my kids made years ago. Let them dry completely, seal them after decorating, and store them carefully with your Christmas decorations.
When should I paint salt dough ornaments?
Let the ornaments cool and dry before painting. Once the paint dries, add a clear craft sealant if desired.
More Salt Dough Ornament Ideas
Find more salt dough ornament ideas, try these gingerbread salt dough ornaments, or make cinnamon salt dough ornaments.
If you make this craft, I’d love to hear what you think! Please leave a star rating and comment below to let me know how it turned out. I love hearing from you, and your ratings help other readers find and enjoy the craft, too!
Salt Dough Ornament Recipe
Materials
- 2 cups All-purpose flour
- 1 cup Salt
- 1 cup Water added gradually
- For the candy cane variation you’ll also need red food coloring.
Additional Supplies
- Mixing bowl
- wax paper
- rolling pin
- drinking straw
- baking sheet
- paint
- and optional glitter glue
- Modge Podge or other sealant
- ribbon or twine for hanging
Instructions
Step 1:
- Mix the dry ingredients.
- In a large bowl, mix the flour and salt together.
Step 2:
- Add the water.
- Gradually add water, mixing until a thick, workable dough forms. Avoid adding too much water, or the dough will become sticky.
Step 3:
- Shape the ornaments.
- Set out wax paper and shape the dough into your desired ornaments. Use a straw to make a hole for hanging before baking.
Step 4:
- Bake.
- Transfer the ornaments to a baking sheet. Bake at 250°F for about 1½ hours. The time may vary depending on the thickness and size of your ornaments.
Step 5:
- Cool and decorate.
- Allow the ornaments to cool and dry. Paint them, add glitter glue if desired, and let the decorations dry.
Step 6:
- Seal and hang.
- Seal with Mod Podge or another clear craft sealant. Once dry, add ribbon or twine through the hanging hole.
Notes
-
For melted snowmen: Flatten a ball of dough into an oblong body, attach a smaller dough ball for the head, and shape a little carrot nose before baking.
-
For candy canes: Make a second batch of dough, adding red food coloring to the water before mixing. Roll a red rope and a plain rope, twist them together, and bend into a candy cane shape.
-
Safety: These are decorations, not edible treats. Keep them away from pets and small children who might put them in their mouths.



Thank you so very much for these ideas and recipes! My husband and I are going to be getting the supplies needed for these! Can’t wait for our kids to make their very own ornaments and watch their creativity bloom with a new art form. They are going to absolutely love this! Thank you ❤️