DIY Mason Jar Cups {Easy to Make} – No Drilling!
This post may contain affiliate links – please read my disclosure statement.
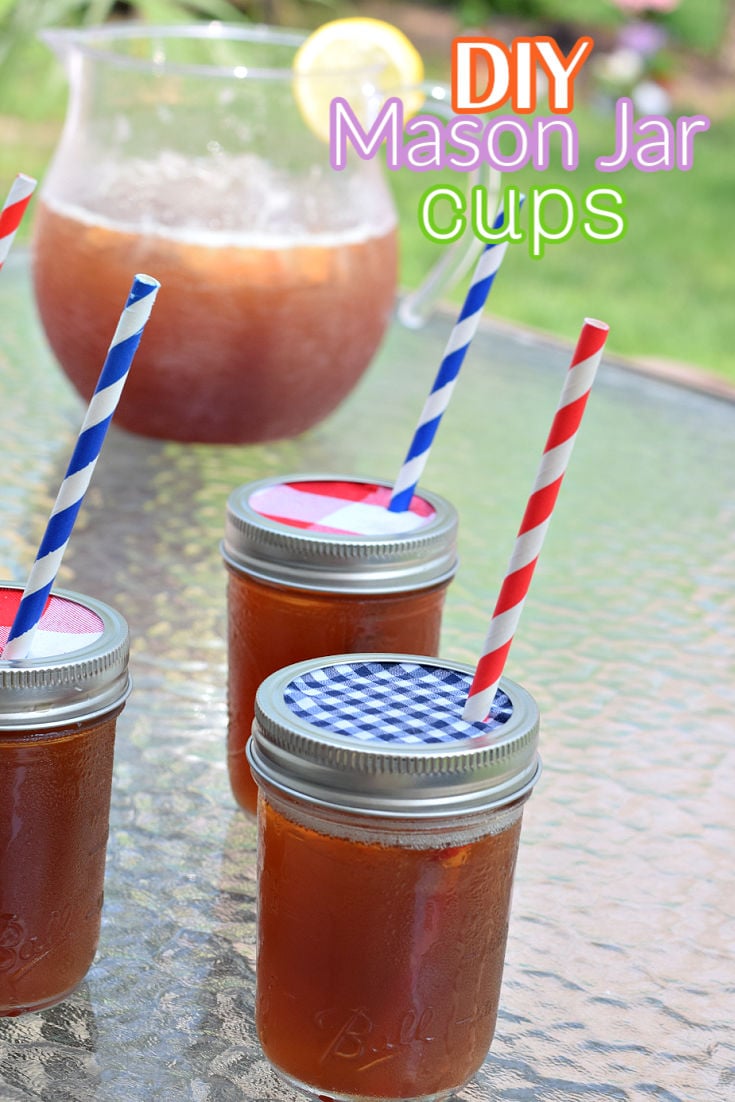
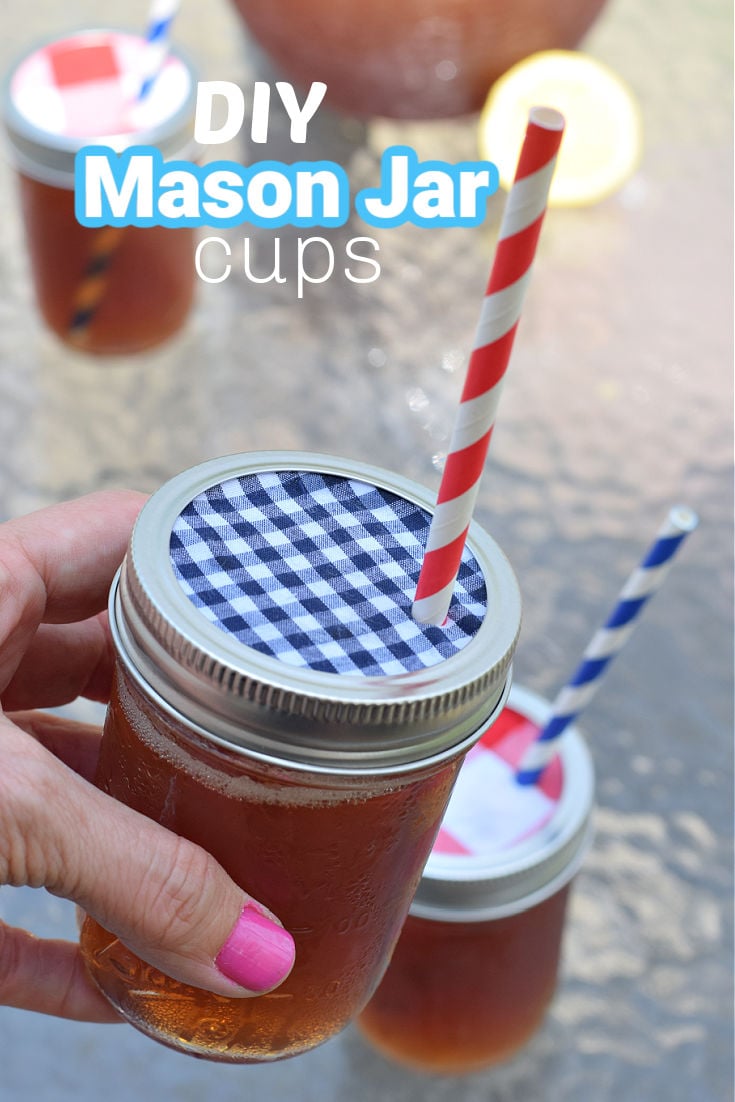
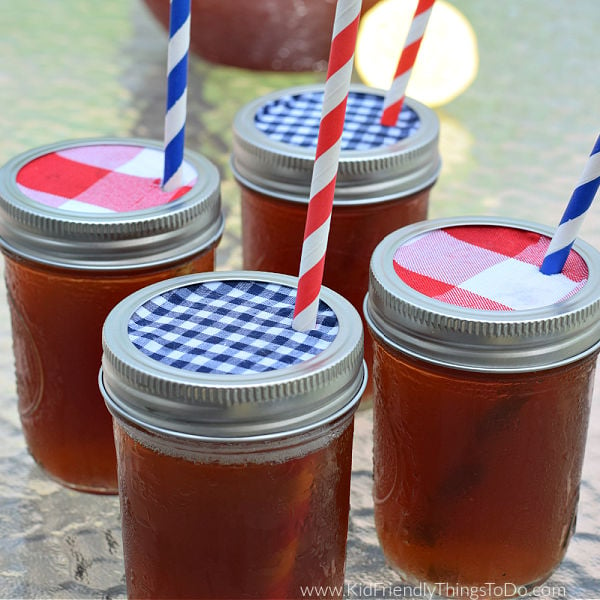
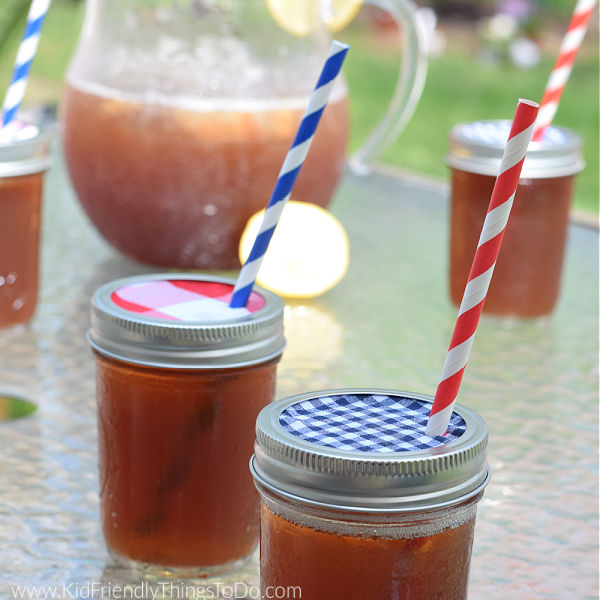
These mason jars are easily transformed into drinking glasses. No drill is required and easy to make. These DIY Mason Jar Cups can be customized for any holiday, party, or celebration.
Mason Jar Cups
The kids love to use them as everyday glasses. I love the fact that there is a tight lid to prevent spills.
These mason jars can be customized for any celebration or occasion. This time, I used checkered material with patriotic colors for a fun summer vibe. Easily transform them with another fabric design that suits your party or get-together.
What type of parties are mason jar cups used for?
- birthdays
- baby showers
- Christmas
- Halloween
- Thanksgiving
- Summer or patriotic parties
- holiday parties
- barbeques
Are you looking for summer picnic ideas? Try some of my other posts, like:
How do I wash my Mason Jar Cups?
The mason jar itself and the band are dishwasher safe, but the lid with fabric should be hand washed or rinsed to clean
What are the parts of a Mason Jar?
A mason jar consists of a jar, metal lid, and a metal screw band
Are you ready to make this easy DIY project? Let’s make sure you have everything you’ll need
Supplies Needed:
- Mason Jars (one for each cup) – sizes will vary depending on how big you want the cups to be
- Fabric
- A hole punch
- Scissors
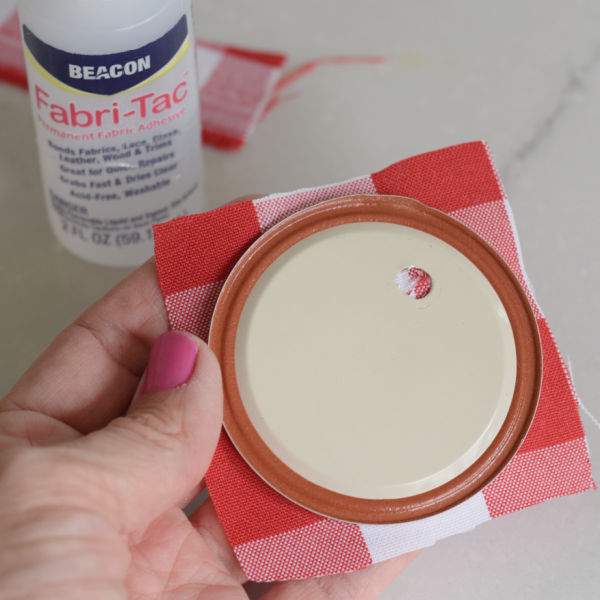
- Glue – I used Fabri-Tac – it’s waterproof and a great immediate stick
Instructions:
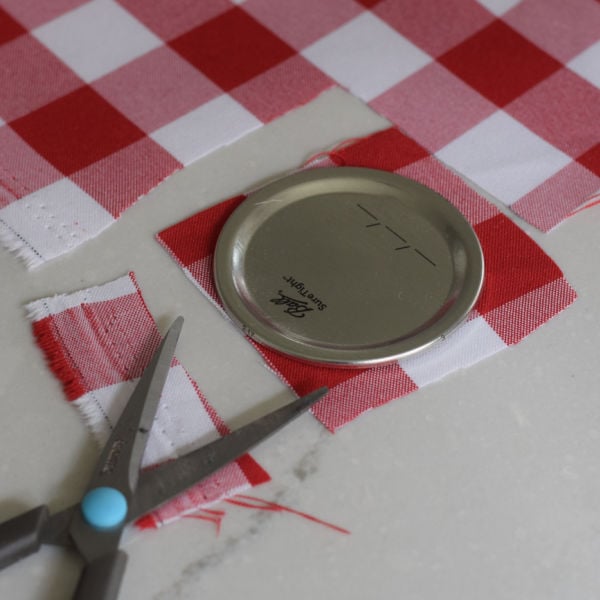
- use the lid of the mason jar to give me a roundabout idea of the size of fabric to cut out
- cut a square of fabric a little larger than the size of the lid
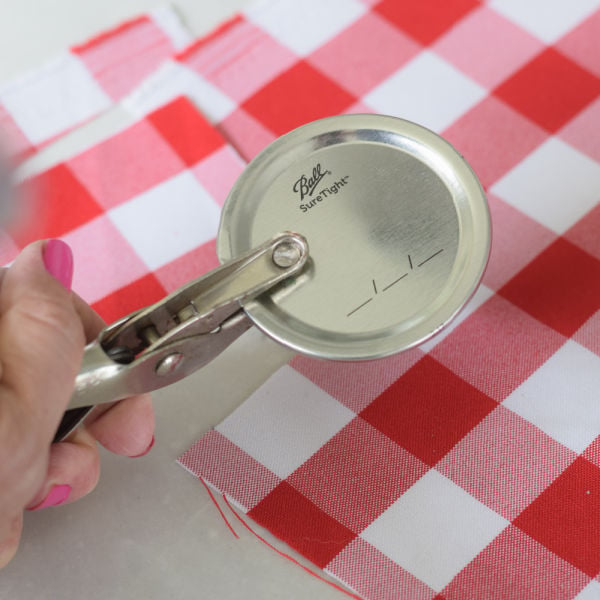
- use a hole punch to make a hole for the straw in the flat part of the lid
- now, place the square of fabric over the lid with the hole
- feel for the hole through the fabric and use a marker to mark the spot
- use sharp scissors to poke a hole in the fabric over the marked piece and expand the hole by cutting little slits in a star shape
- glue fabric onto the lid – matching the hole up, to the flat piece of the lid
- trim the fabric corners so they do not hang over the lid too much
- that’s it! Put everything together by placing the fabric lined lid and band over the jar and screwing the band
~Melissa – KidFriendlyThingsToDo.com – fun foods, party ideas, recipes, crafts, and fun things to do with your family

