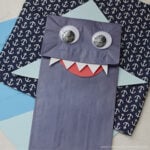
Paper Bag Shark Craft for Kids
This post may contain affiliate links – please read my disclosure statement.
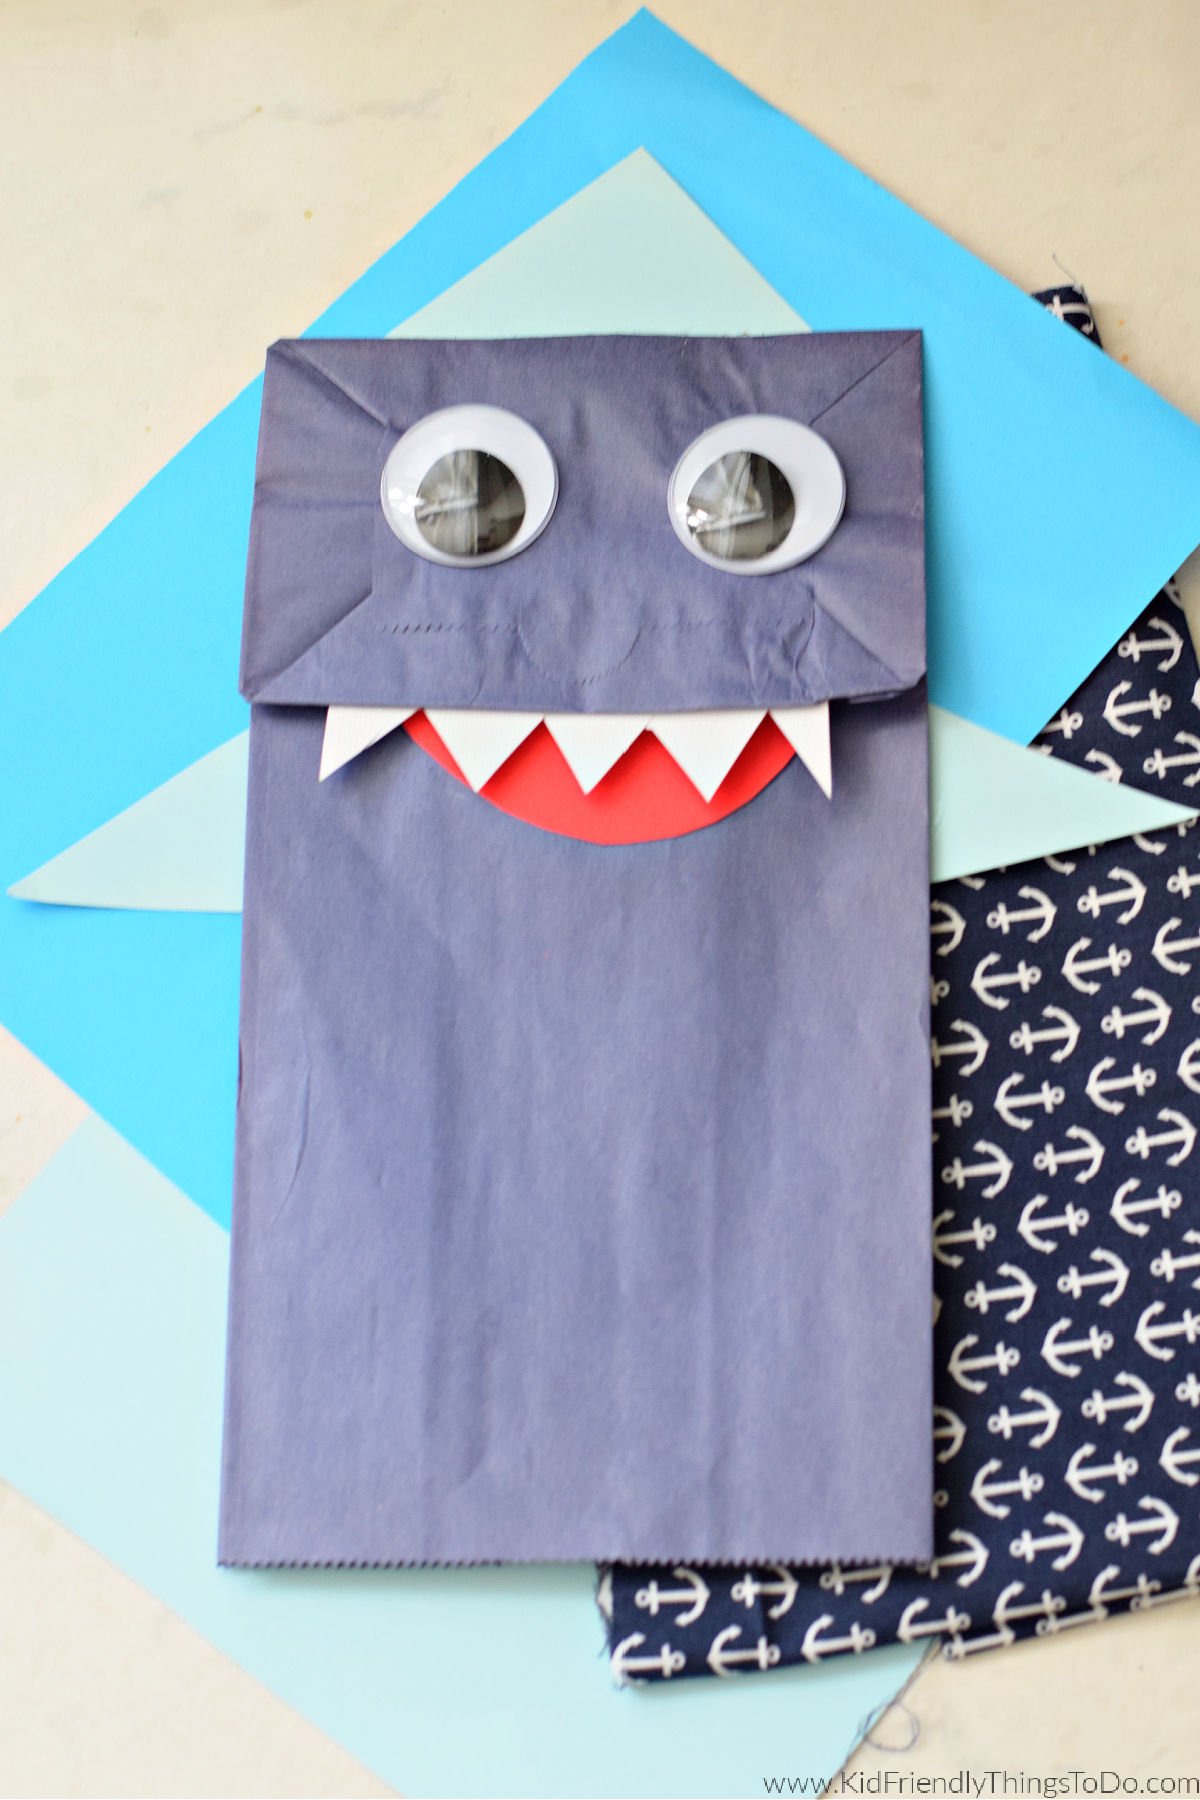
This Paper Bag Shark Craft is the perfect ocean-themed craft for Shark Week and under-the-sea birthday parties. It’s easy to make with blue paper bags, googly eyes, paper fins, and teeth.
Puppet crafts like this one and this turkey paper plate puppet, or dragon sock puppet, are a great craft and activity all rolled into one. This is a great craft for preschoolers and elementary-aged kids, as it is easy yet provides imaginative play and helps develop motor skills.
Why you’ll love this craft
Supplies You’ll Need
- Paper lunch bags
- Card Stock – In red, blue (a contrasting blue from the bag’s color), or gray, and white
- Large googly eyes
- Glue – tacky glue for crafting, or glue sticks (using glue sticks may result in longer drying time).
How to Make a Shark Paper Bag
Start with the blue paper bag: If you don’t have a blue bag, you can paint one blue.
Lay it flat with the flap side facing up. This will become the shark’s face and mouth.
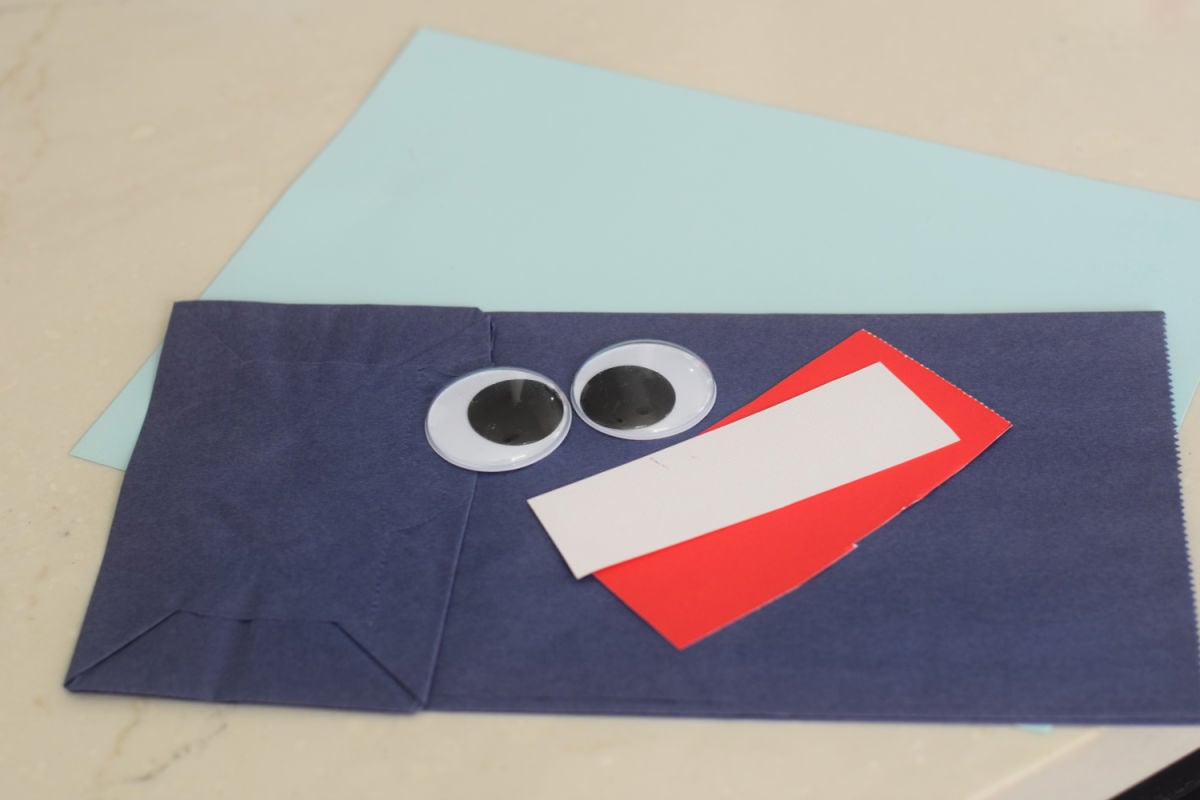
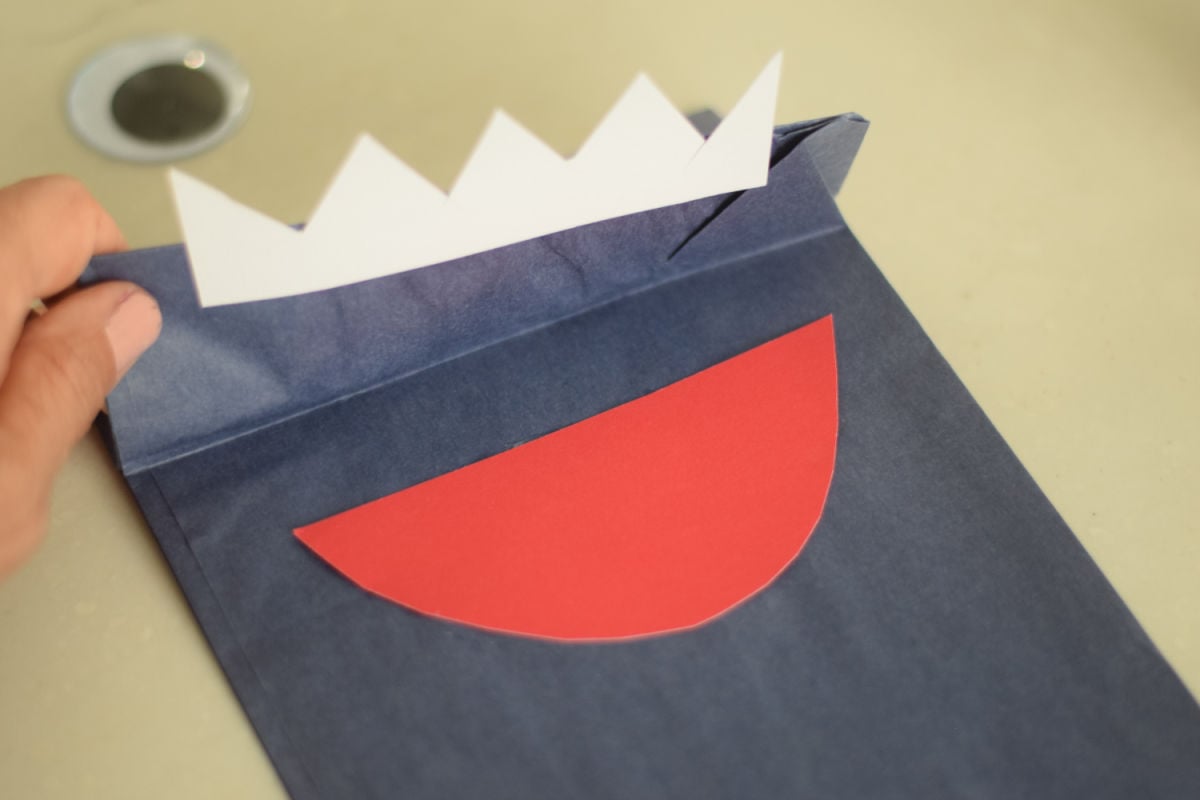
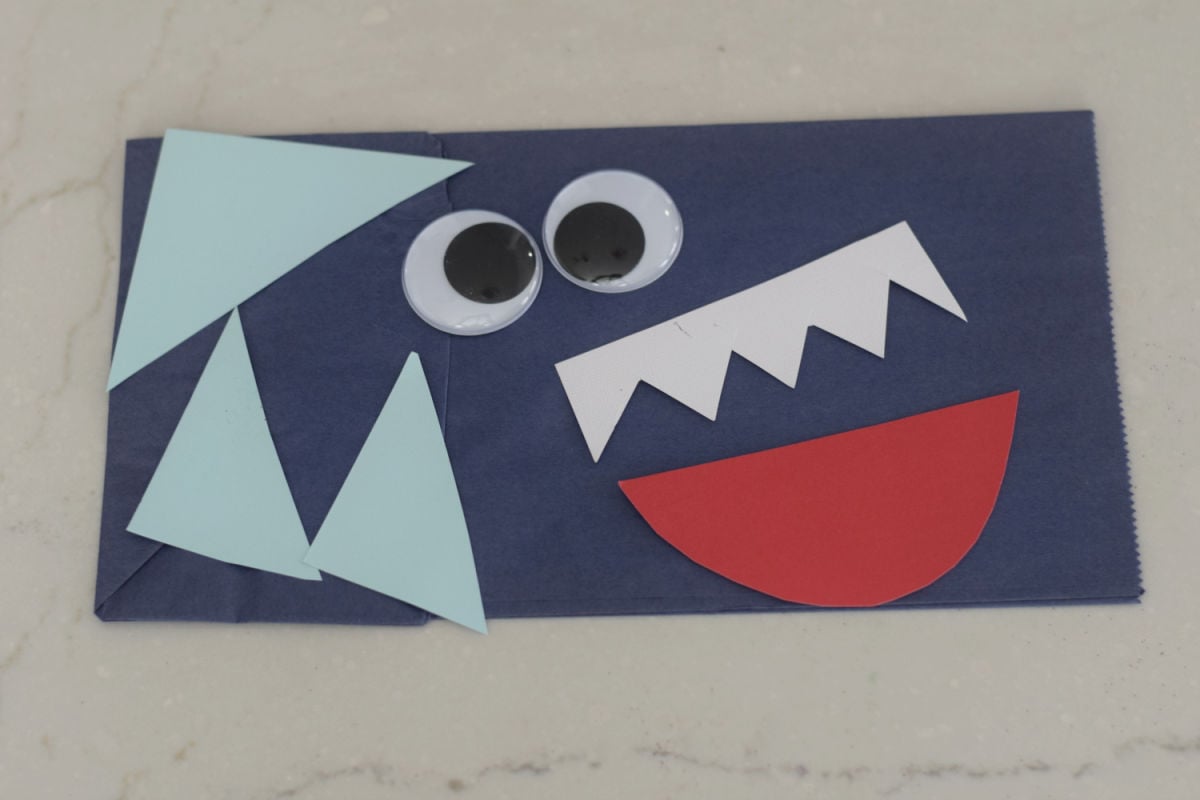
Cut the Mouth: Cut a wide U shape out of the red paper to make the shark’s mouth.
Lift up the flap and glue it underneath the flap so that the bottom of the mouth is still visible when the flap is closed
Make the teeth: Cut out a row of sharp triangle teeth from white paper.
Glue them on the underside of the flap so they peek out like an open shark mouth when the puppet talks.
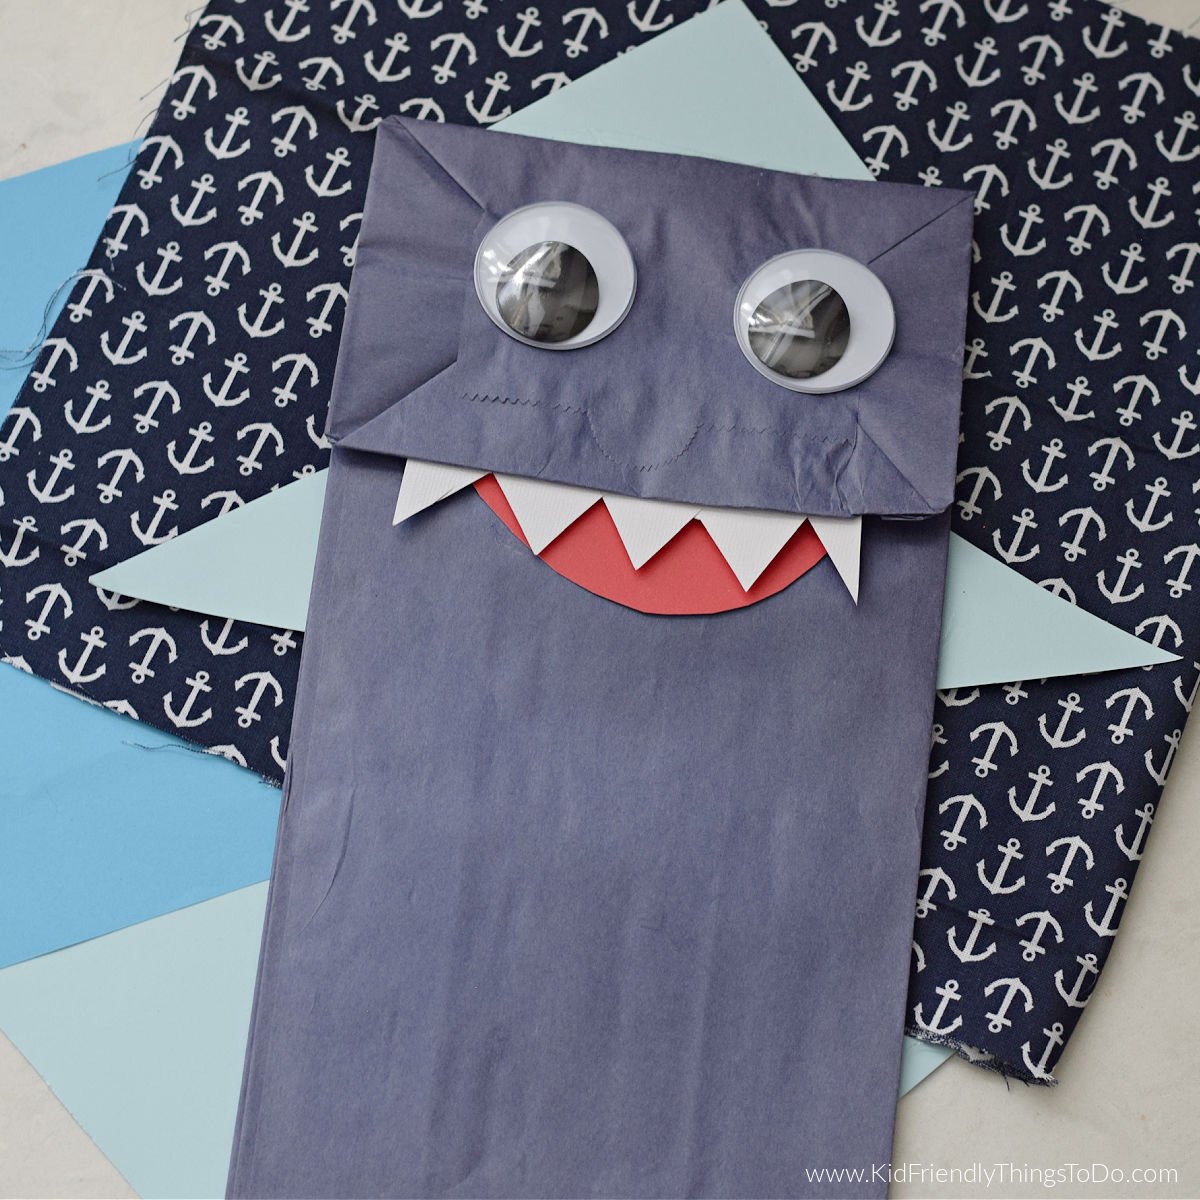
Add the eyes: Glue two large googly eyes above the flap. If you don’t have googly eyes, you can draw them or make your own with white and black paper circles.
Cut out the fins: Use blue or gray construction paper to make a dorsal fin (for the top) and two side fins. On the back of the bag – Glue the dorsal fin to the top of the bag and the side fins on each side.
Let it dry: Give your shark a few minutes to dry before playing with it.
Expert Tips
Glue: I like using a glue called Beacon 3-in-1 because it is tacky, holds the pieces together while they dry so you can pick up the craft and manipulate it as you finish crafting, and dries fast.
If you are using glue sticks, they will work just fine, but might require more drying time.
Crafting with little kids: Prep some of the steps, like teeth and fins.
If painting, let it completely dry before moving on to the next step.
Variations
Lunch Bags: Use a white lunch sack and let the kids use crayons, pencils, paint, or markers to make their shark whichever color they want.
Belly: Add a shark underbelly by cutting out a long, U-shaped section in gray or white. Glue that onto the belly of the shark.
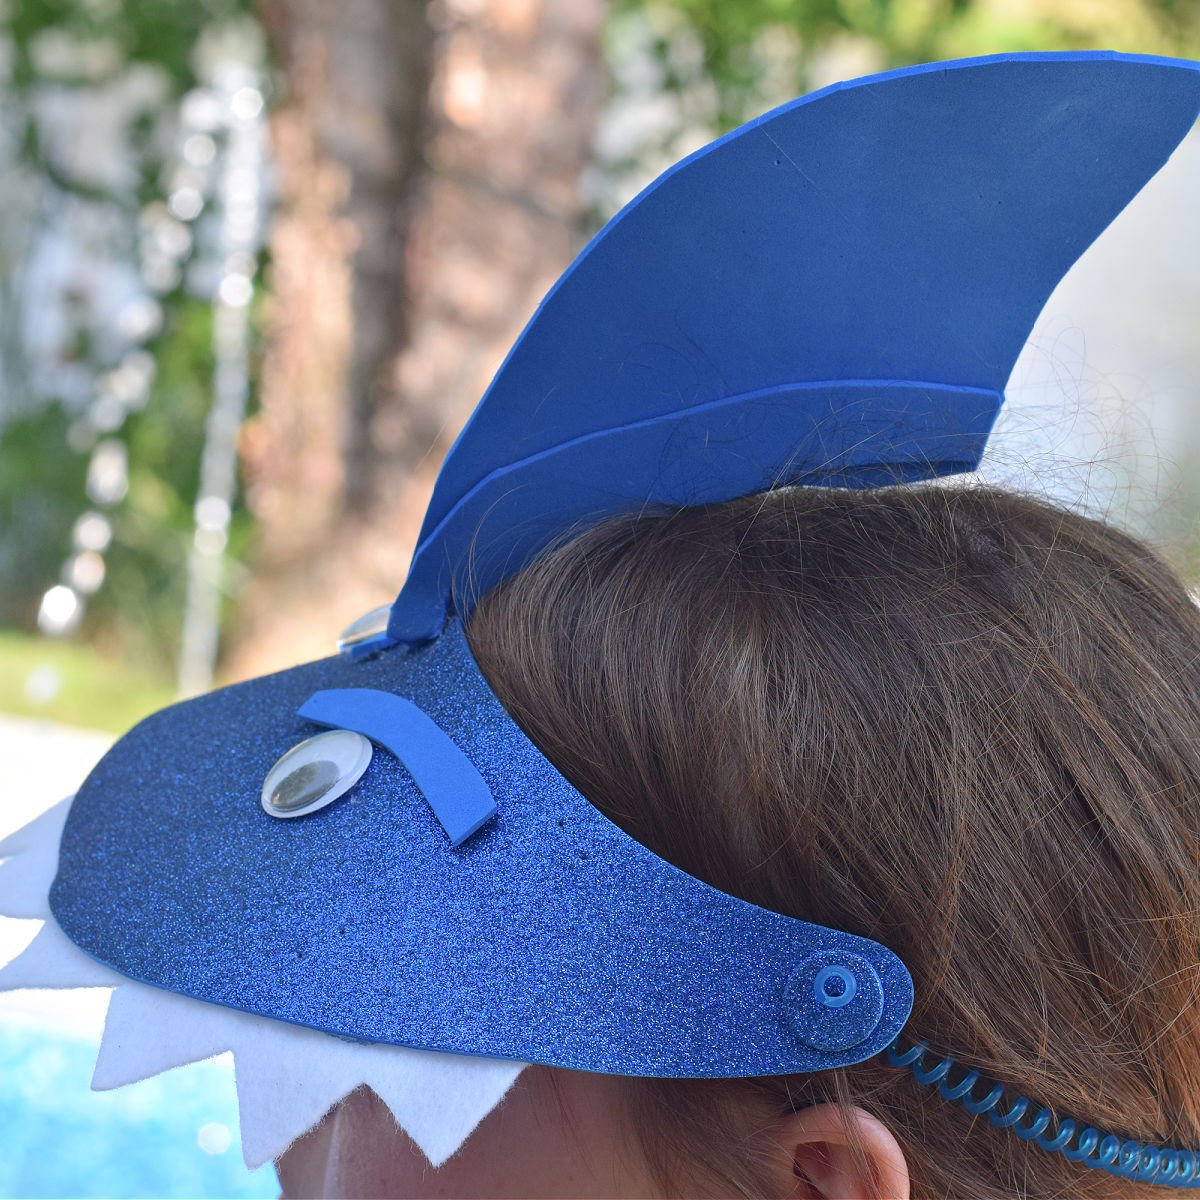
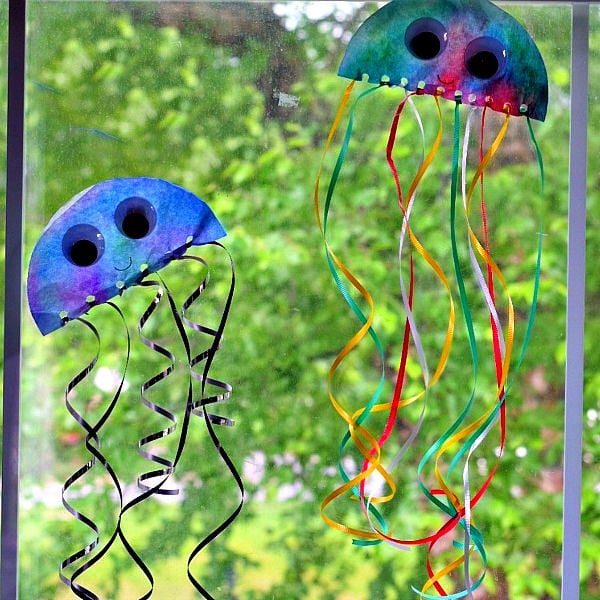
More Ocean Crafts You’ll Love
Paper Bag Shark Craft for Kids
Materials
- Paper lunch bags If you can find blue then grab those, or paint a lunch sack blue
- Card Stock In red, blue (a contrasting blue from the bag's color), or gray, and white
- Large googly eyes
- Glue tacky glue for crafting, or glue sticks (using glue sticks may result in longer drying time).
Instructions
- Start with the blue paper bag: If you don't have a blue bag, you can paint one blue. Lay it flat with the flap side facing up. This will become the shark’s face and mouth.
- Cut the Mouth: Cut a wide U shape out of the red paper to make the shark's mouth. Lift up the flap and glue it underneath the flap so that the bottom of the mouth is still visible when the flap is closed
- Make the teeth: Cut out a row of sharp triangle teeth from white paper. Glue them on the underside of the flap so they peek out like an open shark mouth when the puppet talks.
- Add the eyes: Glue two large googly eyes above the flap. If you don't have googly eyes, you can draw them or make your own with white and black paper circles.
- Cut out the fins: Use blue or gray construction paper to make a dorsal fin (for the top) and two side fins. On the back of the bag – Glue the dorsal fin to the top of the bag and the side fins on each side.
- Let it dry: Give your shark a few minutes to dry before playing with it.