Water Cycle Craft for Kids (Printable + Paper Plate Spinner)
This post may contain affiliate links – please read my disclosure statement.
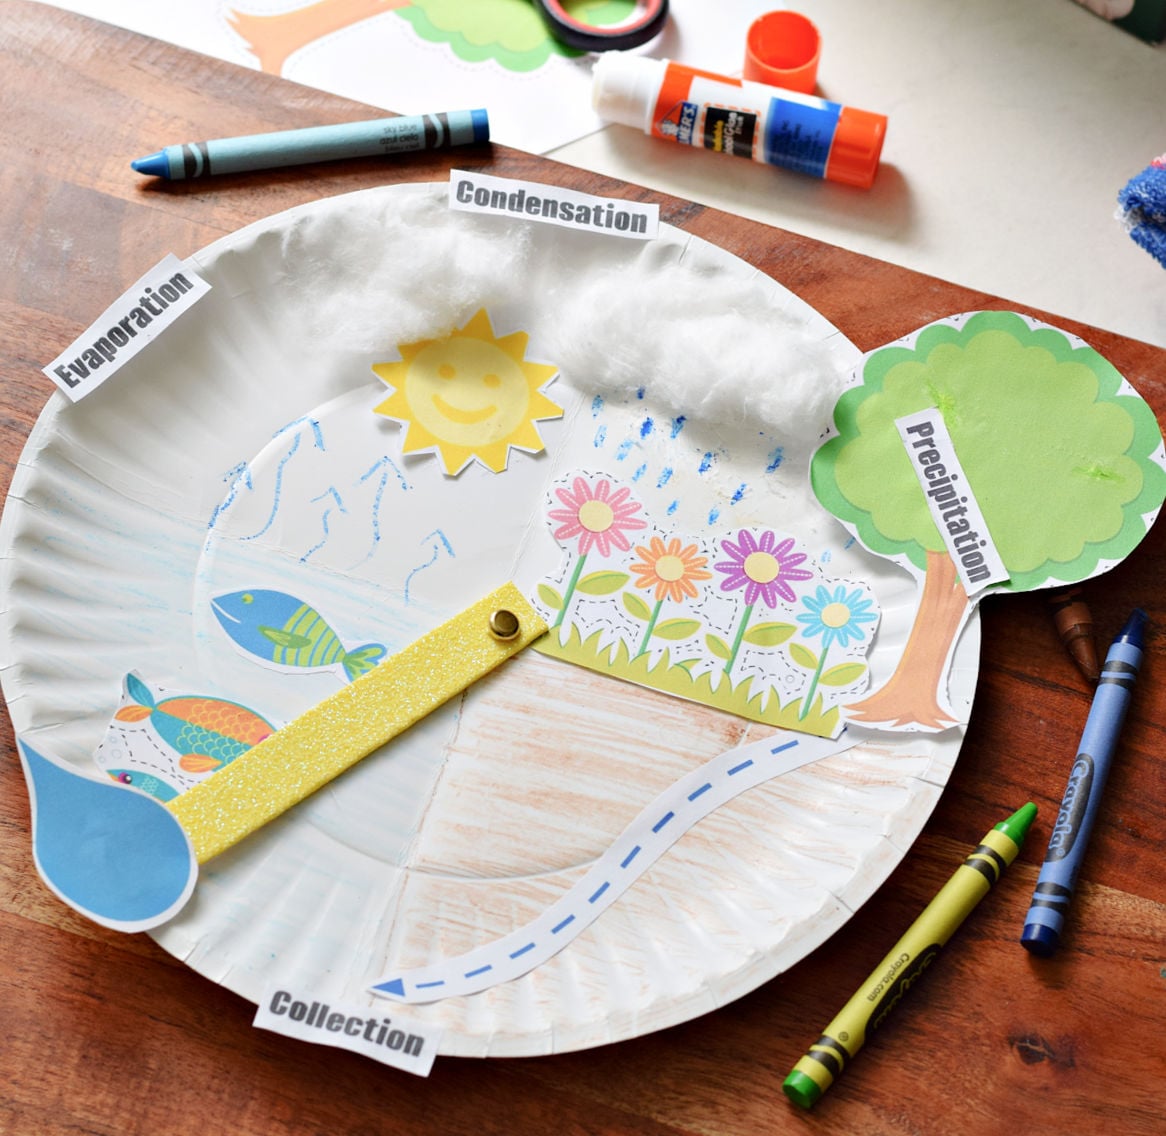
This water cycle craft is a fun and simple way to help kids understand how the water cycle works.
Using a paper plate and a printable spinner, kids can see each stage — evaporation, condensation, precipitation, and collection — in an interactive, hands-on way that actually makes it click.
It’s perfect for classrooms, homeschool, or a simple science activity at home.
If you’re looking for more hands-on learning activities, be sure to check out our collection of printable crafts like this pasta butterfly printable craft, science activities for kids like this cloud spotter activity, and easy classroom projects like this outer space photo craft. These simple ideas are perfect for helping kids learn through play and creativity.
📥 Download the Water Cycle Printable
Ready to get started? Grab the printable here:
👉 [Download the Water Cycle Printable]
💛 Tip: If the printable looks blank or cut off when printing, download it and open it in a PDF app — it should show perfectly there!
💛 This is one of those easy print-and-go activities that help kids actually understand and remember!
What You’ll Love:
- Hands-on and interactive learning
- Makes the water cycle easy to understand
- Uses simple, affordable supplies
- Great for classrooms or at-home learning
- Includes a printable for easy setup
Supplies Needed:
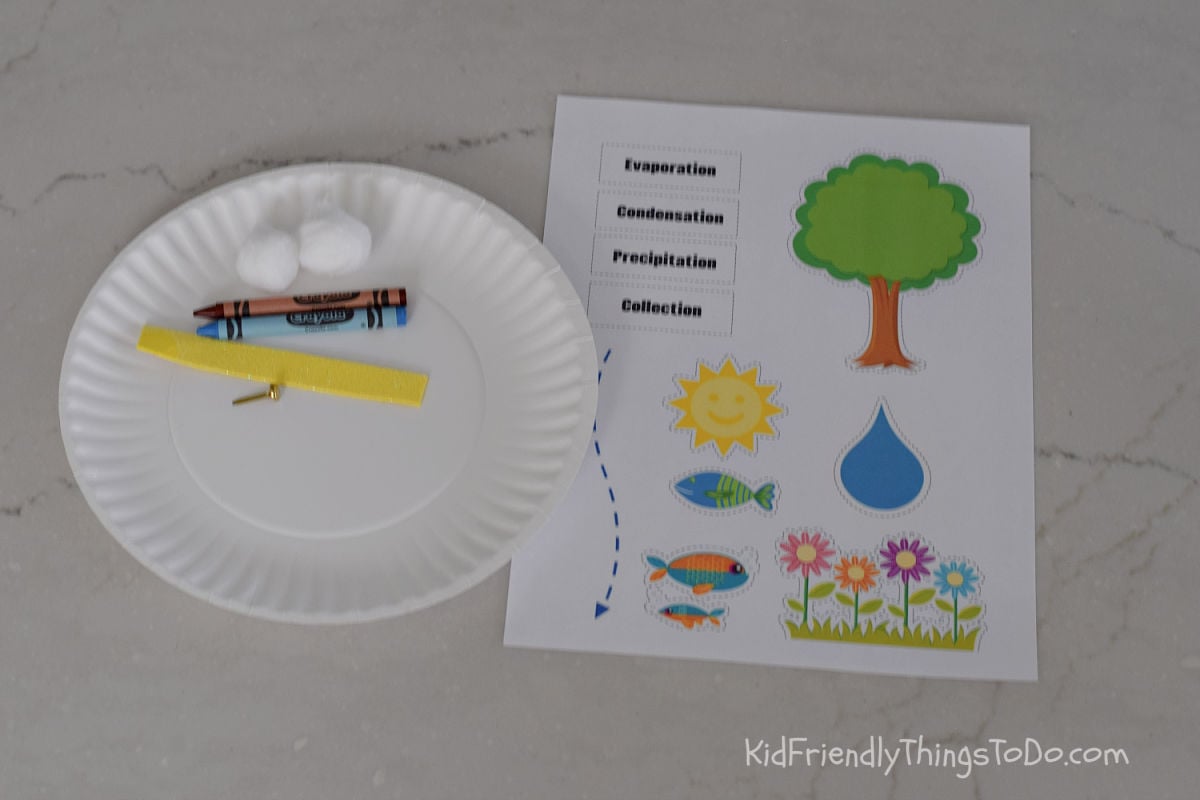
- Paper plate
- Water cycle printable
- Cotton balls
- Brad fastener
- Stiff paper or foam rectangle (for the spinner arm)
- Glue stick
- Crayons or markers
Equipment:
- Scissors
How to Make the Water Cycle Craft:
- Print and cut the template
Print the water cycle printable and cut out all of the pieces you wish to use. - Prep the plate (great for teachers 👇)
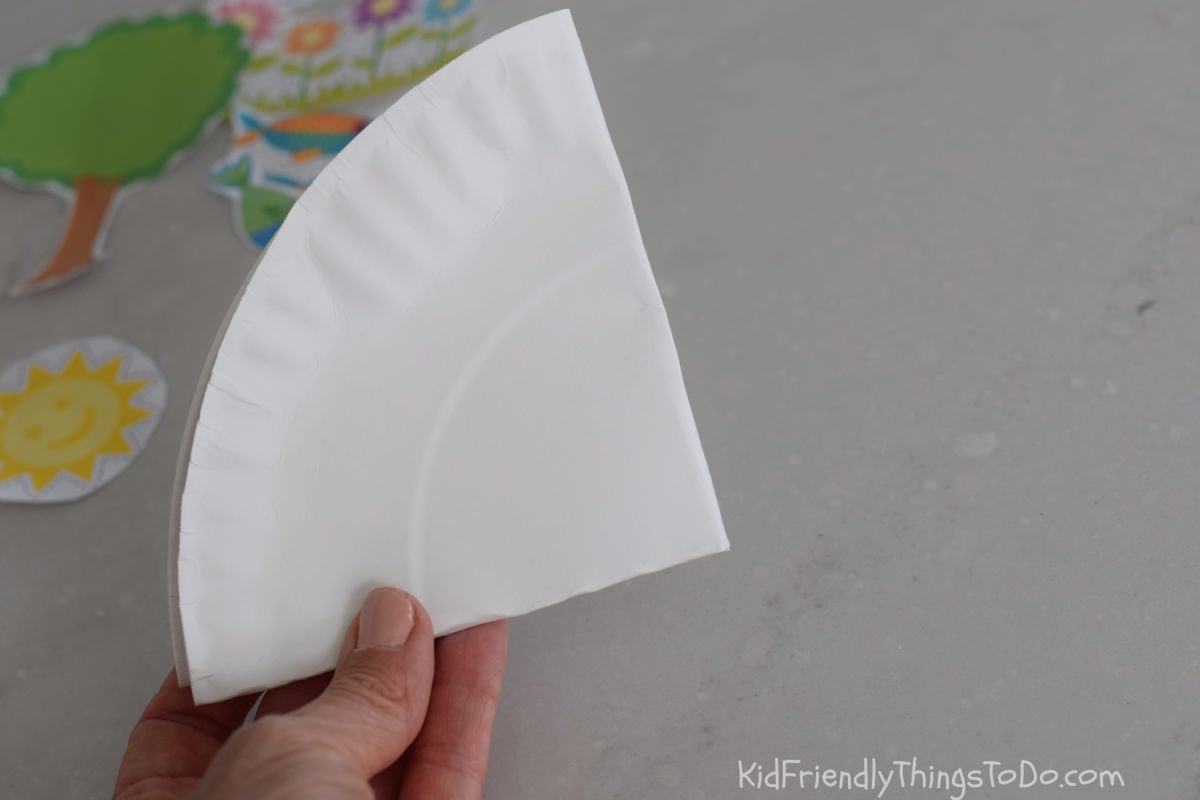
Lightly fold the paper plate into four sections to divide it, then unfold.
Use a pencil or a hole punch to make a small hole in the center of the plate.
- Prepare the spinner arm (another good step for teachers to prep ahead). Cut a small rectangle from stiff paper or foam. Attach the water droplet to one end. Poke a hole at the opposite end for the brad fastener
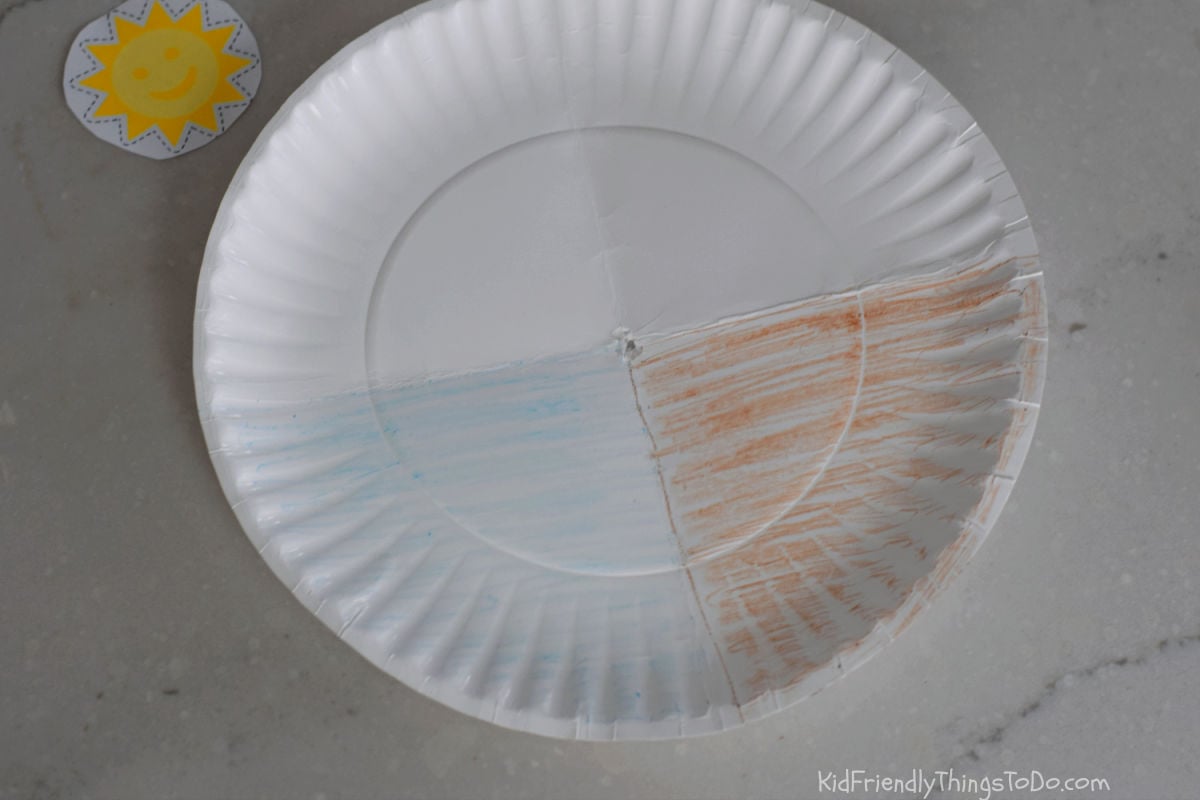
- Decorate the plate
Use crayons or markers to draw water, land, and sky on each section.
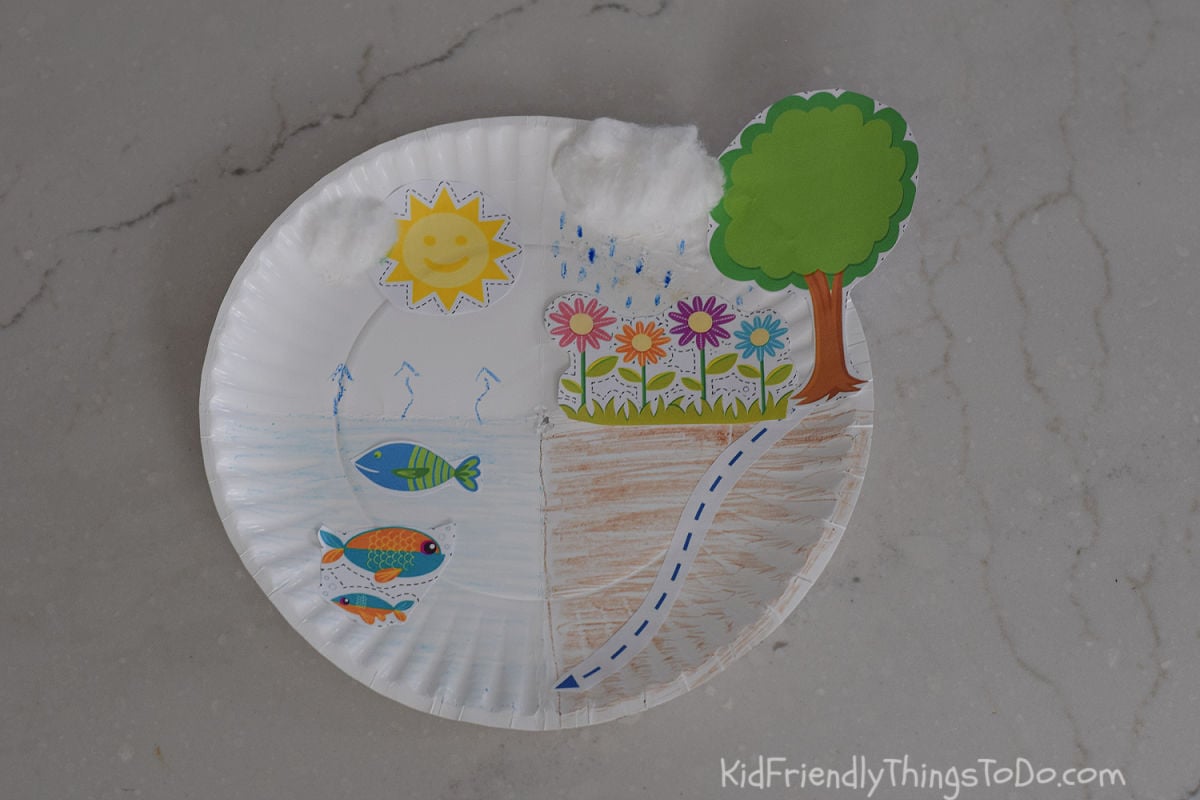
- Add the elements
Glue the sun, plants, and other pieces onto the plate. - Create the clouds
Glue cotton balls near the top to represent condensation and precipitation.
- Attach the spinner
Push the brad fastener through the spinner arm and then through the center of the plate.
Secure it on the back so it can spin freely. - Add labels
Place the labels: evaporation, condensation, precipitation, and collection. - Spin and learn!
Rotate the water droplet to explore each stage of the water cycle.
Tips
For classroom use, prep plates ahead by folding into sections and poking the center hole Pre-cut the spinner arm and printable pieces to save time Stack materials in kits for quick distribution Use glue dots for faster setup with younger kids
📥 Download the Water Cycle Printable
Just in case you missed it up top,
👉 [Download the Water Cycle Printable]
Water Cycle Craft for Kids
Equipment
- 1 Pair of scissors
- Hole punch (optional)
Materials
- 1 Paper plate
- Water cycle printable
- Cotton balls
- Brad fastener
- Stiff paper or foam rectangle (for spinner arm)
- Glue stick
- Crayons or markers
Instructions
- Print and cut the template – Print the water cycle printable and cut out all the pieces that you want to use.
- Prep the plate (great for teachers) – Lightly fold the paper plate into four sections, then unfold. Poke a small hole in the center of the plate
- Prepare the spinner arm – Cut a small rectangle from stiff paper or foam. Attach the water droplet to one end. Poke a hole at the opposite end.
- Decorate the plate – Use crayons or markers to draw water, land, and sky on each section.
- Add the elements – Glue the sun, plants, and other pieces onto the plate.
- Create the clouds – Glue cotton balls near the top to represent clouds.
- Attach the spinner – Insert the brad fastener through the spinner arm and plate. Secure on the back so it spins freely.
- Add labels – Place the labels for evaporation, condensation, precipitation, and collection.
- Spin and learn – Rotate the spinner to explore each stage.