Melted Jolly Rancher Ornaments – A Fun Christmas Craft
This post may contain affiliate links – please read my disclosure statement.
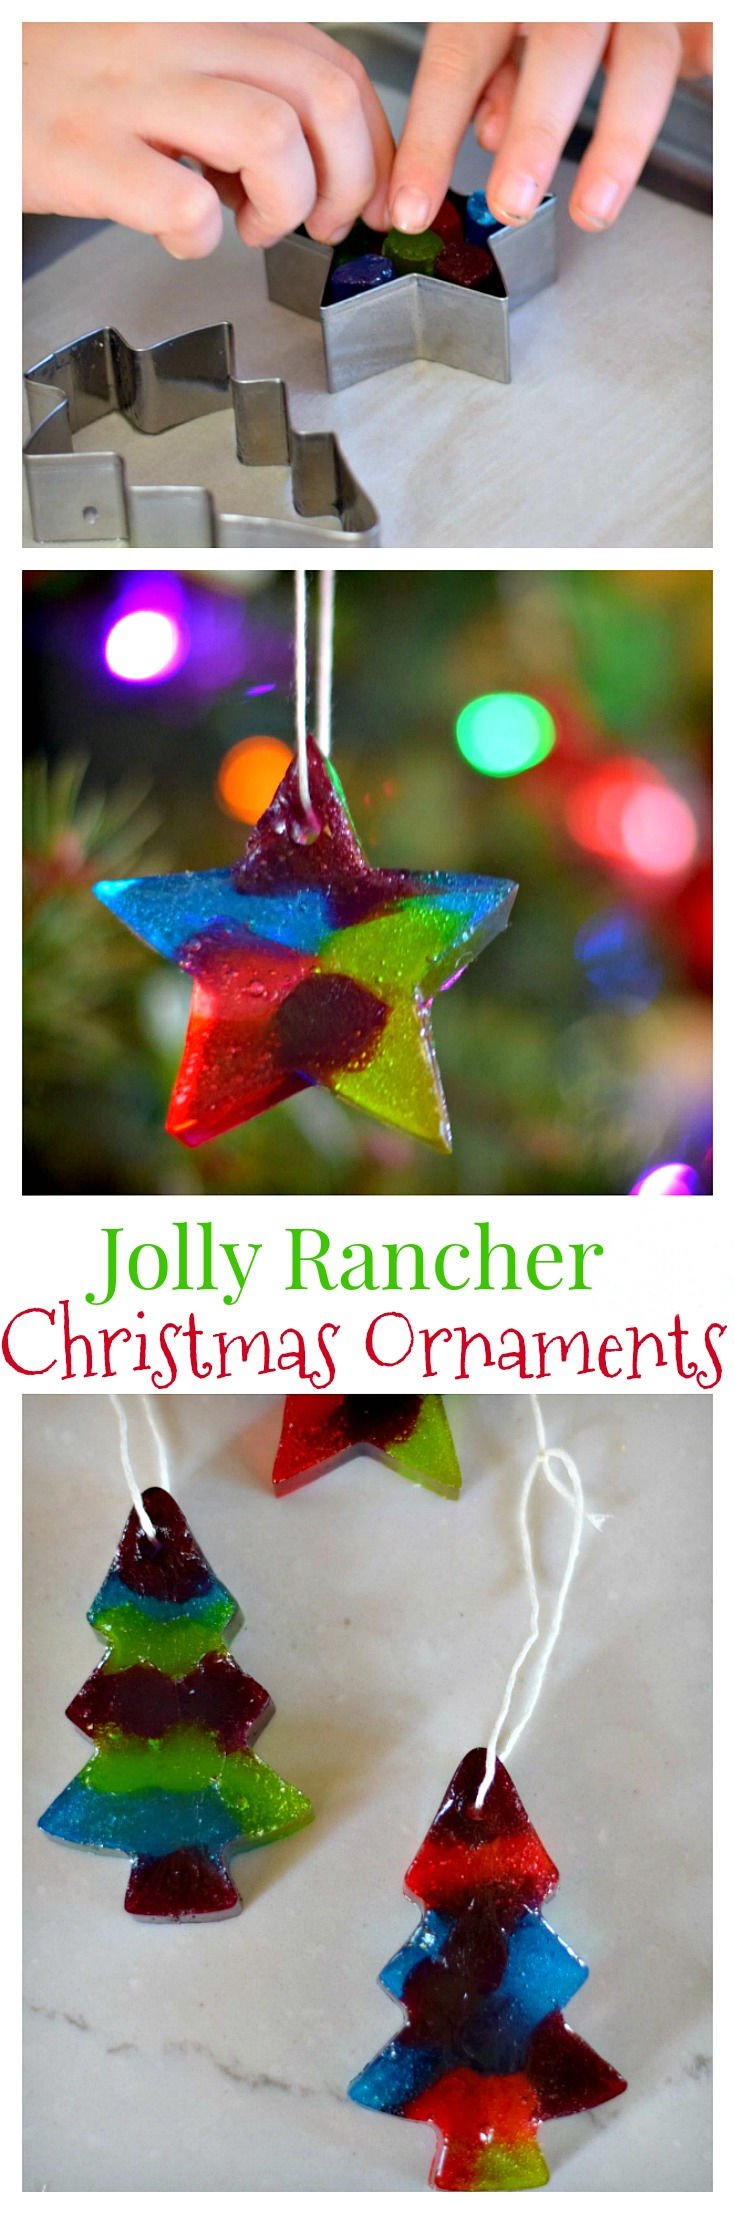
Have fun making fun candy ornaments together this holiday season. This Melted Jolly Rancher ornament is a Fun Christmas Craft and ornament all rolled into one activity.
Melted Jolly Rancher Christmas Ornaments
Lately, I’ve been trying to carve out some time to make these Melted Jolly Rancher Ornaments with the kids. I saw the idea in a craft book last fall, and I’ve been dying to experiment with it. Finally, last weekend, I had the supplies and the time to make my Jolly Rancher Ornament dream come true. The kids and I had so much fun seeing the different designs made from candy. We were so impressed with the ornaments that we made two batches. I learned a lot about this craft idea, and I can’t wait to share the “how-to” with you.
I’ll warn you ahead of time, this has definitely got to be a team craft. The kids can handle the first half and the end of the crafting, but because the candy has to get to a hot melting point…an adult should handle the baking and handling during that stage.
More Christmas Ornament Ideas to Try:
Candy Cane Christmas Mice Ornaments and Craft
They’ll be excited and amazed when you present them with their cooled-off ornament.
Here’s What You’ll Need for Melted Jolly Rancher Ornaments – A Fun Christmas Craft
Supplies Needed:
- Jolly Ranchers – It would be a safe estimate to have around 10 per ornament
- Metal Christmas Ornaments – I found mine at Wal-Mart *The ornaments with plenty of space between the angles are easier to release the candy from
- Spray baking oil
- Parchment Paper lined baking sheet – A Silpat would work too
- A wooden skewer
- butter knife
- Twine to hang the ornament with
Instructions:

- Preheat the oven to 350 degrees
- First – You’ll want to spray the inside and bottom of your ornaments
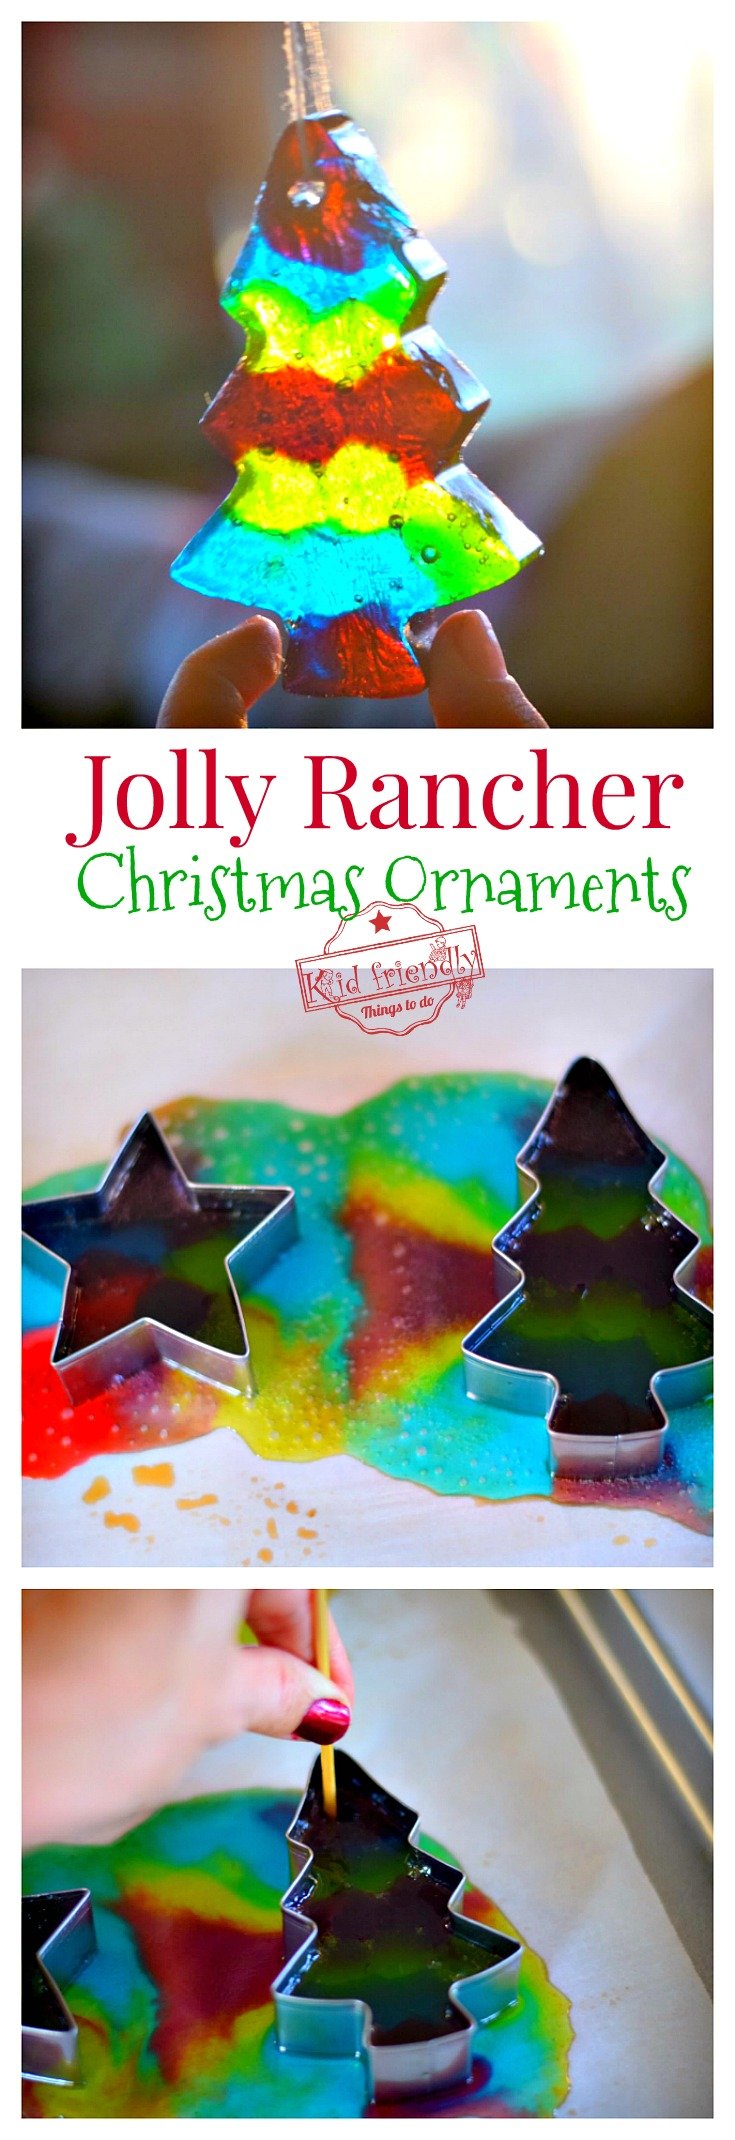
- Place the ornaments on the lined baking sheet and let the kids create away
- They will want to place the Jolly Ranchers standing up next to each other – completely filling in the ornaments (a little space between is fine)
- When they are finished, place the Jolly Rancher Ornaments into the oven
- Bake them for 10 minutes
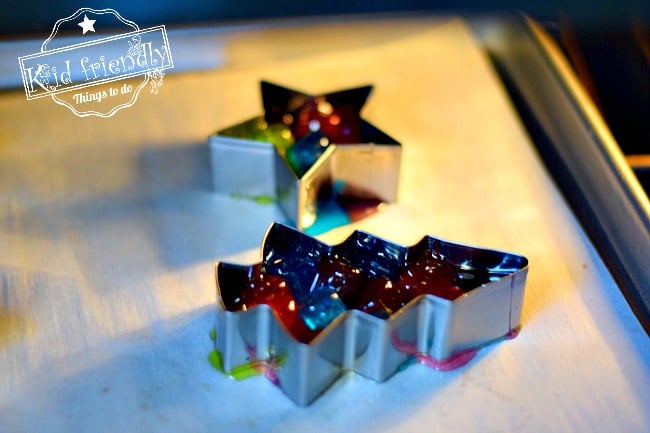
- This is a picture of the ornaments after they’ve been in the oven for a few minutes
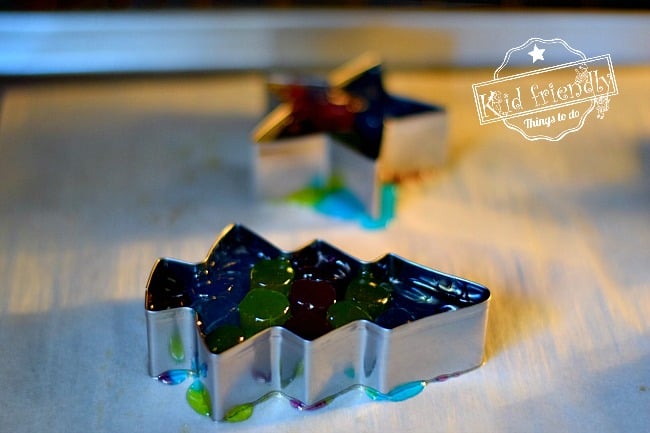
- They are beginning to melt
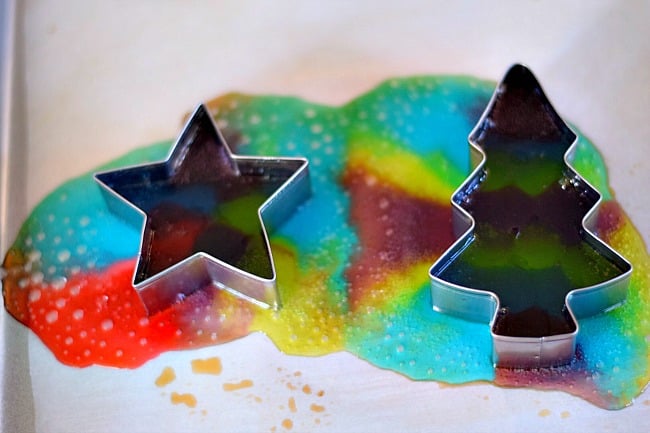
- Here they are after 10 minutes in the oven. The ornaments will be super hot, so be careful. You do not want to put your hands anywhere near the melted candy or ornaments. Using oven mitts – Place the baking sheet on a safe surface to cool off for a bit
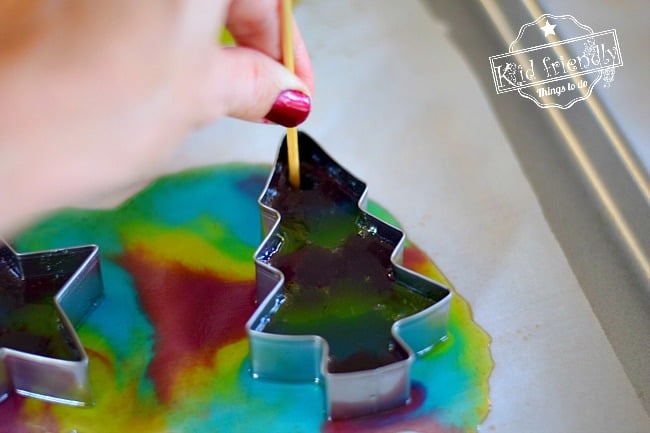
- After about 8 minutes of cooling, the candy should be cooled off enough, but still pliable enough to carve out a hole with your skewer
- *If it’s too soon, the melted candy will fill right back into the hole – give it a couple more minutes and try again
- Just push the skewer into the melted candy and circle it around. When you lift it up, you should be able to see the parchment paper through the hole
- *At this point, our ornaments had cooled off enough to let my kids help with the hole punch. You’ll have to judge for yourself whether or not it’s safe enough for your kiddos to help with the hole punch.
- After about 11 minutes outside of the oven…They should now be luke-warm to touch
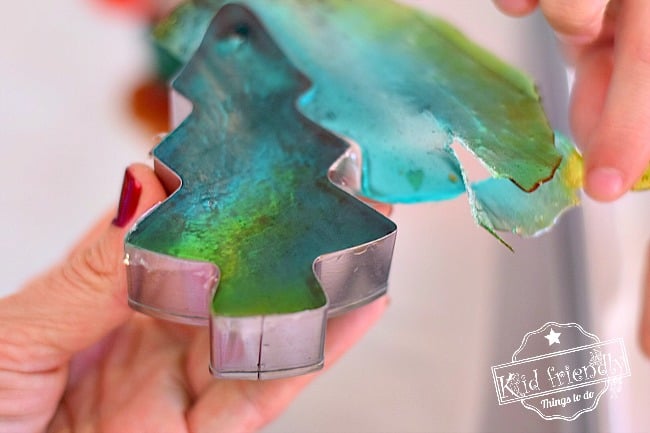
- If your ornament is only lukewarm like mine, You can probably lift them up and peel the excess candy from the outside. That is Connor peeling the extra away as I hold the ornament in my hand. It was definitely cooled off enough at this point to let the kids jump back in.
- At about 15 minutes outside of the oven is the point where I took a butter knife and pushed it in between the outer edge of the candy and the inside edges of the ornament – going all the way around
- The ornament released right away from the sides of the candy
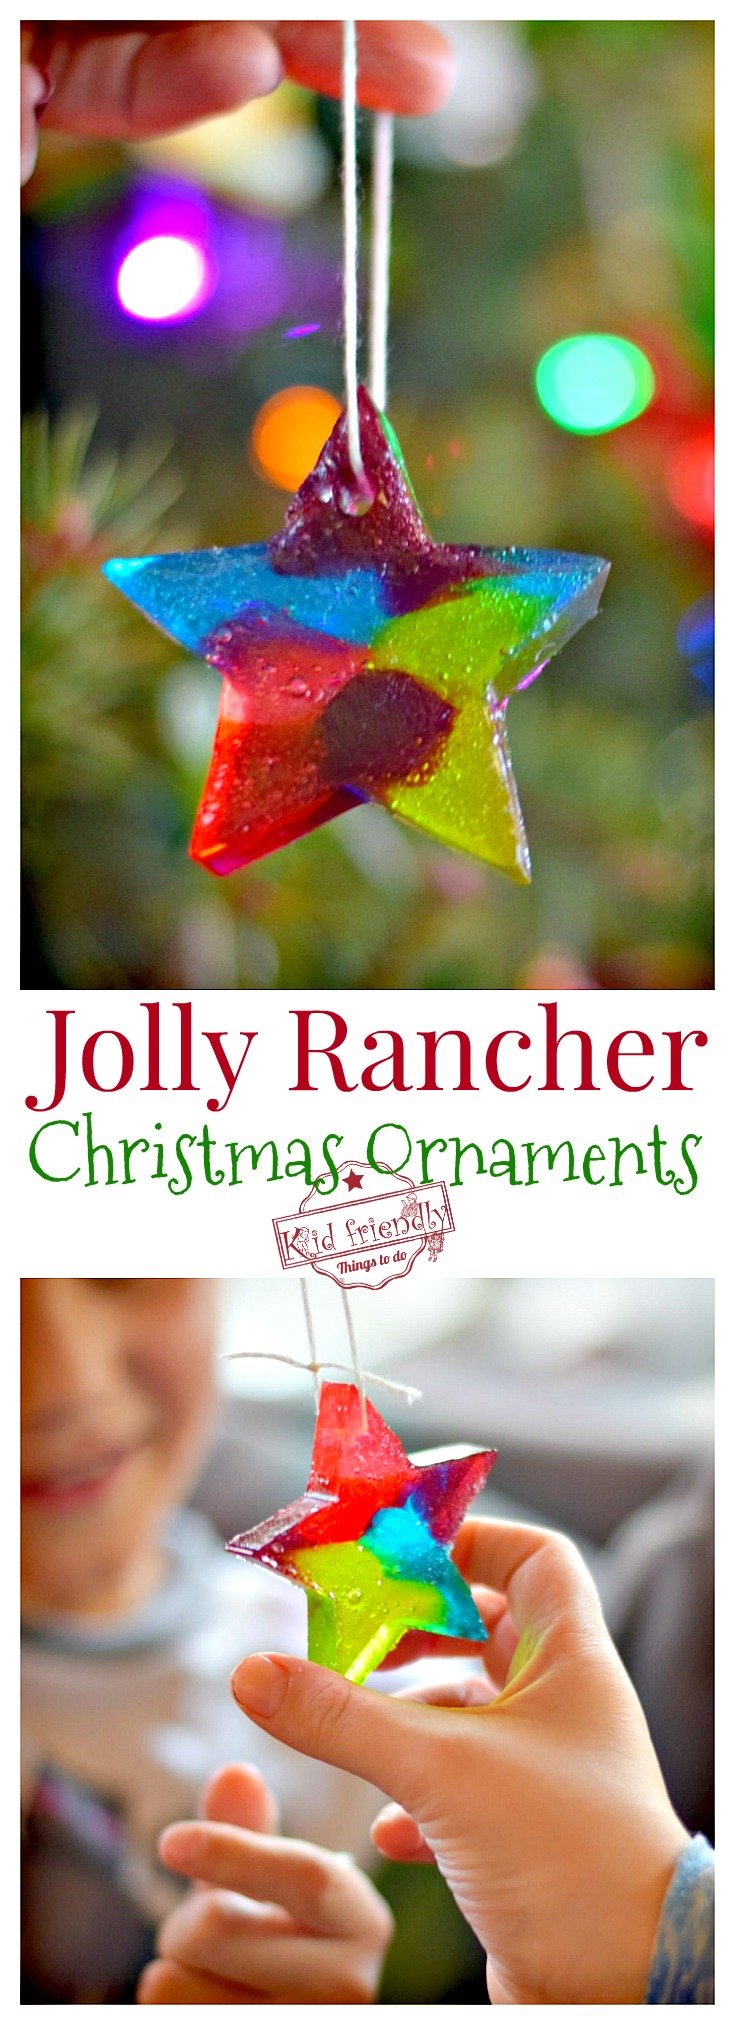
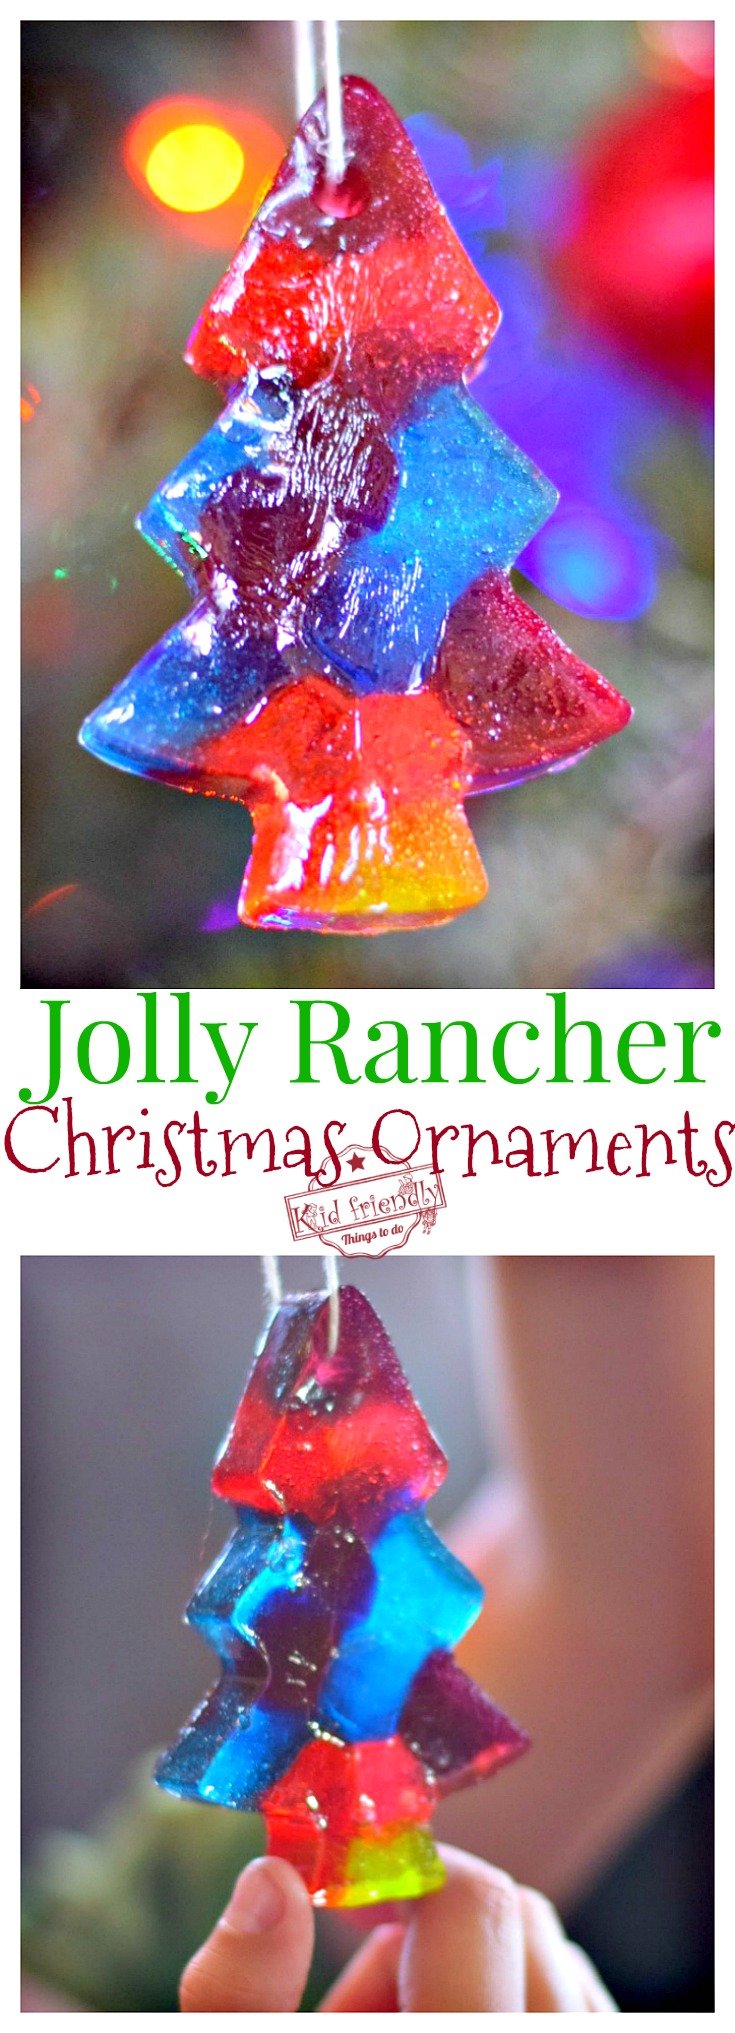
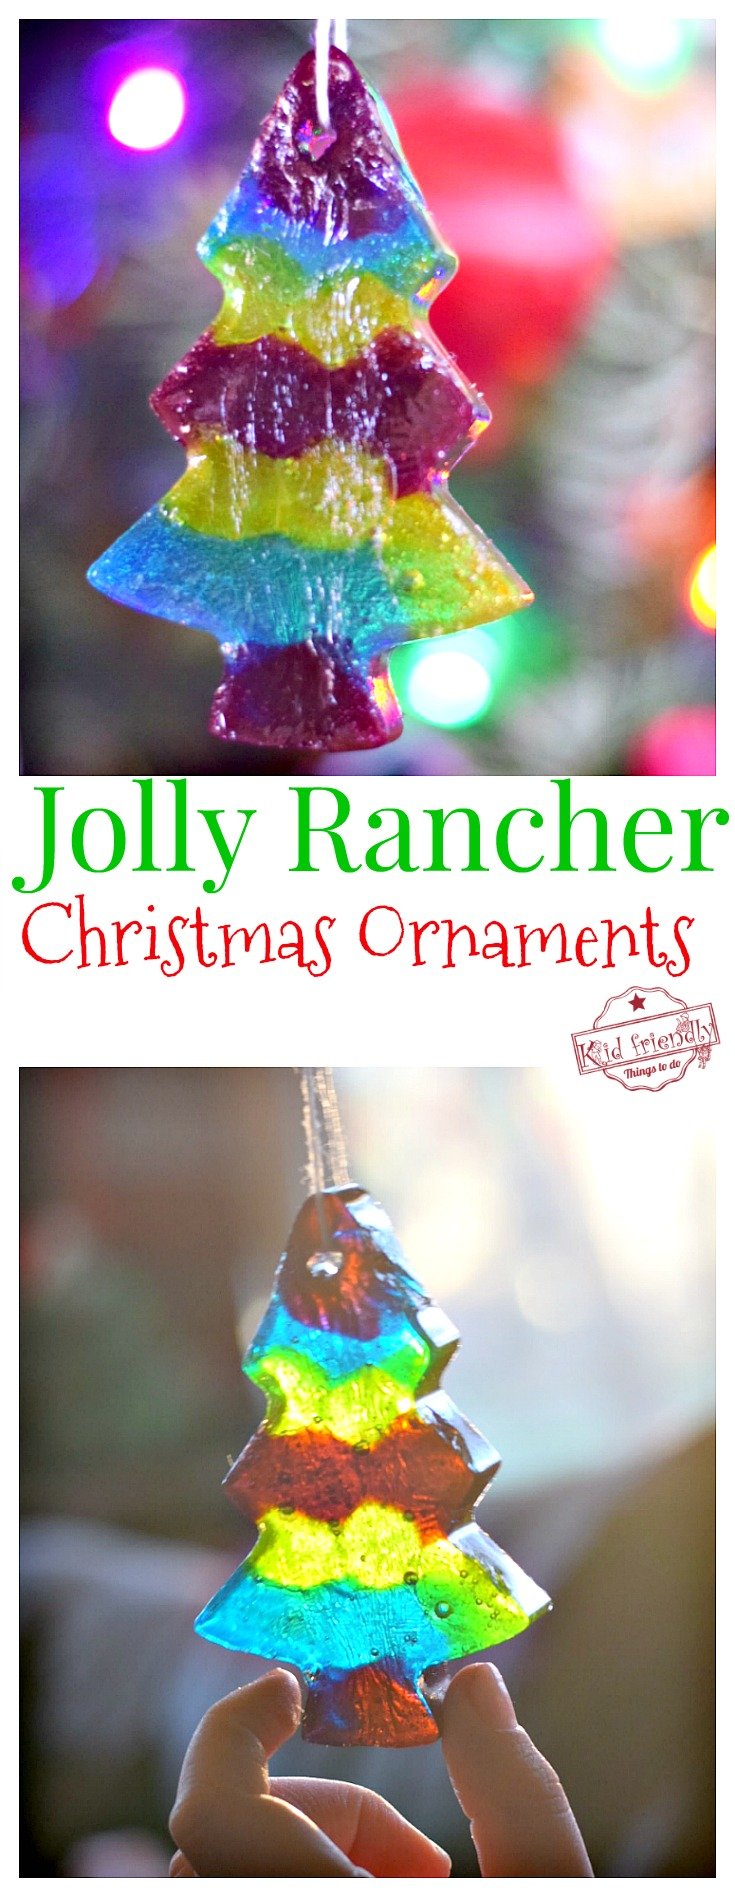
- After that, you should be able to push a piece of twine through the hole in the ornament and tie it into a knot to secure it
- The kids will be so excited to see their finished project hanging! I don’t guarantee they won’t steal a lick or two. Mine sure did!
- *These store well. I still have mine several years later. If you are worried about critters, you can dispose of the ornaments and have fun making them again next year.
Merry Christmas!
~Melissa – Kid-Friendly Things To Do
After the 15 minutes, would it be possible to push a lollipop stick or skewer into the bottom?
Hmm…You’ll just have to experiment between the 8 and 15-minute mark. It’s been a while since I made these, so I can’t really tell you from memory. It sounds like after about 8-10 minutes of cooling down they are still warm but pliable. I would start trying to pop them out of the mold at that point. Try running a butter knife along the edge between the ornament and the candy to release it from the mold. If it’s too early, the candy won’t hold its’ form and you’ll have to try again in a couple of minutes. I love your idea! I might have to try that myself. If I do, I will let you know exactly what I found out.
Just finished making these. Took an hour start to finish. Got the metal cookie cutters and Jolly Ranchers in Target. My grandsons had fun unwrapping and setting them up in the cutters. Followed the directions to a tee, and they came out perfectly
That is so fun! What a great time with your grandsons. Thank you so much for coming back to tell me. 🙂