A DIY Rudolph Ornament
This post may contain affiliate links – please read my disclosure statement.
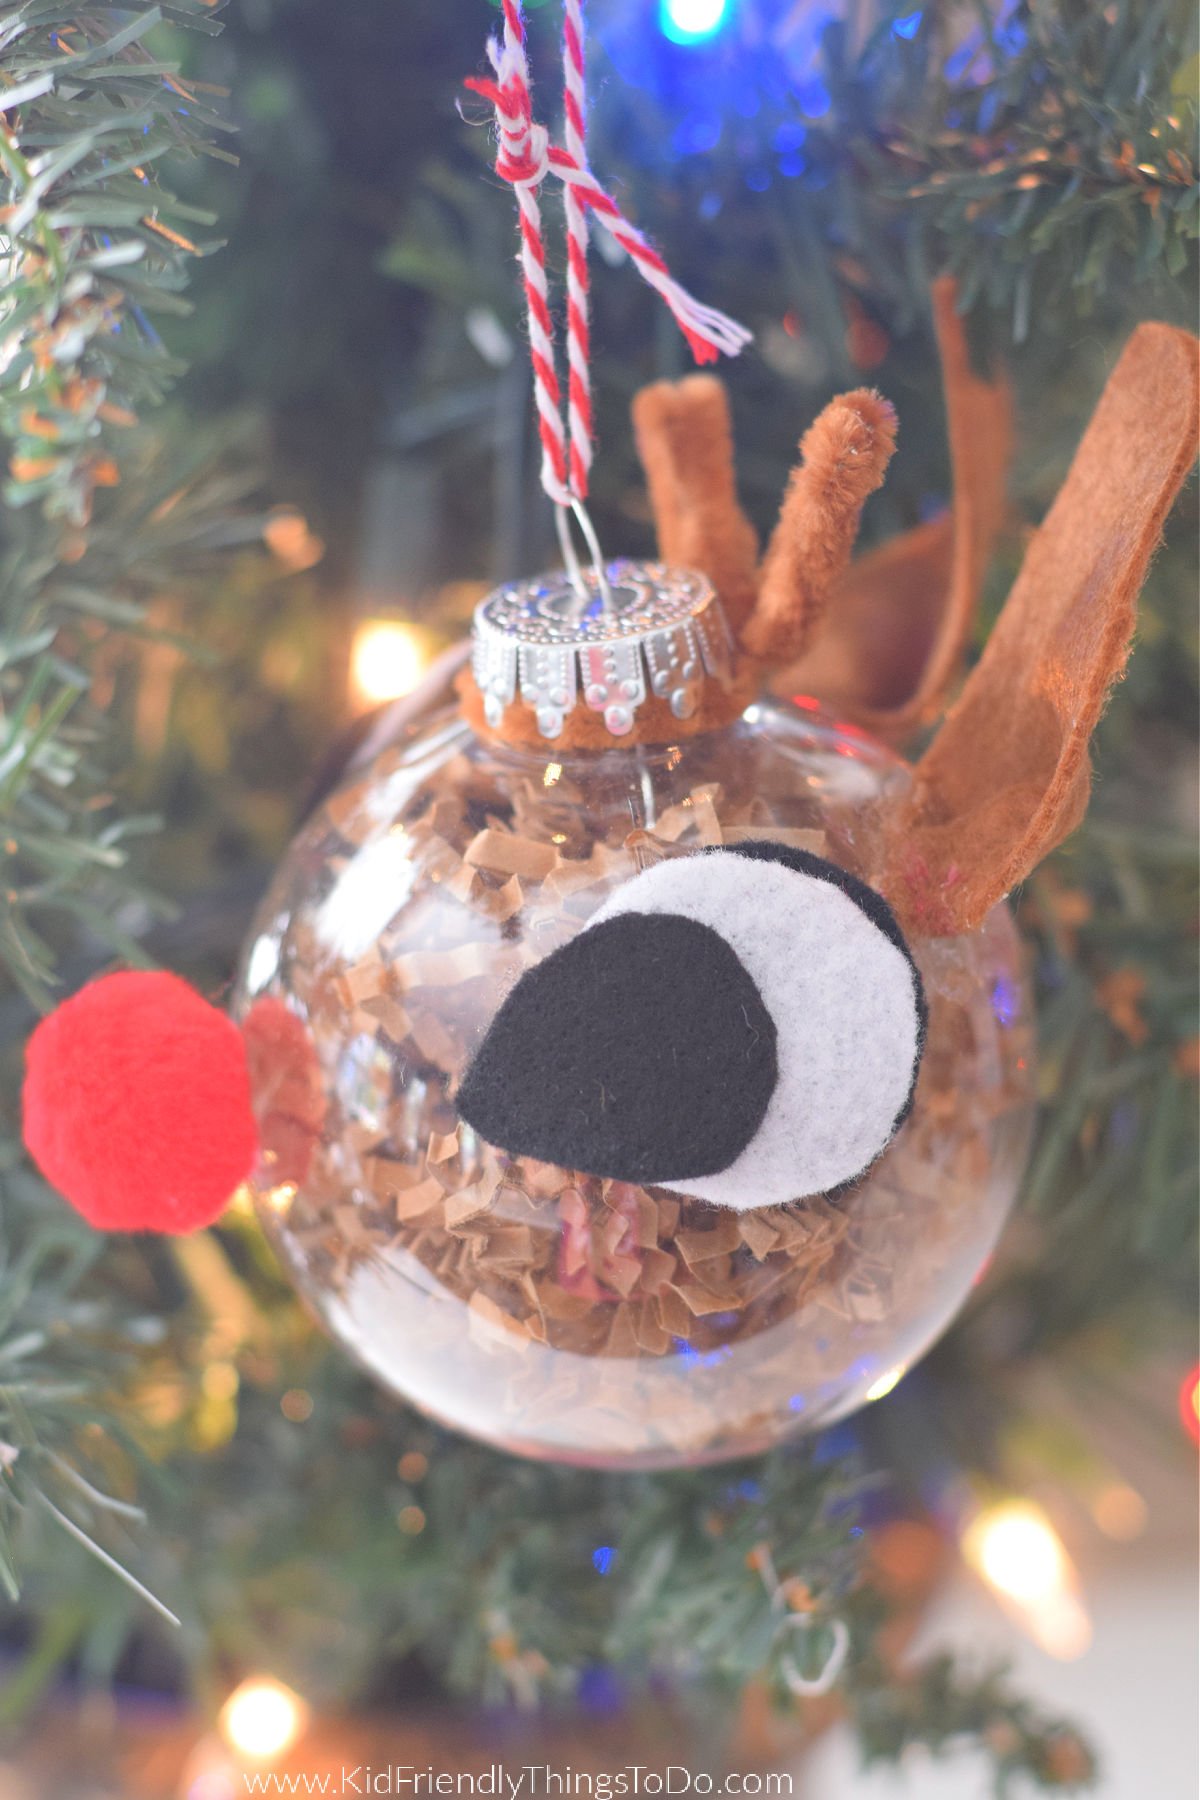
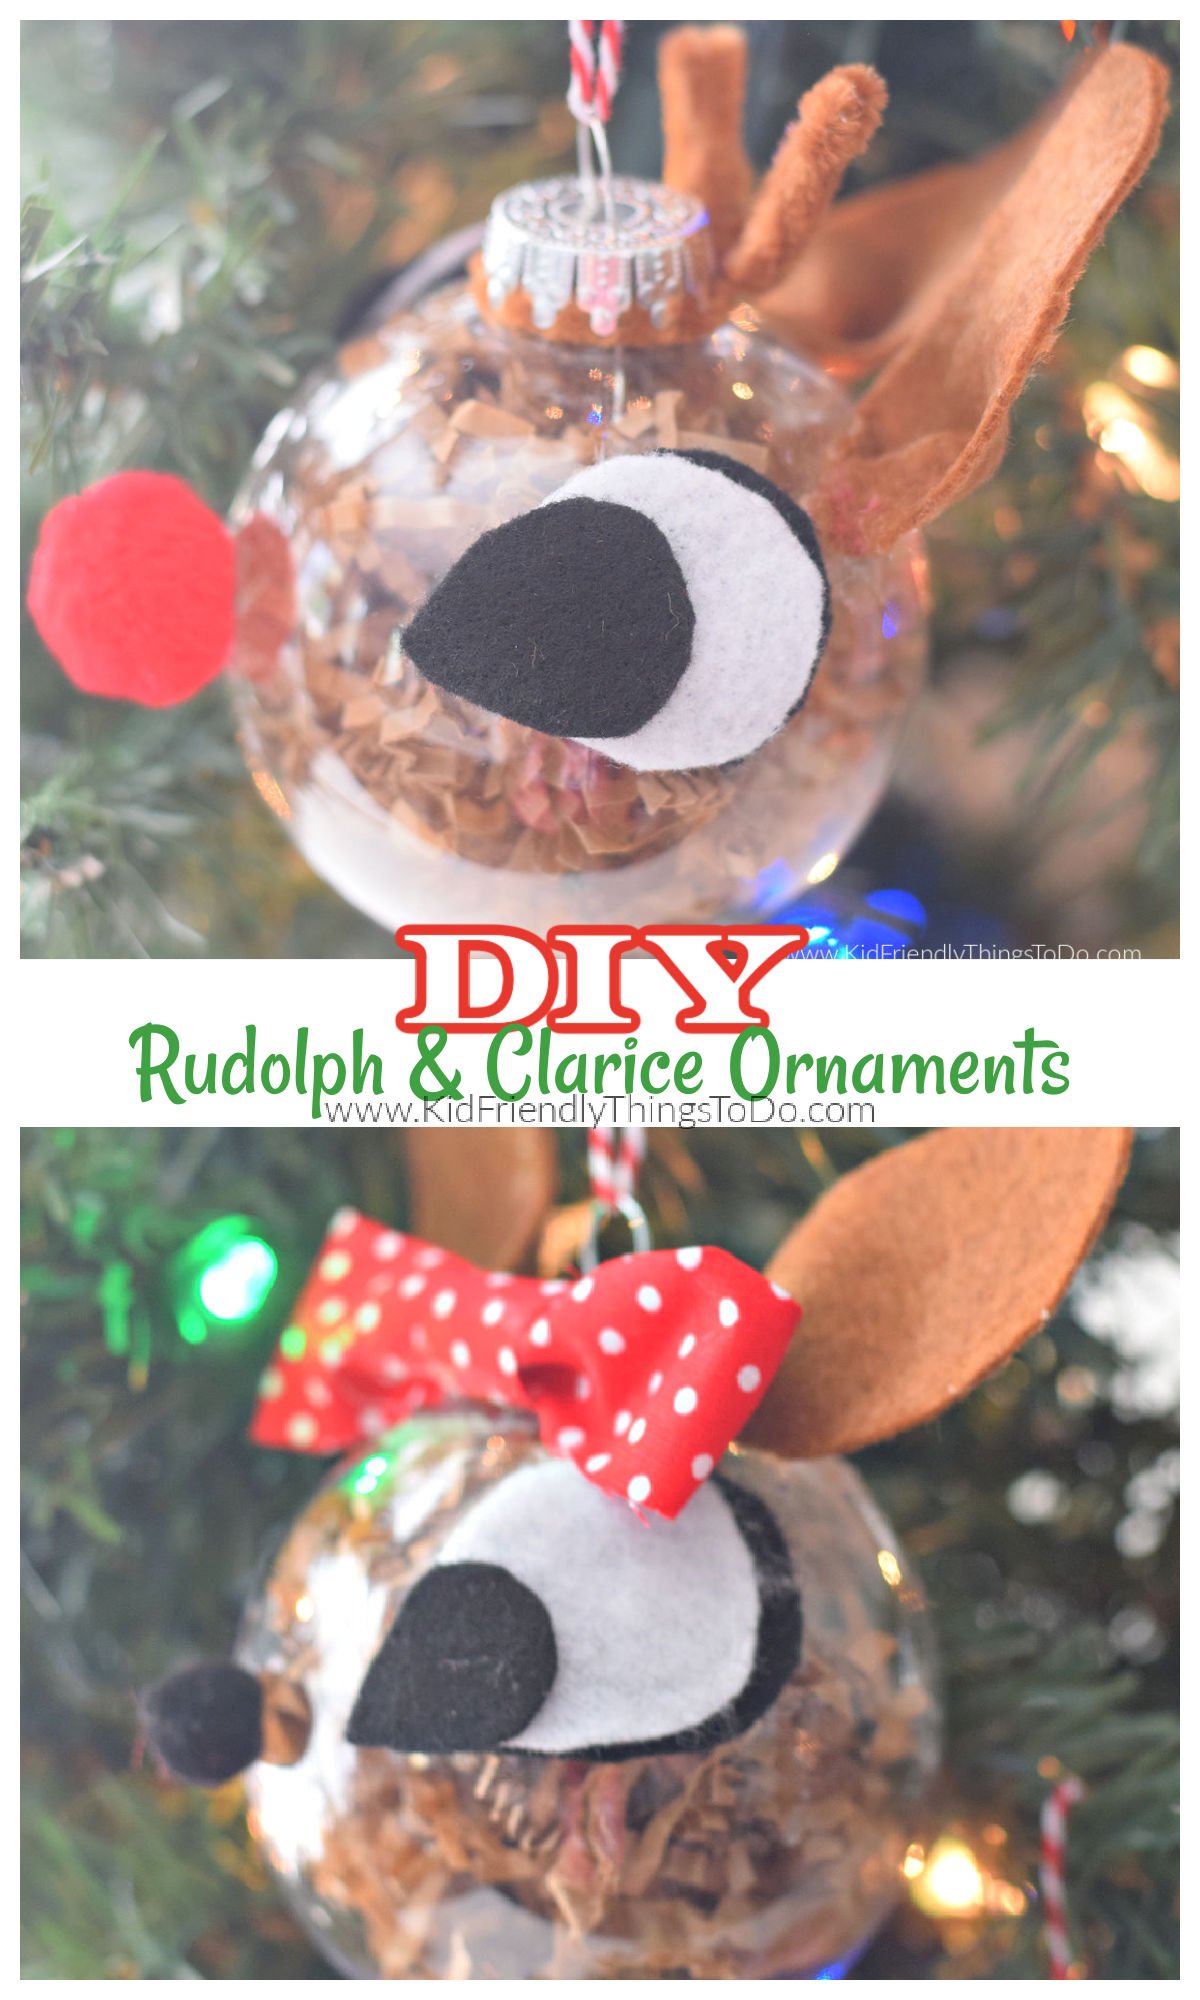
How to make a cute and simple Rudolph ornament for the Christmas Tree. This Christmas craft is adorable and easy to make with the kids. As a bonus, I’ll show you how to make Clarice to go with your Rudolph ornament.
Adult supervision is required for each step of activities, recipes, crafts, and games with children. Small parts are a choking hazard.
Rudolph Ornament Craft
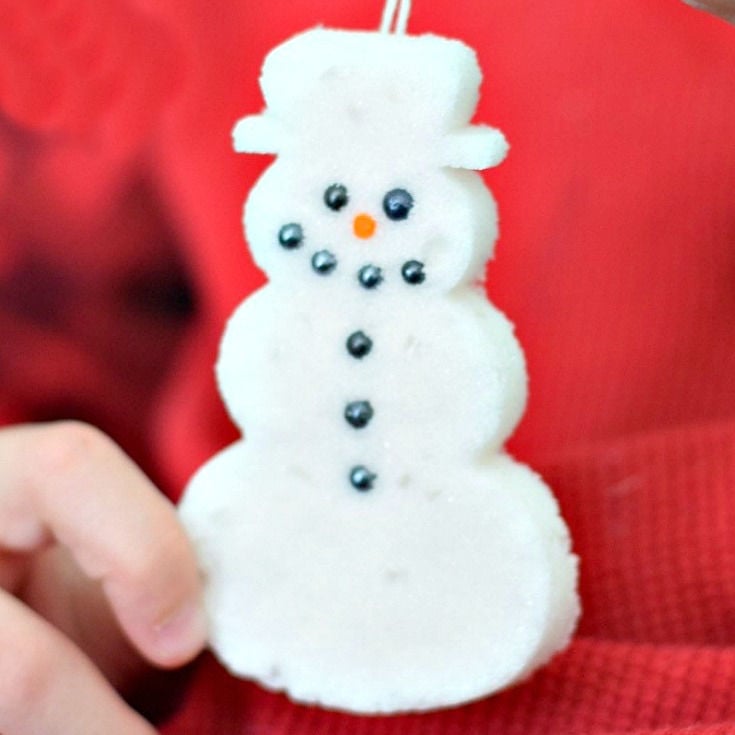
I love making Christmas crafts with the kids. Christmas is a time of year when we can make memories with family and friends by cooking, crafting, playing games, and getting together. Throughout the years, I have made plenty of Christmas crafts to share on the blog like this toilet paper tube snowman, interactive felt Christmas tree, and this cute Snowglobe craft.
Supplies Needed for this Rudolph Ornament:
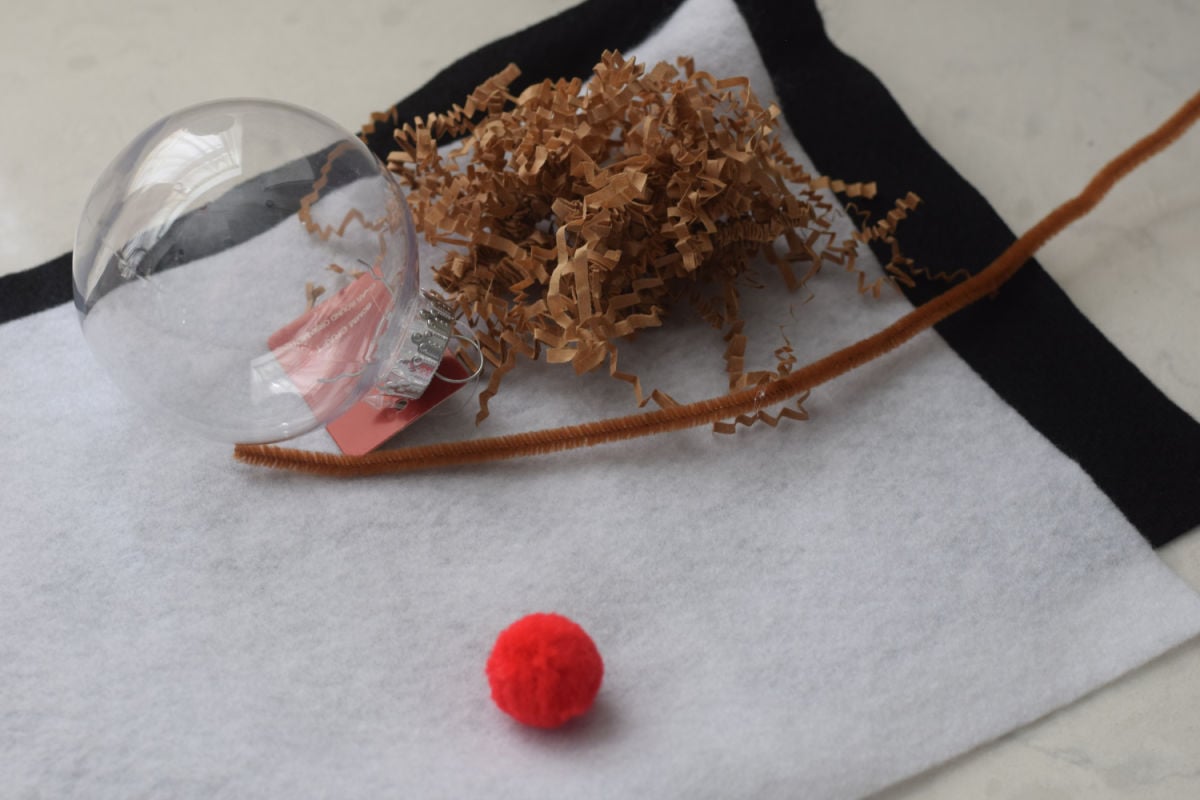
- clear plastic ornament
- brown raffia or shredded paper
- felt – white, brown, and black
- red pom-pom for the nose – about 1/2 inch wide
- brown pipe cleaner
- ribbon or cording to hang the ornaments from
Equipment Needed
- tacky glue like Fabri-tac or a low-temp glue gun
- scissors
How to Make a Rudolph Ornament
Video Below
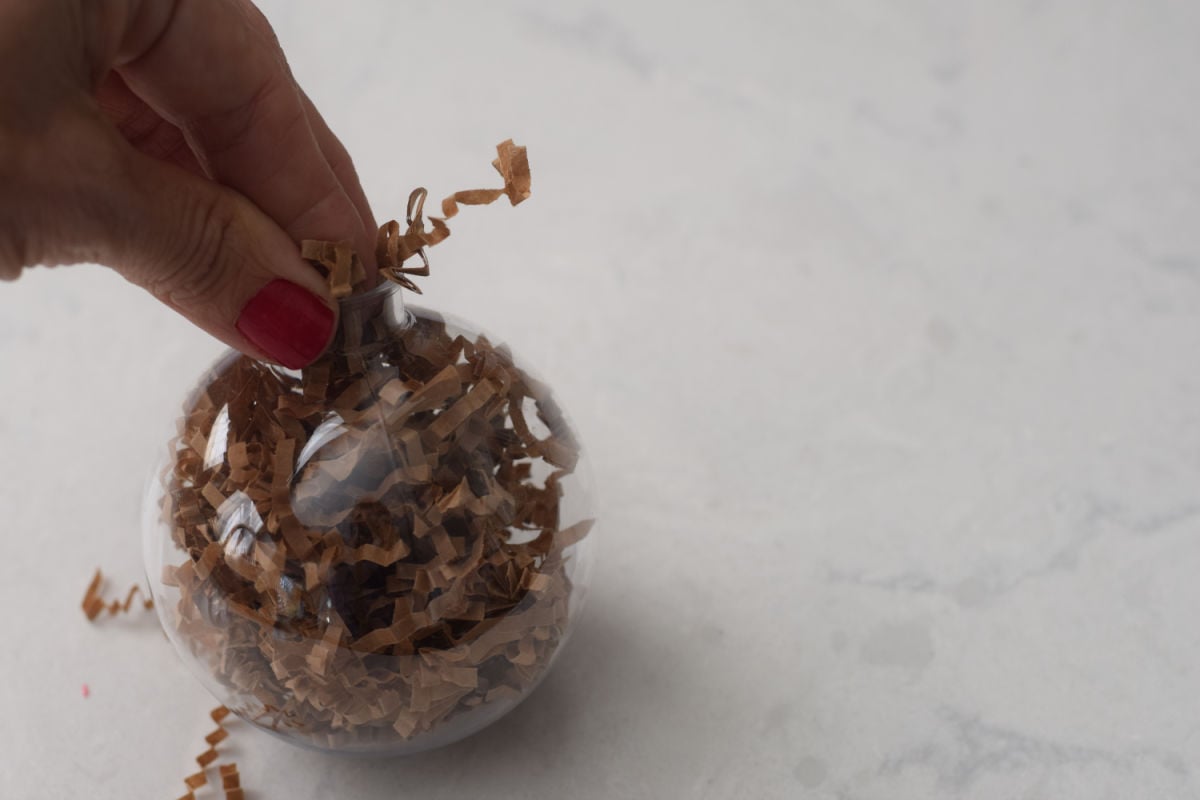
- First, stuff brown shredded paper into the ornament
- Glue the red pom-pom onto the center of the round ornament
- Eyes: The key to making Rudolph is the eyes. Shape felt to make wide teardrop shapes for the eye. Layer two white-felt squares (so you will get two shapes) and cut out a wide teardrop shape about one inch long.
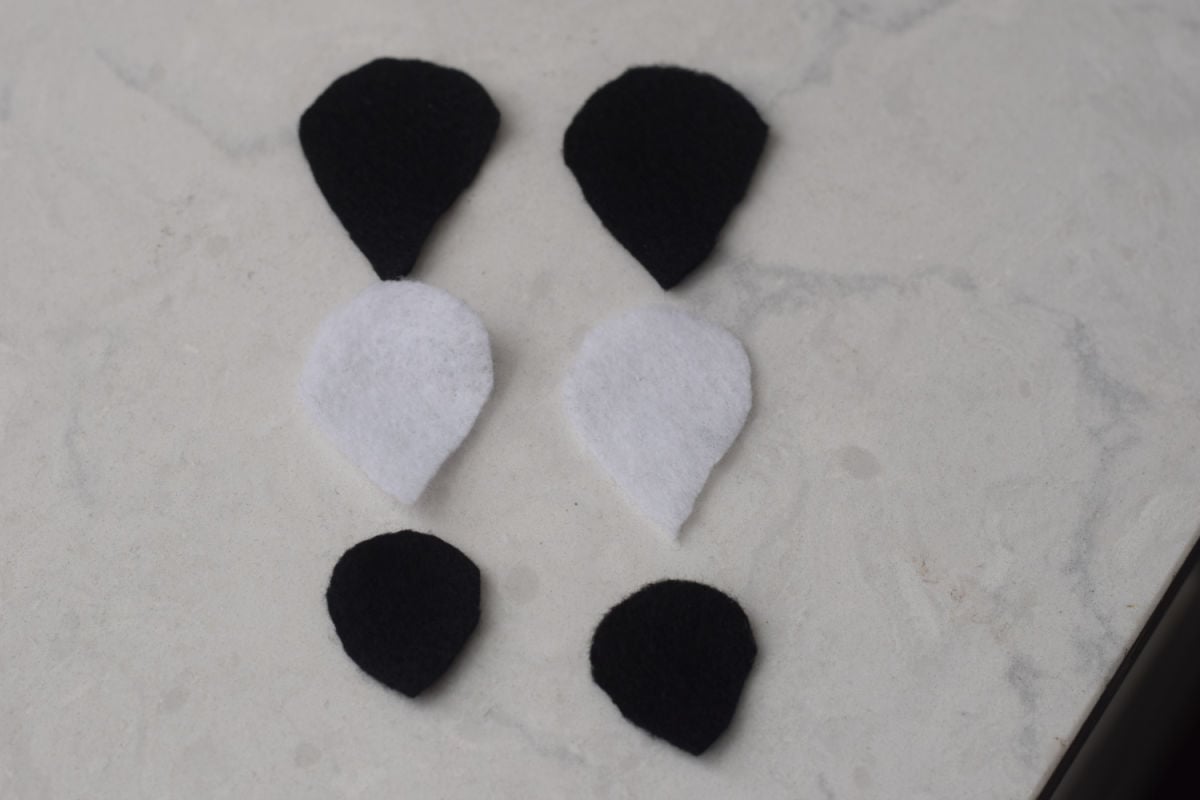
- Layer black felt so you get two shapes of the same size. Make a black teardrop about one-half the length of the white one. Then, cut out one more black teardrop shape, just a smidgen larger than the white.
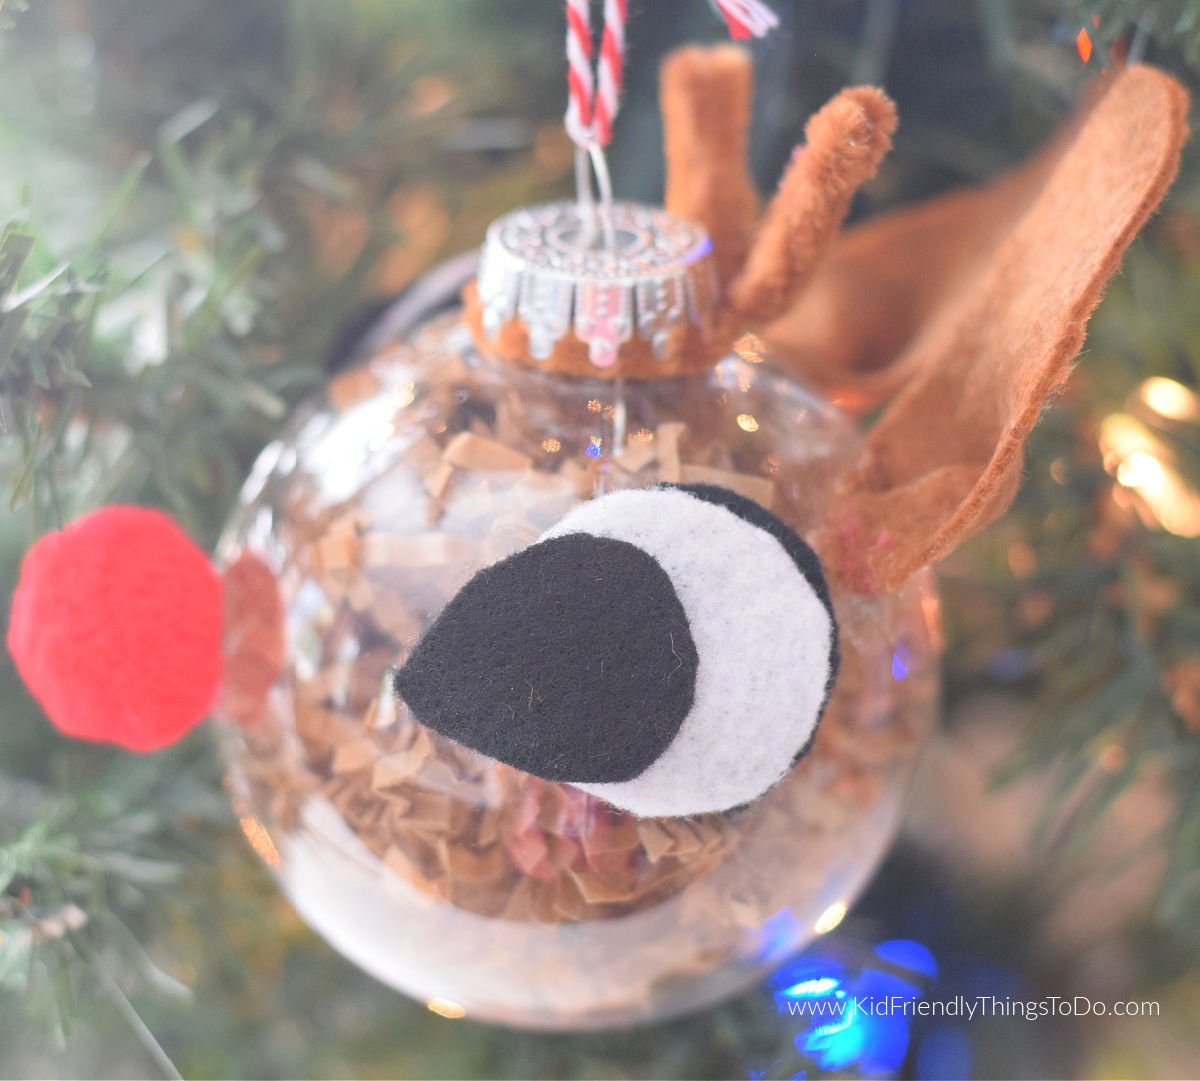
- Stack the eye shapes so the white shape mostly covers the larger black one. Only a tiny portion of the large black should show. Think eyeliner. Place the small black shape over the white, matching the corners, and glue them together. (Image Below)
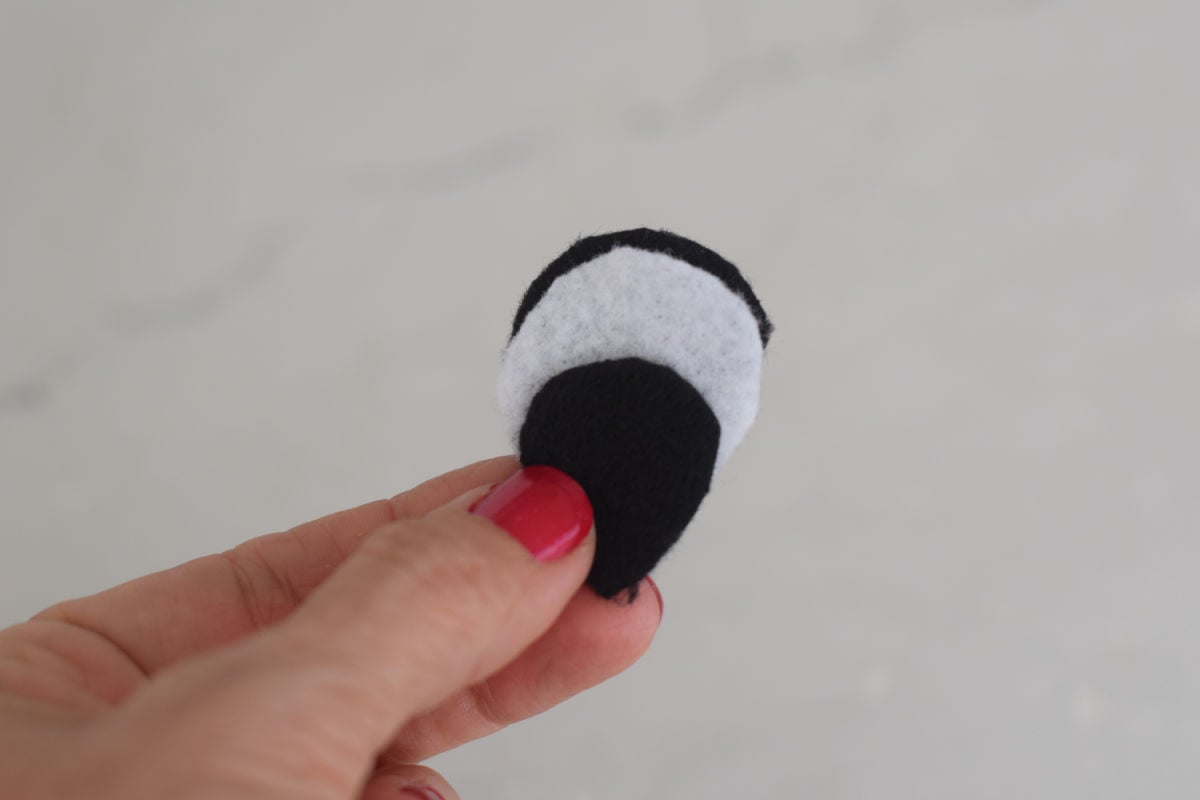
- Glue the eyes onto the ornament behind the nose and toward the top of the ornament.
- Antlers: Rudolph has short, stubby antlers. He’s just a little fawn. Use a brown pipe cleaner for the antlers. Twist it around the top of the ornament. Fold each pipe cleaner in half and in half once more to make stubby ornaments about one inch high
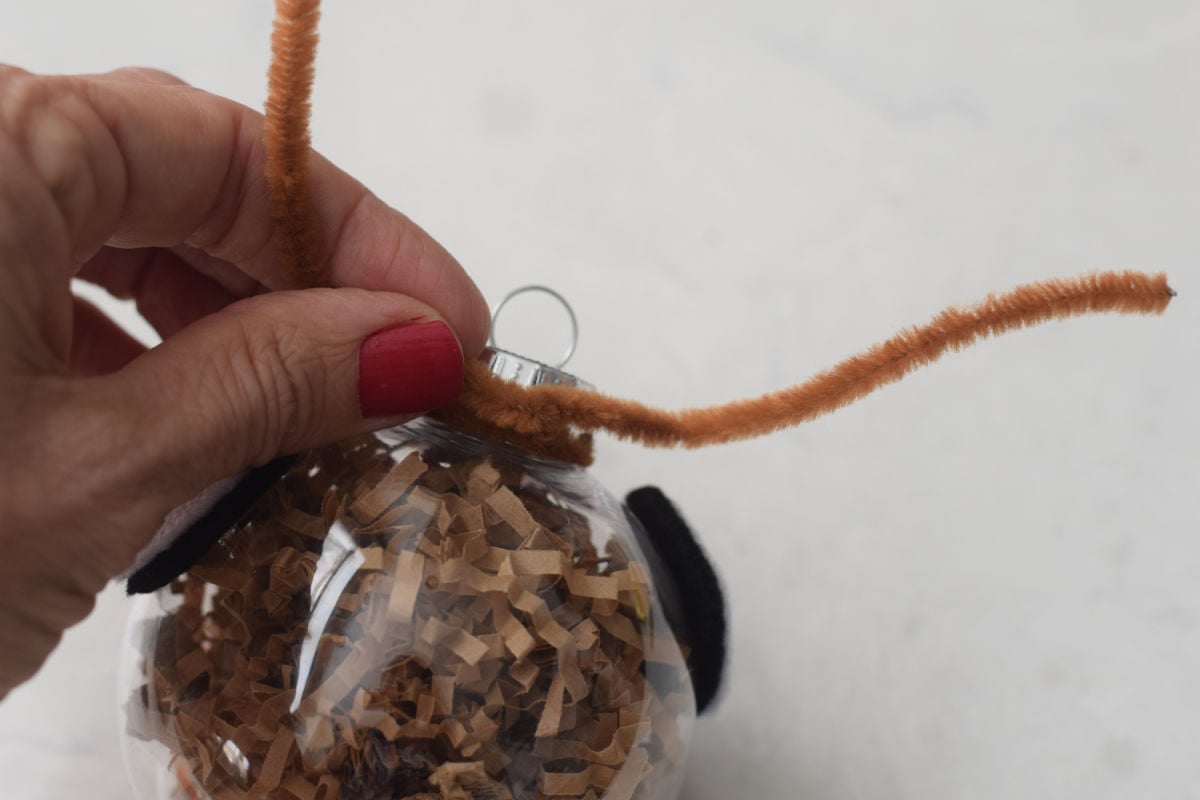
- Ears: Cut-out felt ear shapes that are about 2 inches long with one straight edge and one curved edge
- Gather the bottom together and squeeze it to make folds. Glue together.
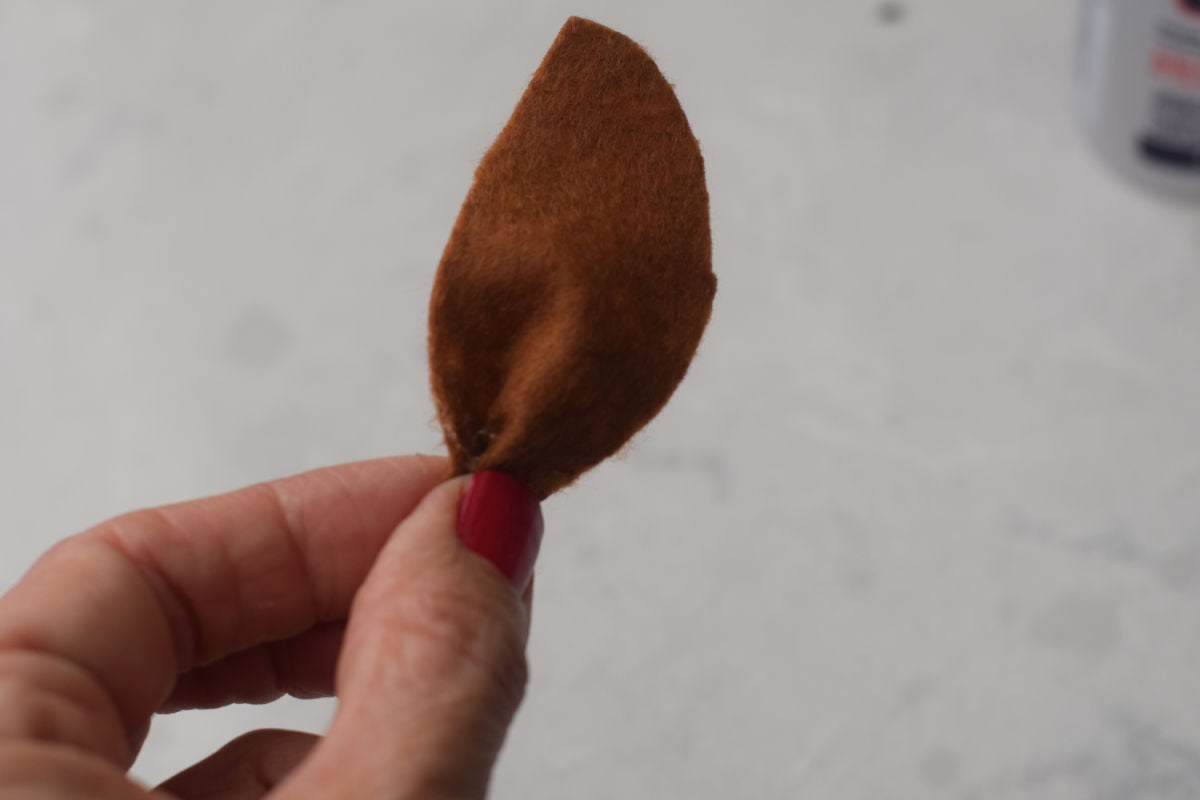
- Glue the ears behind the antlers
Bonus Ornament
Because my six-year-old girl loves Clarice, I made a Clarice for her. Chances are that you might also want to make a Clarice Ornament, so I’ll share how to make Clarice with you.
Clarice Ornament
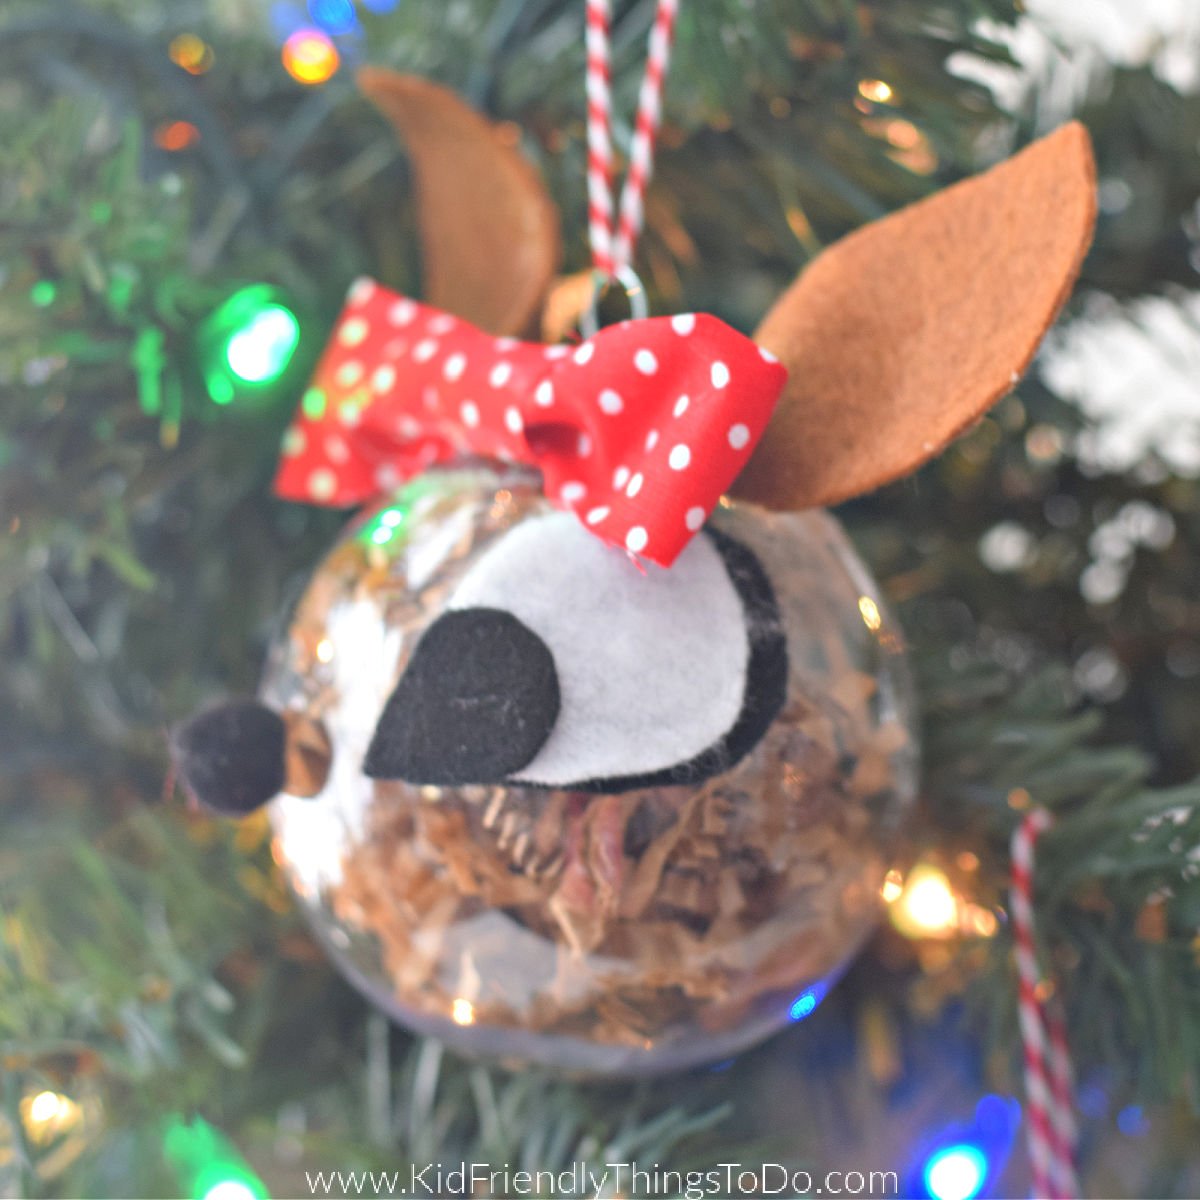
What is the Difference Between Clarice and Rudolph?
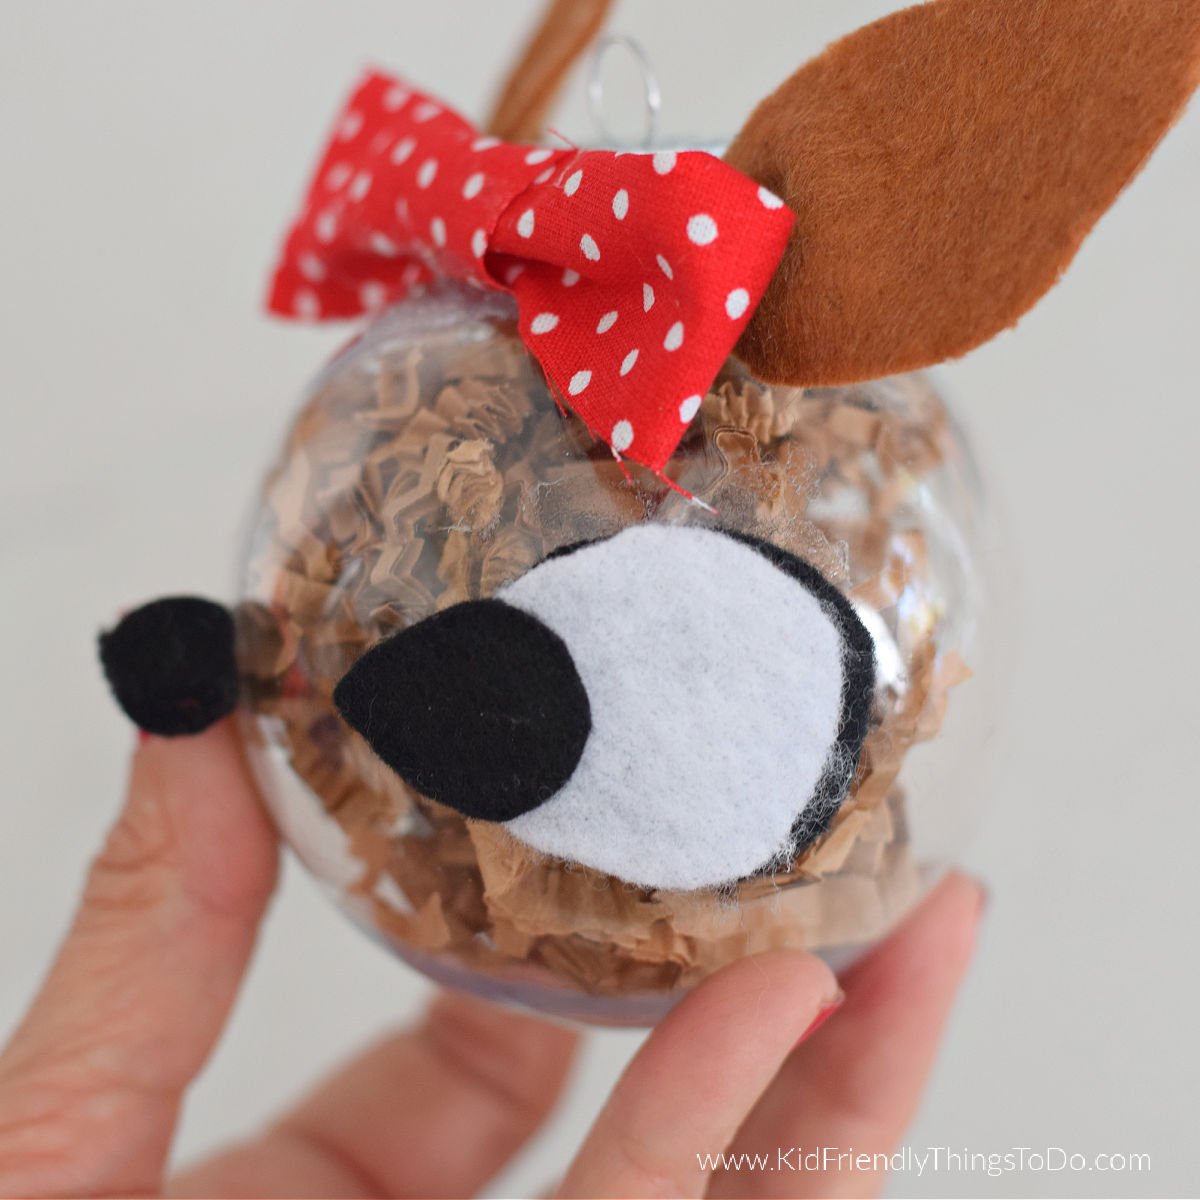
Clarice and Rudolph differ because Clarice has a black nose, no antlers, and a red polka-dot bow. If you want to go over the top, add fake eyelashes to Clarice’s eyes.
Supplies for Clarice
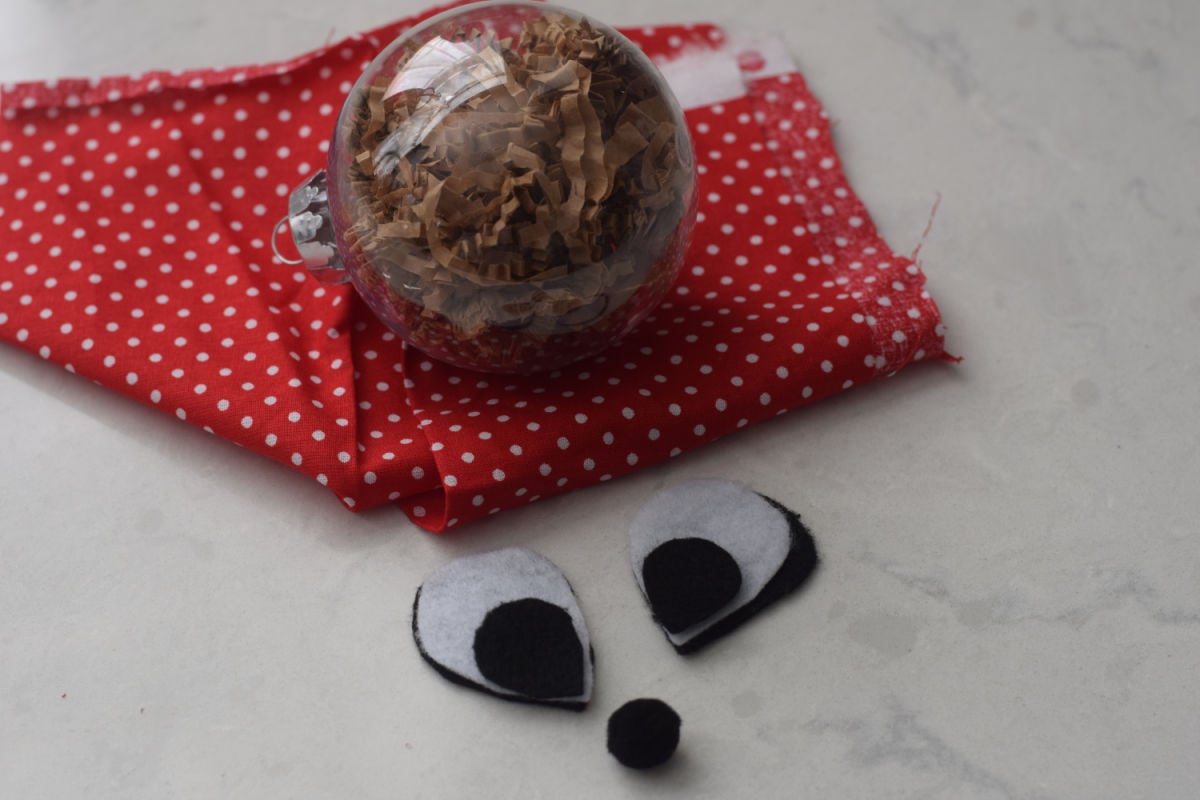
- clear plastic ornament
- brown raffia or shredded paper
- felt – white, black, and brown
- small black pom-pom for the nose
- red and white polka-dot material for bow
Equipment Needed for Clarice
- Fabri-tac glue or low-temp glue gun
- scissors
Here’s how to make a Clarice from Rudolph Ornament
- Stuff brown shredded paper into the clear ornament

- Clarice has a little black pom-pom ball for her nose
- Glue a small black pom-pom onto the center of the ornament
- Eyes: Shape felt to make wide teardrop shapes for the eye. Layer two white-felt squares and cut out a wide teardrop shape about one inch long.
- Layer black felt to make a black teardrop about one-half the length of the white one and one more black teardrop shape, just a smidgen larger than the white.
- Layer the eye shapes and glue them together.

- Glue the eyes onto the ornament behind the nose and toward the top of the ornament.
- Bow: Cut out a rectangle shape from the red & white polka dot material for her bow. Shape it into a bow.
- Cut a small square to wrap around the center of the bow. Once you have the bow-shaped, glue it to secure it.
- Glue the bow in front of the ornament topper.
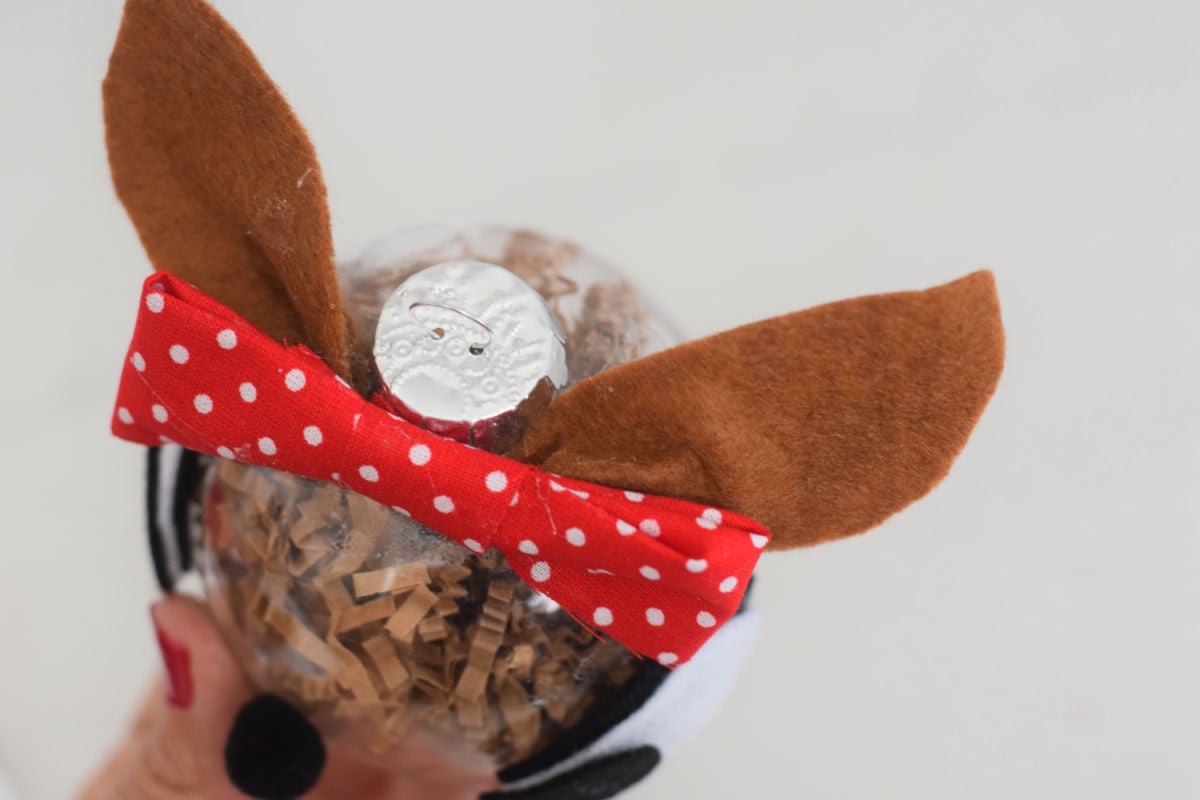
- Ears: Cut-out felt ear shapes that are about 2 inches long with one straight edge and one curved edge
- Gather the bottom together and squeeze it to make folds. Glue together.
- Glue the ears behind the bow.
More Christmas Ornaments You’ll Love
Let’s Hang Out!
Watch My Video on Making this Rudolph Ornament Craft
Printable Instructions for Rudolph Ornament
A DIY Rudolph Ornament
Equipment
- Scissors
- tacky glue I prefer Fabri-Tac glue
Materials
- 1 clear plastic ornament
- brown raffia or shredded paper
- 3 felt pieces white, brown, and black
- 1 red pom-pom for the nose about 1/2 inch wide
- 1 brown pipe cleaner
- ribbon or cording to hang the ornaments from
Instructions
- First, stuff brown shredded paper into the ornament
- Glue the red pom-pom onto the center of the round ornament
- Eyes: The key to making Rudolph is the eyes. Shape felt to make wide teardrop shapes for the eye. Layer two white-felt squares and cut out a wide teardrop shape about one inch long.
- Layer black felt and make a black teardrop about one-half the length of the white one and one more black teardrop shape just a smidgen larger than the white
- Stack the eye shapes so the white shape mostly covers the larger black one. Only a small portion of the large black should show. Think eyeliner. Place the small black shape over the white, matching the corners, and glue them together.
- Glue the eyes onto the ornament behind the nose and toward the top of the ornament.
- Antlers: Rudolph has short, stubby antlers. He's just a little fawn. Use a brown pipe cleaner for the antlers. Twist it around the top of the ornament. Fold each pipe cleaner in half and in half once more to make stubby ornaments about one inch high
- Ears: Cut-out felt ear shapes that are about 2 inches long with one straight edge and one curved edge
- Gather the bottom together and squeeze it to make folds. Glue together.
- Glue the ears behind the antlers
Notes
~Melissa – KidFriendlyThingsToDo.com



so cute!