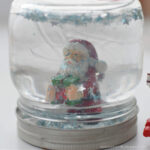
Snow Globe Craft
This post may contain affiliate links – please read my disclosure statement.
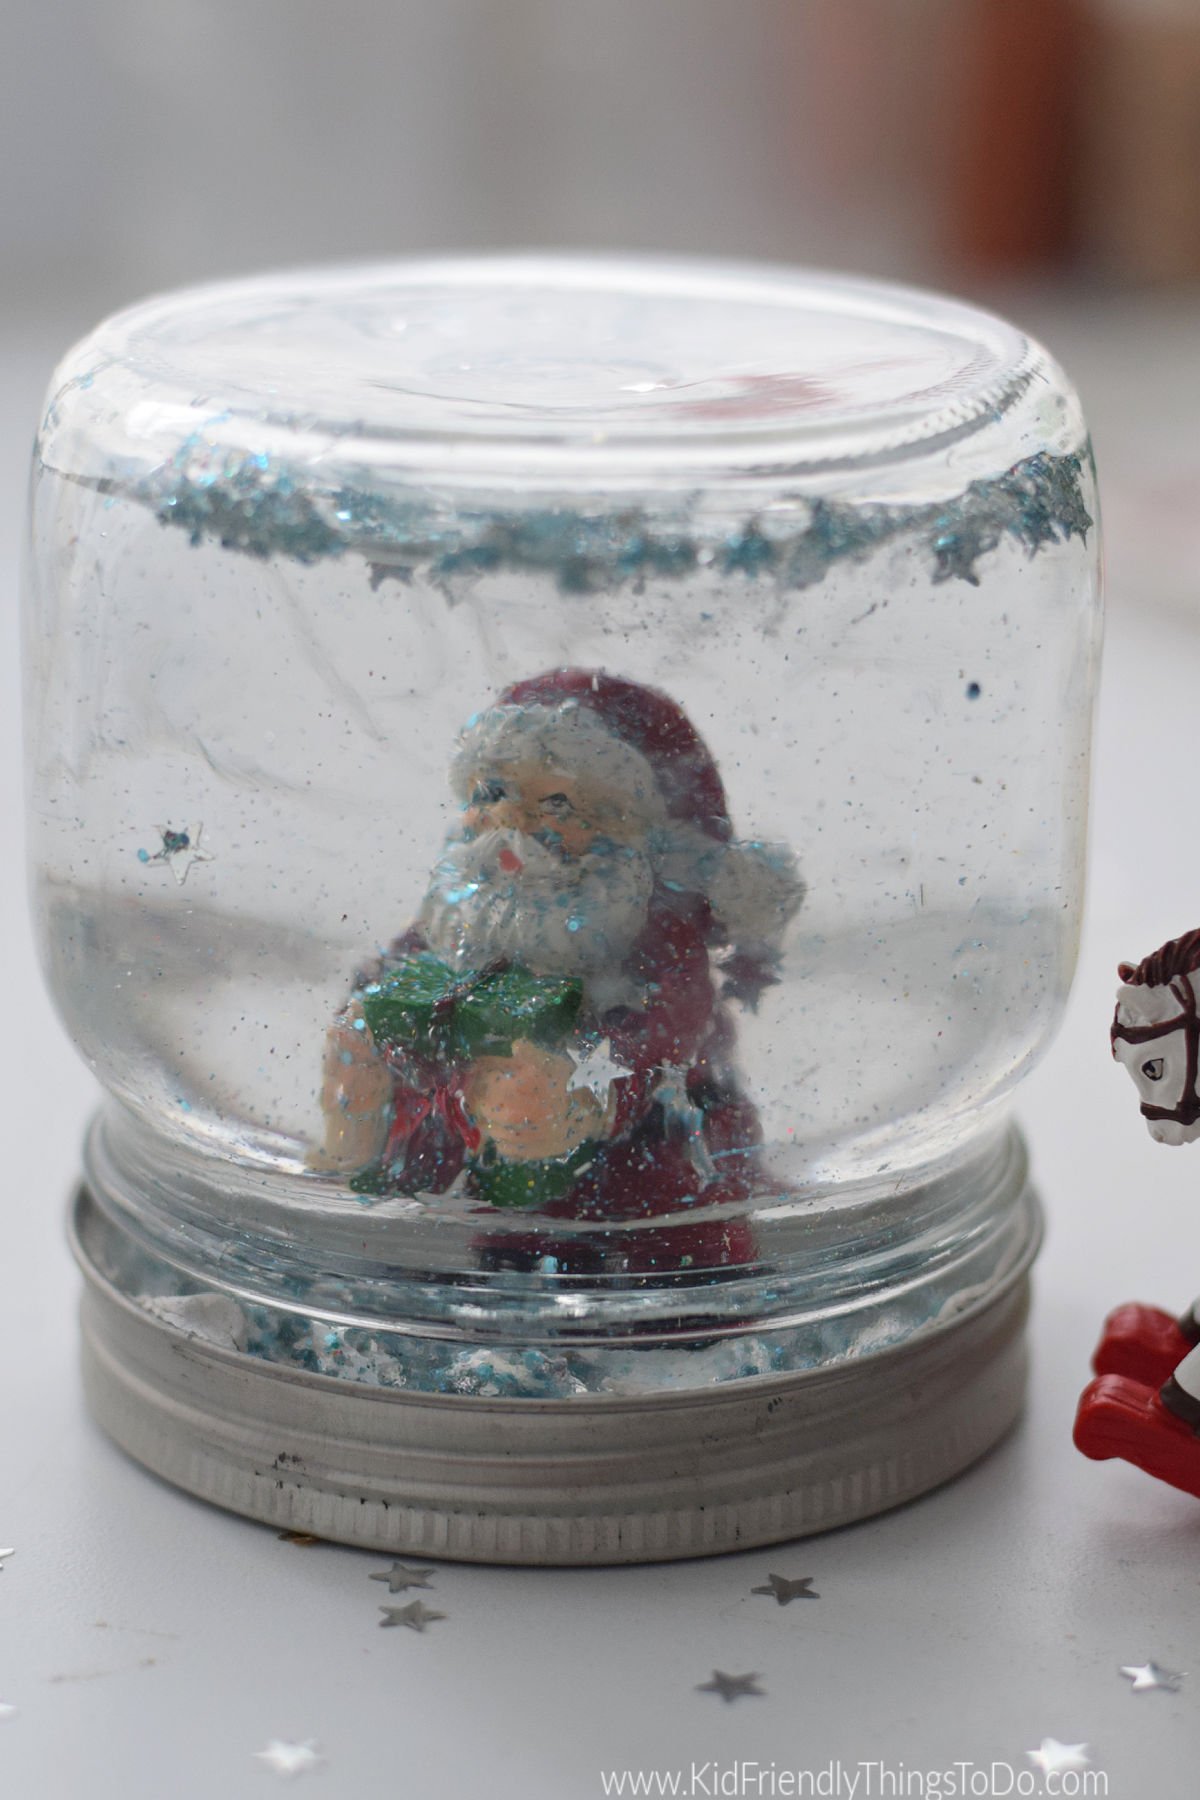
This Simple Snow Globe Craft is like Capturing a winter wonderland in a jar. The magic of snow can last long after the snow outside has gone. It is a fun craft and activity to do with the kids.
This post may contain affiliate links. As an Amazon Associate, I earn a small commission from qualifying purchases. See my disclosure policy to read more. Adult supervision is required for each step of activities, recipes, crafts, and games with children. Small parts are a choking hazard.
Snow Globe Craft
Winter crafts are a great way to avoid the winter boredom blues like making this cute icicle wreath birdfeeder, making homemade bath salts, or making snowflakes out of coffee filters
I love how easy it is to make a snow globe. Grab a fun plastic toy or a resin one like the one I used and make a snow globe scene to enjoy all year long.
This would be a fun craft project for a birthday party. You can make snow globes for any theme like dinosaurs, Disney characters, Christmas snow globes, make a winter wonderland, or make a snowman snow globe for a classic snow globe.
Here’s What You’ll Love About Making these Snow Globes
- Customize these snow globes to any theme by changing out the figurines.
- It is a craft and an activity. One the kids will enjoy for months and months
Here’s What You’ll Need for your DIY Snowglobe
Supplies
- Jars -You can try to find a more kid-friendly plastic snowglobe jar, as long as it has a lid to seal the jar shut.
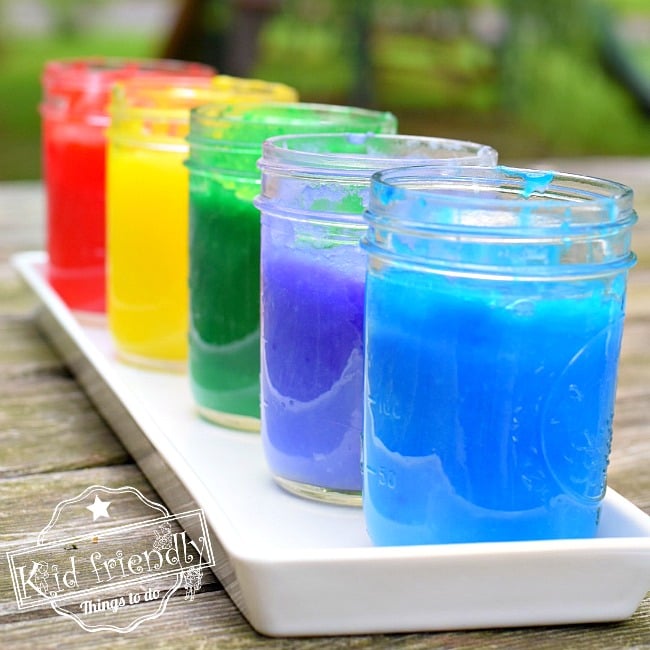
- Glitter – For snow use white glitter. For our Dinosaur globe with dinosaur figurines, we used volcano colors. You can also experiment with either Extra Fine Glitter or Traditional. Extra fine clumps together, a little – much like snow would.
- Glitter Flakes – optional. Glitter flakes are optional. Add this to your globe in addition to the glitter.
- Distilled Water – this type of water makes the globe less cloudy because the minerals have been removed
- Glycerin 1/2 teaspoon- Liquid you can buy at a pharmacy – this helps the glitter slowly fall to the bottom.
- Waterproof glue – I have experimented with different glues in the past. Years ago, epoxy seemed to work the best. This time, I found a water weld putty. It seems to be holding up really well and the bonus is the stick is instant. You have zero drying time
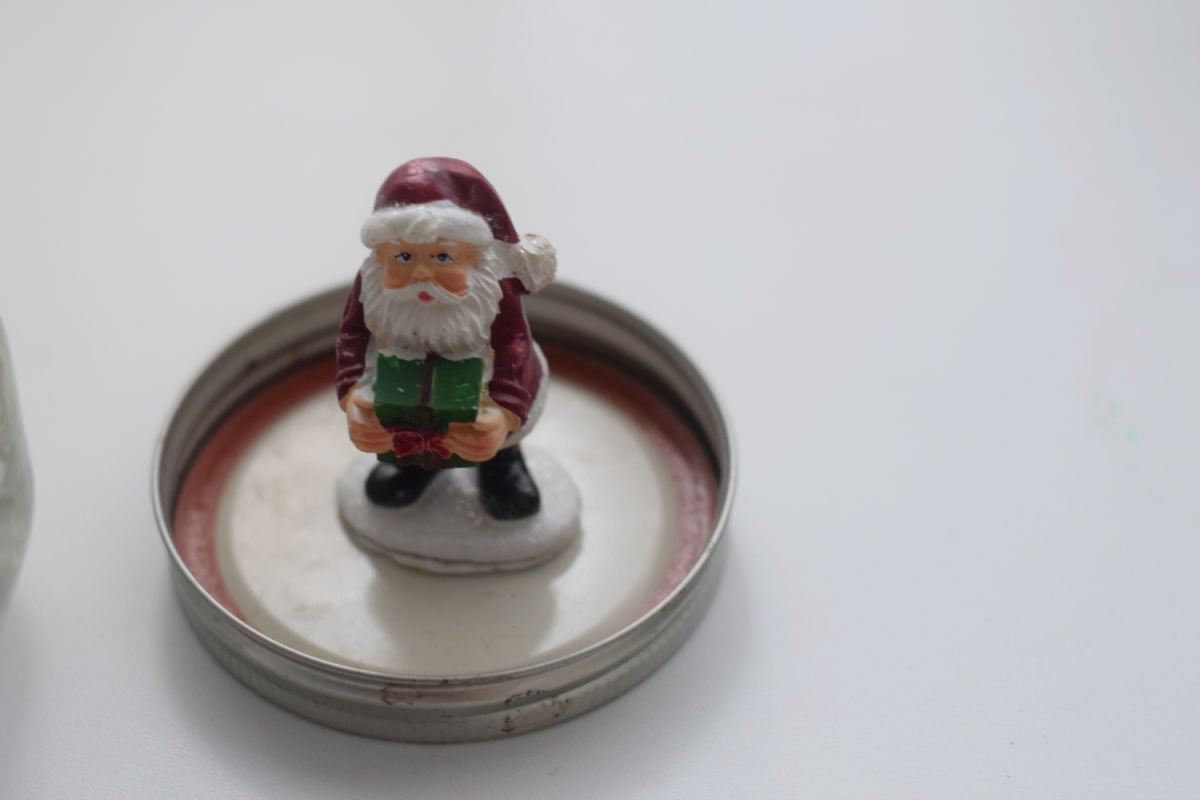
- Plastic Figurines, Possibly plastic trees – look in the floral department of craft stores (I took mine from our Christmas Village).
How to Make a Snow Globe
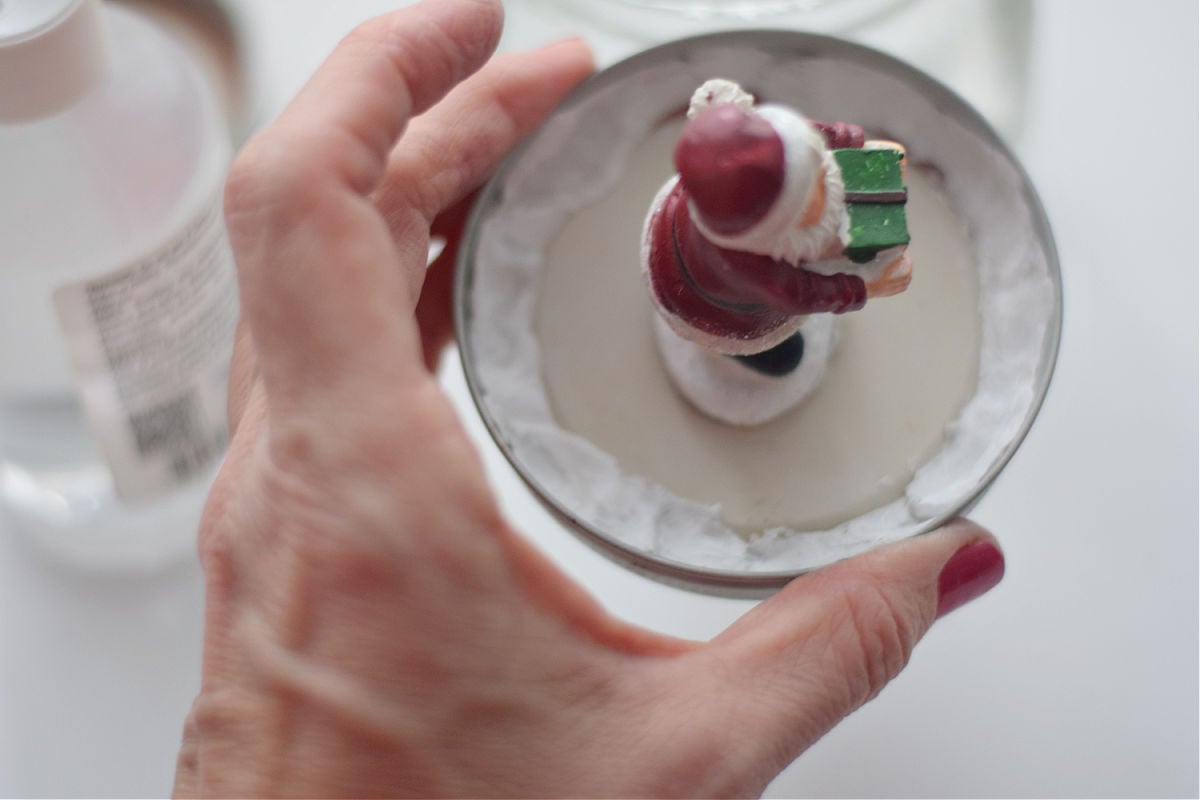
Glue your figurines and accessories to the bottom of your jar. Make sure your glue has sufficient time to dry before going on to the next step. If you use the water weld putty, you can move on immediately.
Once your figures are secure. You can move to the next step.
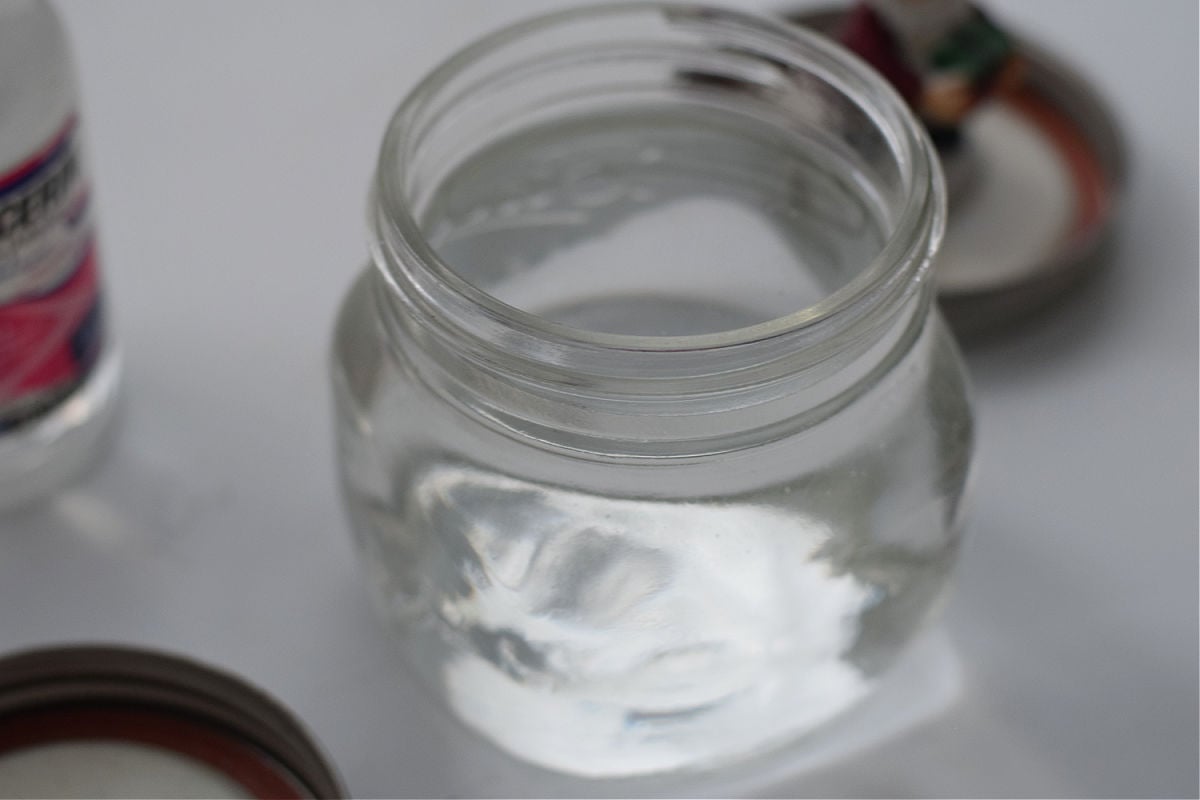
Fill the jar almost to the top with water
Shake in your glitter – as much as you want
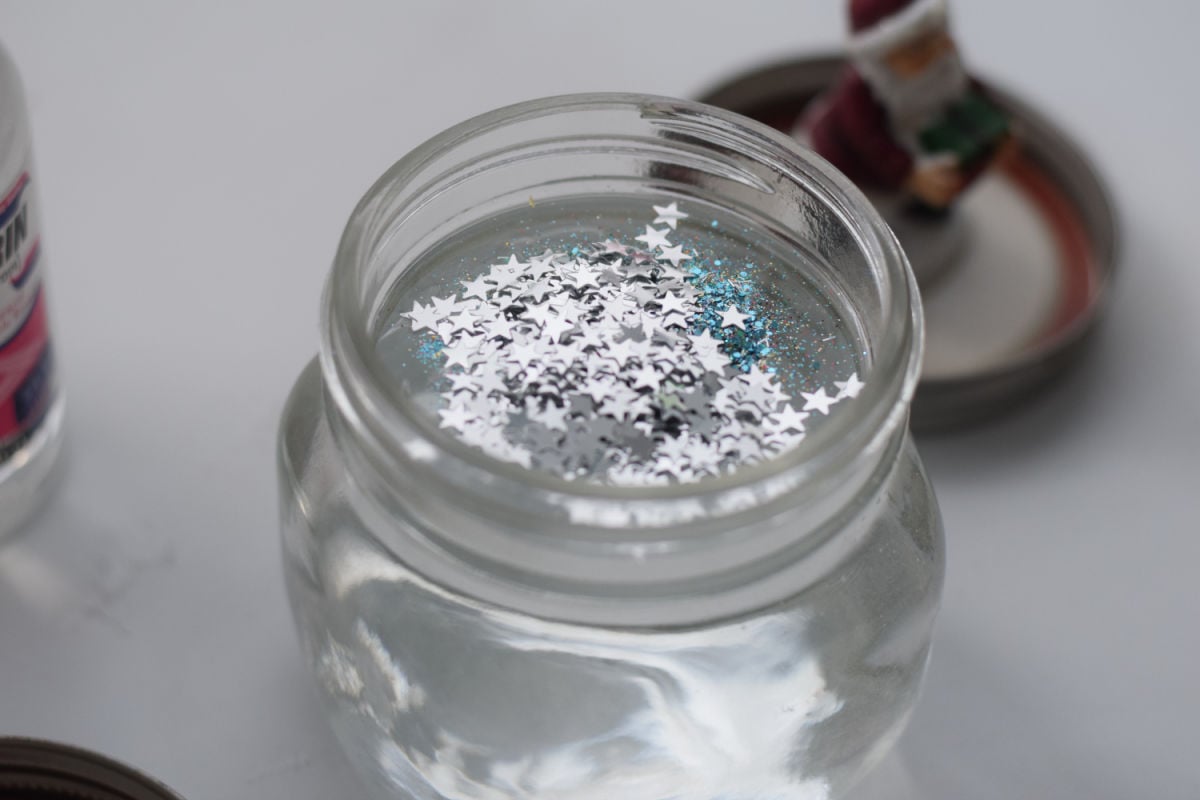
Add glycerin – this will thicken the water so the glitter moves slower through it. Add more for a slow falling snow
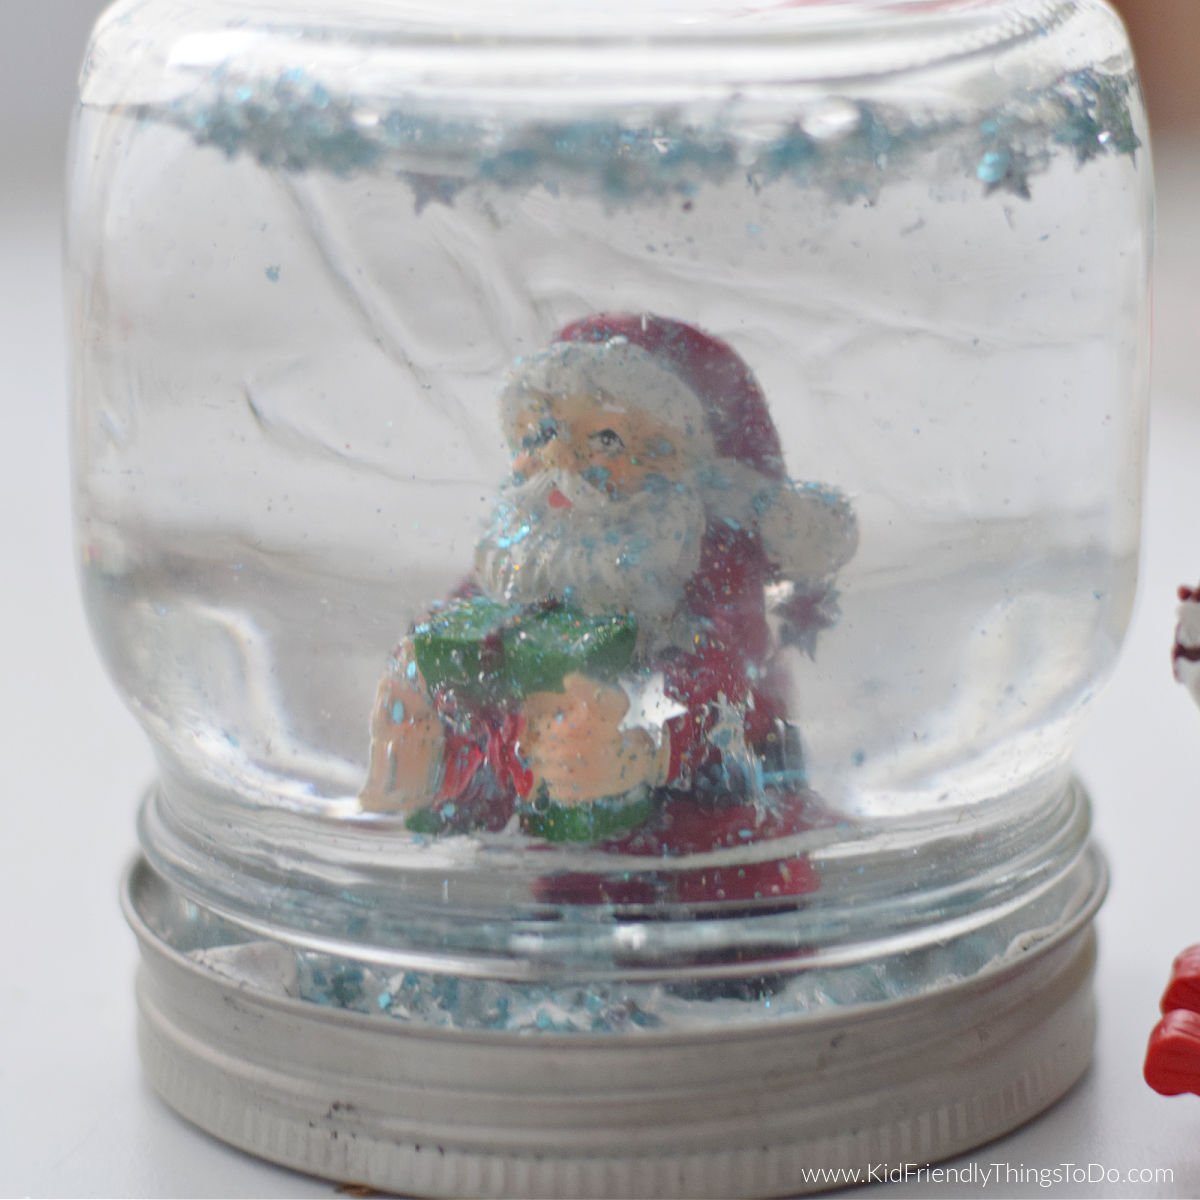
Seal your lid tightly – It might be a good idea to use some glue on the seal to keep little hands from opening up the snow globe, and making a glittery mess on the floor
Shake, and enjoy. You can embellish your globe with a beautiful ribbon around the lid if you like
Expert Tips
Use figurines and trees from Christmas Village Sets
Glycerin thickens the water, making the glitter fall more slowly. The more glycerin you use, the slower the glitter flakes will fall
I have not tried this, but I have heard that adding a few drops of dishwashing soap to your water will prevent the glitter from clumping
FAQs
Distilled water, and glycerin
It thickens the water, making the glitter fall slowly. The more glycerin, the slower the glitter snow will fall
More Winter Crafts You’ll Enjoy
Let’s Hang out
If you enjoyed this post on How to Make Snowglobes then I know you’ll love the other fun ideas I have in store for you and your kids. Plus easy family recipes to enjoy.
Watch My Video on Making a Snow Globe
Printable Instruction Card for Snow Globe Craft
Snow Globe Craft
Materials
- 1 mason jar or plastic diy snow globe with lid
- distilled water enough to fill your jar or globe
- 1 glitter extra fine clumps together like snow. glitter flakes are fun too
- figurines plastic or resin are great choices
- waterproof glue I like water weld putty
Instructions
- Glue your figurines and accessories to the bottom of your jar. Make sure your glue has had a sufficient amount of time to dry before going on to the next step.
- Shake in your glitter – as much as you want Once your figures are secure with glue. You can move to the next step.
- If you used water weld putty, you do not have to wait
- Now fill your jar with water, and add your glycerin.
- Mix the glycerin and water together.
- Consider adding more glue to the lid. Seal your lid tightly
~Melissa
KidFriendlyThingsToDo.Com