DIY – An Uncle Sam Hat Made From A Solo Cup Craft
This post may contain affiliate links – please read my disclosure statement.
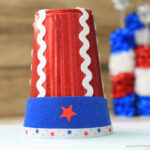
I first shared this Uncle Sam’s hat craft more than a decade ago, and I recently made it again with updated materials and new process photos. It still amazes me how an ordinary clear plastic cup can turn into such a festive little patriotic hat.
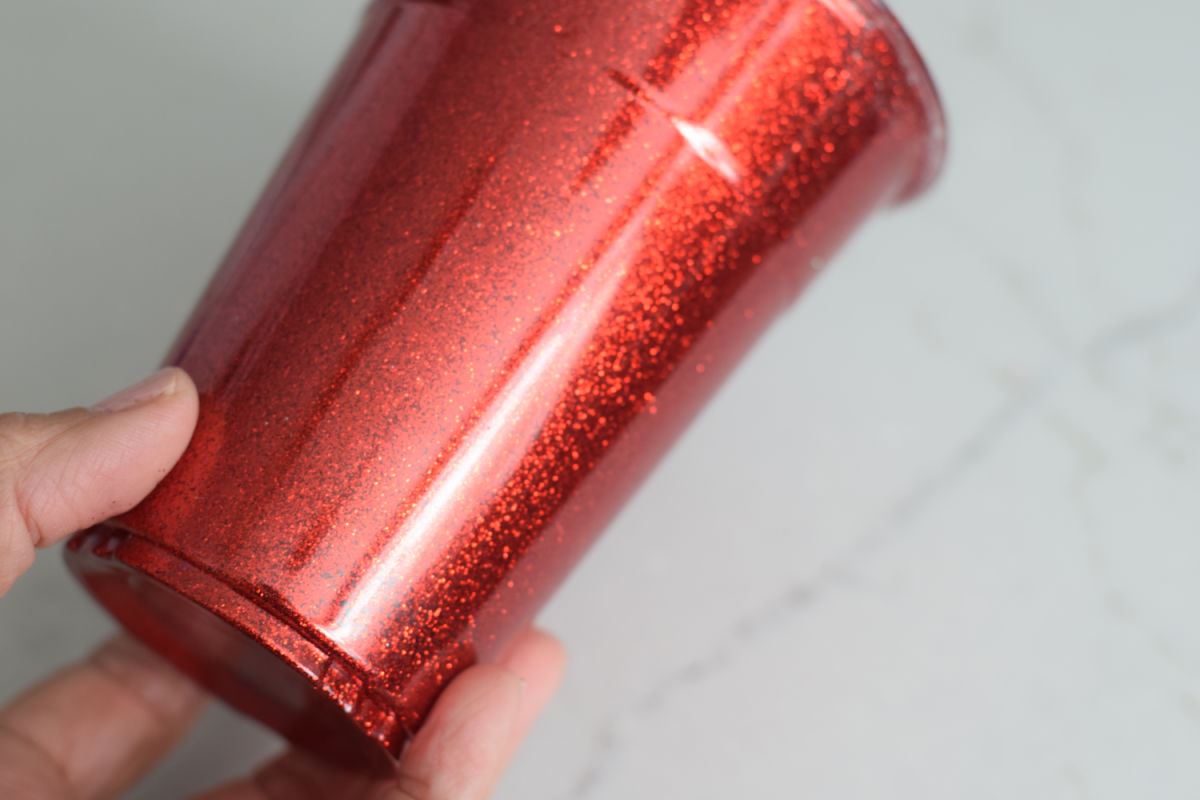
One detail I especially love is adding superfine red glitter to the inside of the cup. The clear plastic keeps the outside smooth while letting all that sparkle show through, and I’ve found that superfine glitter creates more even coverage than chunkier glitter.
This easy DIY Uncle Sam hat takes less than 30 minutes of active crafting time, although the glitter adhesive may need additional drying time. It’s a fun 4th of July craft for parties, patriotic decorations, or a Flag Day classroom activity.
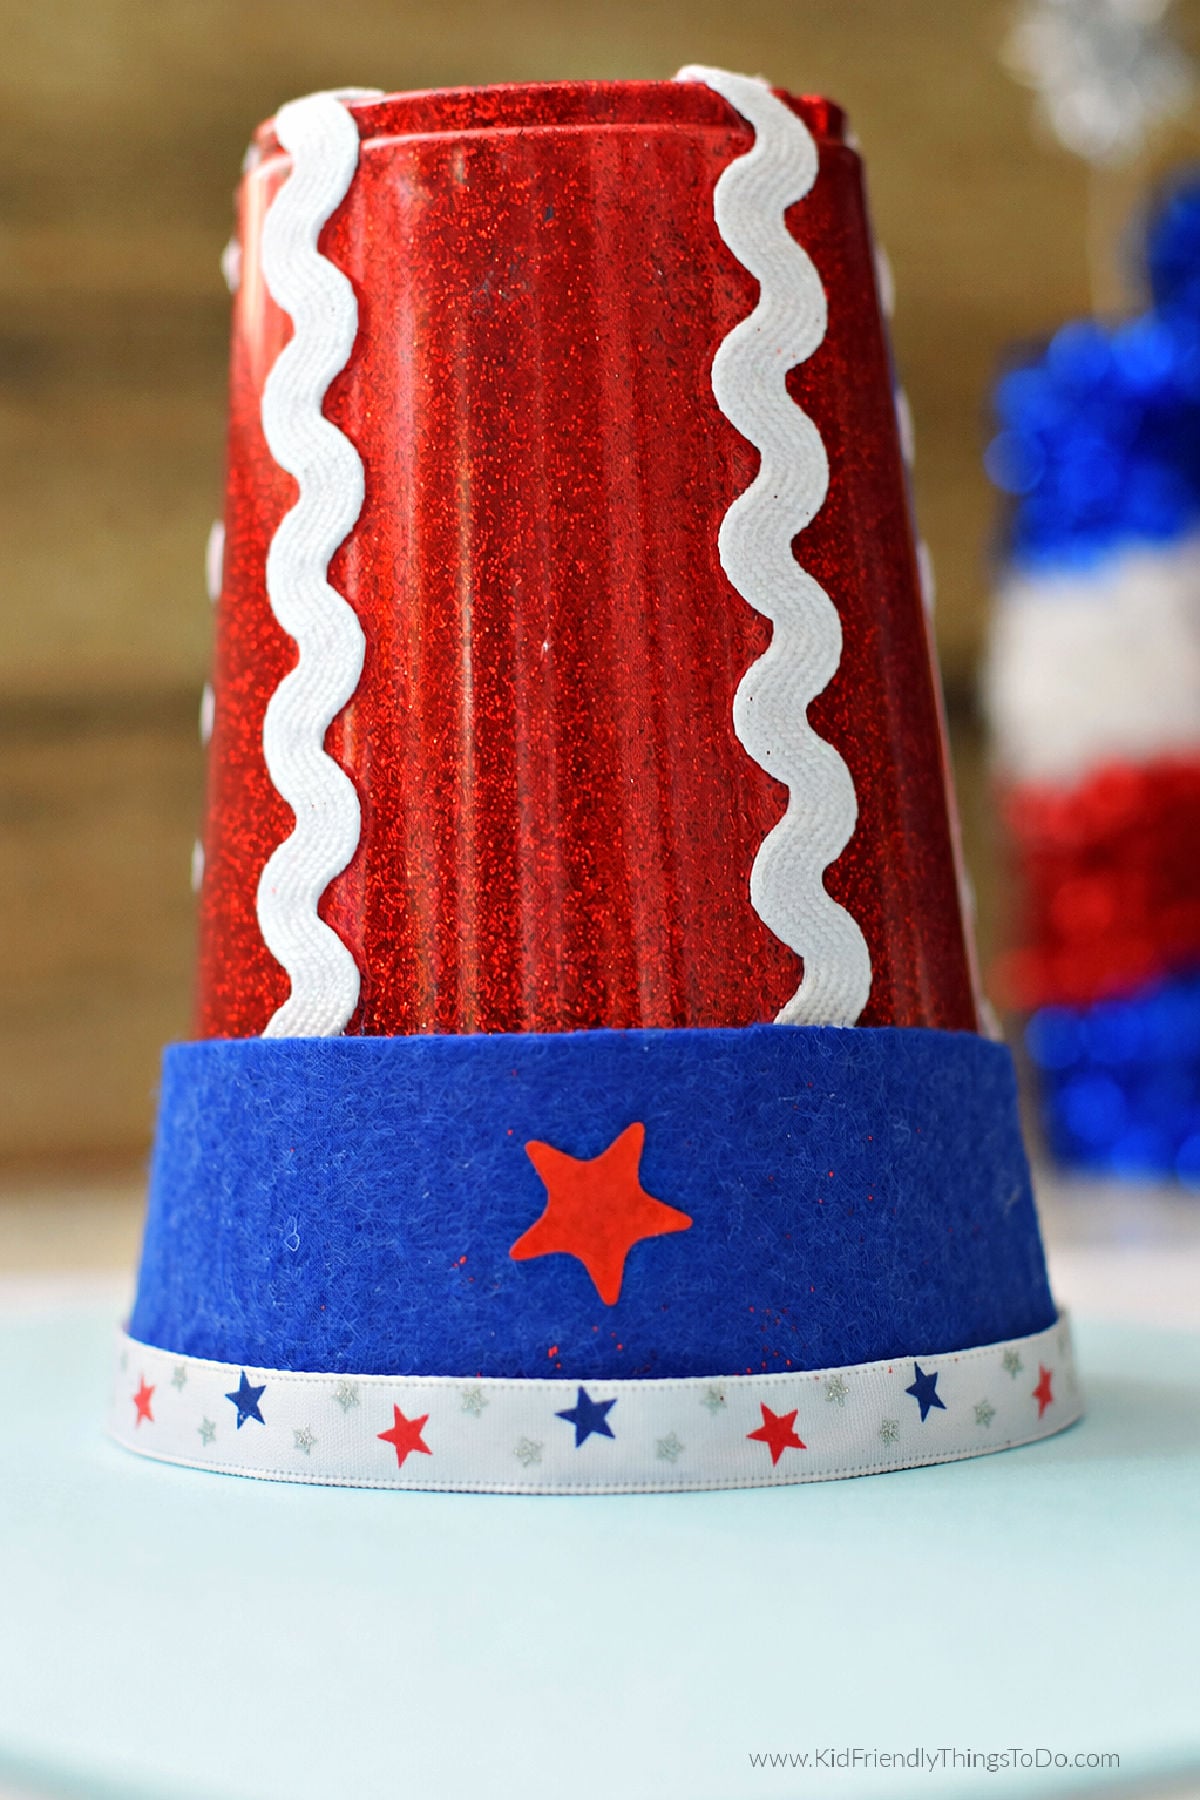
Why You’ll Love This Uncle Sam Hat Craft
- It transforms an inexpensive clear plastic cup into an adorable patriotic decoration.
- Adding the glitter inside the cup creates plenty of sparkle while keeping the outside smooth.
- It takes less than 30 minutes of active crafting time.
- Decorative ribbon provides an easy—and pretty—way to conceal any gaps around the curved felt band.
- It’s perfect for the 4th of July, Flag Day, patriotic parties, or classroom decorations.
Supplies for This Uncle Sam Hat Craft
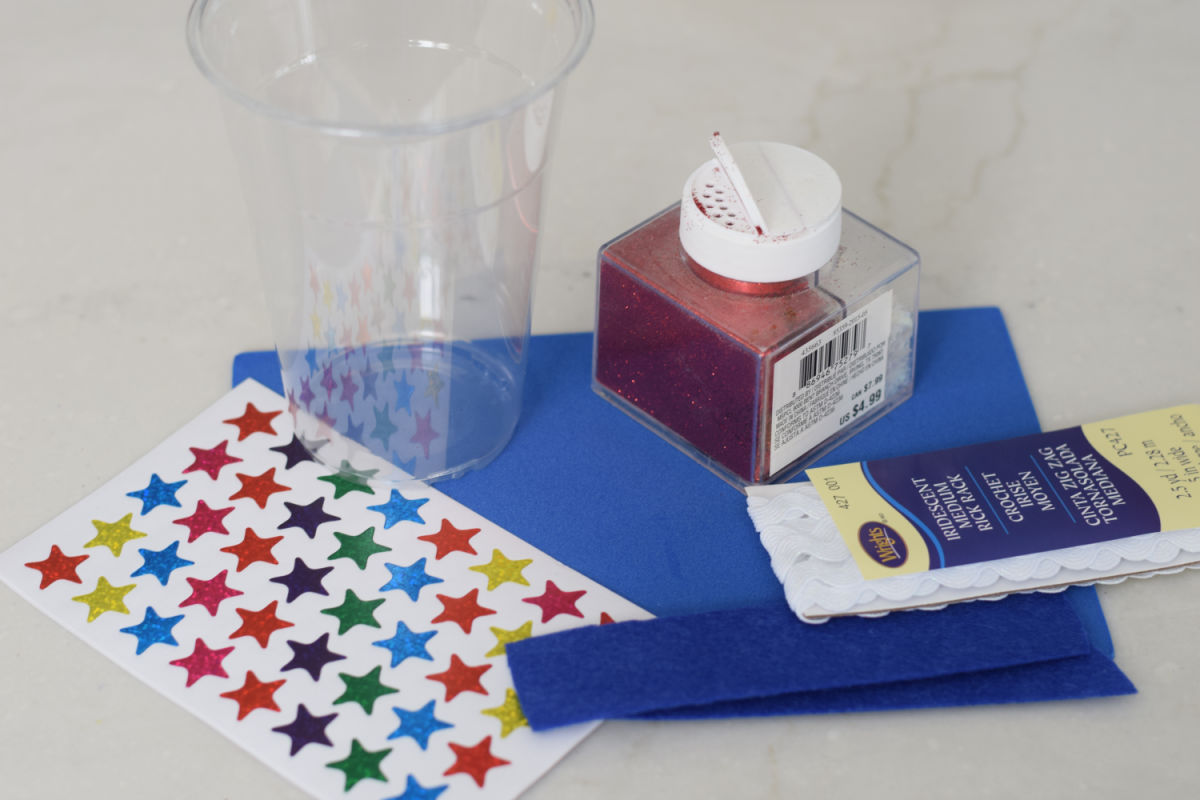
- Clear plastic Solo cup, approximately 5 inches tall
- Superfine red glitter
- Decoupage glue, such as Mod Podge
- Blue craft foam
- Royal-blue felt – I used stiff felt, soft felt might even be better
- White rickrack
- Patriotic decorative ribbon
- Red foil or glitter star sticker
- Fast-drying tacky craft glue—I prefer Beacon 3-in-1
- Scissors
- Pencil
Fast-drying alternative: An adult can use spray adhesive instead of decoupage glue to coat the inside of the cup. Spray adhesive is sticky and produces strong fumes, so use it outdoors or in a very well-ventilated area.
How to Make an Uncle Sam Hat Craft
Step 1: Make the Blue Foam Base
Place the cup upside down on the blue craft foam. Trace around the rim with a pencil and cut out the circle.
Step 2: Coat the Cup with Glitter
Apply a thin, even layer of decoupage glue to the inside of the clear plastic cup.
Pour superfine red glitter into the cup. Slowly rotate and tilt the cup until the glitter covers the entire inside surface.
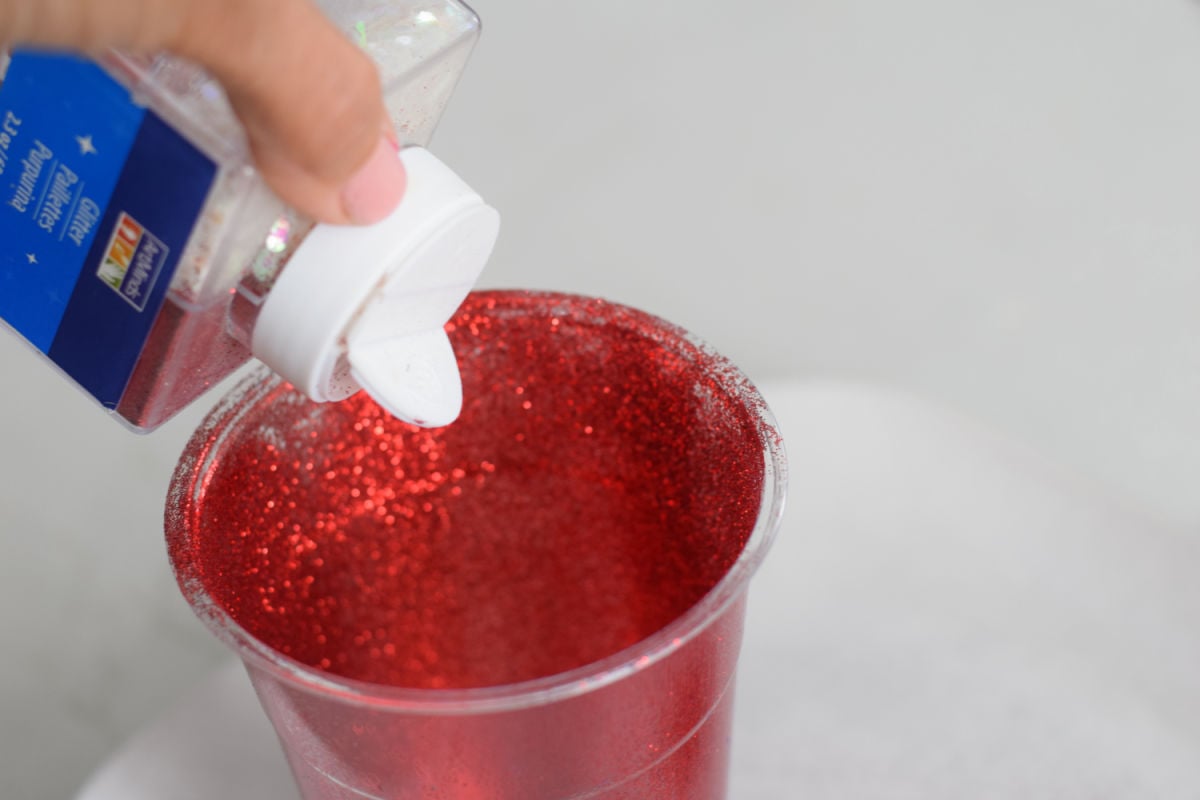
Gently tap out the excess glitter onto a piece of paper so you can pour it back into the container. Set the cup aside for a few minutes so the adhesive can begin setting.
Step 3: Gluing the Base
Apply Beacon 3-in-1 craft glue around the rim of the glittered cup. Center the cup, open side down, over the blue foam circle and press it into place.
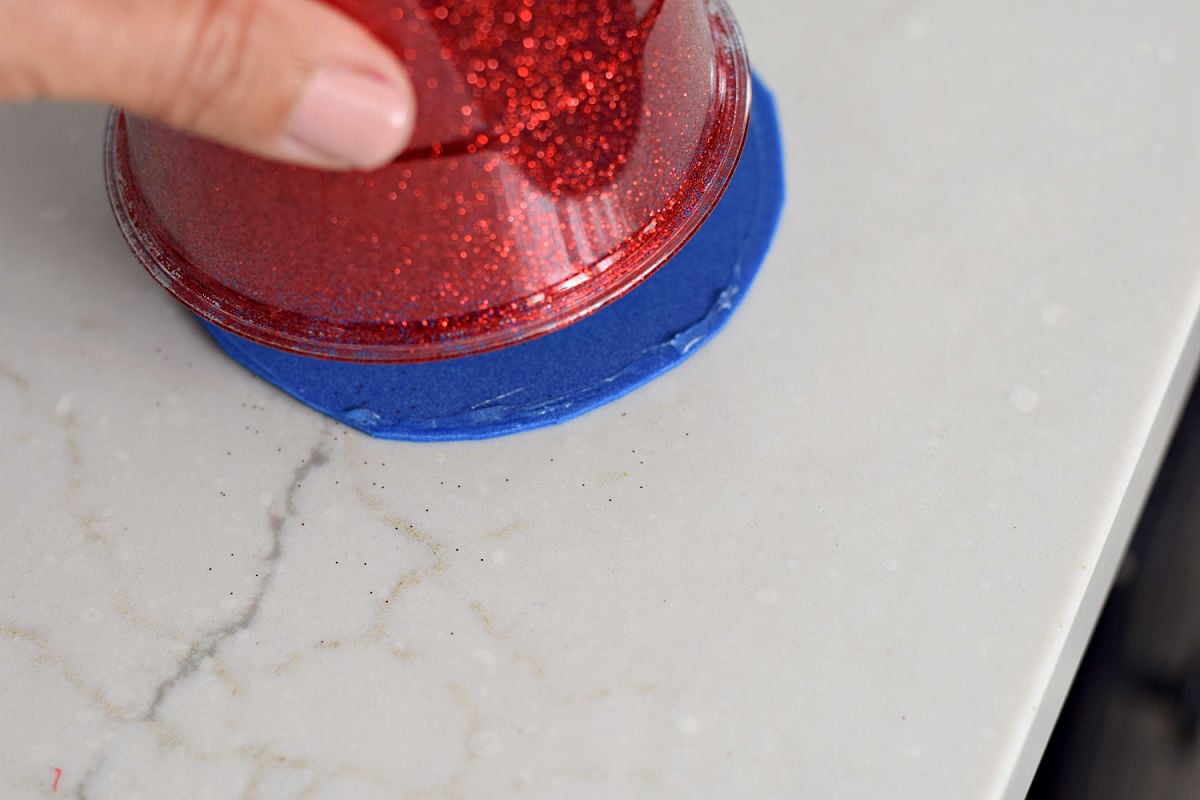
Allow the glue to set for a few minutes before continuing.
Step 4: Add the White Rickrack
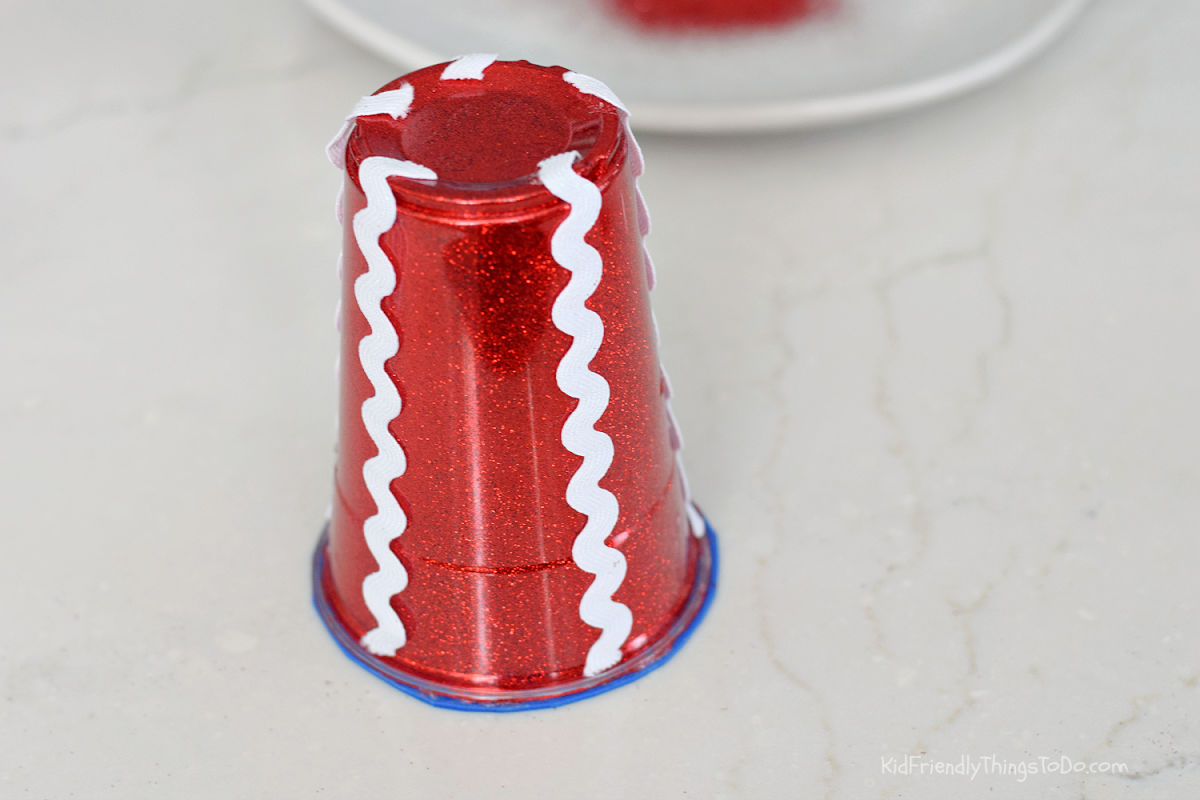
Cut the white rickrack into approximately eight pieces long enough to run vertically from the top to the bottom of the cup.
Glue the pieces around the outside of the cup, spacing them as evenly as possible. Follow the natural angle of the cup so each piece runs from the narrow end to the wider end.
Step 5: Add the Blue Felt Band
Cut a strip of stiff blue felt wide enough to form the band around the lower portion of the hat.
Test the placement before adding glue. Because the plastic cup is tapered, a straight strip of stiff felt will not naturally wrap around it in a perfectly straight line.
Angle the felt slightly as you wrap it around the cup, keeping it as smooth and snug as possible. Glue it in place with fast-drying tacky craft glue.
The back seam does not have to be perfect. Position the neatest portion of the felt band toward the front of the hat.
Step 6: Cover the Gap with Decorative Ribbon
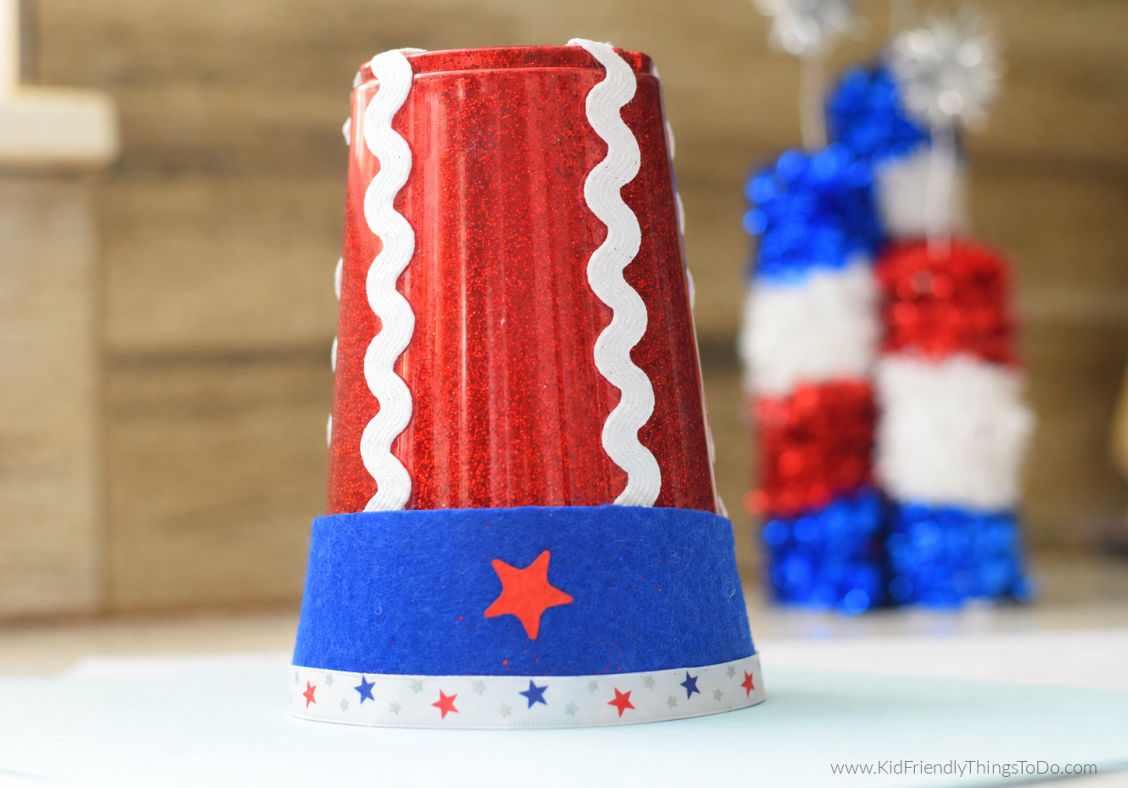
Wrap the patriotic ribbon around the very bottom of the felt band. Pull it gently so it follows the curve of the hat and lies flush against the felt.
Glue the ribbon neatly in place. In addition to adding a festive detail, the ribbon conceals any small gap between the stiff felt band and the blue foam brim.
Step 7: Add the Star
Place a red foil or glitter star sticker in the center of the blue felt band.
Press it firmly into place. If the sticker does not adhere well to the felt, secure it with a small amount of craft glue.
The Perfect 4th of July Craft for Kids
This 4th of July craft is a fun project for children to help make at home, at camp, or during a patriotic classroom celebration. Younger children can sprinkle and rotate the glitter, help position the rickrack, and choose the star decoration.
An adult should handle spray adhesive, cut the materials, and complete any steps involving strong craft adhesive. Protect your work surface before starting because superfine glitter travels easily.
The completed Uncle Sam hat can be displayed on a party table, used as a patriotic centerpiece, or placed with other red, white, and blue decorations for the 4th of July or Flag Day.
Melissa’s Tips
- Add the glitter inside the cup. This allows the sparkle to show through while keeping the outside of the cup smooth.
- Use superfine glitter. In my experience, it coats the adhesive more evenly and sticks better than chunky glitter.
- Give the glitter time to set. Let the coated cup rest for several minutes before attaching it to the foam base. Decoupage glue will require more drying time than spray adhesive.
- Use a fast-drying craft glue. I prefer Beacon 3-in-1 as an alternative to hot glue. It gives me time to adjust the pieces but still sets fairly quickly.
- Expect to angle the felt. A stiff, straight strip of felt will not fit perfectly around a tapered cup. Angling it slightly helps create a closer fit.
- Use ribbon to disguise the gap. The decorative ribbon is an easy way to conceal the uneven lower edge while adding another patriotic detail.
- Try flexible felt or fabric. A softer material may wrap around the curved cup more easily than stiff felt.
Frequently Asked Questions
What Is the Best Adhesive for the Red Glitter?
Decoupage glue is the best all-purpose option for this craft. Brush a thin layer around the inside of the cup before adding the glitter.
Spray adhesive also works and dries much faster, but it is sticky and produces strong fumes. It should only be applied by an adult outdoors or in a very well-ventilated area.
Can I Use a Red Solo Cup?
You can use a red cup, but you will not get quite the same sparkly effect. A clear cup allows the red glitter coating on the inside to remain visible from the outside.
How Long Does This Uncle Sam Hat Take to Make?
The hat takes approximately 30 minutes of active crafting time. Additional drying time may be needed, particularly if you use decoupage glue inside the cup.
Can This Uncle Sam Hat Be Worn?
This updated version is designed primarily as a patriotic decoration or party prop. To make it wearable, an adult can carefully add one hole to each side of the cup before decorating it and tie a length of ribbon through each hole.
Can I Use Hot Glue?
Yes, an adult can use a low-temperature glue gun. I prefer Beacon 3-in-1 craft glue because it sets quickly without the risk of hot glue melting the plastic cup or burning fingers.
More Patriotic Crafts You’ll Love
If you enjoyed making this Uncle Sam hat, try these other patriotic projects:
- Paper Plate Uncle Sam Craft – An easy red, white, and blue craft made with a paper plate.
- Fireworks Marble Painting Craft for Kids
- Uncle Sam Jello Hat – A festive red, white, and blue treat for summer parties.
- Handprint American Flag Craft for Kids
- Patriotic Windsock Craft for Kids (Easy Printable 4th of July Craft)
- 4th of July Handprint Craft
I’d Love to Hear From You

If you make this craft, I’d love to hear what you think! Please leave a star rating and comment below to let me know how it turned out. I love hearing from you, and your ratings help other readers find and enjoy the craft, too!
Red Solo Cup Hat Craft
Equipment
- PencilScissorsPaintbrush or foam brushPaper or tray to catch excess glitter
Materials
- 1 clear plastic Solo cup, approximately 5 inches tall
- Blue craft foam
- Decoupage glue, such as Mod Podge
- Superfine red glitter
- White rickrack, cut into 8 pieces approximately 5 inches long
- Royal-blue felt stiff or soft
- Patriotic decorative ribbon
- 1 red foil or glitter star sticker
- Fast-drying tacky craft glue, such as Beacon 3-in-1
Instructions
- Trace the cup. Before adding the glitter, place the open end of the clear cup on the blue craft foam. Trace around the rim and cut out the circle to make the hat’s brim.
- Add the adhesive. Use a paintbrush or foam brush to apply a thin, even layer of decoupage glue around the inside of the cup
- .Coat the cup with glitter. Pour superfine red glitter into the cup. Slowly rotate and tilt the cup until the entire inside is coated. Tap the excess glitter onto a piece of paper and set the cup aside to begin drying.
- Attach the brim. Apply fast-drying craft glue around the open rim of the cup. Center the cup, open side down, on the blue foam circle and press it into place.
- Add the rickrack. Glue approximately eight pieces of white rickrack vertically around the outside of the cup, spacing them as evenly as possible.
- Make the felt band. Cut a strip of blue felt to fit around the lower portion of the cup. Angle the felt slightly as you wrap it around the tapered cup, and glue it securely in place.
- Finish the hat. Glue patriotic ribbon around the bottom of the felt band to conceal any gap between the felt and foam brim. Attach a red star sticker to the center of the blue band.