Easy Chocolate Dipped Pretzels with Sprinkles and Stripes
This post may contain affiliate links – please read my disclosure statement.
I’ve spent countless hours over the last few decades dipping pretzels into chocolate. For these chocolate covered pretzels, I wanted to show you the little things I’ve learned along the way—and compare baking chocolate bars with candy melts.
After all that chocolate melting, one of the biggest mistakes I’ve learned to avoid is rushing freshly dipped pretzels into the fridge. I’ve done it myself when I was impatient, and the condensation from those temperature changes left sugar bloom on my bittersweet batch. That’s why I let mine set at room temperature, or in a cool, dry garage when the temperature stays steady.
I had my son and daughter taste the dark chocolate versions without telling them which used baking bars and which used dark chocolate-flavored candy melts. They loved both! The bars gave me more decorating time, while the candy melts set quickly—so you can choose the option that works best for you.
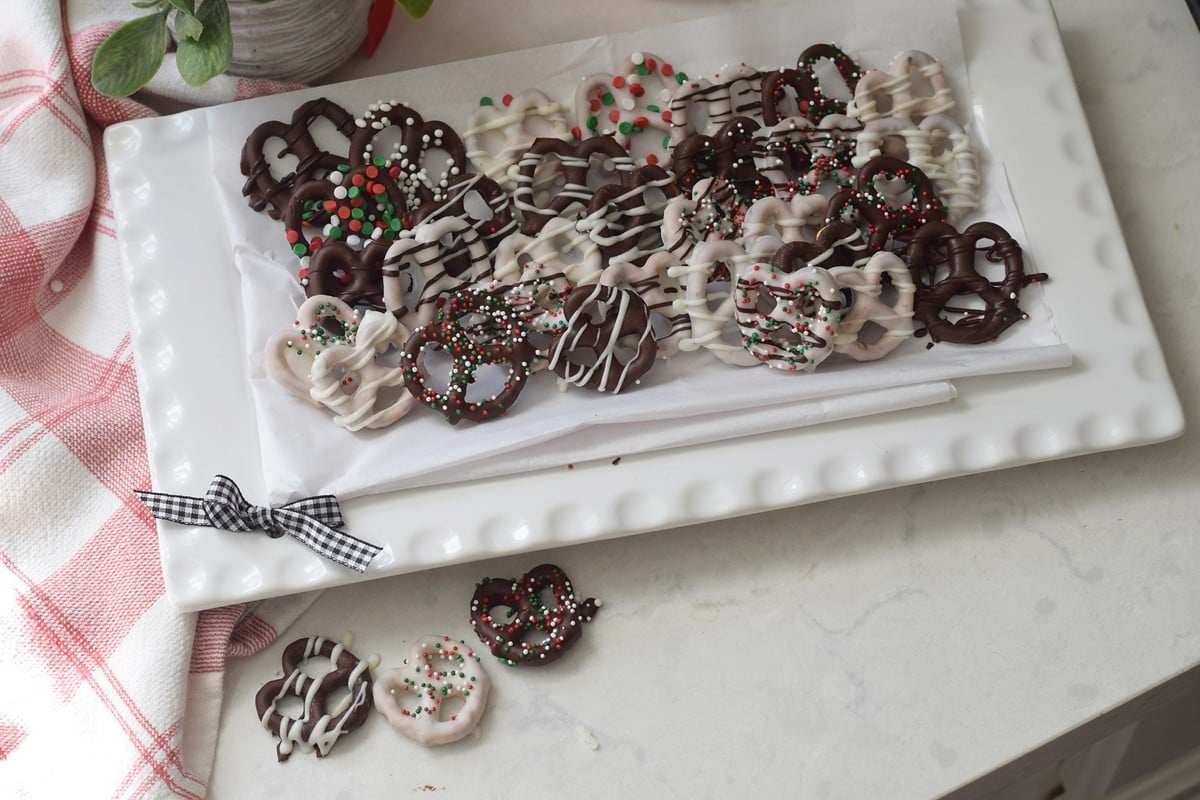
Why You’ll Love These Chocolate Covered Pretzels
- A tested choice of coatings. Pick baking chocolate for its flavor or candy melts for a quicker set.
- Simple tools. A fork and toothpick help you coat each twist without a thick puddle underneath.
- Easy to dress up. Sprinkles and contrasting stripes make this chocolate covered pretzel recipe work for holidays, parties, and gifts.
- A fun decorating job for kids. Let an adult handle the hot bowls, then invite kids to help with sprinkles once the coating is comfortable to work near.
🍫 Best Chocolate for Chocolate Covered Pretzels: Bars vs. Candy Melts
I compared Ghirardelli bittersweet baking bars with coconut oil, white candy melts (melting wafers), and dark chocolate-flavored candy melts. Here’s how they worked for me.
| 🍫 Ghirardelli Bittersweet Bars + Coconut Oil | 🤍 White Candy Melts | 🟤 Dark Chocolate-Flavored Candy Melts |
|---|---|---|
| Flavor. Rich, dark chocolate from the baking bars. | Flavor. Sweet and mild, with a white chocolate-style flavor. | Flavor. Chocolatey; my son and daughter enjoyed these and the bar version in the blind taste test. |
| Set time. At least 30 minutes at room temperature, but still oily to touch and melty on my fingers; an overnight rest helped them firm up. | Set time. About 2–5 minutes in my kitchen, depending on the temperature. | Set time. Set within a few minutes without going into the fridge. |
| Decorating window. Plenty of time to dip several before adding sprinkles. | Decorating window. Dip and sprinkle one at a time before the coating sets. | Decorating window. Work quickly and decorate each pretzel while the coating is wet. |
| Added oil. I added a little coconut oil for a smoother melt. | Added oil. None needed in my batch. | Added oil. None needed in my batch. |
| In your hand. Softer and more likely to melt on your fingers before the overnight rest. | In your hand. Firm once set. | In your hand. Firm once set. |
| The fridge? I skip it; chilling my batch led to an unattractive bloom finish. | The fridge? No need—these set quickly at room temperature. | The fridge? No need—these set quickly at room temperature. |
| My take. I like the rich flavor when I have time to let the coating firm up. | My take. My everyday go-to for white-coated pretzels and contrasting stripes. | My take. A handy alternative when I want dark chocolate flavor and a quicker set. |
The bar version was not tempered. This is a simple melt-and-dip method, so expect a softer finish than properly tempered chocolate. Candy melts are formulated for coating and do not need tempering.
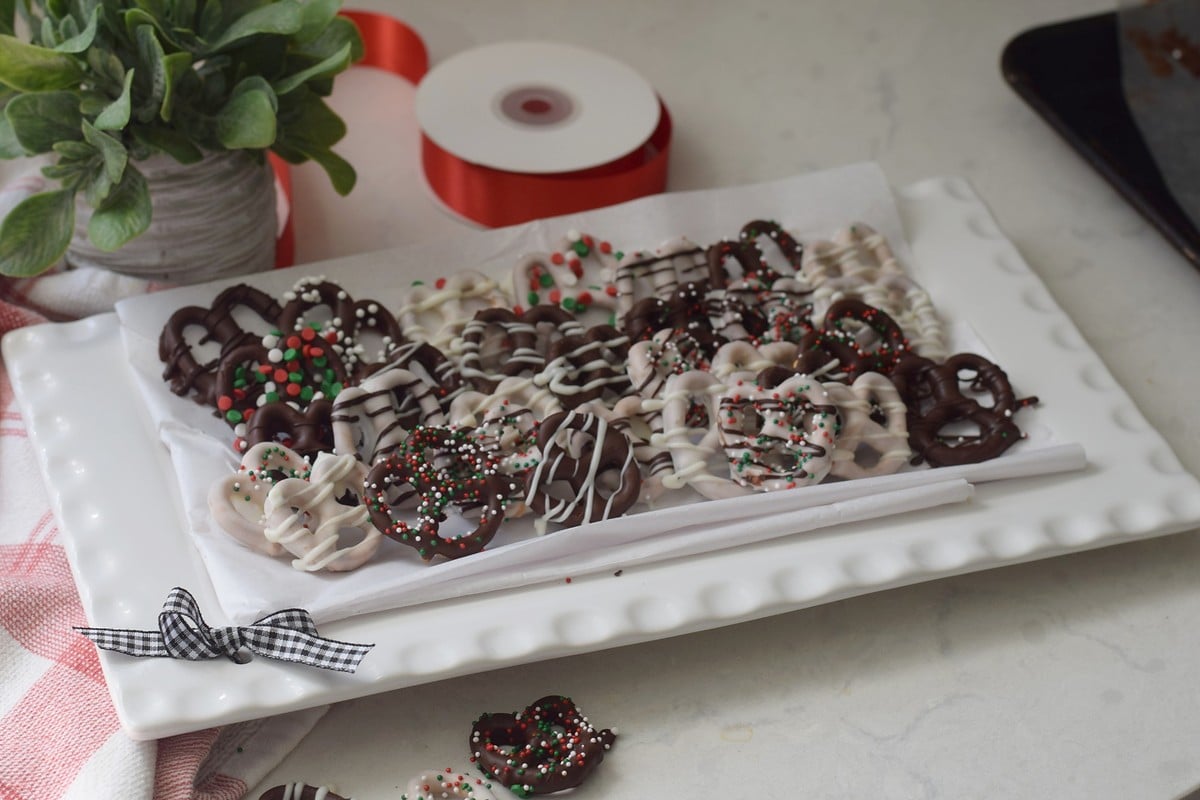
The Best Pretzels for Dipping: Small Twists
I used small pretzel twists. A small, deep bowl keeps the melted chocolate deep enough to cover them without spreading it across a wide bowl. Turn a pretzel over if the chocolate doesn’t reach the top. Larger pretzels will change the yield and how much coating you need.
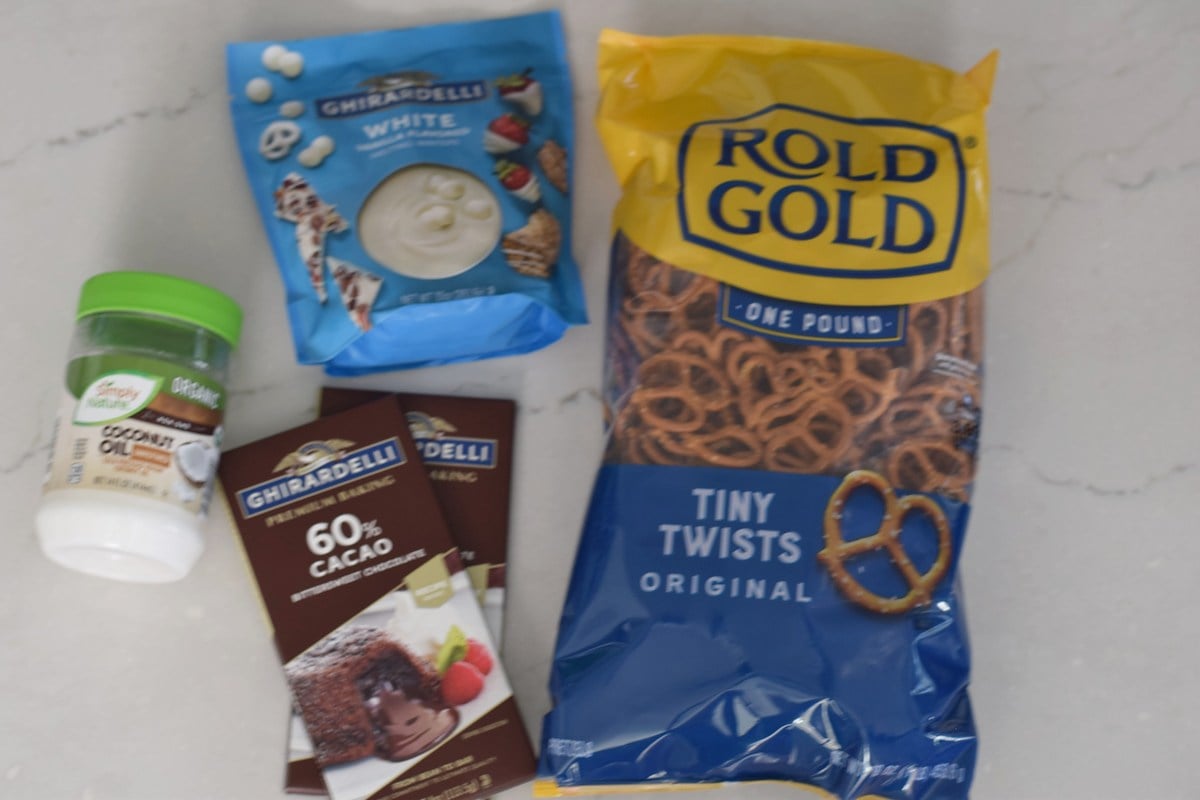
What You Need for Chocolate Covered Pretzels with Sprinkles and Stripes
| Ingredient | Purpose | Choice or substitution note |
|---|---|---|
| Pretzel twists | The crunchy, salty base. | Small twists are what I used for this batch. |
| Dark chocolate baking bars | The dark coating and contrasting drizzle. | Dark chocolate-flavored candy melts are my tested alternative. |
| Coconut oil | Helps smooth out the melted baking bars. | Leave it out when using candy melts. |
| White candy melts | White-coated pretzels and stripes over the dark ones. | Use these for white-coated pretzels and contrasting stripes. |
| Sprinkles | Color and texture while the coating is wet. | Choose colors for your holiday or party. |
Equipment for Dipping and Drizzling Pretzels
- Small microwave-safe glass bowls: I prefer glass because I’ve had the most consistent results with it.
- Fork and toothpick: Lift, drain, scrape, and slide the pretzels onto the paper.
- Lined baking sheets: I tried wax paper, parchment-type paper, and non-stick parchment; all released the set coating well in my test. Wax paper is for this no-bake setting step, not the oven.
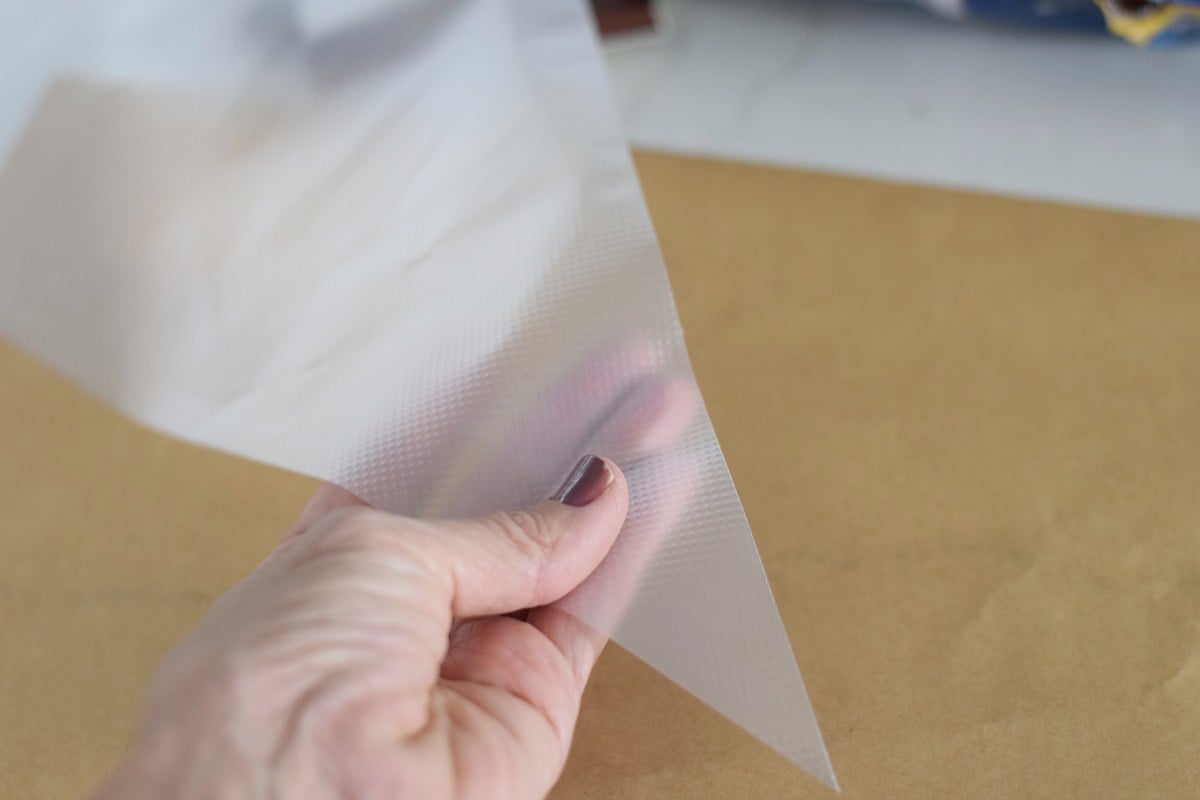
- Spoon and piping bag: Stir the chocolate and pipe the stripes.
How to Melt Chocolate for Dipping Pretzels
Start with a completely dry bowl and spoon. Break the baking bars into pieces and add a little coconut oil. Melt the white candy melts separately without added oil.
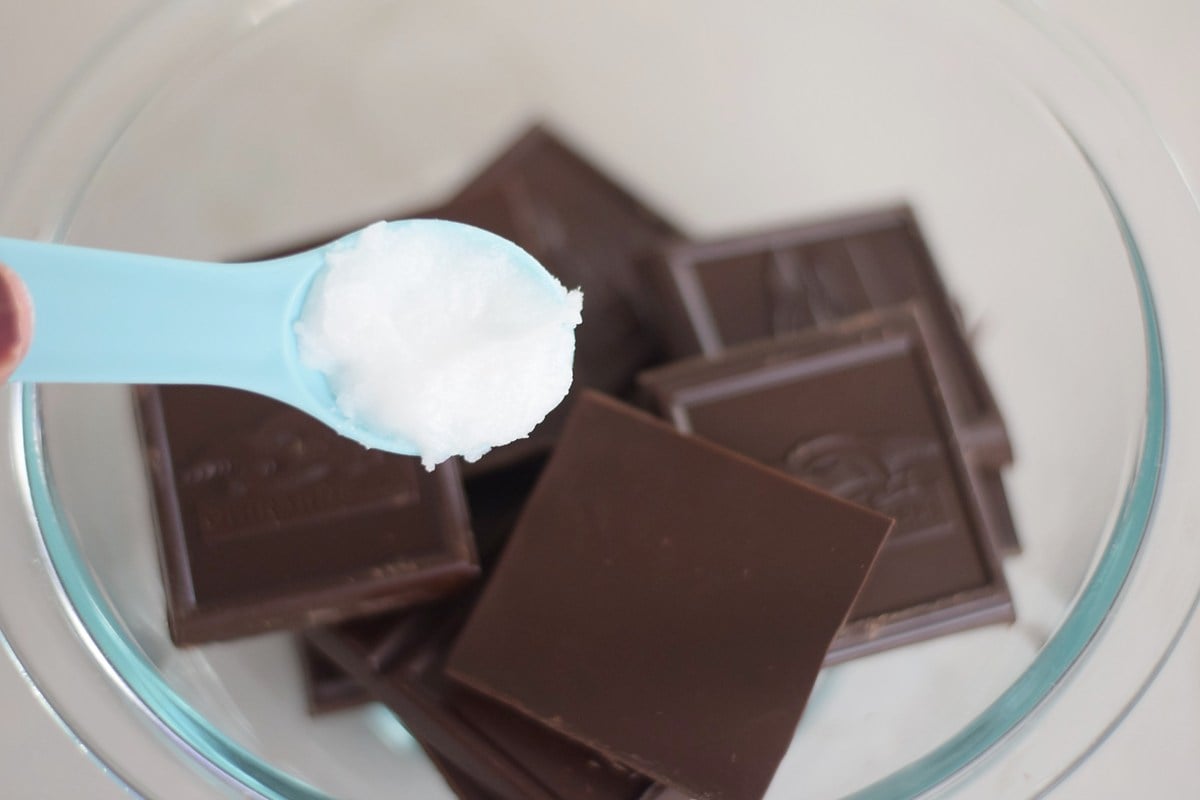
For my baking bars, I started with 1 minute in the microwave, then stirred. When chunks remained, I heated for up to another 30 seconds and stirred until smooth. Microwave strength and batch size vary: use shorter bursts as needed, and follow the package’s power and timing instructions for candy melts—especially a small batch.
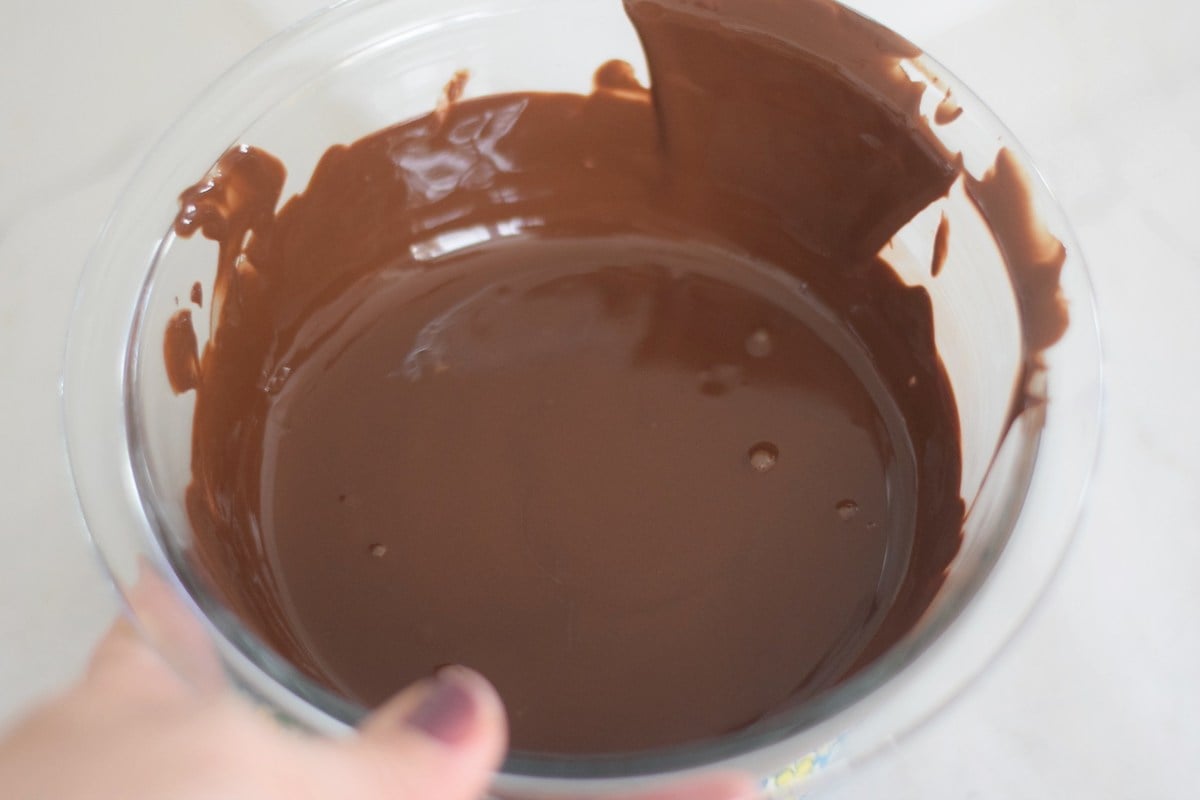
Stop heating once stirring makes it smooth. A few soft pieces may melt from the remaining warmth. Have an adult handle the microwave and hot bowls when children help.
How to Make Chocolate Covered Pretzels Without Filling the Holes
Step 1: Prepare your workspace. Line the trays and put your sprinkles, fork, toothpick, and piping bag within reach before dipping. Melt the coatings separately as described above.
Step 2: Coat a pretzel. Lower a twist into the melted chocolate and turn it if needed to cover it. Lift it out on the fork.
Step 3: Let the excess drain. Gently tap the fork against the bowl’s rim so chocolate drips through the tines. Once most has drained, scrape the underside of the fork along the rim. This helps keep excess coating from pooling underneath and filling the pretzel’s openings.
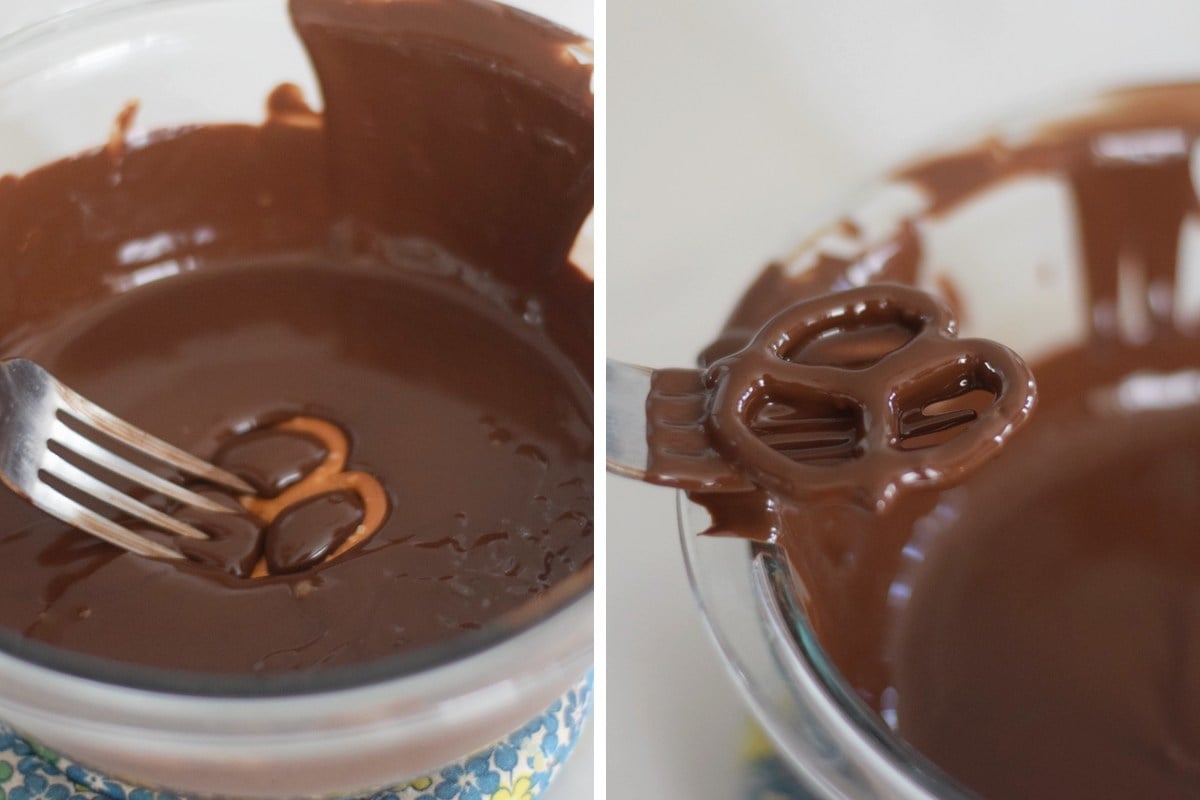
Step 4: Slide onto the paper. Use a toothpick to ease the coated pretzel off the fork and onto the lined tray.
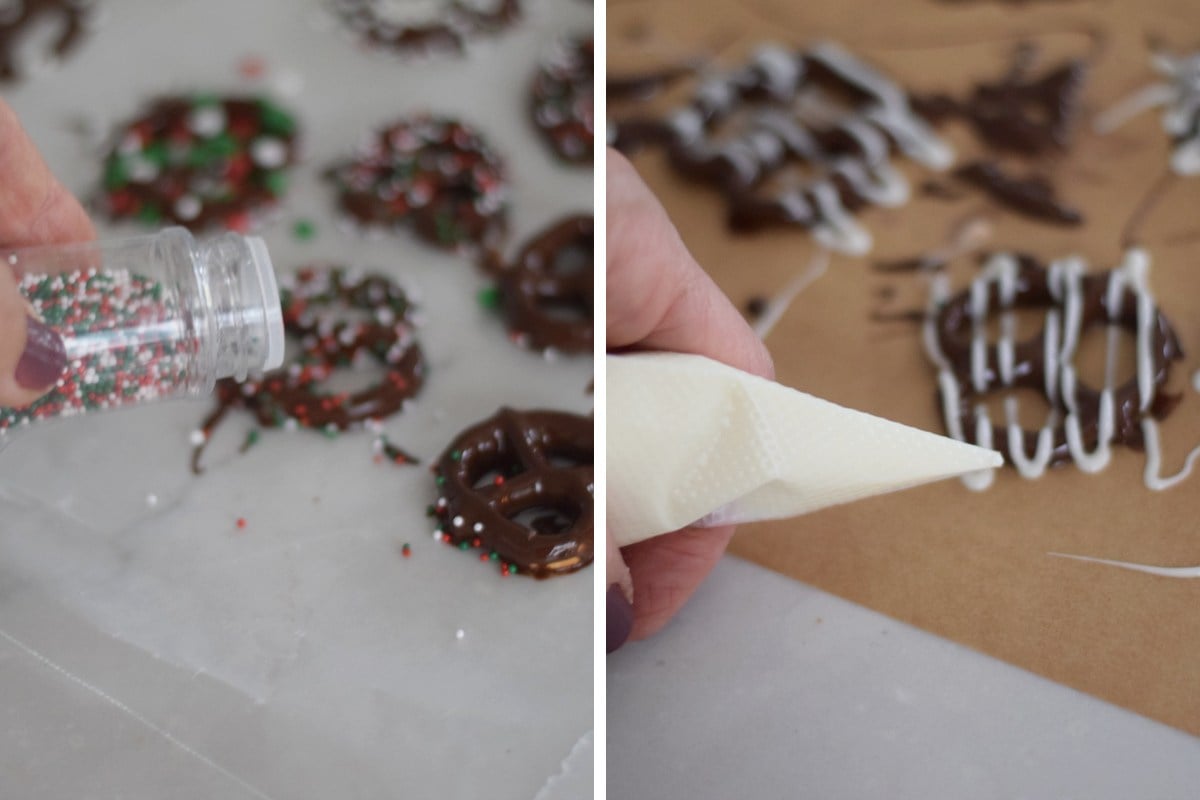
Step 5: Decorate while wet. Sprinkle each candy melt pretzel immediately, then dip the next one. The bar-and-oil coating gave me more time to decorate several at once. Kids can help with sprinkles while an adult manages the warm coating.
Step 6: Pipe the stripes and let set. Spoon melted coating into a piping bag, snip a small opening, and move it back and forth over the pretzels. Use white over dark or dark over white. Leave the pretzels on the paper until the coating is firm enough to release cleanly.
White Chocolate Pretzels Made with White Candy Melts
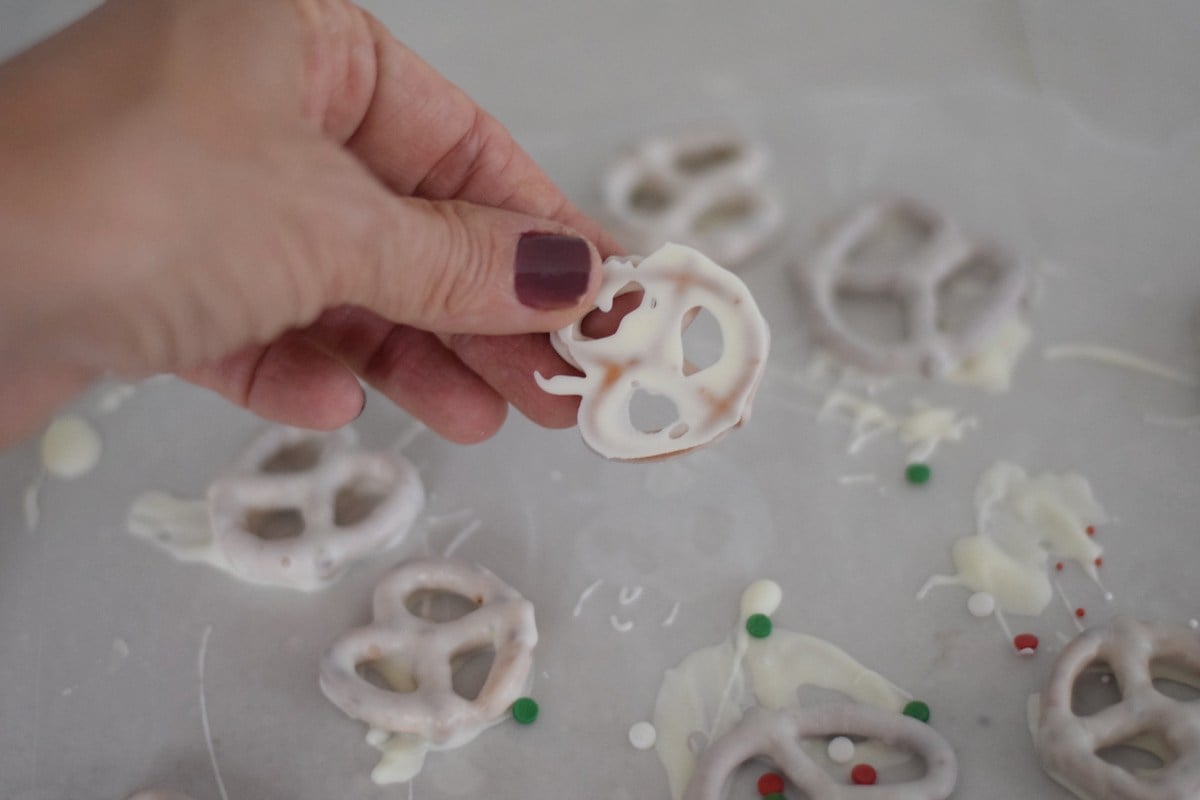
For the white chocolate pretzels pictured here, I used white candy melts. They give that familiar sweet white coating, but candy melts and white almond bark are confectionery coatings, not true white chocolate. My white candy melts melted smoothly without added coconut oil.
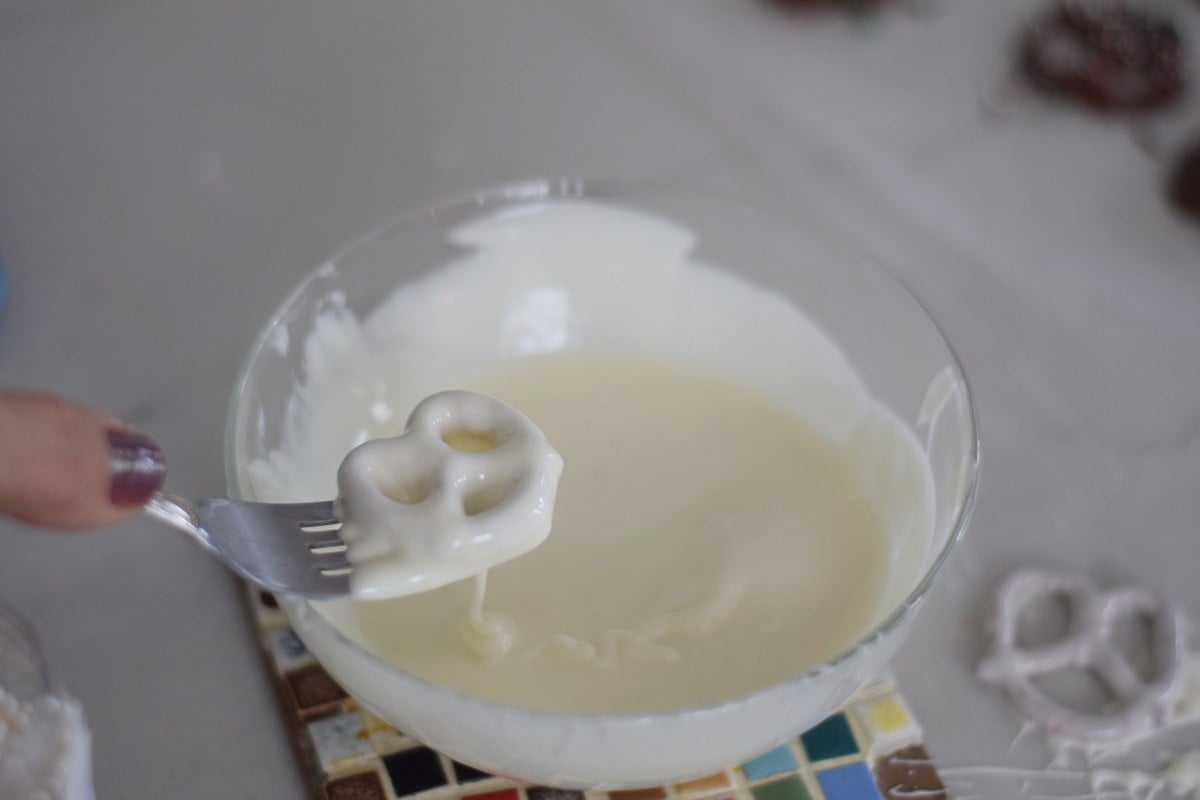
The white coating set quickly in my kitchen. Work one pretzel at a time if you want sprinkles to stick, and let the coating firm up before lifting it from the paper.
Almond Bark Pretzels: Another Coating Option
Almond bark is another coating I’ve used over the years, although it wasn’t part of this batch. It works much like candy melts for dipping and decorating.
🎄 Decorating Chocolate Covered Pretzels with Sprinkles and Stripes
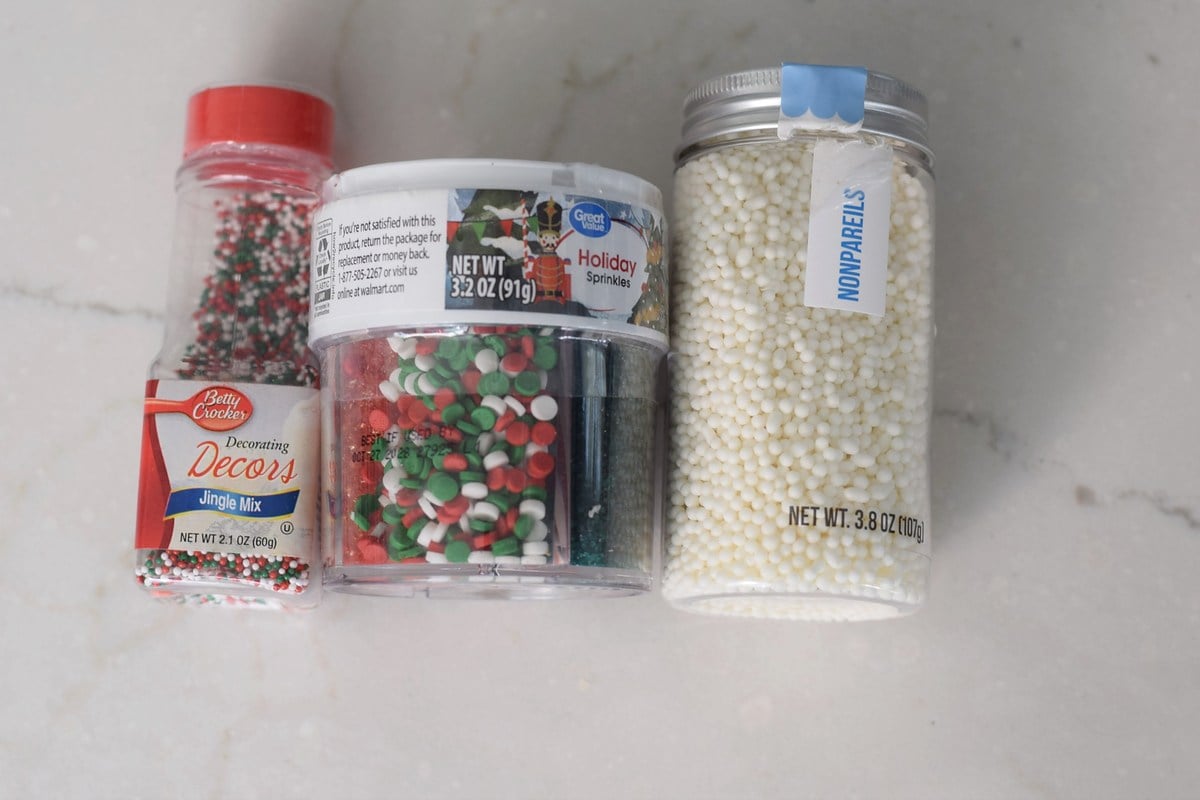
| ✨ Decoration | 💡 What I learned |
|---|---|
| Red, green, and white sprinkles | Add them while the coating is wet so they cling to the pretzel. |
| White nonpareils | The larger white ones looked a little like a snow blizzard on mine; smaller ones would give a more delicate look. |
| Contrasting stripes | A small opening in the piping bag makes the drizzle easier to control. |
| A decorated finish | Sprinkles and stripes can help disguise an uneven-looking coating or bloom; they don’t reverse bloom. |
How to Store Chocolate Covered Pretzels—and How Long Do Chocolate Covered Pretzels Last?
Store chocolate covered pretzels in an airtight container at room temperature for up to one week, after the coating has fully set. I keep mine at cool room temperature or in a cool, dry garage with a steady temperature, away from sunlight and heat. Place paper between layers to protect the decorations. I don’t recommend the fridge for this recipe because the condensation from moving cold chocolate into warmer air can lead to sugar bloom.
| Storage situation | My recommendation |
|---|---|
| Cool room temperature | Store for up to one week in an airtight container, away from heat and sunlight. |
| Cool, dry garage | An alternative when it stays consistently cool and dry; avoid dampness, freezing temperatures, and big temperature swings. Keep the pretzels sealed in a food-safe container. |
| Refrigerator | I skip it. Condensation during the move from cold to warm conditions caused sugar bloom on my batch. |
| Gift bags | Let the coating set completely before packing, and keep the bags cool and dry. |
Why Chocolate Covered Pretzels Can Develop Bloom
I know how tempting it is to put slow-setting chocolate straight into the fridge—I’m impatient, too! That’s what happened with my bittersweet batch. It developed an unattractive bloom finish after chilling, so my recommendation is to let these pretzels set at room temperature rather than rush them.
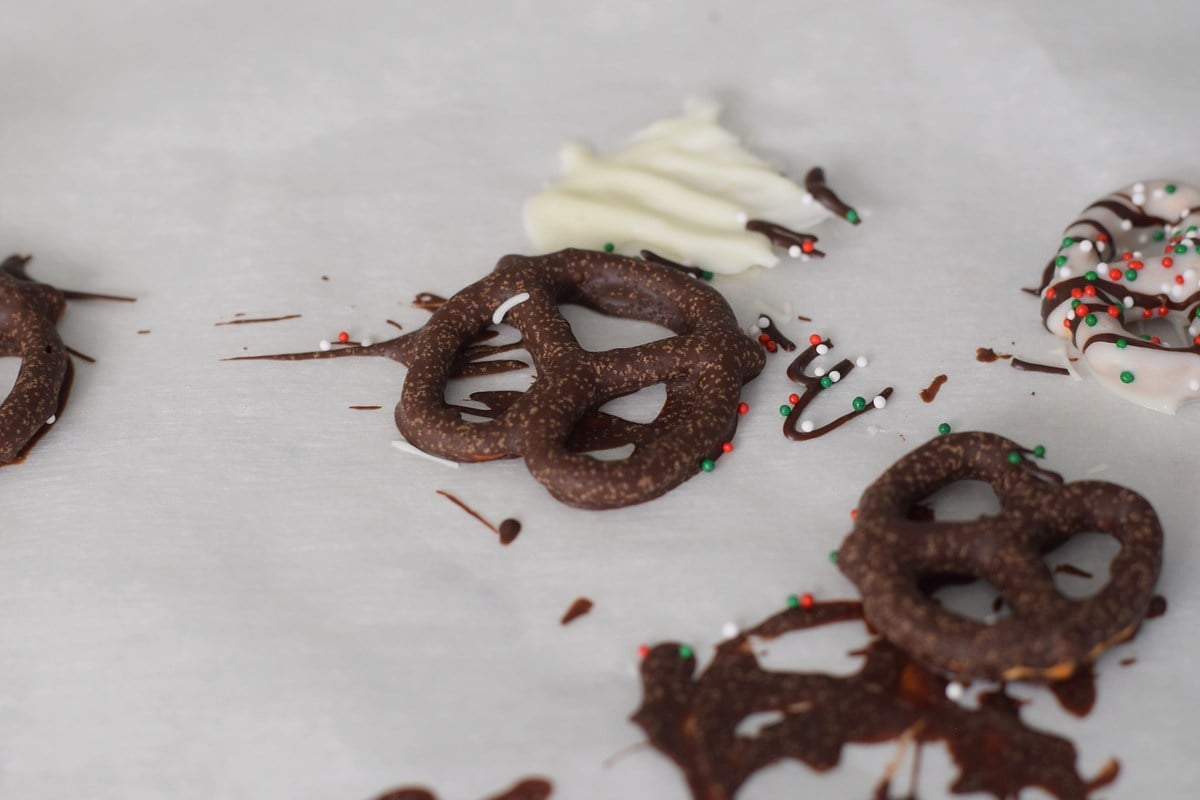
This is what the fridge did to my bittersweet batch. It still tasted great, but you can see why I let mine set at room temperature.
Sugar bloom happens when condensation dissolves sugar on the surface, which recrystallizes into dry, white specks as the moisture evaporates. Fat bloom is different: changes in the chocolate’s fat crystals can create grayish streaks. Callebaut explains the role of moisture in sugar bloom.
Troubleshooting Chocolate Covered Pretzels: Coating and Decorating Fixes
| Problem | Why it happens | What I do |
|---|---|---|
| Filled holes or a chocolate “foot” | Excess coating pools underneath the pretzel. | Tap the fork, let the chocolate drain, and scrape the underside along the bowl’s rim before sliding the pretzel onto the paper. |
| Sprinkles won’t stick | The candy melt coating has already started to set. | Dip and sprinkle one pretzel at a time. |
| Dark coating stays soft | The untempered baking bars with oil set more slowly than candy melts. | Give the coating time; mine needed an overnight rest to firm up further. I choose candy melts when I want a quicker set. |
| Seized chocolate | Water gets into the melted chocolate and makes it thick and clumpy. | My mom always called this “seizing.” I’ve tried thinning it with oil, but it gets thin and oily, so I prefer to discard it and start over for dipping. |
| Sugar bloom: dry, white specks | Condensation dissolves surface sugar, which recrystallizes when dry. This happened after I chilled my batch. | Let these pretzels set at room temperature and avoid condensation. Sprinkles or stripes can help disguise the finish. |
| Fat bloom: gray streaks | Changes in the chocolate’s fat crystals, including from temperature fluctuations or untempered chocolate. | Keep the coating at a steady, cool temperature. This is different from sugar bloom. |
| Chocolate thickens while dipping | It may be cooling; overheating can also thicken it. | If it is simply cooling, warm gently in short bursts, stirring between them. Avoid repeated long microwave bursts. |
Melissa’s Tips for How to Make Chocolate Covered Pretzels
- Keep the bowl small. A deeper pool of chocolate makes dipping small twists easier.
- Have everything ready. Quick-setting melts won’t wait while you search for sprinkles.
- Don’t skip the scrape. Removing excess coating helps keep the pretzel holes open.
- Match your pace to the chocolate. Decorate candy melt pretzels individually; allow much longer for bars with oil to firm up.
- Use a piping bag for neat chocolate stripes. After years of decorating candy, it’s my first choice because I can snip the tip to make the opening as small or large as I need. A zip-top bag works well, too. See my tutorial for using a zip-top bag as a piping bag for melted chocolate. Candy squeeze bottles are my last choice: air pockets can suddenly pop out and interrupt your lines, and chocolate can harden inside the bottle while you work.
- Let the paper do its job. All the liners I tested released the set coating; wait until it is firm before lifting.
Chocolate Covered Pretzels FAQs
Do chocolate covered pretzels need to be refrigerated?
No—I don’t refrigerate these chocolate covered pretzels. I let them set at room temperature, or in a cool, dry garage with a steady temperature. The fridge-to-room-temperature change caused condensation and sugar bloom on my bittersweet batch, so I prefer to give the softer bar coating more time.
Can you freeze chocolate covered pretzels?
I don’t freeze my chocolate covered pretzels. Condensation during thawing can cause sugar bloom, so I stick with cool room-temperature storage for pretzels I’m planning to give as gifts.
Do you need to temper chocolate for chocolate covered pretzels?
Candy melts do not need tempering. I did not temper the baking bars in this recipe, and that coating stayed softer and melted more easily on my fingers. Tempering real chocolate is a separate method for a firmer, more stable finish.
Can you use almond bark for chocolate covered pretzels?
Yes, almond bark works much like candy melts for dipping pretzels. It is an option I’ve used over the years, although it wasn’t part of this batch.
Are chocolate covered pretzels gluten free?
The regular pretzel twists I used are not gluten free. To make a gluten-free version, use gluten-free pretzels and check every coating and sprinkle label, including any relevant cross-contact information.
Why are the holes in my chocolate covered pretzels filled with chocolate?
Excess coating can pool under the pretzel after it reaches the paper. Let it drip from the fork, gently tap the rim, then scrape the fork’s underside against the bowl before sliding the pretzel onto the tray.
Chocolate Dipped Pretzels as Gifts and More Holiday Pretzel Treats
Once the coating is completely set, tuck the pretzels into food-safe treat bags or containers and add a ribbon. The dark chocolate bar version needs more patience before packaging; use the coating comparison above to plan your decorating time.
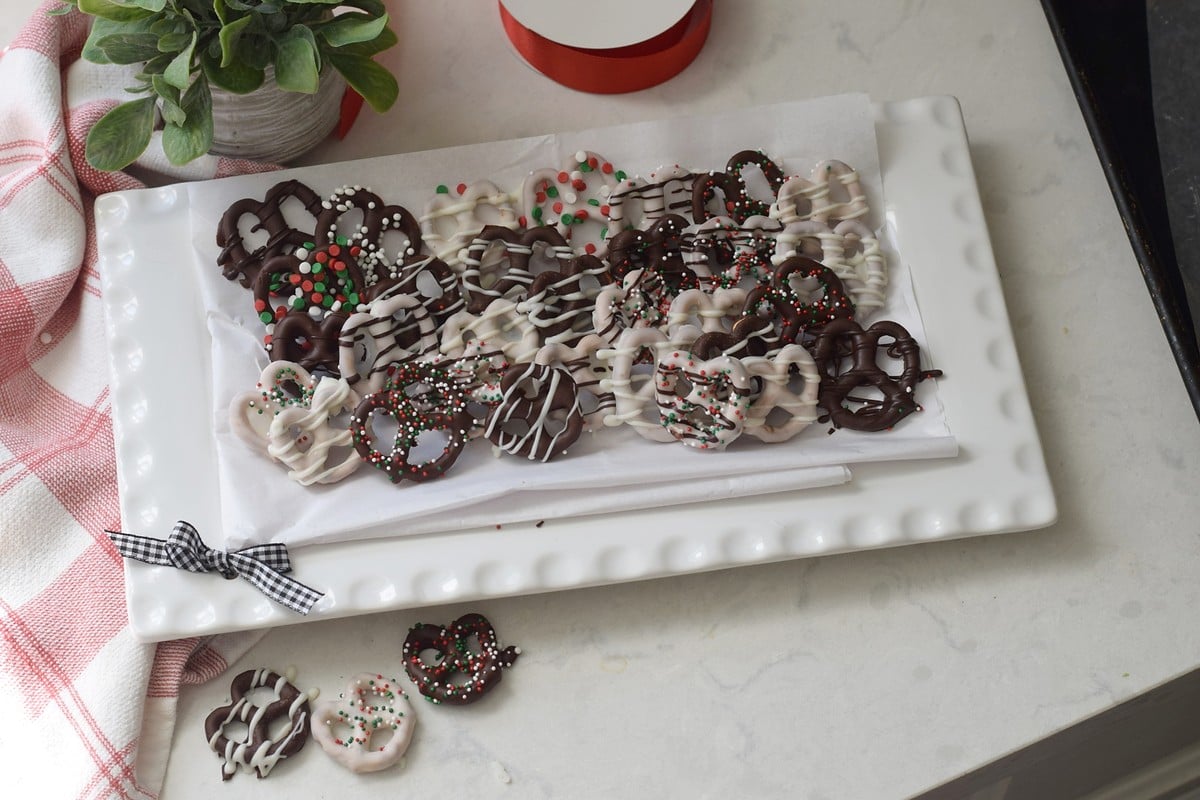
For a different shape, try my chocolate covered pretzel rods.
| 🎉 Occasion | 🥨 More pretzel treats |
|---|---|
| Christmas | Rudolph chocolate and cherry pretzels or peppermint pretzel Christmas trees |
| Valentine’s Day | chocolate covered pretzel Valentine owls |
| Halloween | Halloween pretzel bites |
| Patriotic parties | patriotic pretzel bites |
| Spring | spring pretzel bites or chocolate covered pretzel flowers |
If you make this recipe, I’d love to hear what you think! Please leave a star rating and comment below to let me know how it turned out. I love hearing from you, and your ratings help other readers find and enjoy the recipe, too!
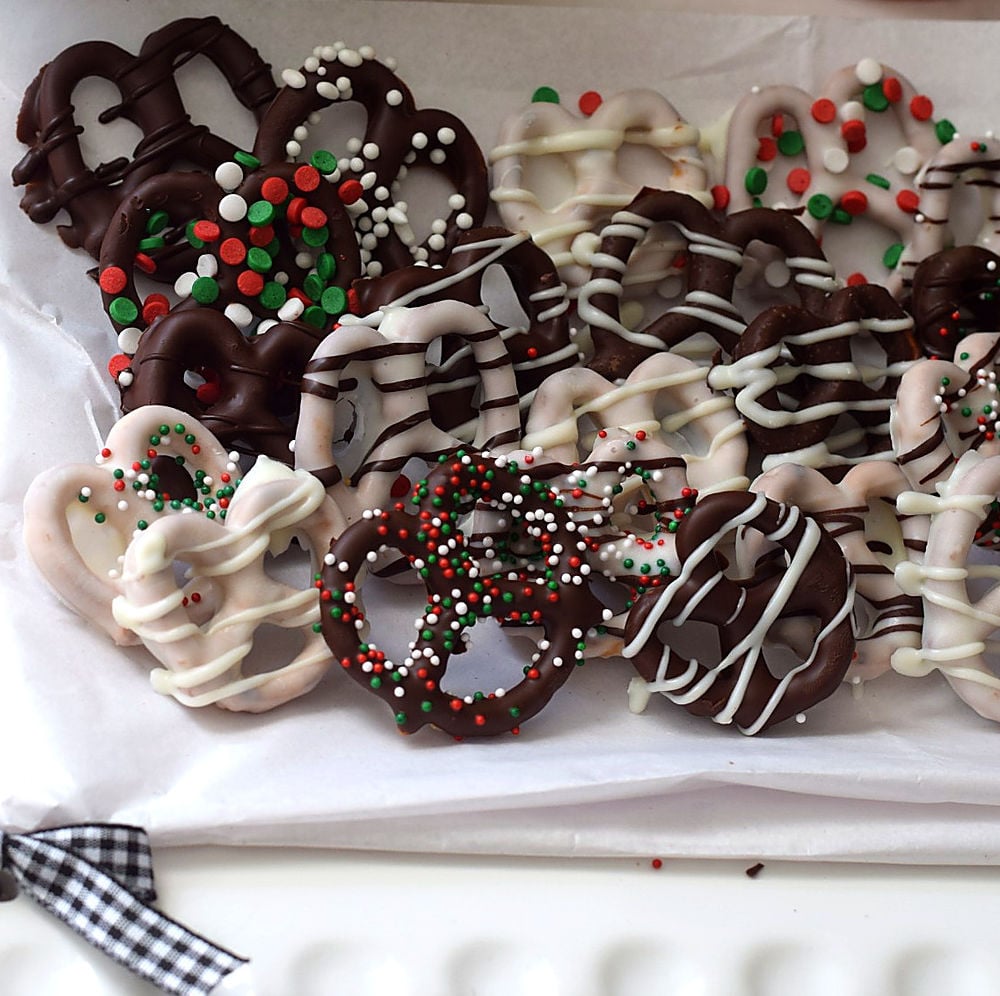
Chocolate Covered Pretzel Twists
Ingredients
- 72 small pretzel twists approximately 6 cups
- 8 oz. dark chocolate baking bars
- 1 tsp. coconut oil
- 3 –4 oz. white candy melts melting wafers
- Sprinkles as desired
Instructions
- **Prepare the trays.** Line baking sheets with parchment paper or wax paper. Set out your sprinkles, fork, toothpick, and piping bag.
- **Melt the dark chocolate.** Break the dark chocolate bars into pieces and place them in a dry, microwave-safe glass bowl with the coconut oil. Microwave for 1 minute and stir. Heat for up to another 30 seconds, as needed, stirring until smooth.
- **Melt the white candy melts.** Place the white melting wafers in a separate microwave-safe bowl. Melt according to the package directions, stirring until smooth. Do not add coconut oil.
- **Dip the pretzels.** Lower a pretzel twist into the melted coating, turning it if necessary. Lift it out with a fork and gently tap the fork against the bowl to drain excess chocolate. Scrape the underside of the fork along the rim to help prevent chocolate from pooling inside the pretzel holes.
- **Transfer to the tray.** Use a toothpick to slide the pretzel off the fork and onto the lined baking sheet.
- **Add sprinkles.** Sprinkle decorations onto the wet coating. When working with candy melts, decorate one pretzel at a time because the coating sets quickly.
- **Add chocolate stripes.** Spoon melted contrasting coating into a piping bag and snip a small opening. Drizzle white coating over dark pretzels or dark coating over white pretzels.
- **Let the pretzels set.** Leave the decorated pretzels at room temperature until the coating firms up. Candy melts set in approximately 2–5 minutes in my testing. The untempered dark chocolate bars with coconut oil needed much longer and firmed up further overnight. Once completely set, store in an airtight container at room temperature.
Notes
- Chocolate choice: Candy melts set quickly at room temperature without tempering. Dark chocolate baking bars with coconut oil have a richer chocolate flavor but remain softer and need more time to firm up.
- Keep the holes open: Tap the fork against the bowl and scrape off excess coating before transferring each pretzel to the paper.
- Decorating tip: Add sprinkles immediately when using candy melts so they stick before the coating hardens.
- Avoid refrigeration: I recommend setting these pretzels at room temperature. Condensation from temperature changes caused sugar bloom on my chilled bittersweet batch.
- Storage: Store in an airtight container at cool room temperature for up to one week, away from heat, moisture, and direct sunlight.
- Yield: Approximately 6 dozen small pretzel twists, or 6 cups, depending on the size of the pretzels and amount of coating used.