DIY Halloween Trick-Or-Treat Bag {Pillowcase}
This post may contain affiliate links – please read my disclosure statement.
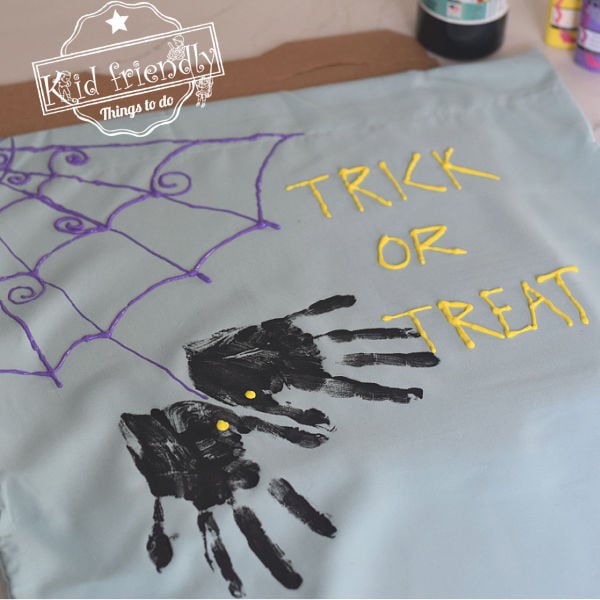
This Halloween Trick-Or-Treat Bag is not only easy, with a hand print spider – it’s a keepsake too. Easily turn a pillowcase into the cutest trick-or-treat bag, ever. A great fall and Halloween craft to do with the kids.
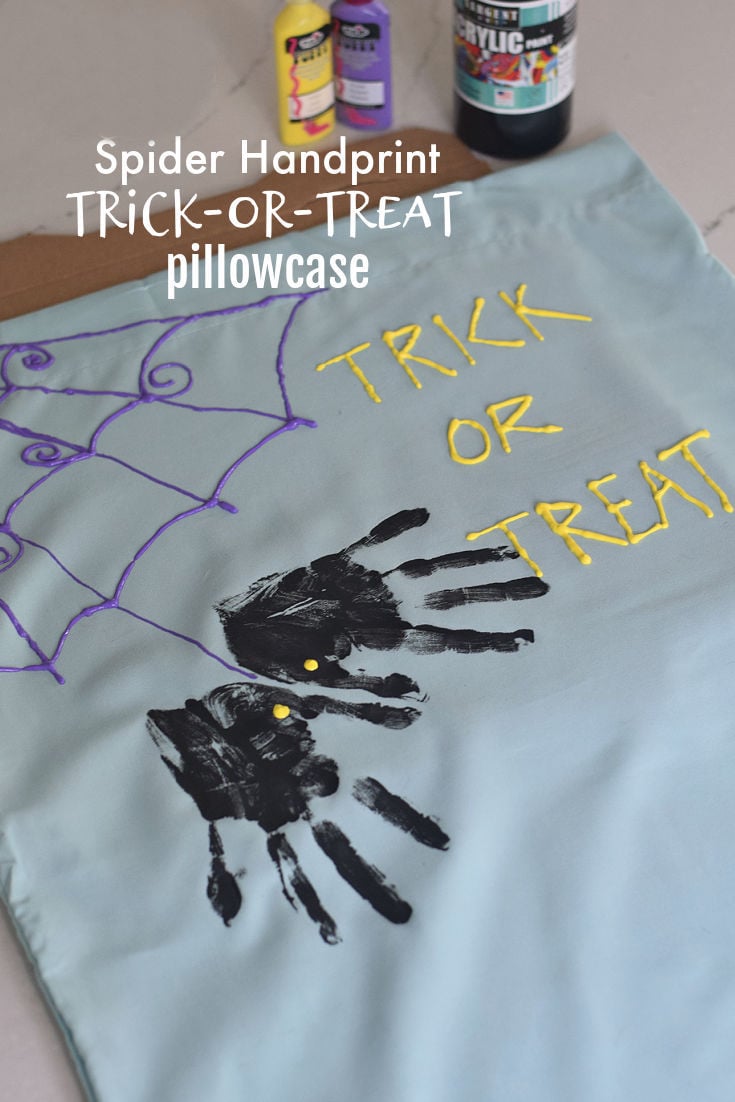
Halloween Trick-or-Treat Bag
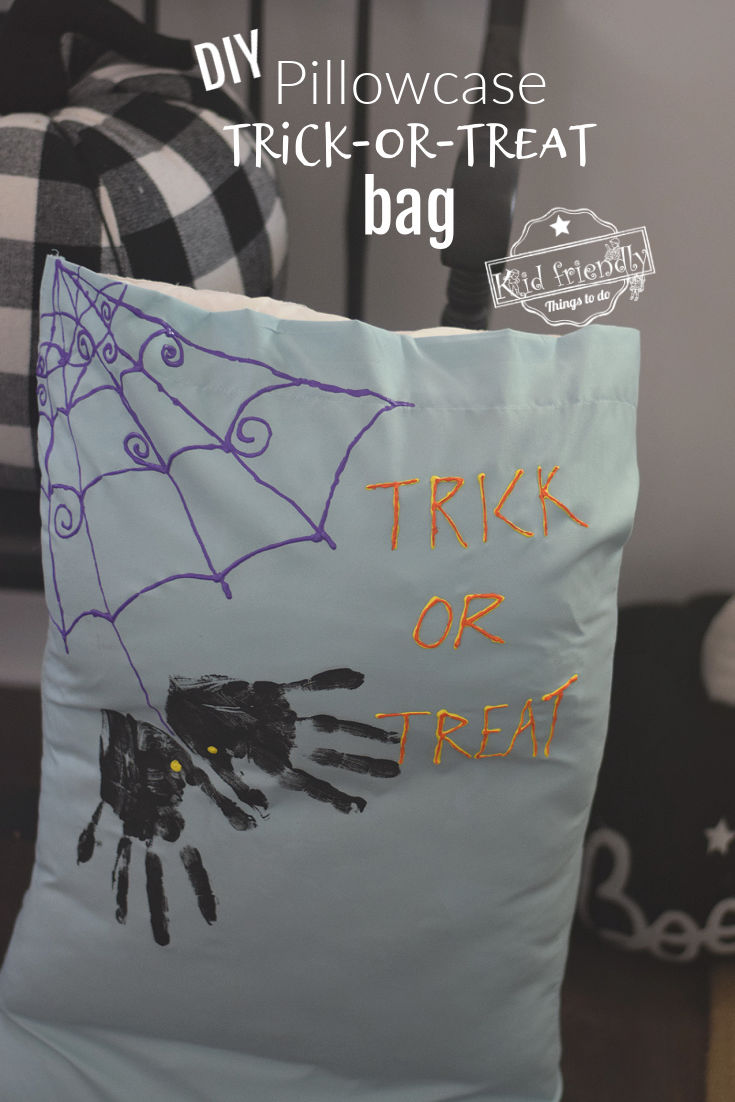
Really, you could take this cute little hand print spider idea, and put it on just about anything. It makes a cute Halloween shirt, too! But, we were thinking it would make a really fun Halloween Loot Bag, so that is just what we made!
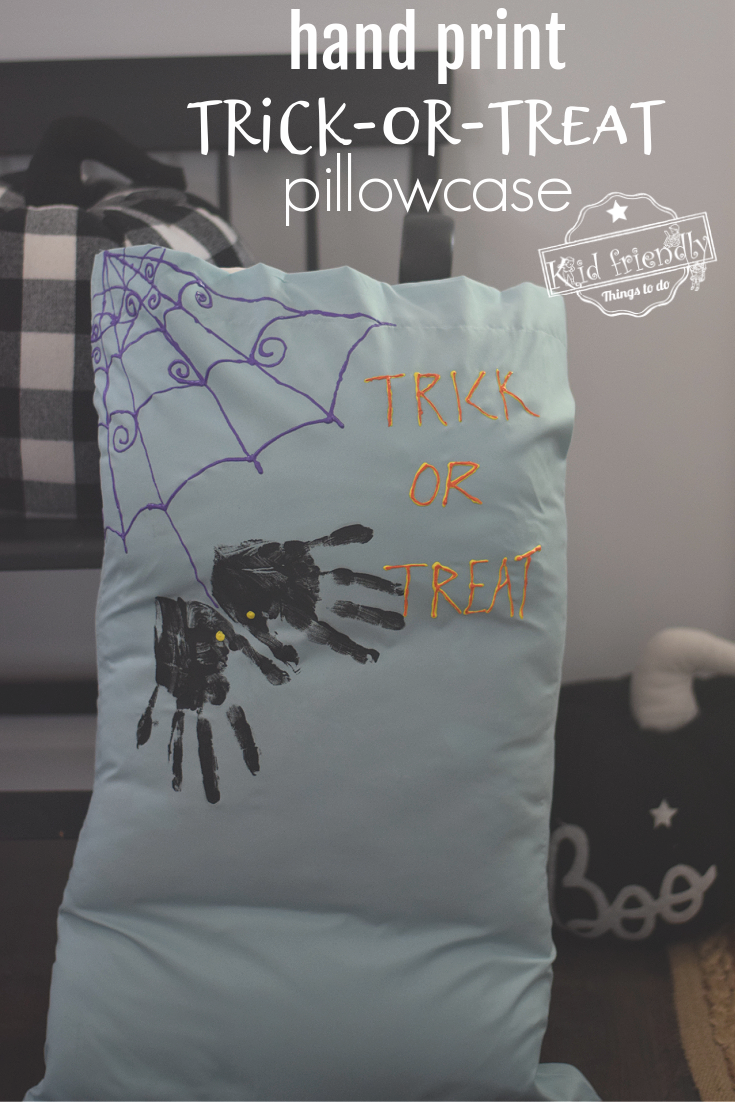
This Halloween Trick-or-Treat Pillowcase is so easy to make.
Tips and Tricks for making this Halloween Trick-or-Treat Bag…
- use fabric paint for the hand prints
- let the fabric paint dry completely before decorating
- protect your surface with newspaper or disposable plastic tablecloth
- place a piece of cardboard inside the pillowcase before painting
- have handy wipes and paper towel nearby for clean up
- use a paintbrush to apply the fabric paint to hands
- help push down onto the fabric hands to get a good print
If you love hand-print crafts, you might want to check out my cute hand-print projects like a Fall Leaf Hand Print Craft, Fall Leaf Hand Print Craft, Fall Leaf Hand Print Craft
Here’s what You’ll Need to make this Halloween Trick-or-Treat Bag:
- A pillowcase
- Black fabric paint
- Puffy paint – I would use Halloween colors like orange, black, purple, lime green and yellow
- Paint brush
- Something to protect your surface like newspaper
Directions…
- I found the best way to get the hand print going in the right direction, with the thumbprints at the bottom was to position the pillowcase with the opening closest to us
- Squeeze some of the black paint onto the kids hands and let them rub them together to transfer the paint around
- *You could also pour some black paint onto a paper plate and let the kids press their hands into it or use a paint brush to paint their palms and fingers
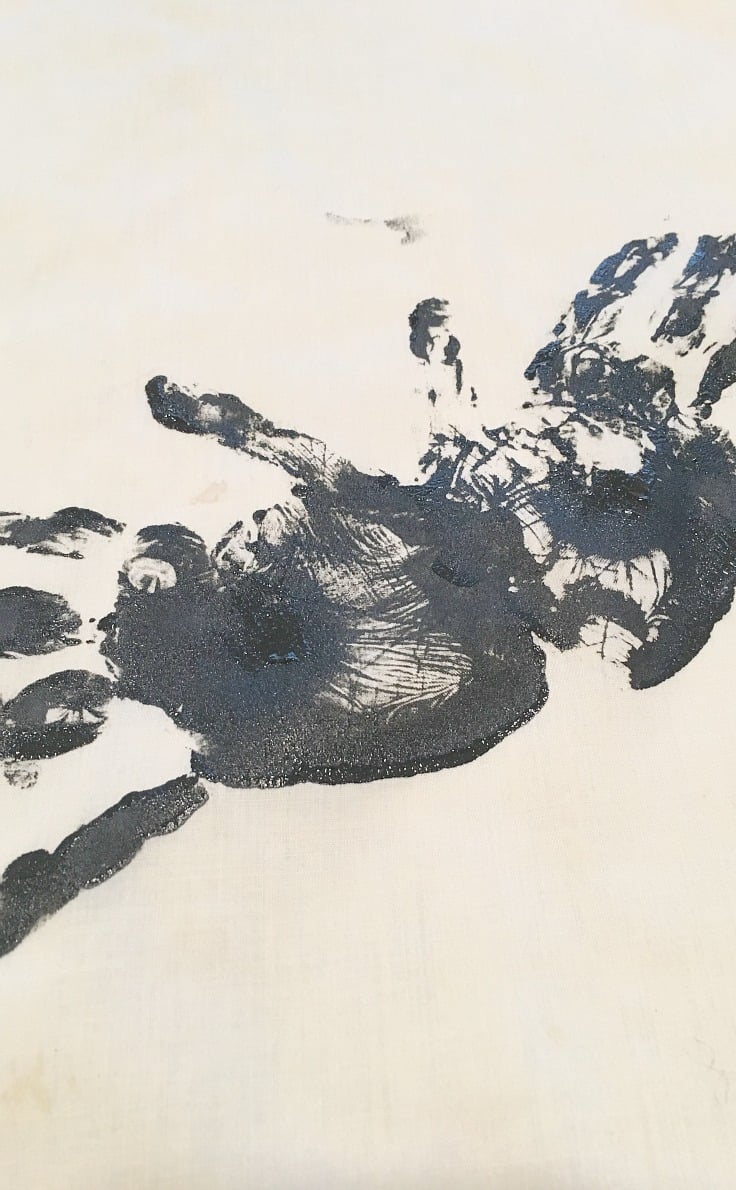
- You’ll want to first decide where you spider will go on the pillow case
- The web should start at the top corner of the opening
- *I knew that I need room in the top corner for the web and the string down to the hand prints
- The thumbprints will be facing downward, so position the pillow case accordingly
- Help by guiding your child’s painted hands to the spot on the pillow case that you have picked out
- The palms of the hands need to almost overlap for the spider’s body
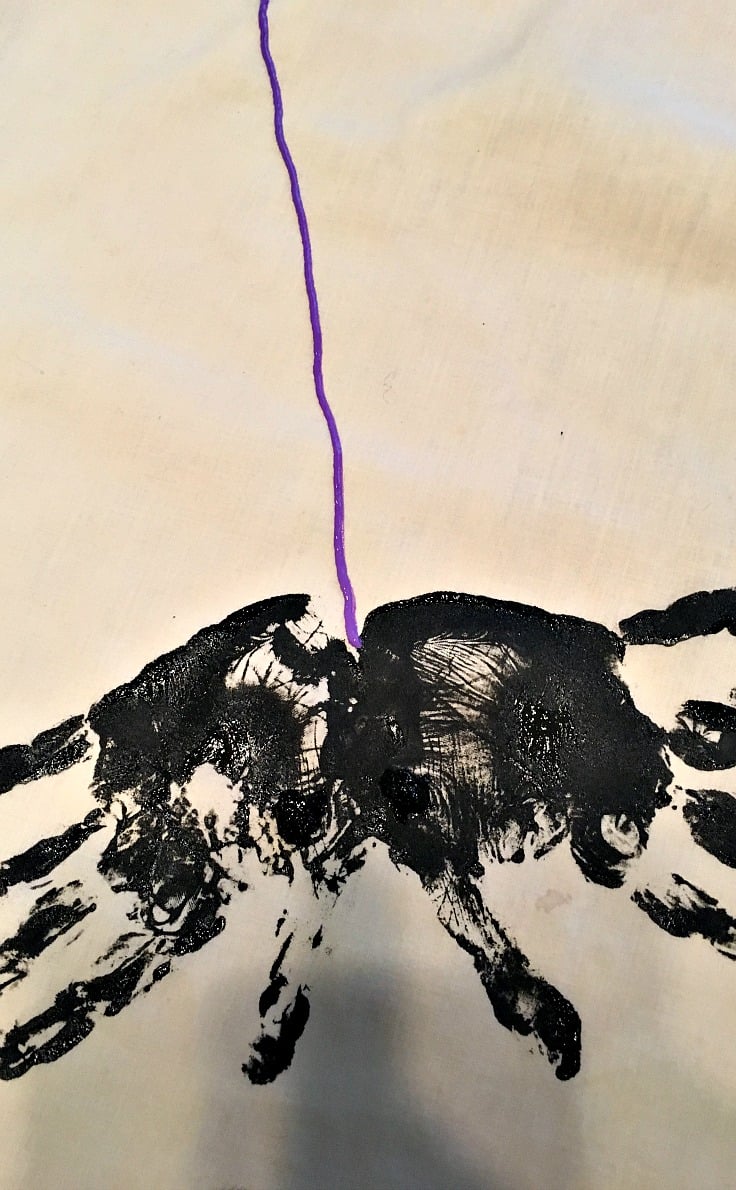
- Don’t worry about the sparseness. If you feel the need…You can go in later and use a paint brush to fill in gaps
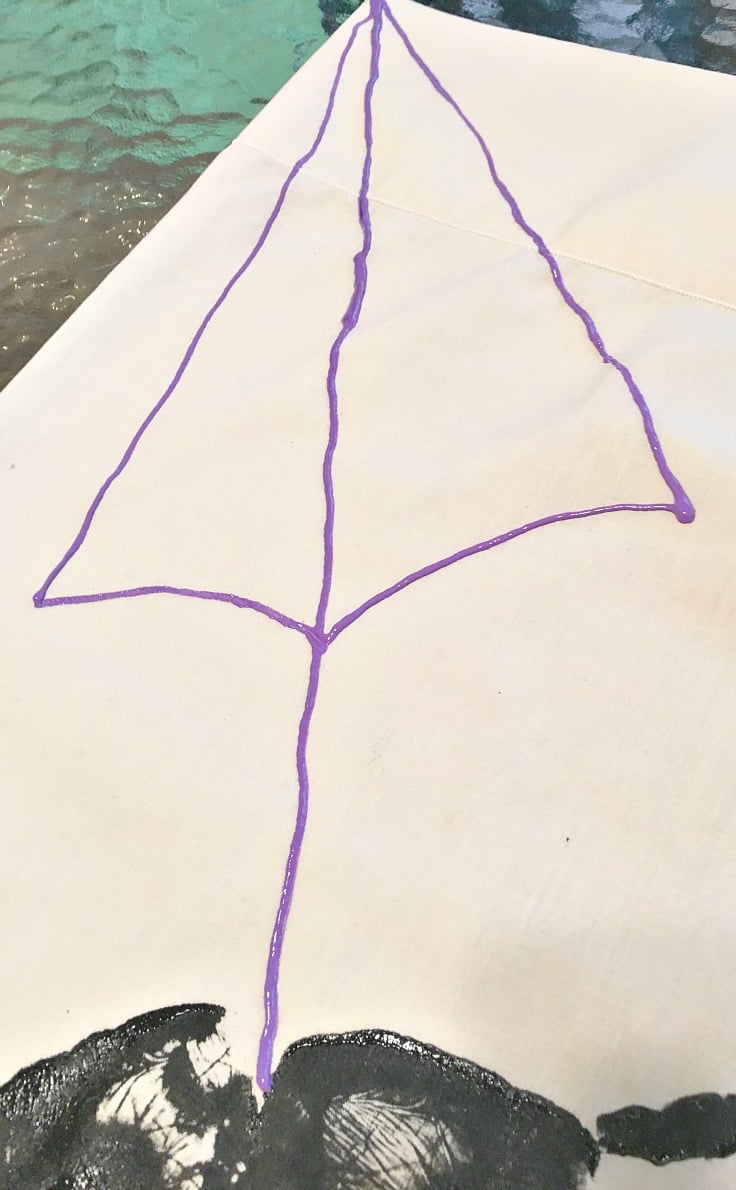
- The web is one long line from the corner of the pillowcase going at an angle down to the middle of the spider
- Then, a few more angled lines (mine are not at ALL straight) coming down from the corner on both sides of the middle line – but not as long as the middle line
- Finally, connect the lines with curved lines going all of the way across, like the image above
- It’s up to you, if you want to add some curly and whimsical decorations to the web. I messed the web up, so I had to get creative with those

- Finally, write out the words Trick OR Treat
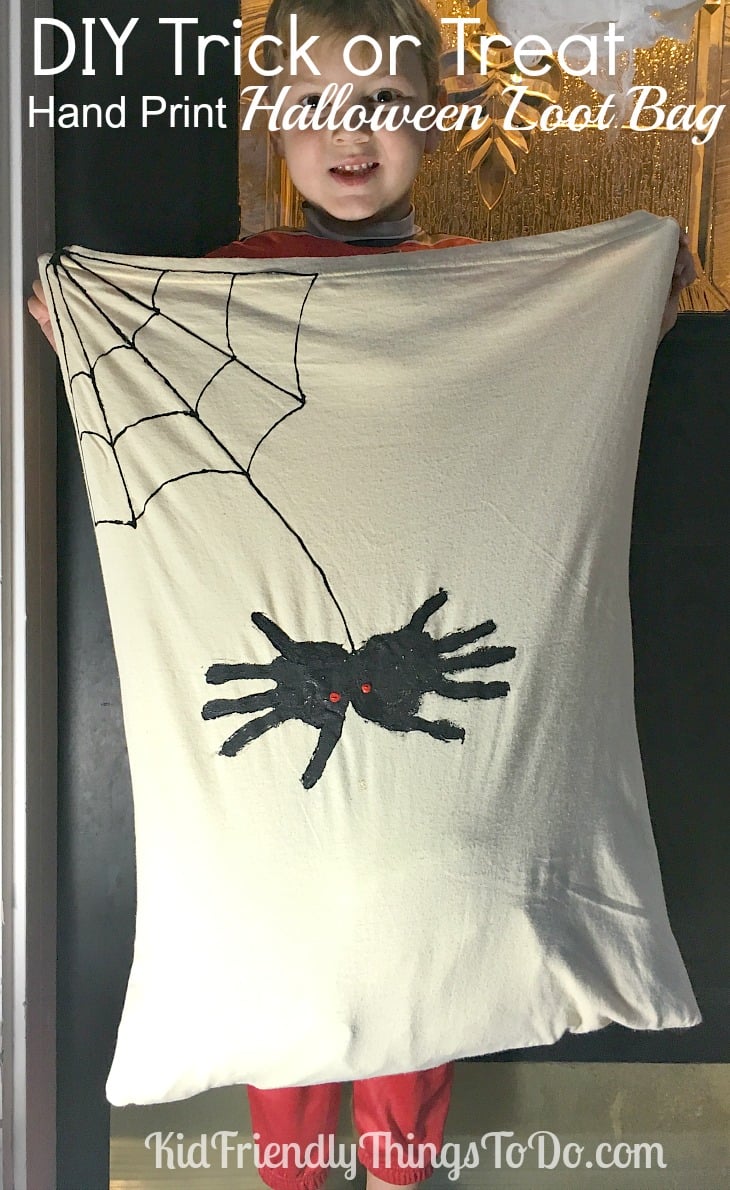
- Don’t forget some eyes on your spider
- Let dry
You’re done.
Thanks for stopping by!
Melissa – KidFriendlyThingsToDo.com


