Ghost Brownies
This post may contain affiliate links – please read my disclosure statement.
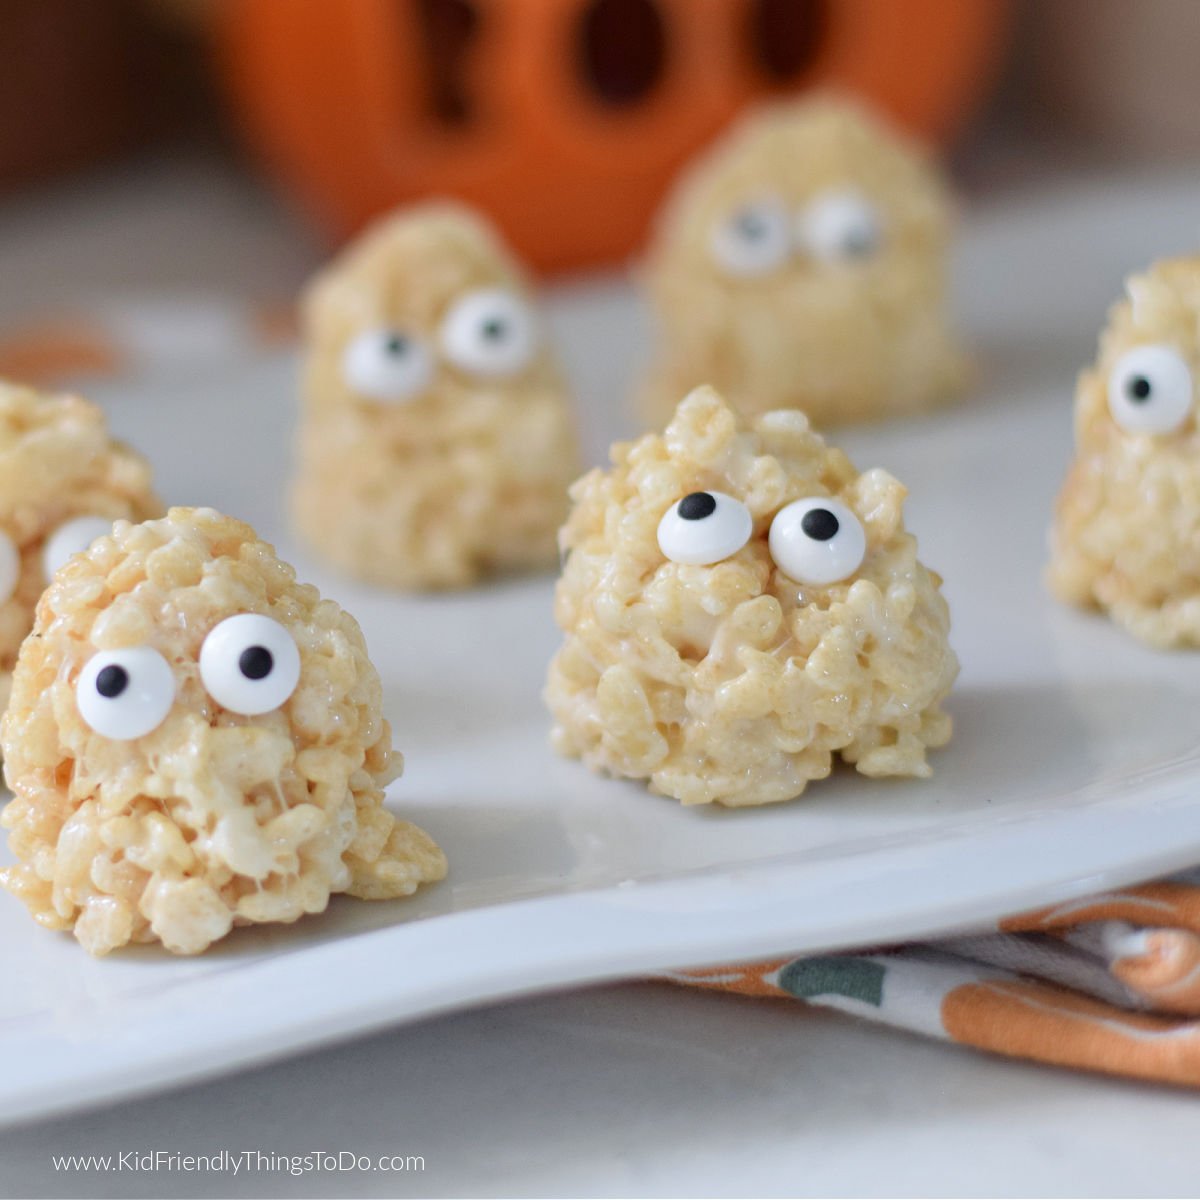
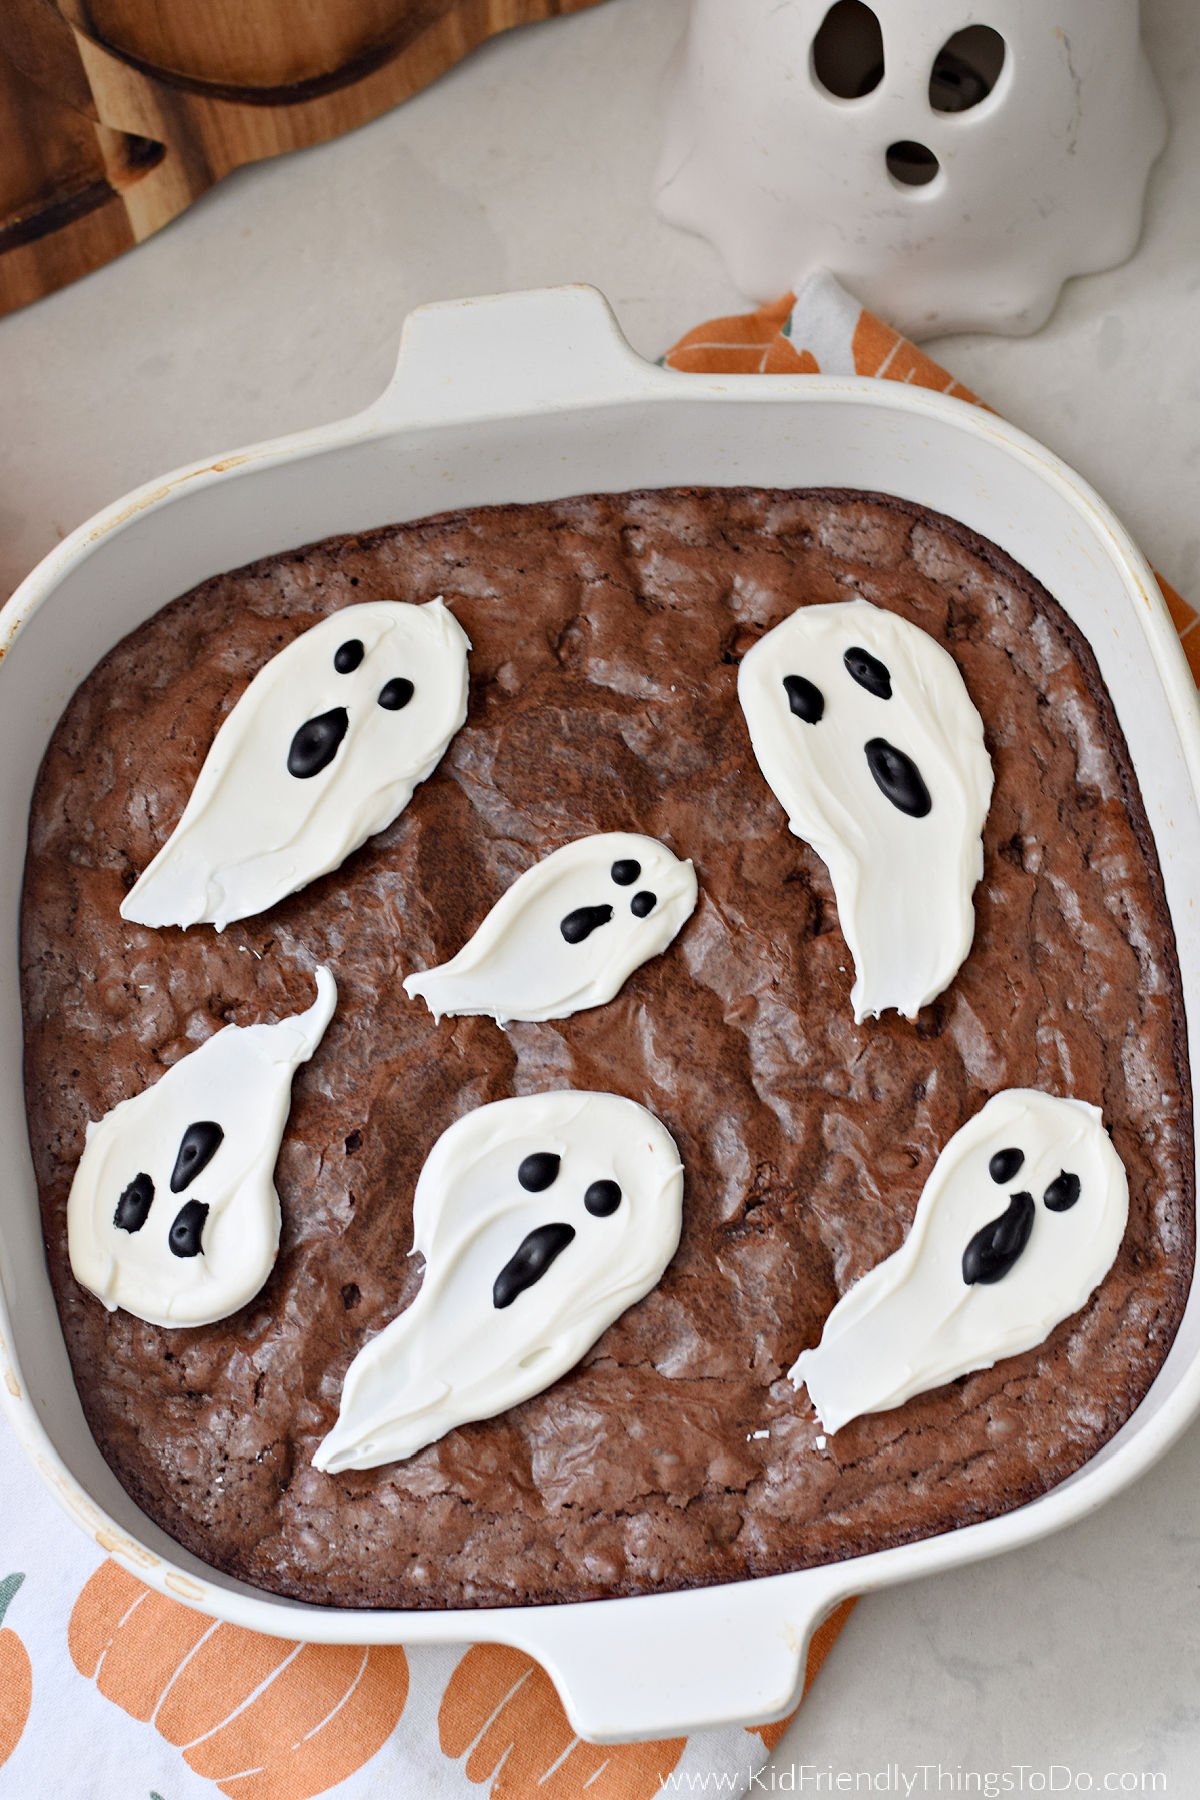
These Ghost Brownies will provide a spooky twist to your next Halloween party. Using a simple boxed brownie mix, you can create a batch of delicious brownies topped with fun flying ghosts for Halloween. Perfect for Halloween parties, school events, or a cozy night of Halloween movie watching.
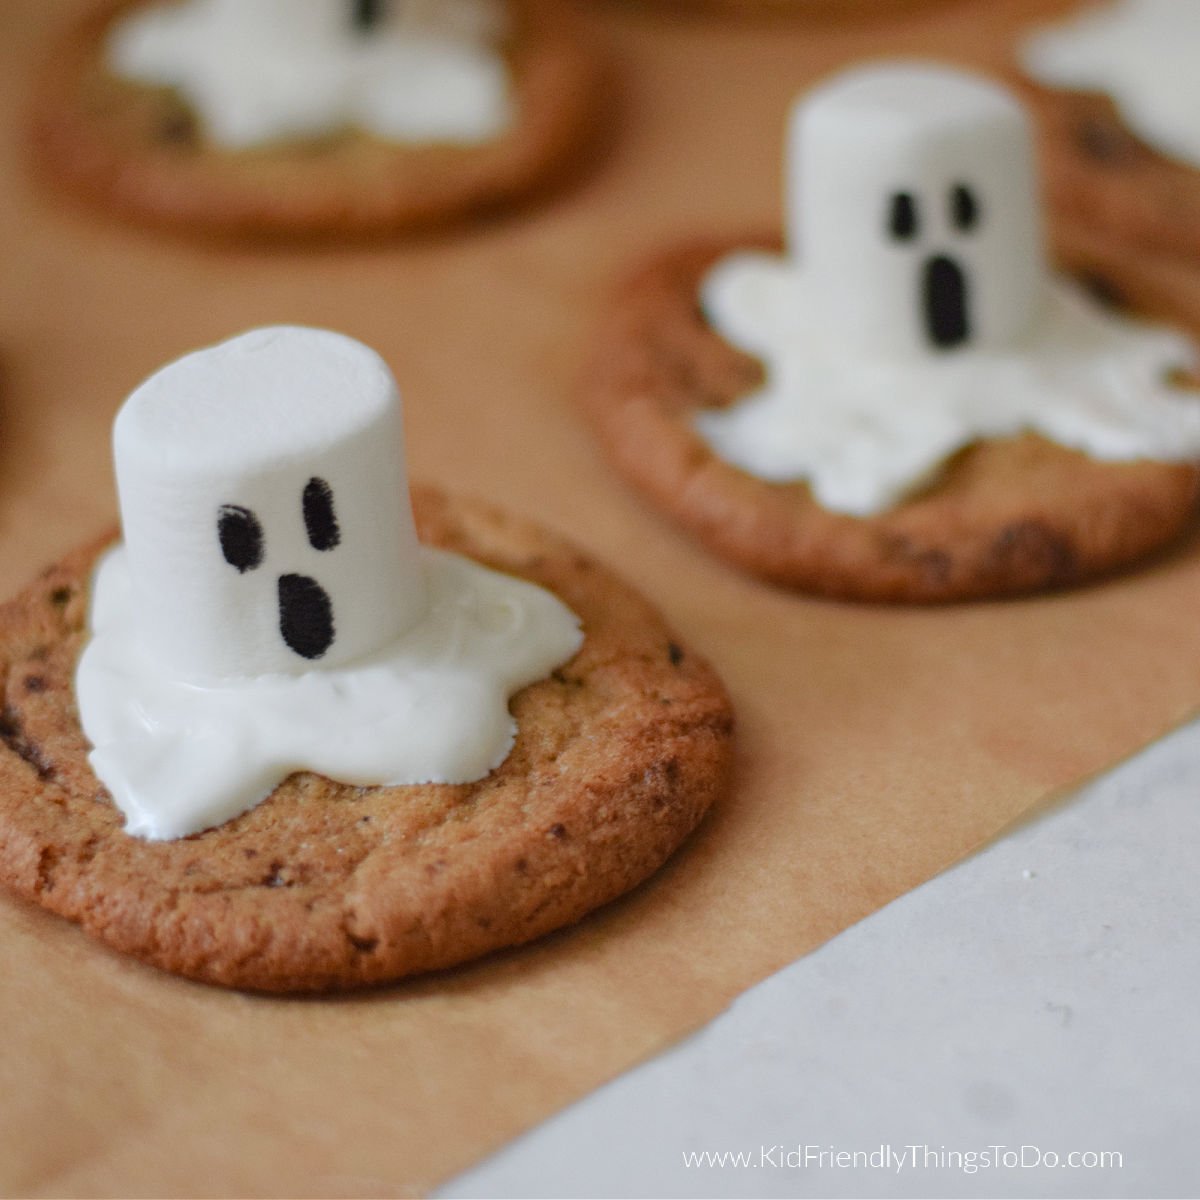
I love Halloween treats like this. Halloween is such a fun time of year. I love to decorate for the spooky fun season and make treats like marshmallow ghost cookies, rice krispies treats ghosts, this fun Jack-O-Lantern Taco Dip.
This ghost brownie recipe is the perfect addition to the Halloween season.
What You’ll Love About these Brownies
Easy to Make: Using a boxed brownie mix keeps things quick and simple.
Festive: Perfectly spooky for Halloween or any ghost-themed party.
Customizable: Create different ghost expressions, sizes, and arrangements for a fun variation.
Ingredients You’ll Need
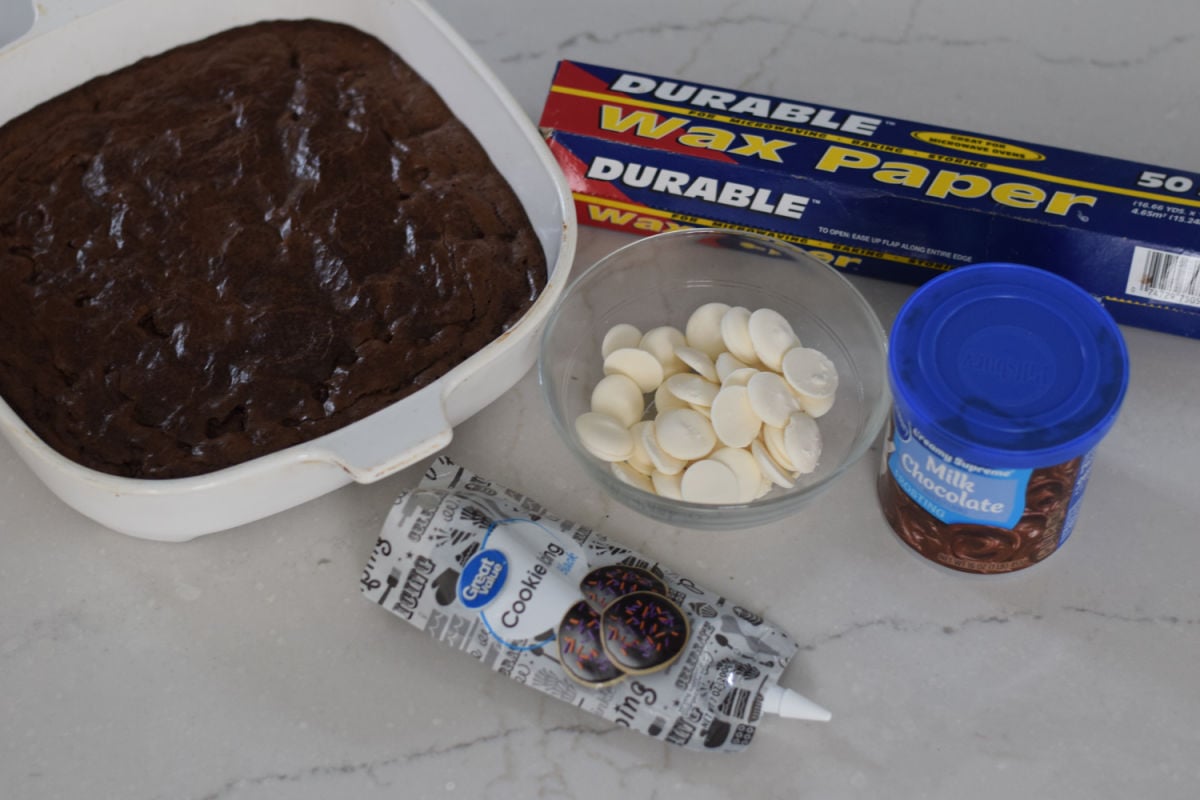
1 box brownie mix (plus ingredients called for on the box)
White chocolate melts
Black cookie icing (with writing tip)
Equipment You’ll Need
Wax paper
Small silicone spoon or curved utensil
How to Make Ghost Brownies
Bake the Brownies
Prepare the brownies according to the instructions on the box. Pour the batter into a greased pan and bake. Once baked, allow the brownies to cool completely before decorating.
Make the Ghost Shapes
- Melt the white chocolate melts in a microwave-safe bowl. Heat for one minute. Stir until smooth. If needed, add an additional 30 seconds in the microwave and stir until smooth. Do not exceed this amount of time. If you overheat the chocolate, it might get hard.
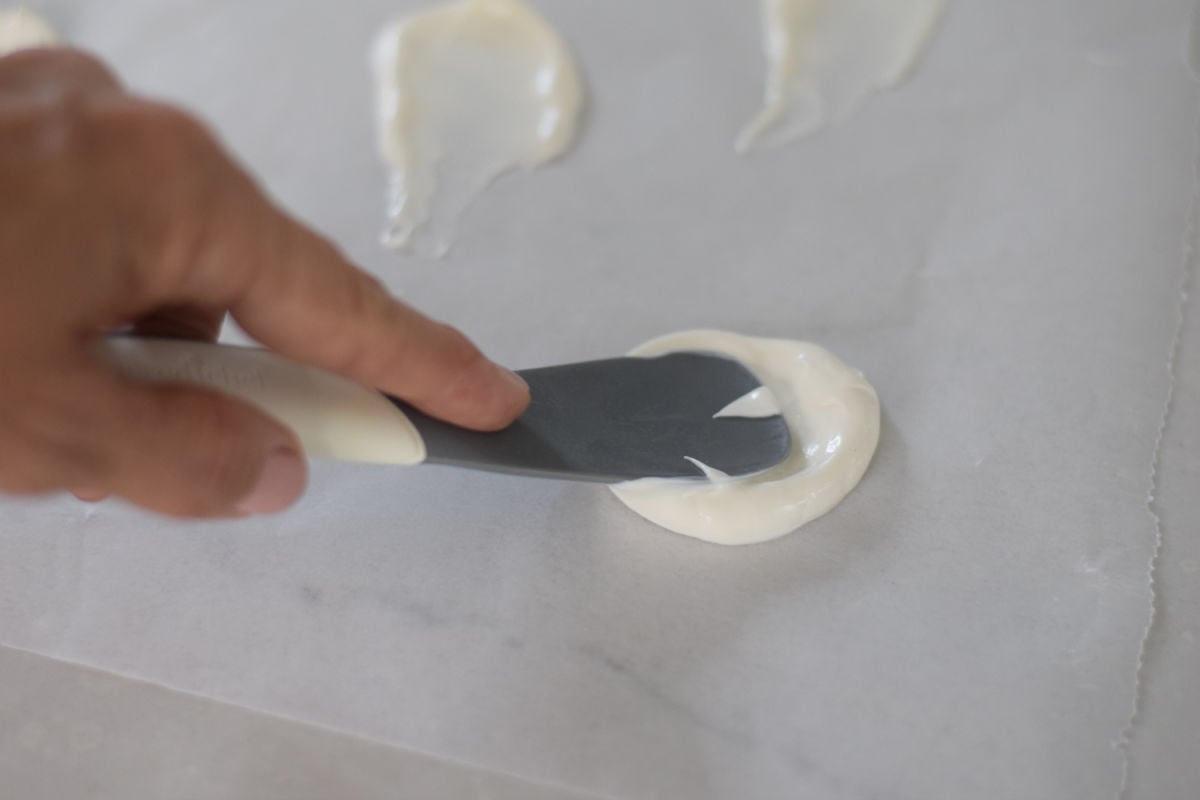
- Dip the back of a small silicone spoon (or any curved utensil) into the melted chocolate.

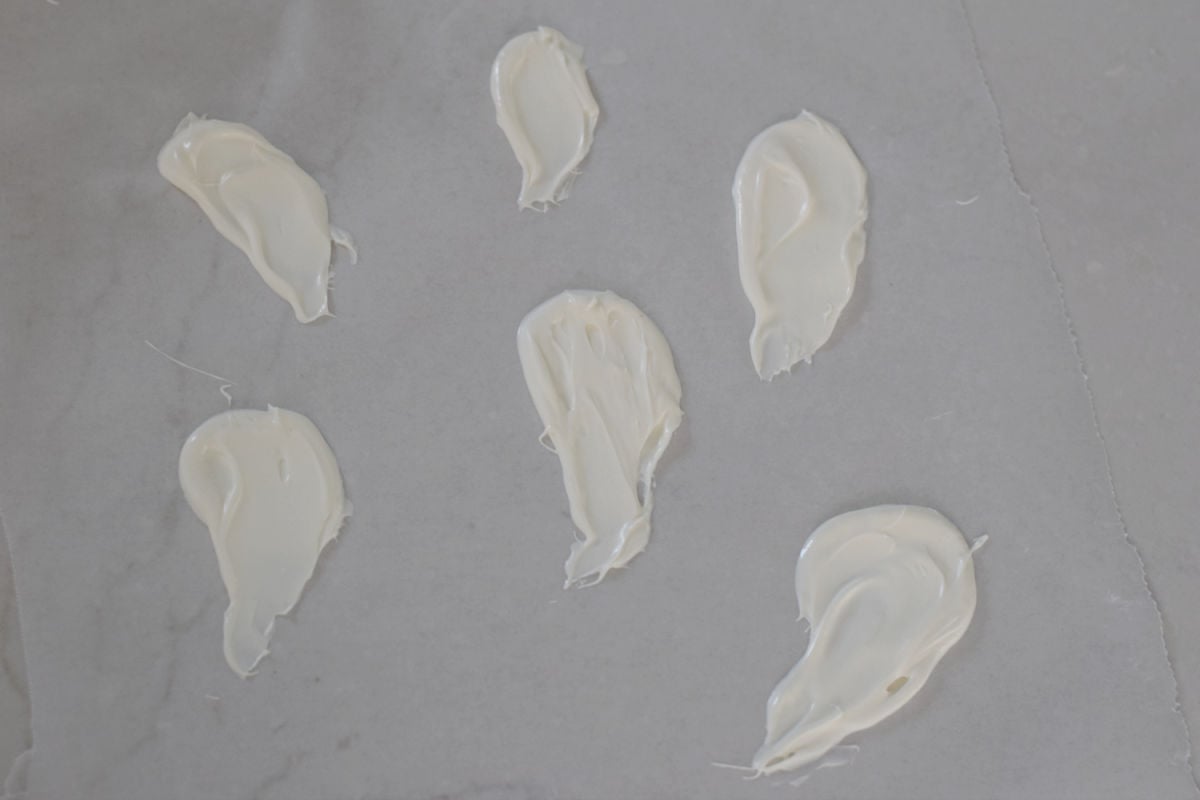
- Press and smear the chocolate onto a sheet of wax paper in the shape of ghosts. Let them dry completely.
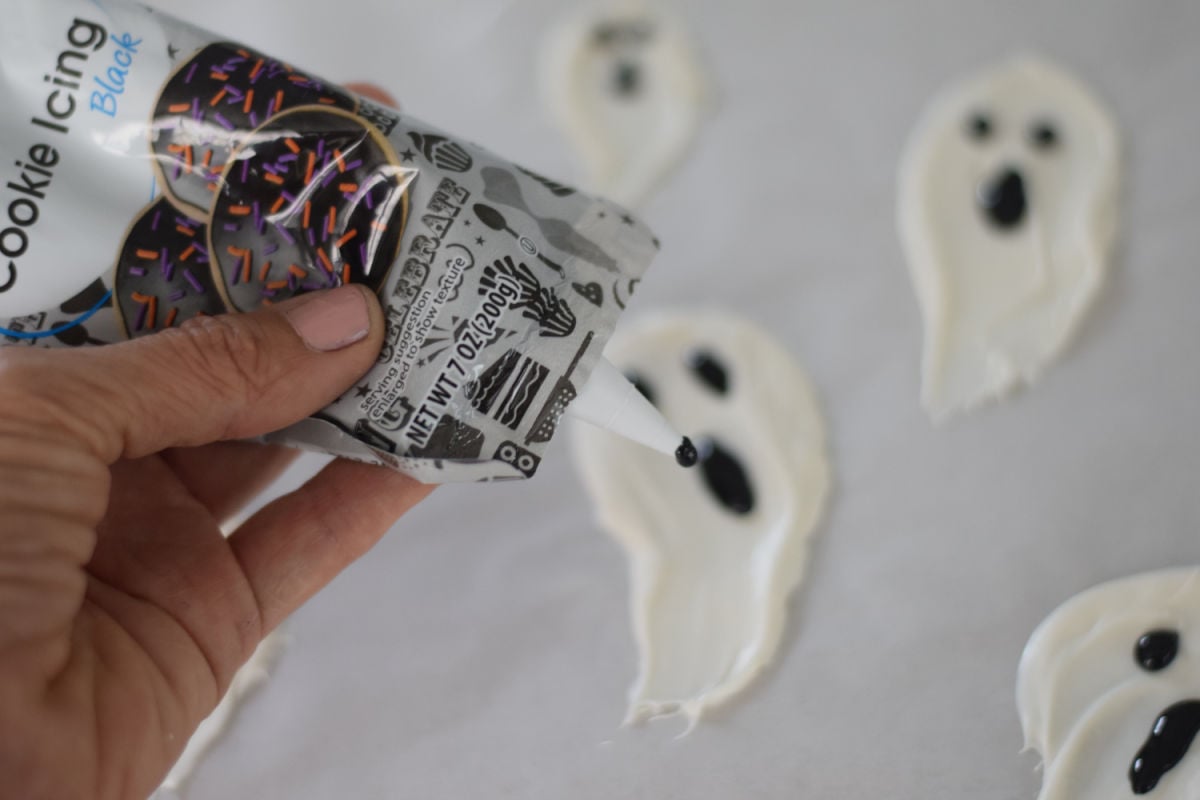
Add the Ghost Faces
Once the chocolate ghosts have hardened, use the black cookie icing with a writing tip to draw spooky or cute ghost faces.
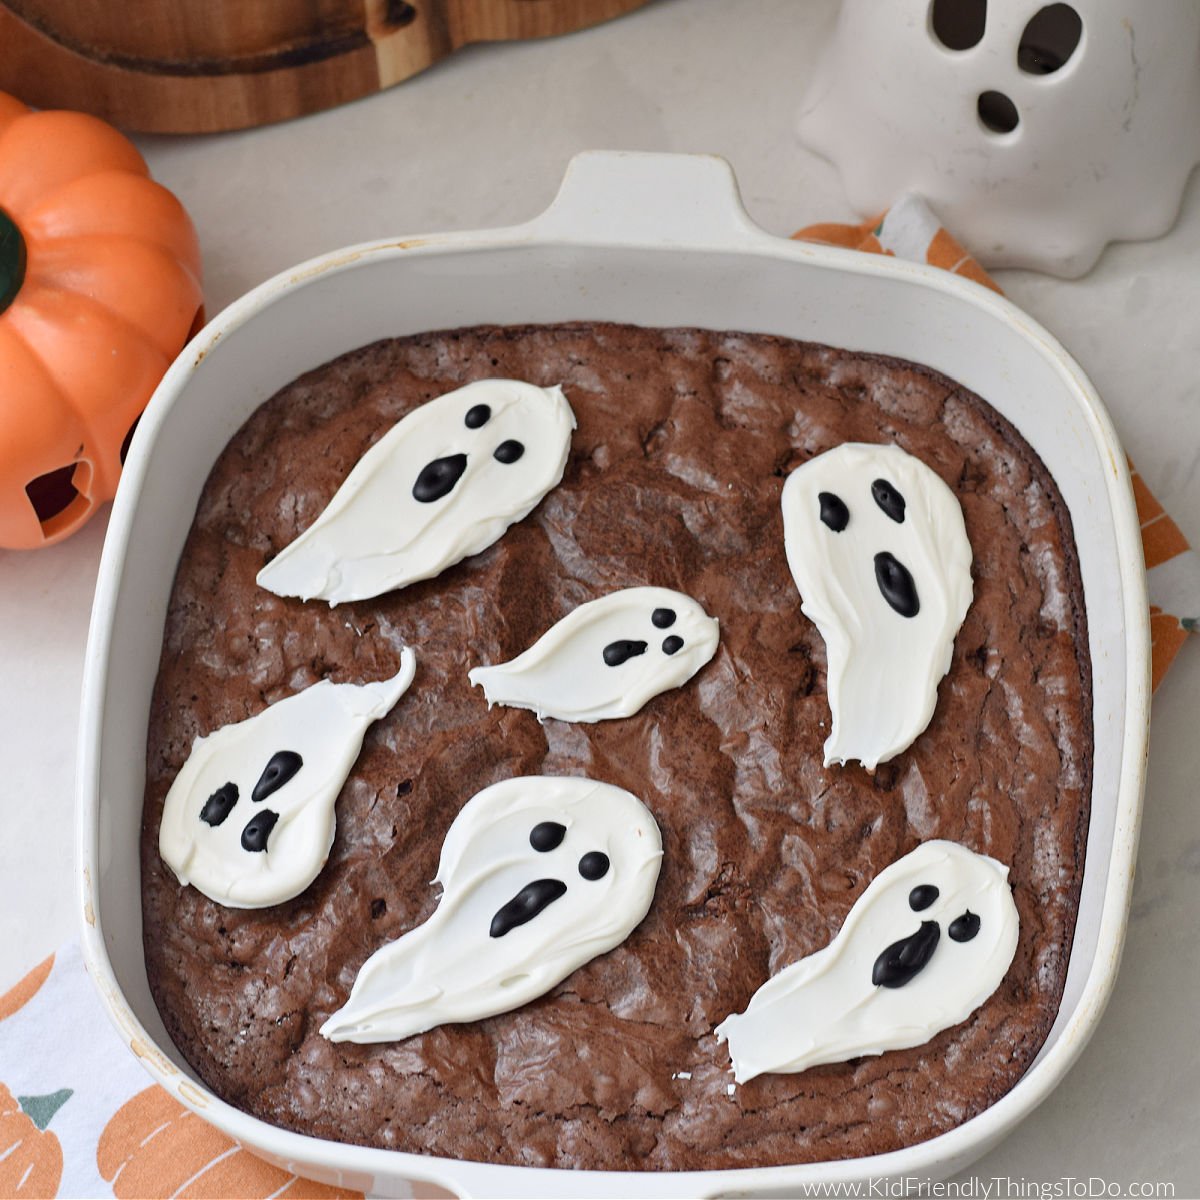
Assemble the Ghost Brownies
Carefully place the chocolate ghosts on top of the cooled brownies. Arrange them so they appear to be floating across the batch.
Expert Tips
Work Quickly – Once melted, chocolate hardens fast. Have your wax paper ready and work in small batches for best results
Use Wax Paper – Wax or parchment ensures easy lifting of the ghosts.
Let Chocolate Fully Set – Before moving or decorating the ghosts, allow them to harden completely. You can chill them briefly in the fridge to speed up the setting.
What to Serve With
Brownies Pair Great with
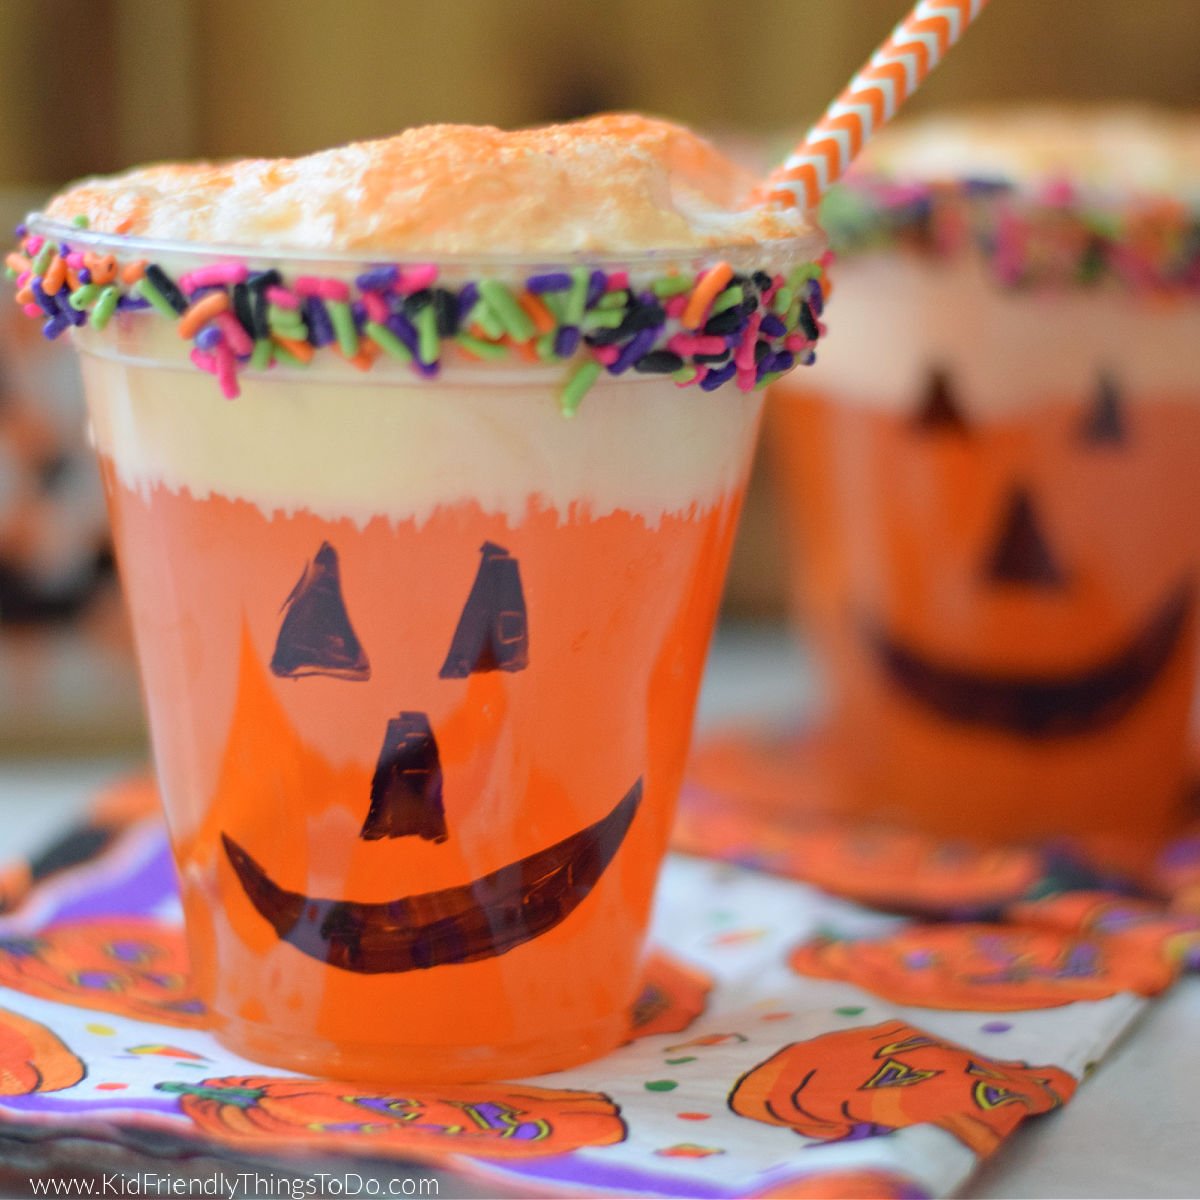
Drinks like hot chocolate and these fun Halloween whipped cream toppers or this fun ghost chocolate milk.
Other Halloween Treats – like Oreo Bat Cookies, Frankenstein Grap Cups, Day of the Dead Sugar Cookie Skulls, and Ghost Cupcakes
Main Course Hallowen Treats – like Coffin Halloween Sandwiches, Monster Cheeseburgers, or Jack-O-Lantern Grilled Cheese
FAQs
Can I make the ghosts ahead of time?
Yes! You can make the chocolate ghosts a day or two in advance and store them in an airtight container at room temperature.
What if I don’t have a silicone spoon?
I like using silicone because of its non-stick surface, but any small, curved utensil works—just make sure it can hold the chocolate and be easily smeared onto wax paper.
Can I use homemade brownies instead of a box mix?
Absolutely! This method works with any cooled brownie base.
How long do these brownies last?
Store in an airtight container at room temperature for up to 3–4 days. Avoid refrigerating, as the chocolate ghosts may collect condensation.
Storing
Store the ghost brownies covered at room temperature for up to three days.
More Halloween Treats You’ll Enjoy
Serving Size
This recipe serves approximately 12 people.
Printable Recipe
Ghost Brownies
Ingredients
- 1 batch of brownies store bought or homemade – cooled
- 6 oz. chocolate melts white
- 2 oz. cookie icing
Instructions
- Prepare the brownies according to the instructions on the box. Pour the batter into a greased pan and bake. Once baked, allow the brownies to cool completely before decorating
- Melt the white chocolate melts in a microwave-safe bowl. Heat for one minute. Stir until smooth. If needed, add an additional 30 seconds in the microwave and stir until smooth.
- Dip the back of a small silicone spoon (or any curved utensil) into the melted chocolate. Press and smear the chocolate onto a sheet of wax paper in the shape of ghosts. Let them dry completely.
- Once the chocolate ghosts have hardened, use the black cookie icing with a writing tip to draw spooky or cute ghost faces.
- Carefully place the chocolate ghosts on top of the cooled brownies. Arrange them so they look like they’re floating across the batch.