How to Tie Dye Easter Eggs
This post may contain affiliate links – please read my disclosure statement.
I love this idea of How to Tie Dye Easter Eggs. The results are so much fun to reveal. A fun Easter Egg Activity for kids, and teens.
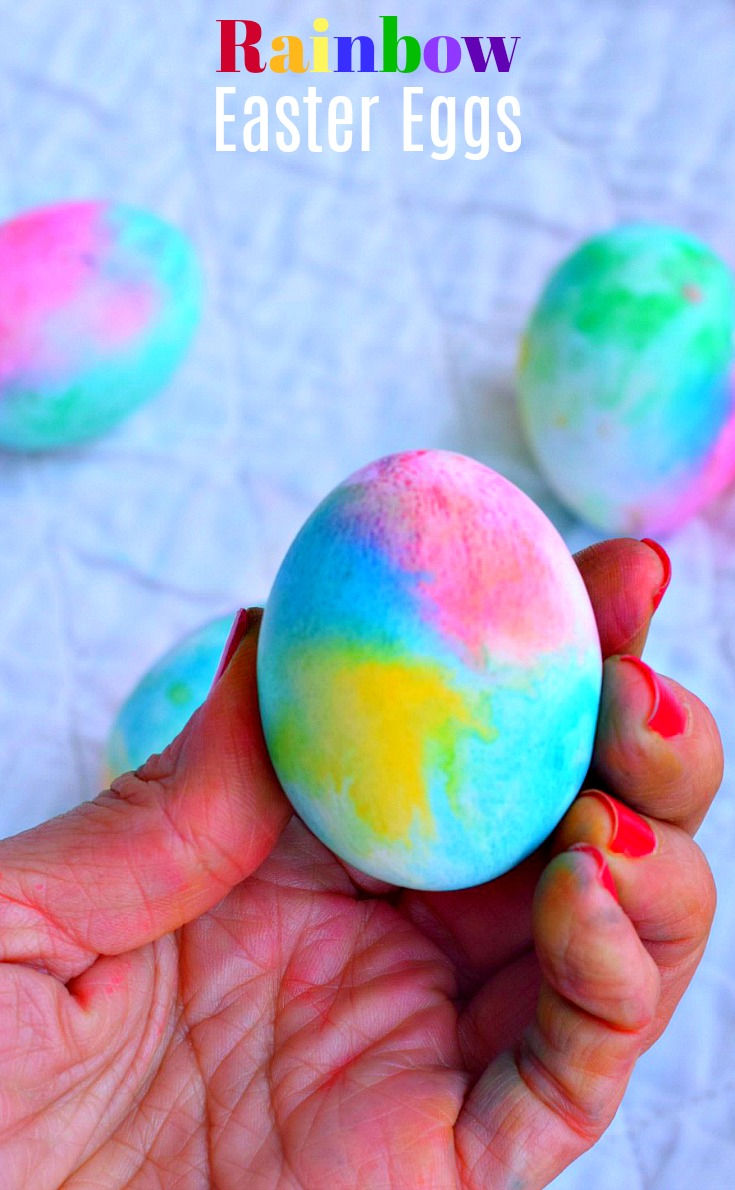
We love doing unique Easter Egg projects. In the years past, we’ve dyed Easter Eggs with Silk Ties, we’ve learned How to Dye Eggs with Rice, and how to Dye Eggs with Whipped Cream
So, in this fun Easter Egg Dye project you’ll need to prepare yourself for a little messy fun. Well, I guess that most Easter Egg Dye fun is a little bit on the messy side.
Don’t worry, I’ve thought of ways to keep the mess somewhat under control.
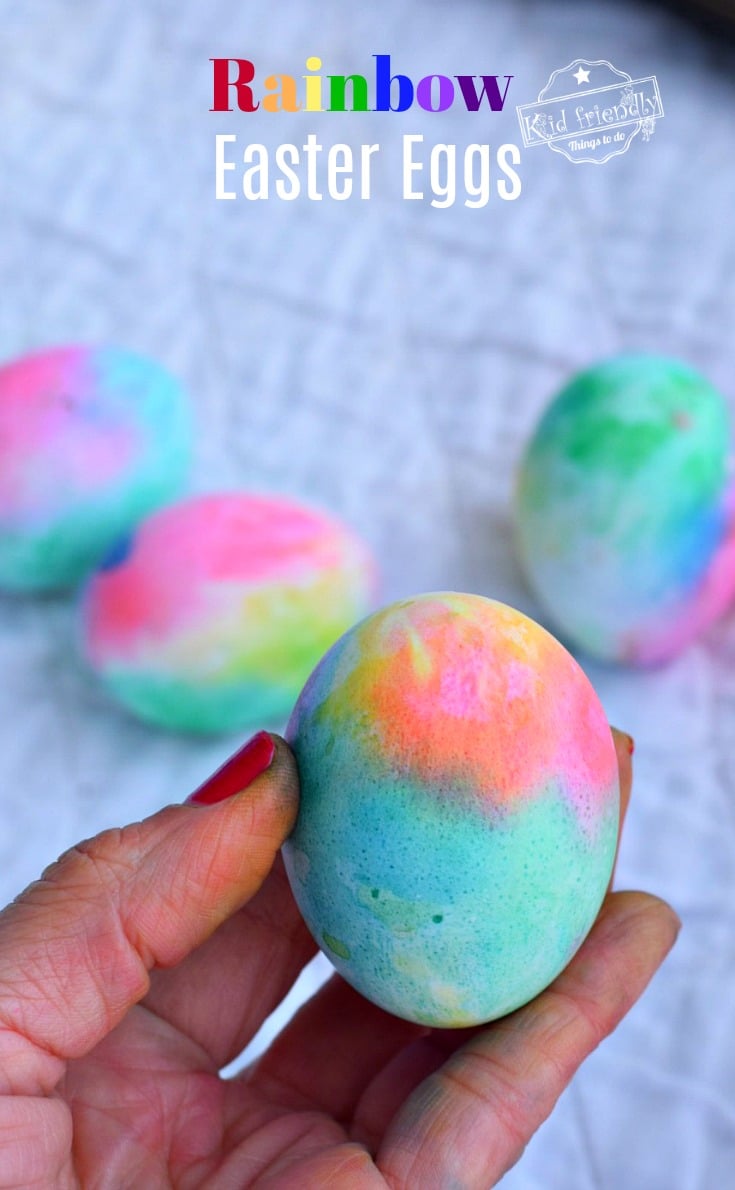
Don’t forget a wipe off tablecloth. You’ll thank me for that little piece. A baking sheet for each person is a good idea, too!
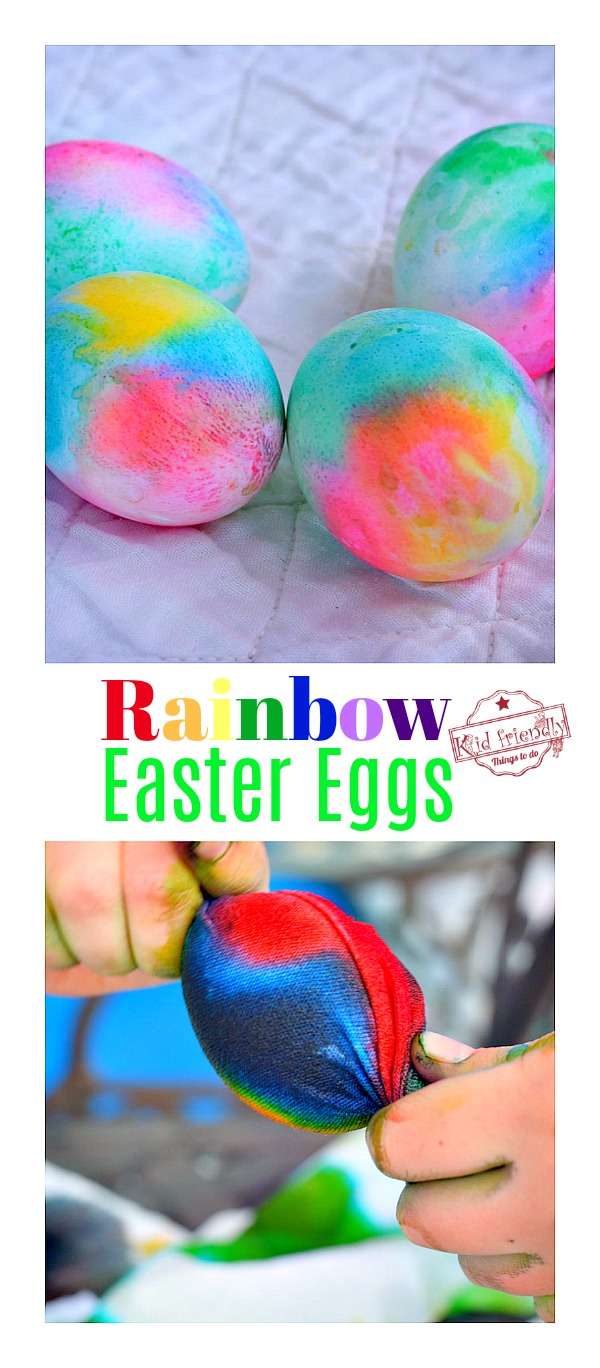
Just look at this as another fun tie-dye project that reveals beautiful colorful eggs.
Here’s What You’ll Need to Dye Easter Eggs With Cotton Fabric
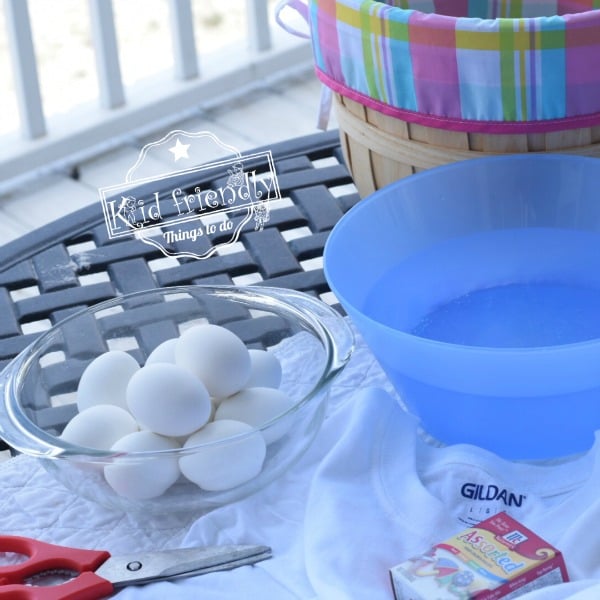
- Hard boiled eggs
- A large or extra large cotton t-shirt. The bigger the better. You’ll get more fabric that way
- Food coloring
- A big bowl of water
- Table protection – A vinyl tablecloth
- Baking sheets for each participant
- Paper towel
Instructions:
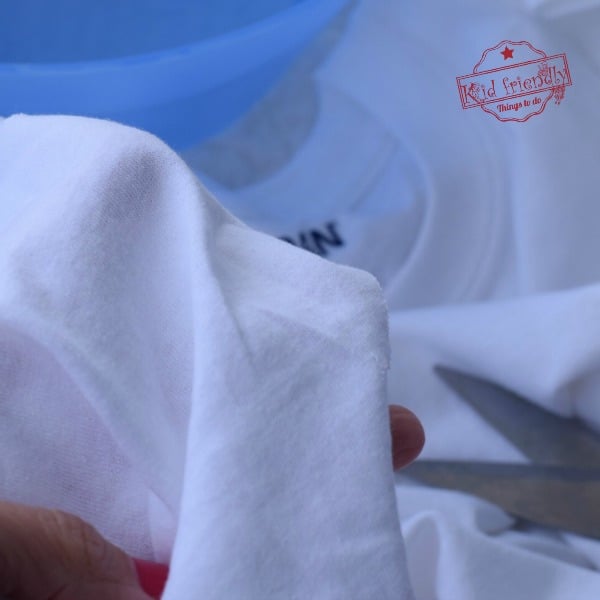
- Cut a section of the t-shirt big enough to go around the egg and provide a little extra on each end for gripping
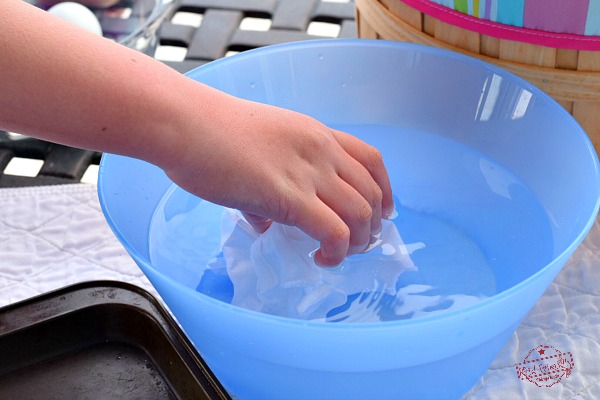
- Dip your cotton in water and squeeze out excess water
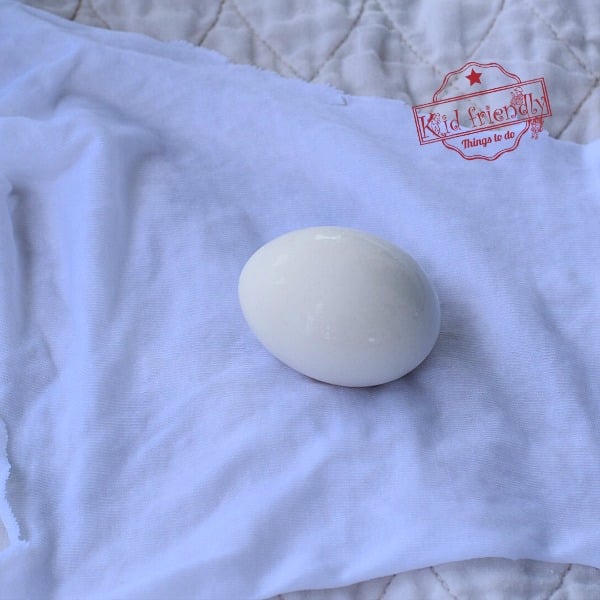
- Set your boiled egg in the middle of the wet fabric
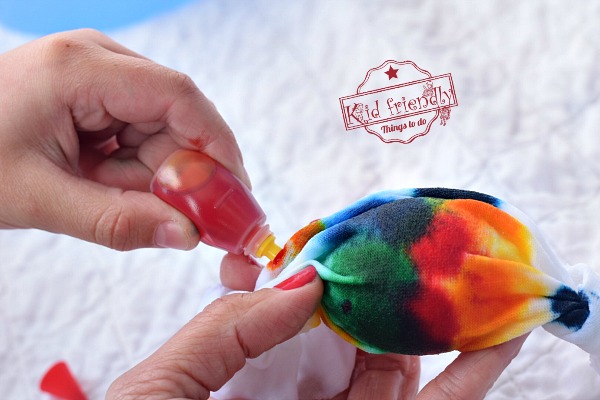
- Squeeze different colors all around the fabric covered egg
- *My kids got a little over zealous with the idea of squeezing food coloring around the egg. They really went to town on the the food coloring and almost used it all to color their first eggs! Make sure you remind everyone that they just need to squeeze a small amount and even leave some spots without color so the colors can blend together
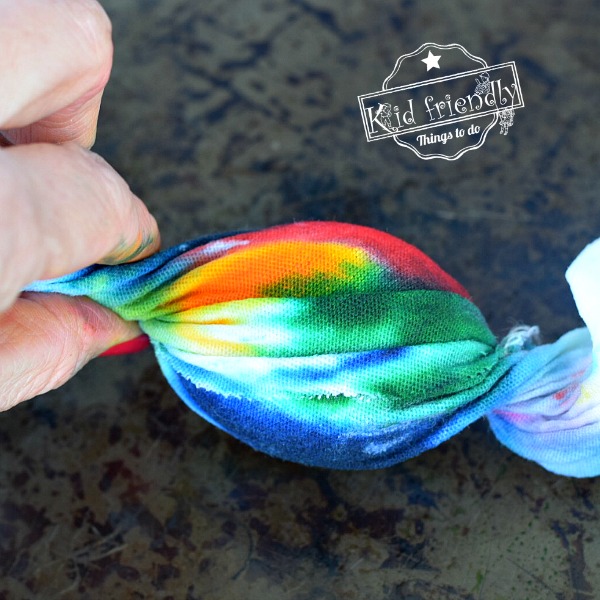
- This is where having separate baking sheets under the eggs comes in handy
- You’ll then want to grip the ends of the fabric and twist them on both ends. Colored liquid will be squeezed out onto the baking sheet at the same time the egg is being colored inside the fabric
- *I couldn’t snap a picture of myself while twisting both ends, so this only shows me doing one side. The collage above shows the kids twisting both ends which is a much better example
- Now, before unwrapping the egg to see your design, let it sit in the colored fabric for a minute or two
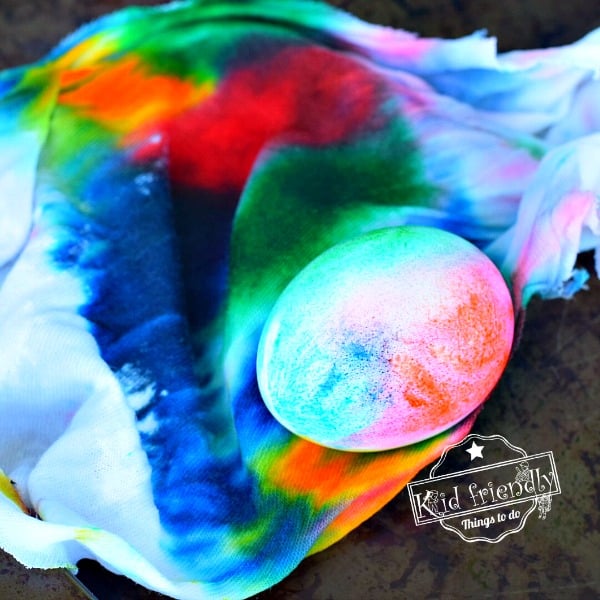
- Unwrap the Easter Egg to see your design and let dry
- Use your paper towel to clean up any excess food coloring mess in between new eggs
- That’s it!
~Melissa – Kid Friendly Things To Do
If you’re looking for more unique ways to Dye Easter Eggs, look no further. Here are some fun posts on Coloring Easter Eggs


