How To Tie-Dye Fingernails {Easy}
This post may contain affiliate links – please read my disclosure statement.
Use this easy water marbling technique to tie-dye fingernails. Your kids will have so much fun creating tie-dye designs that they can enjoy for days. Come on in and I’ll show you how to tie-dye fingernails….
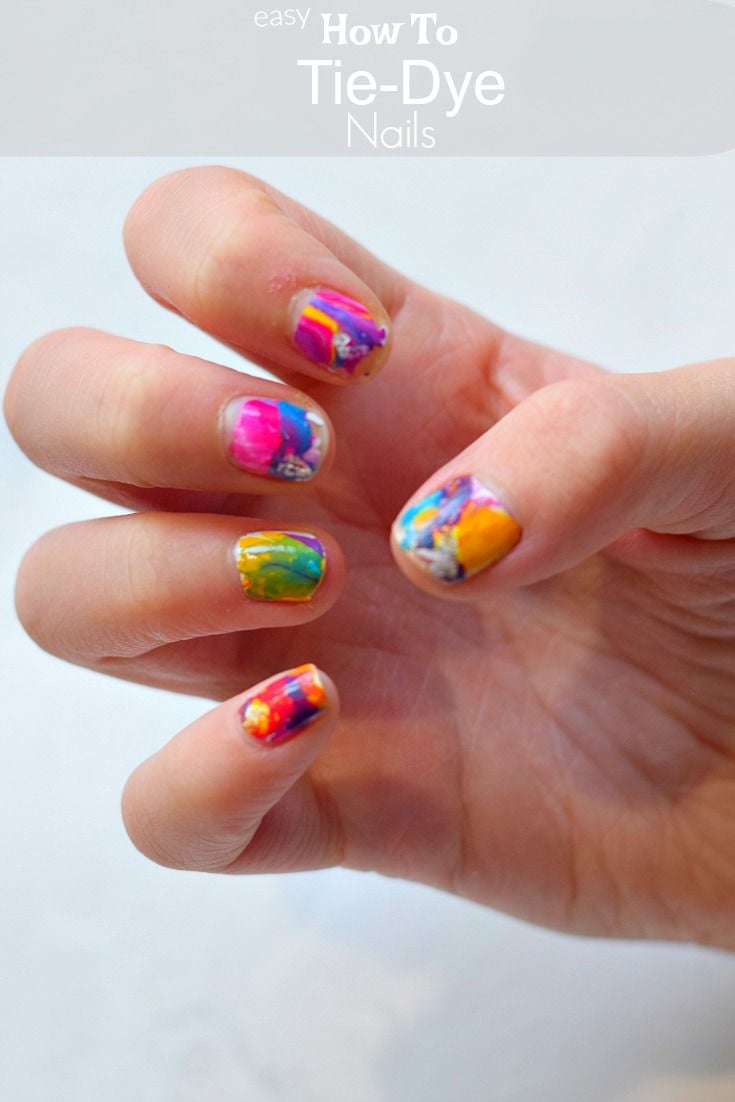
How To Tie-Dye Fingernails
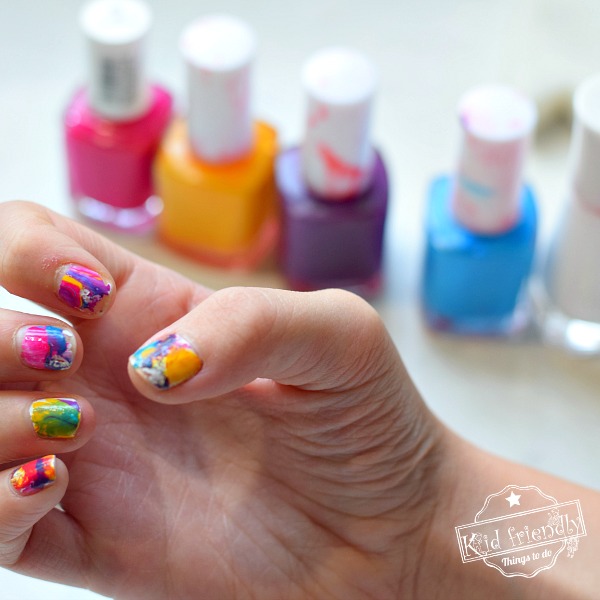
This is such a fun activity to do with the girls.
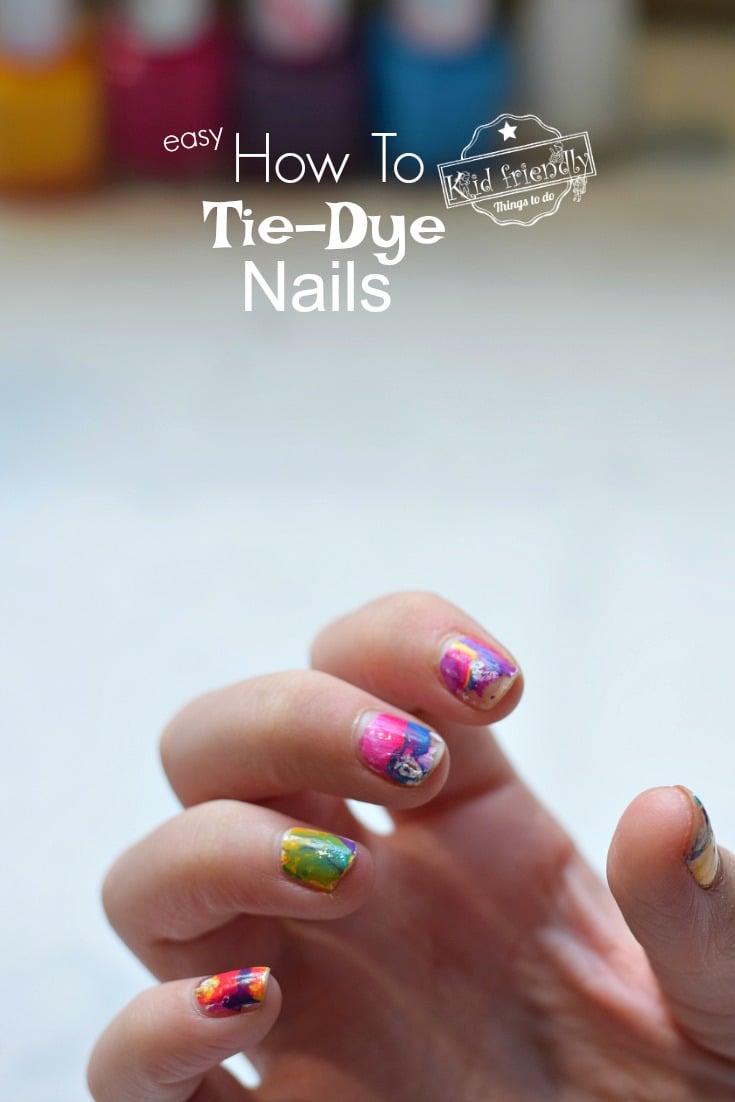
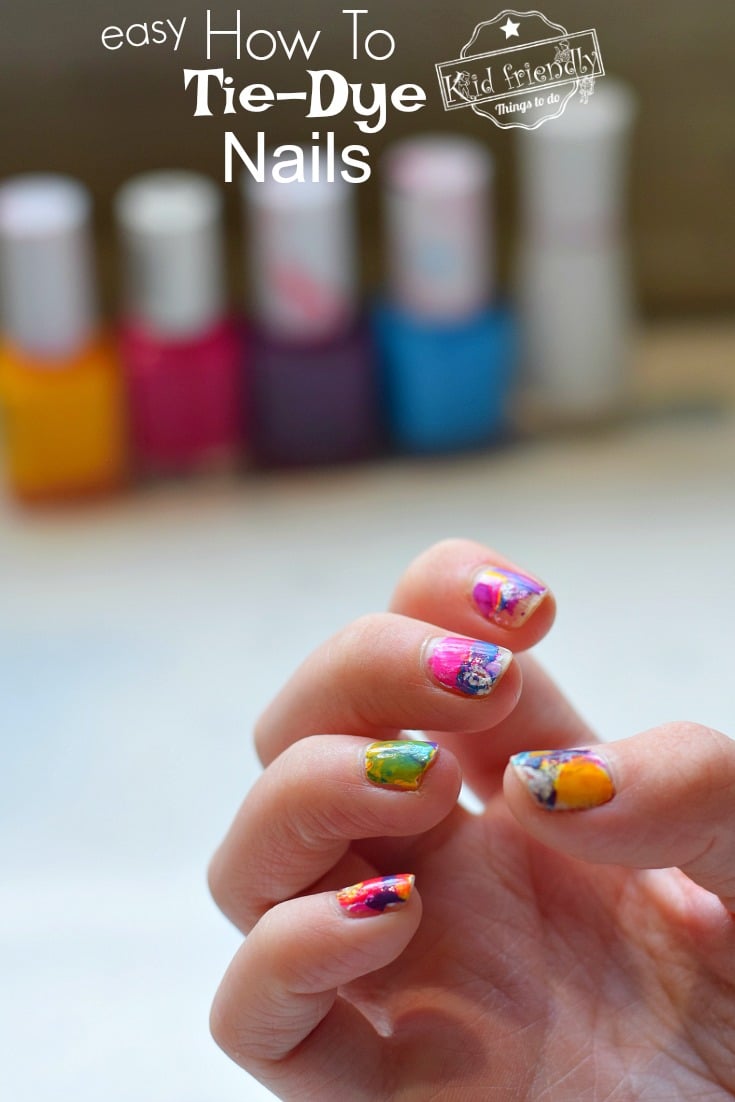
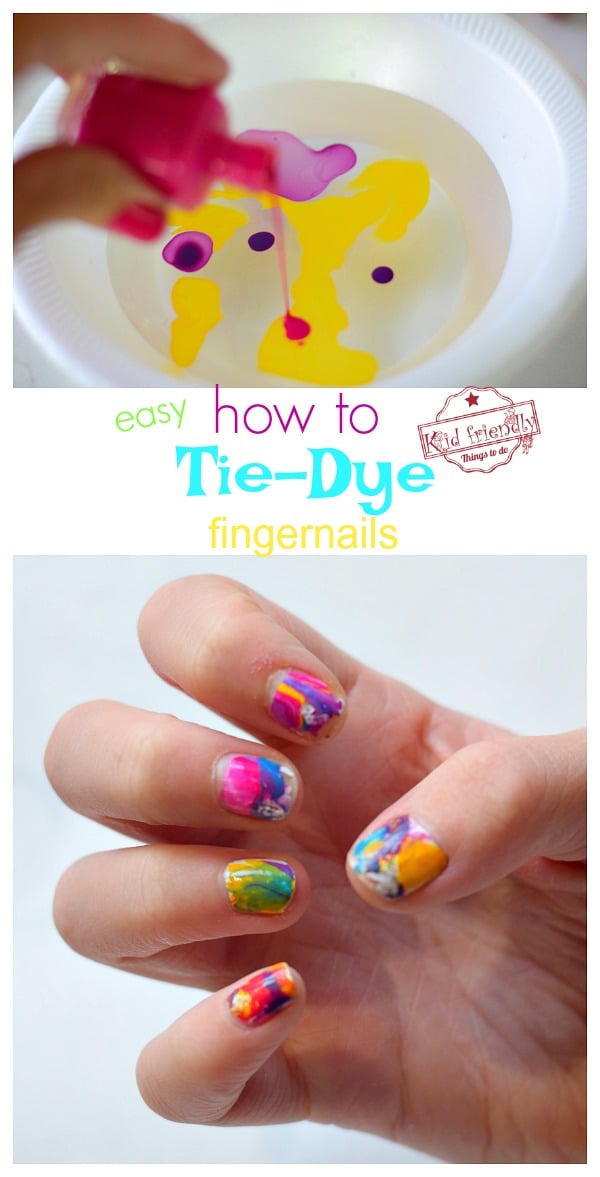
We used a water marbling technique and changed designs with each fingernail. Each time my daughter pulled her nail out of the water, we got excited to see the new design.
What is Water Marbling?
- Water marbling is using a paint that is not easily dissolved in water to make art on different types of materials
What Nail Polishes Work For Water Marbling Nails?
- Essie, OPI, Sally Hansen, China Glaze and Color Bar are all good nail polish brands to use for water marbling
Tips and Tricks for Tie-Dyeing Your Fingernails:
- Use Luke-Warm or Room Temperature Water
- Act quickly – the nail polish gets tacky quickly in the water
- Use tape or liquid latex to protect the skin around the fingernails from paint
- Use a Q-tip dipped in nail polish remover to clean up any extra pain on skin
- You can either drop nail polish randomly into the water or create a bulls-eye by dropping paint into the middle of the last drop of paint – centered in the bowl
- Use a toothpick to drag across colors for more fun designs
Are you looking for fun activities to do with the kids? Try…
How to Make NO-COOK Playdough with essential oils
Here’s What You’ll Need to Tie-Dye Fingernails
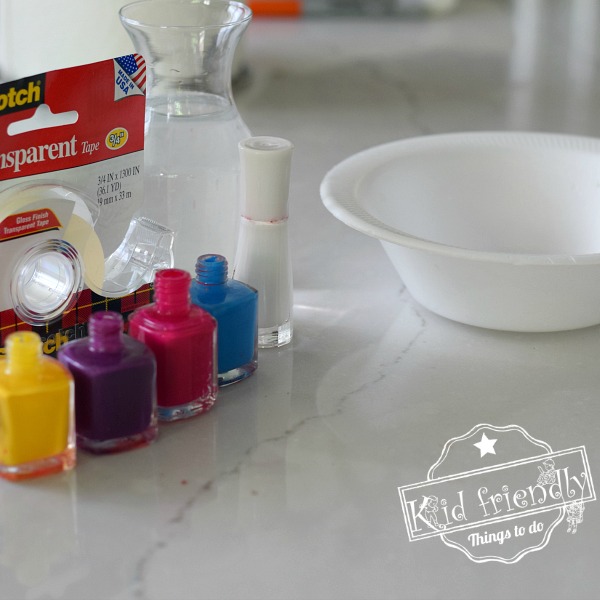
- white nail polish
- at least 2 more nail polish colors – try to pick bright colors (we used 4 colors)
- disposable bowl
- Luke warm water
- tape – Scotch Tape, Masking Tape or Painters Tape all work well
- toothpick
- newspaper or paper towel to protect work surface from nail polish
- Q-tips
- Nail Polish Remover
Instructions with photos:
- protect your work surface with newspaper, old magazines, or paper towels
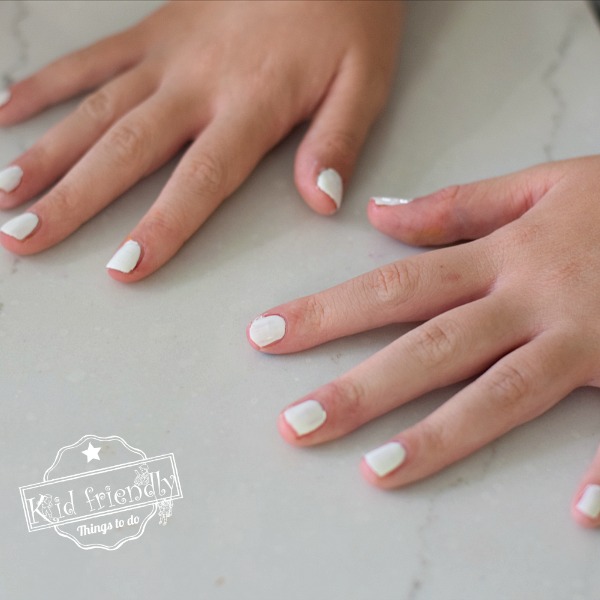
- Paint nails white and let dry
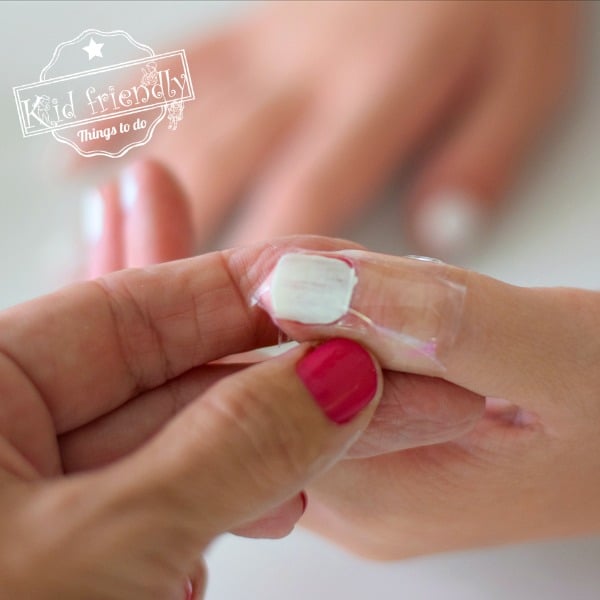
- Tape the skin around the fingernail
- *This is to protect the skin around the nail from getting polish on it
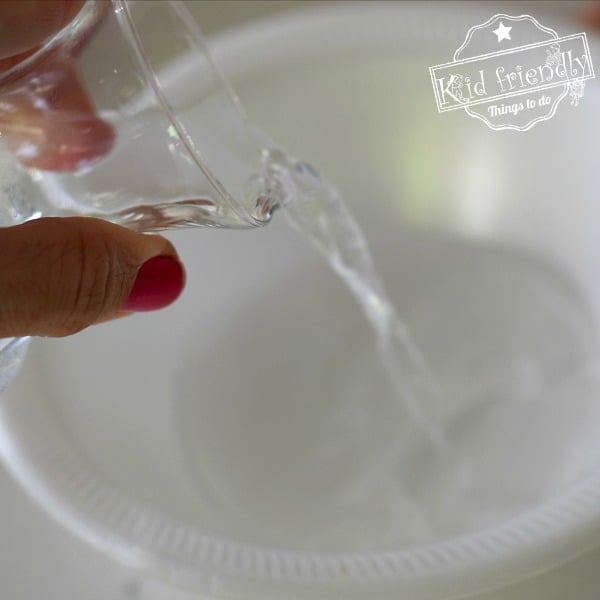
- Fill the bowl halfway with water
- *you just really need to fill it enough so the nail can be submerged
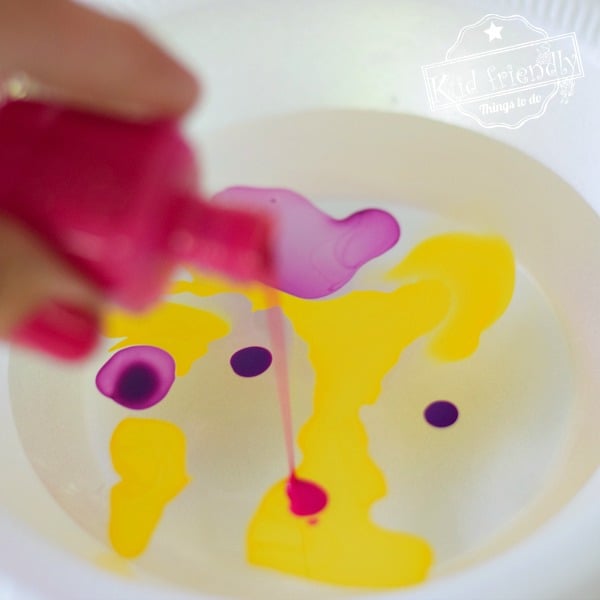
- Pour small amounts of nail polish into the bowl or drop paint into the bowl by holding the nail brush over the water
- Use a toothpick to make designs in the paint
- *you can pull the toothpick across the water, back and forth to sort of blend the colors together
- Place, a taped finger with exposed nail into colors
- While the finger is still in the middle of the paint, pull excess paint up and out of the bowl with a toothpick
- Lift the fingernail
- Pull tape off of the finger and use a Q-tip dipped in nail polish remover to clean any extra paint on the finger

- Repeat for each fingernail
How do you Water Marble Nails?
- First paint nails white and let dry
- Tape around nails to keep skin from picking up colors
- Using a disposable bowl, fill it with warm water – or room temperature water
- Drop nail polish lacquer into the middle of the bowl
- Use a toothpick to make designs
- Place, taped fingers with exposed nail into colors
- While the finger is still in the middle of the paint, pull excess paint up and out of the bowl with a toothpick
- Lift the fingernail
- Pull tape off of the finger and use a Q-tip dipped in nail polish remover to clean any extra paint on the finger
- Repeat steps 4-8 for each fingernail

This is fun, and I think my kids will love this idea!
We made these today. So, so cute! Thanks for the fun idea. Kids all love this!
I’m so happy they turned out! So fun!