Paper Plate Shark Craft
This post may contain affiliate links – please read my disclosure statement.
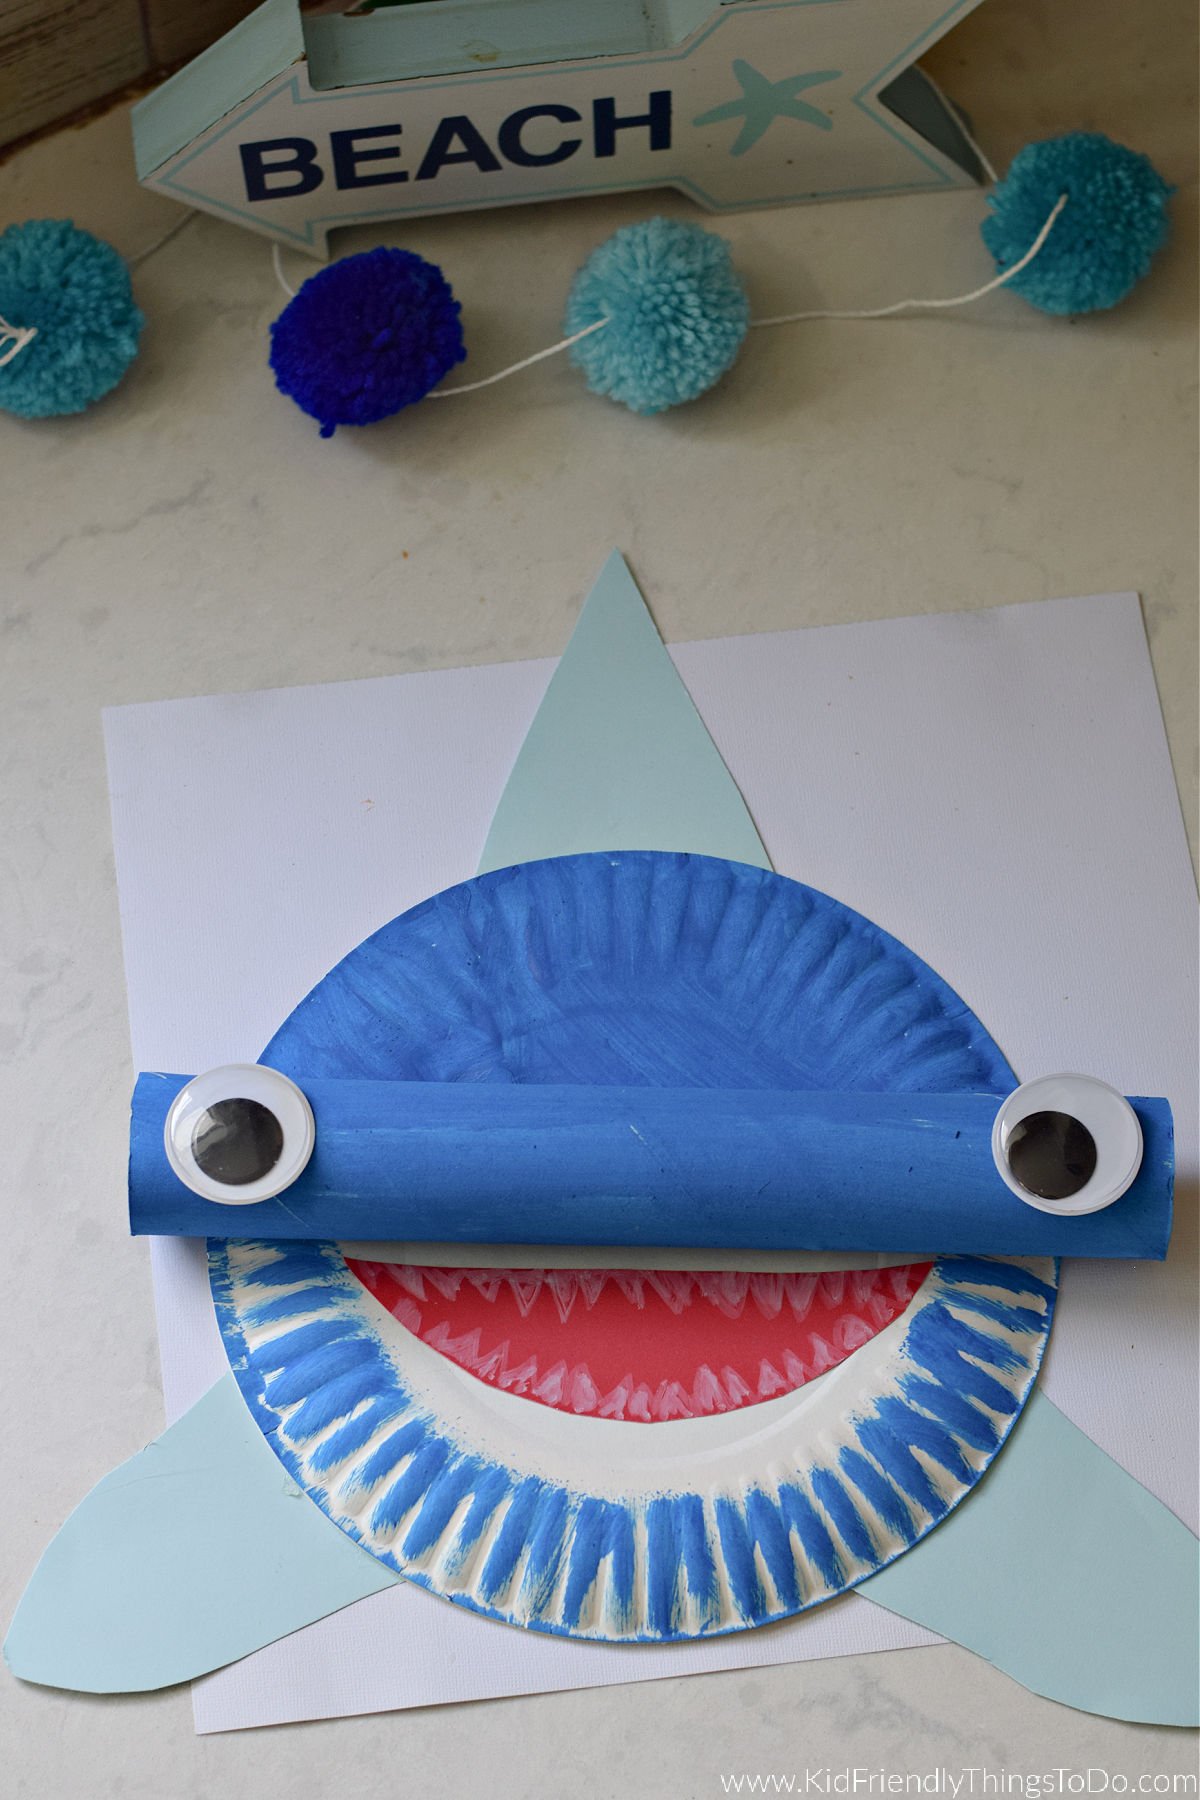
This adorable paper plate shark craft is perfect for kids of all ages and makes a great activity for home or the classroom. With just a few simple supplies, the kids can create their very own friendly shark.
When summertime rolls around, I love seeing all the colorful, ocean-themed summer crafts around the house. Like this pipe cleaner mermaid, coffee filter jellyfish suncatchers, and this Glove octopus craft.
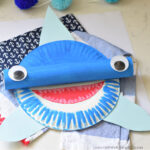
This hammerhead shark craft is the cutest little shark I’ve ever seen. Kids will love this paper plate shark’s big eyes and toothy grin.
Why you’ll love this look
Supplies You’ll Need for This Craft
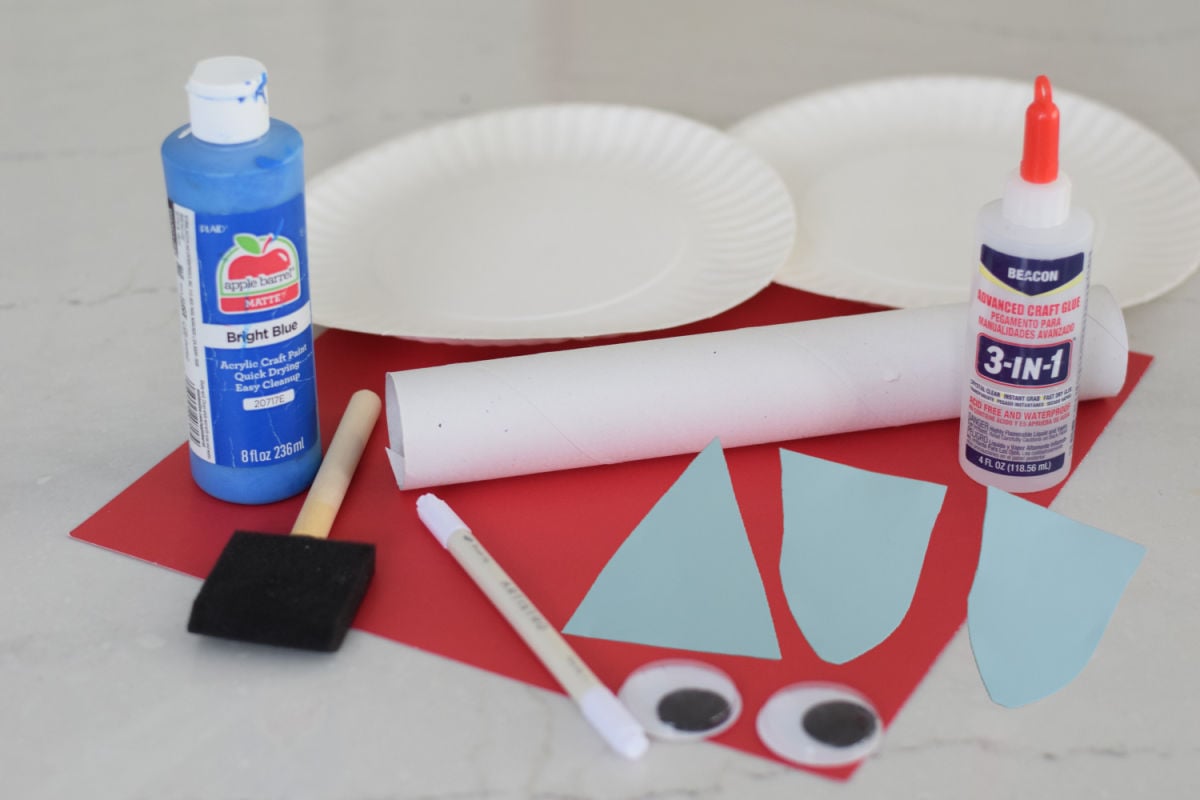
- Paper Plates
- Paper Towel Tube
- Blue Acrylic Paint
- Large Googly Eyes
- Blue Cardstock
- Red Paper
- White marker
- Paint Brush – I prefer using sponge paintbrushes. They cover a wider area than most hair brushes.
- Glue – Use a tacky glue that will stick almost immediately, such as Beacon 3-in-1 or a low-temperature glue gun, for this craft.
How to Make this Shark Craft
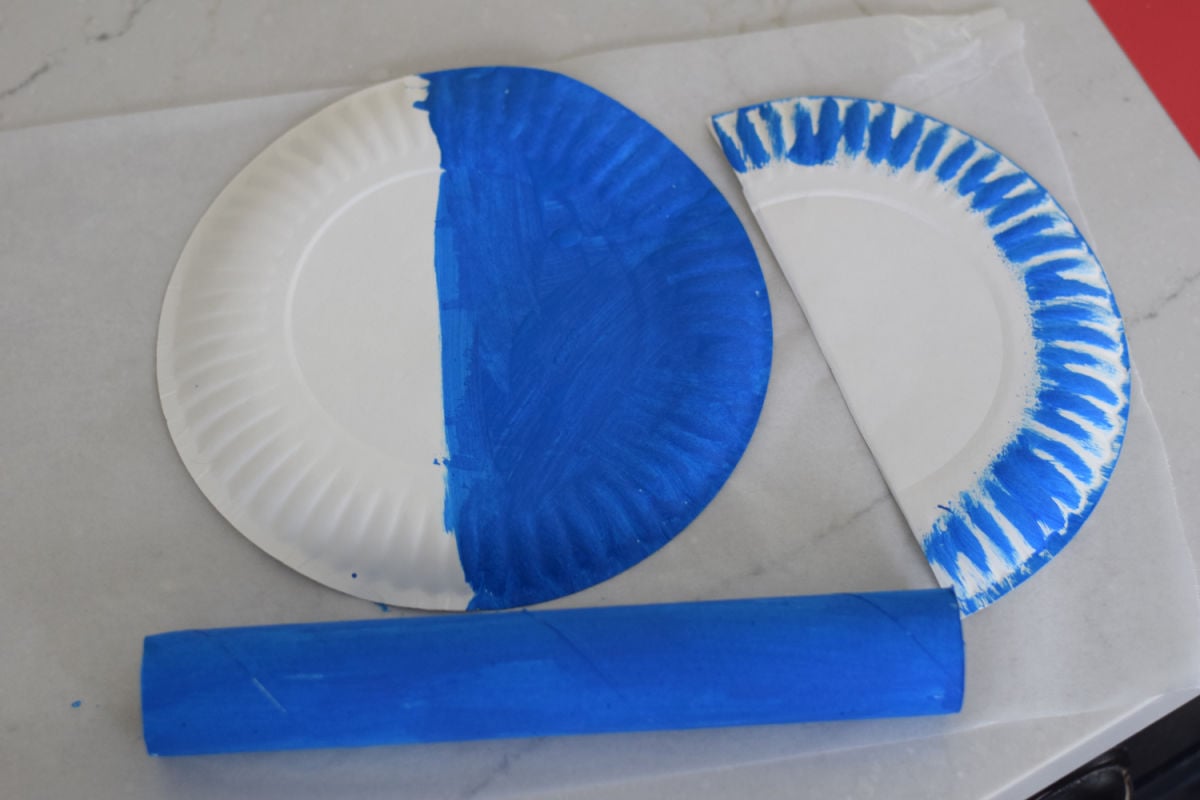
Paint one half of the first paper plate blue.
Paint the entire paper towel tube blue. Set aside to dry.
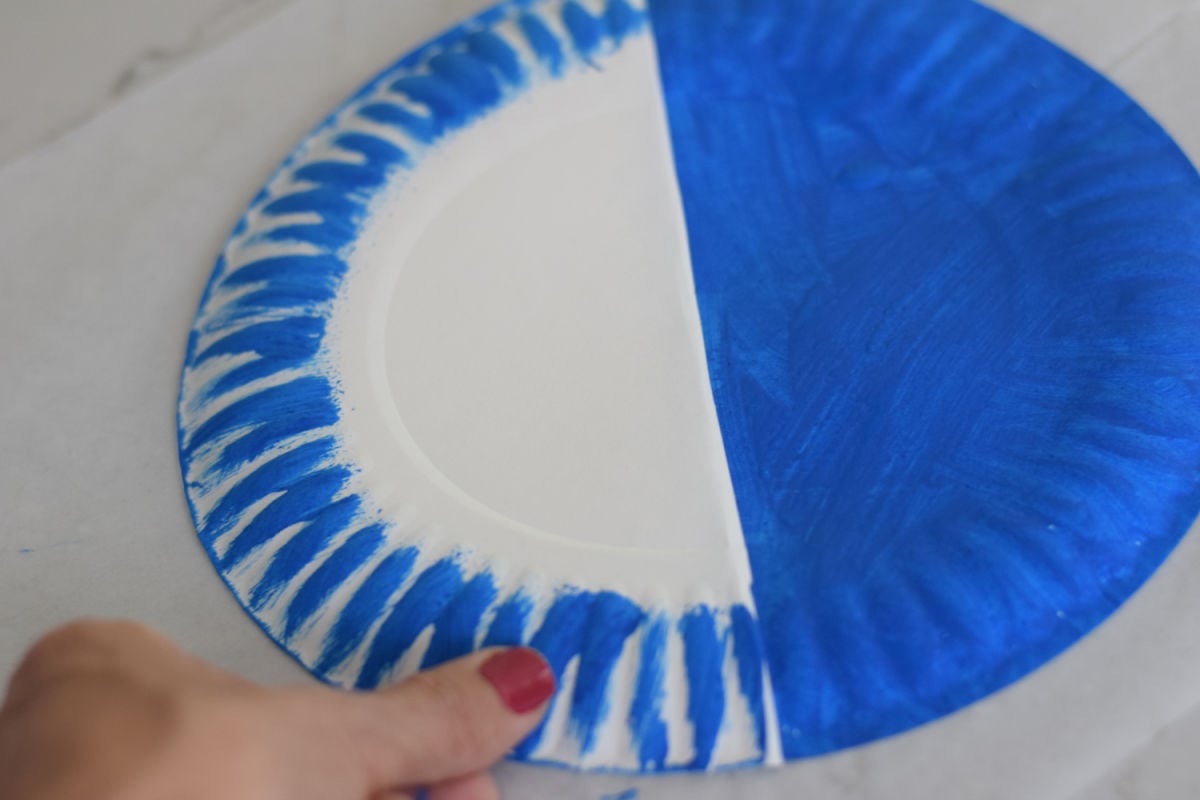
Cut the second paper plate in half. Paint the outer edge of one half with blue, leaving the center white.
Once dry, glue the painted half plate (with the white center) over the unpainted half of the whole plate.
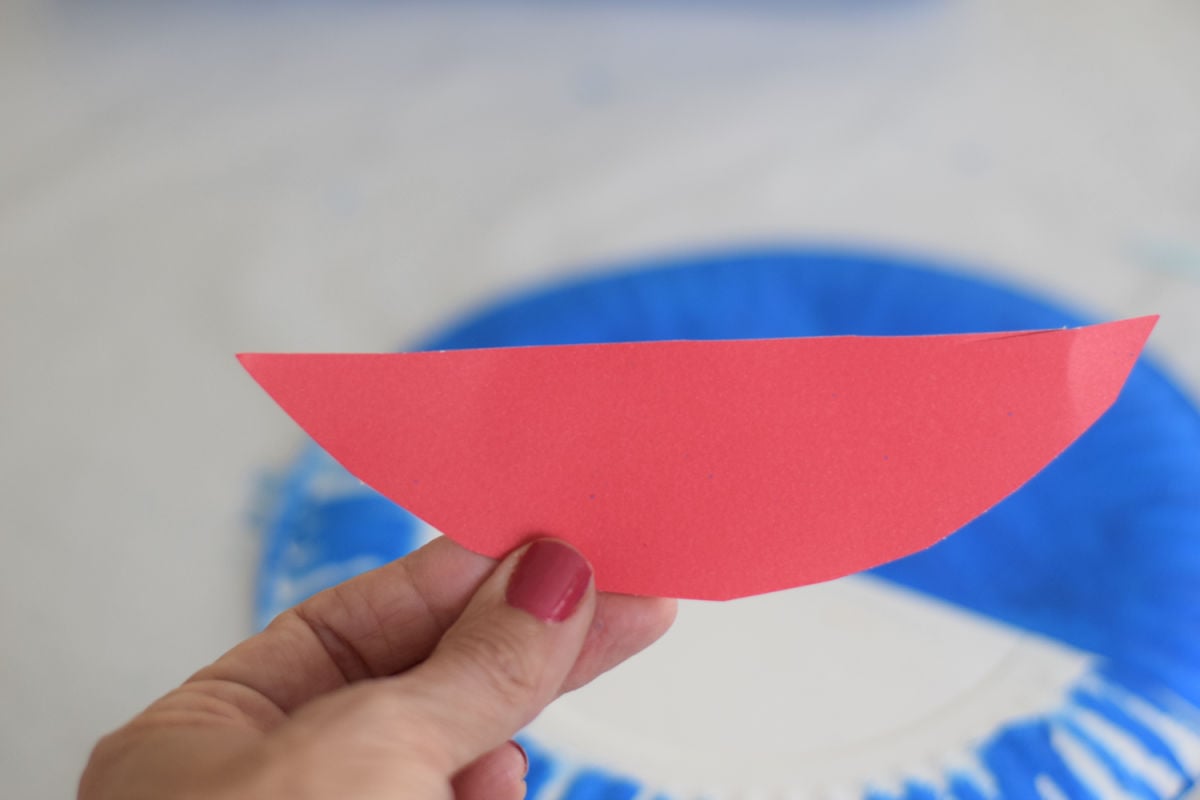
Cut a wide, grinning mouth shape out of red construction paper.
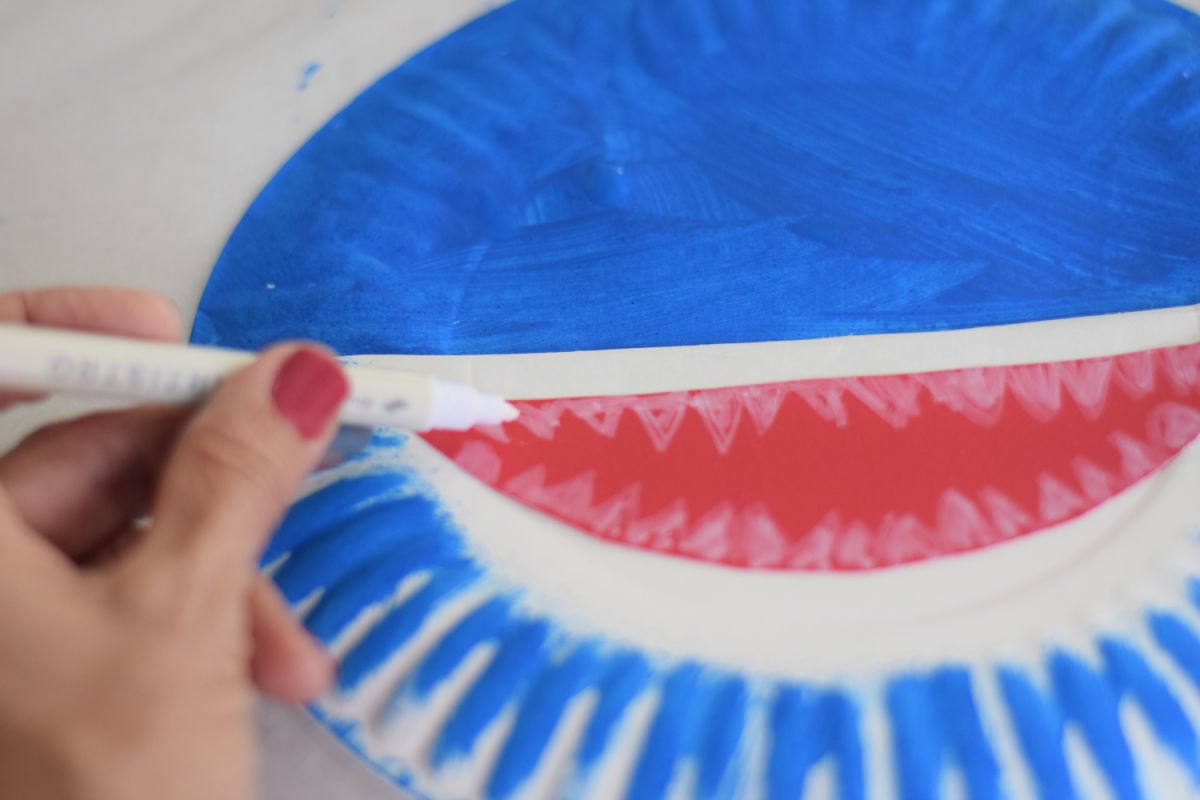
Glue the red mouth over the white area of the half plate.
Use a white marker to draw sharp teeth on the red mouth.
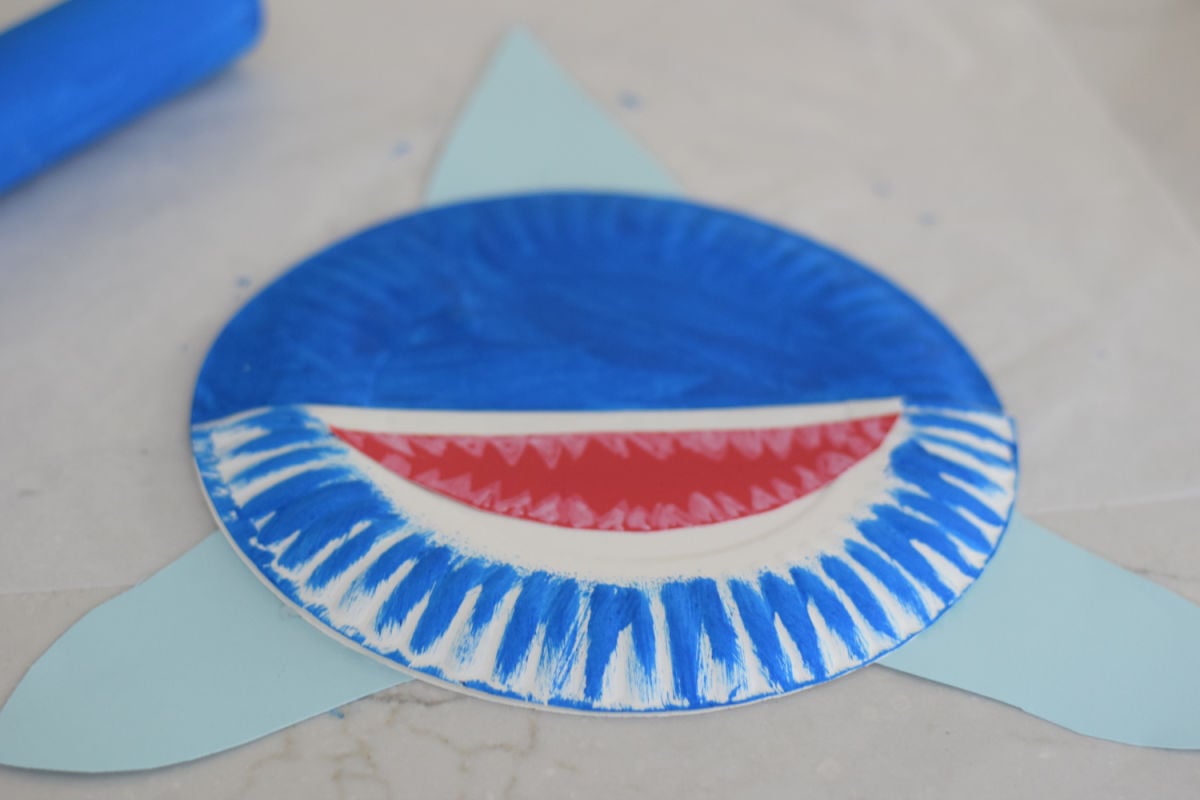
Cut one pointed fin (for the top) and two curved fins (for the sides) from blue paper or another plate.
Glue the pointed fin to the back/top edge of the full plate (above the shark’s head).
Glue the two curved fins to the underside of the plate near the mouth.
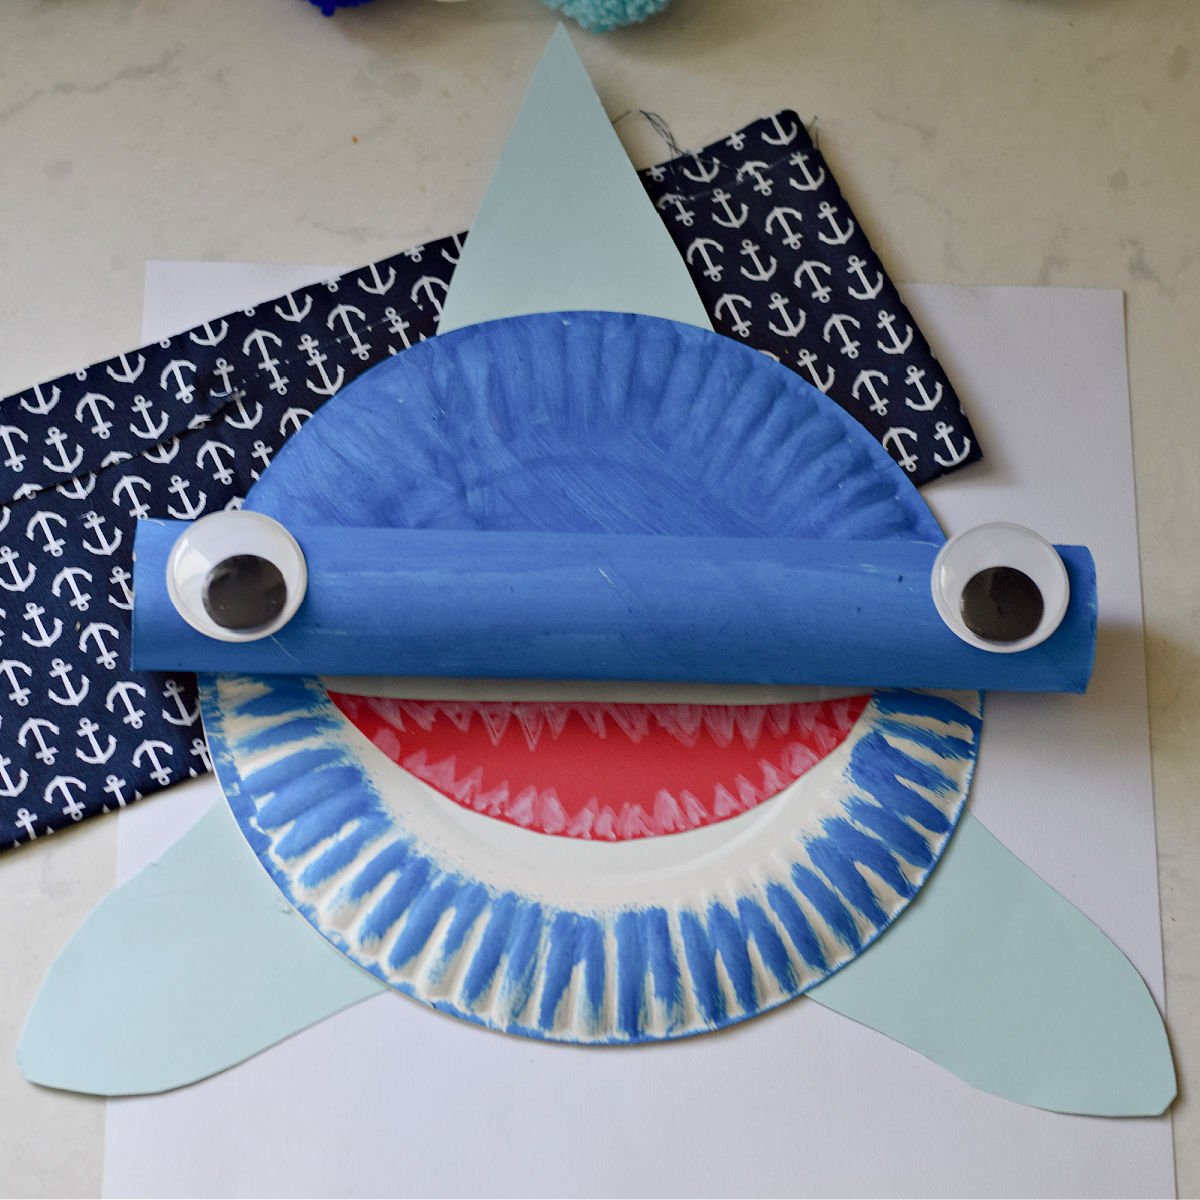
Glue the painted paper towel tube horizontally across the middle back of the full plate—this will act as the shark’s hammerhead.
Finish by gluing large googly eyes or paper eyes to both ends of the paper tube.

Pro-Tip
I like to use a tacky glue like 3-in-1 tacky glue when making crafts like this. I have found that school glue takes too long to dry, and glue guns are too much of a liability and can burn skin.
Variations
Colorful – Have fun with color and let the kids use whatever color their imagination leads them to
Moveable Fins – Instead of glue, use brads to attach fins. This way the fins can swish.
Underwater Background – Mount the shark on a lare blue cardstock and decorate with bubbles and other fish.
FAQs
FAQs
How Long Does This Craft Take to Make?
Probably 30-40 minutes, depending on how detailed you make the shark and the type of glue you use.
More Summer Crafts You’ll Enjoy

Printable Craft
Paper Plate Shark Craft
Materials
- Paper Plates
- Paper Towel Tube
- Blue Acrylic Paint
- Large Googly Eyes
- Blue Cardstock
- Red Paper
- White marker
- Paint Brush I prefer using sponge paintbrushes. They cover a wider area than most hair brushes.
- Glue
Instructions
- Paint one half of the first paper plate blue.
- Paint the entire paper towel tube blue. Set aside to dry.
- Cut the second paper plate in half. Paint the outer edge of one half with blue, leaving the center white.
- Once dry, glue the painted half plate (with the white center) over the unpainted half of the whole plate
- Cut a wide, grinning mouth shape out of red construction paper.
- Glue the red mouth over the white area of the half plate.
- Use a white marker to draw sharp teeth on the red mouth.
- Cut one pointed fin (for the top) and two curved fins (for the sides) from blue paper or another plate.
- Glue the pointed fin to the back/top edge of the full plate (above the shark’s head).
- Glue the two curved fins to the underside of the plate near the mouth.
- Glue the painted paper towel tube horizontally across the middle back of the full plate—this will act as the shark's hammerhead.
- Finish by gluing large googly eyes or paper eyes to both ends of the paper tube