Making A Paper Plate Christmas Tree
This post may contain affiliate links – please read my disclosure statement.
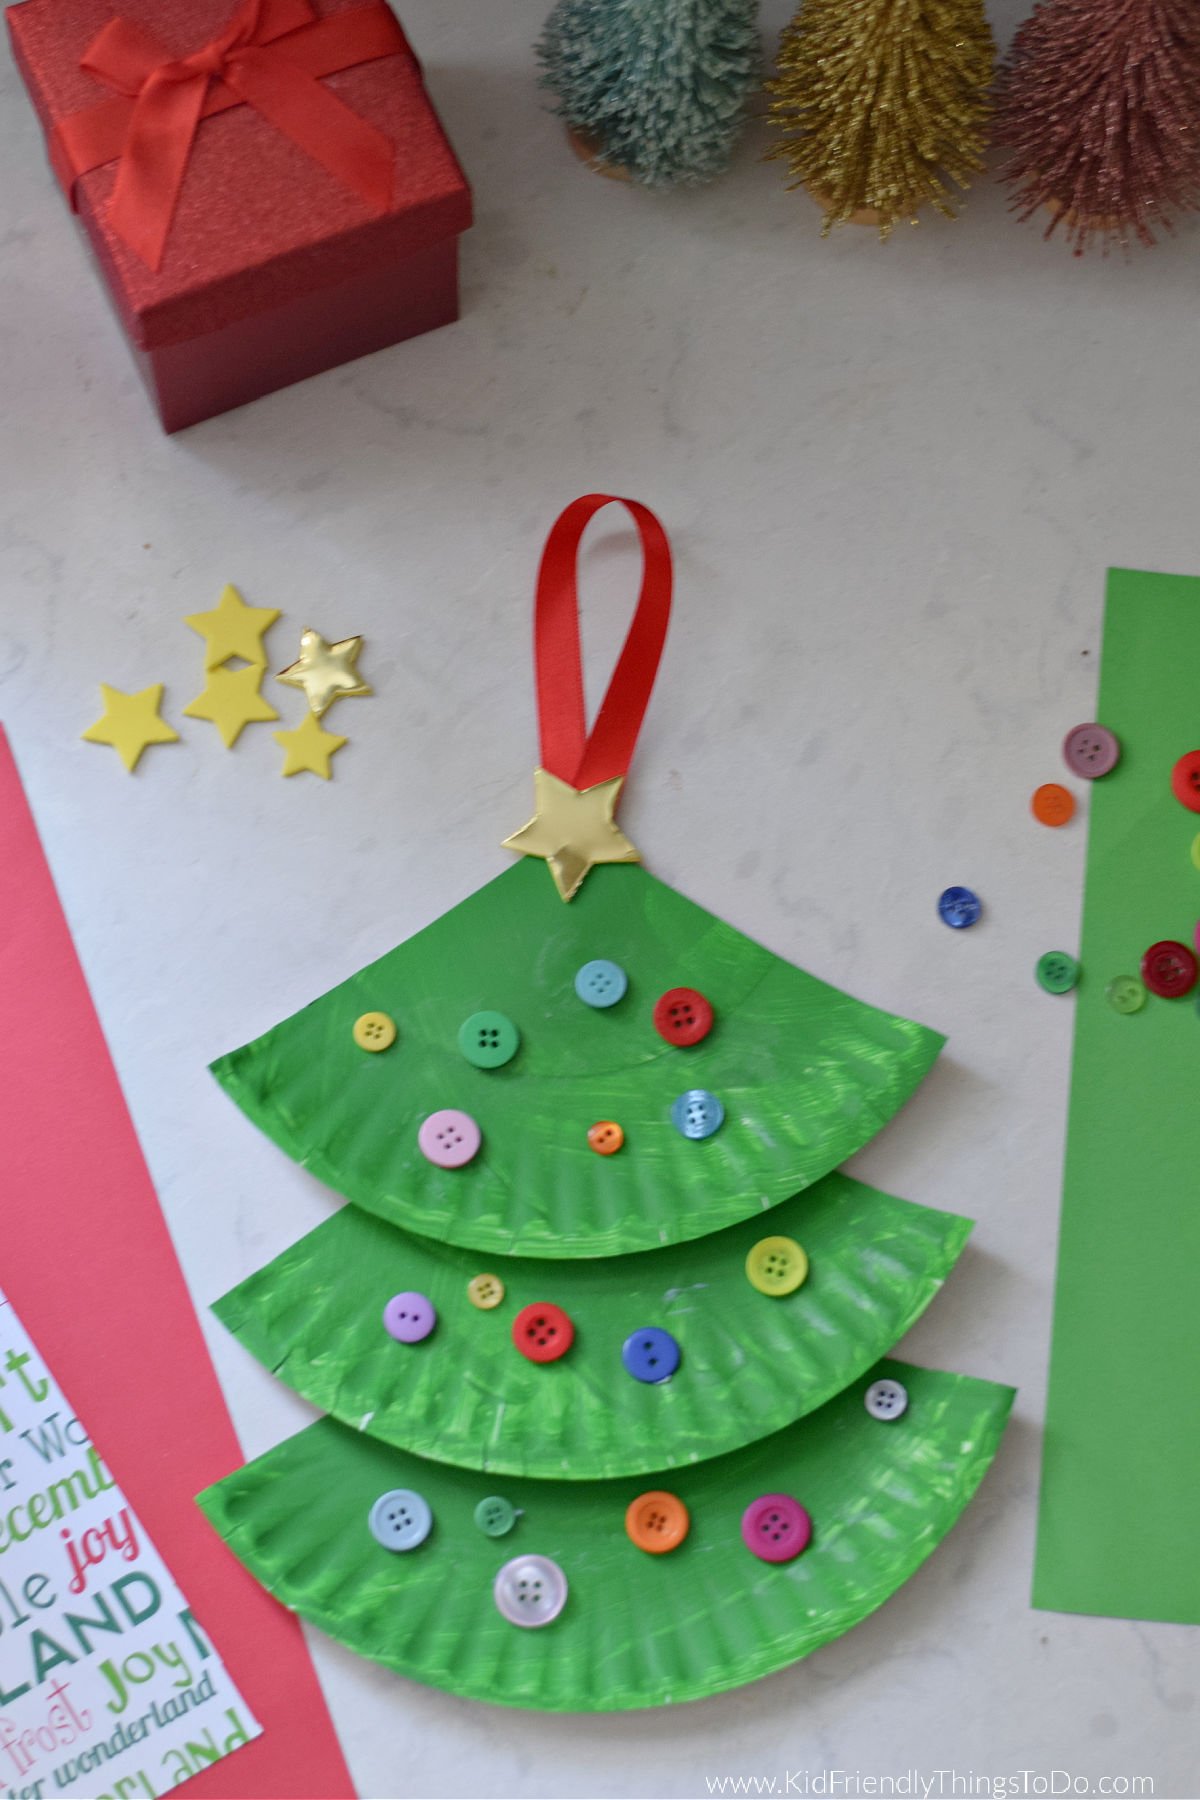
This Paper Plate Christmas Tree Craft is perfect for kids to make. With just a few supplies, you can create an adorable Christmas tree craft that doubles as a decoration or a fun gift.
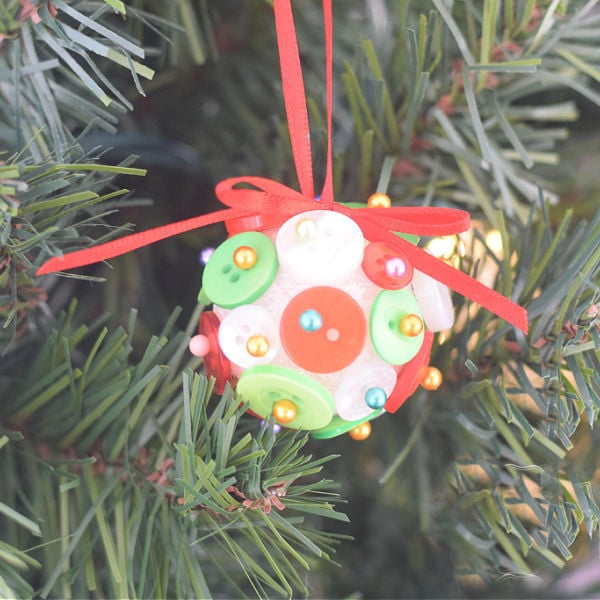
When it’s time for Christmas, we are excited to get cozy and start crafting fun crafts like these paper plate Christmas tree crafts, this paper plate angel tree topper, these cute pipe cleaner wreath ornaments, and this DIY Rudolph Ornament.
Who doesn’t love a paper plate craft like this Christmas tree with a paper plate?! This project turns a simple paper plate into the most adorable paper plate Xmas tree to hand and enjoy during the holiday season.
Why you’ll love this craft
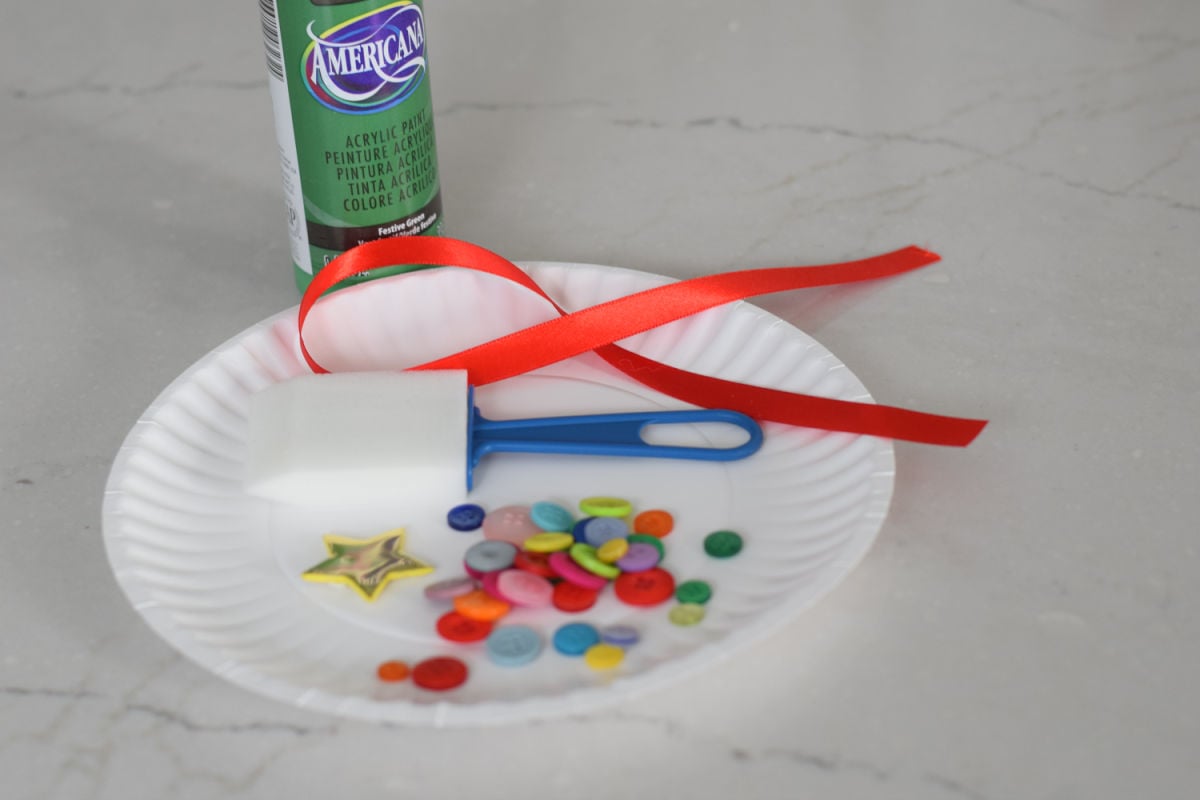
Supplies You’ll Need
- Paper Plate
- Green Paint – I used acrylic
- Scissors
- Glue – Try to find a tacky glue that holds quickly.
- Buttons or other decorations (for ornaments)
- Foil Star Sticker (for the top)
- Ribbon (for Hanging)
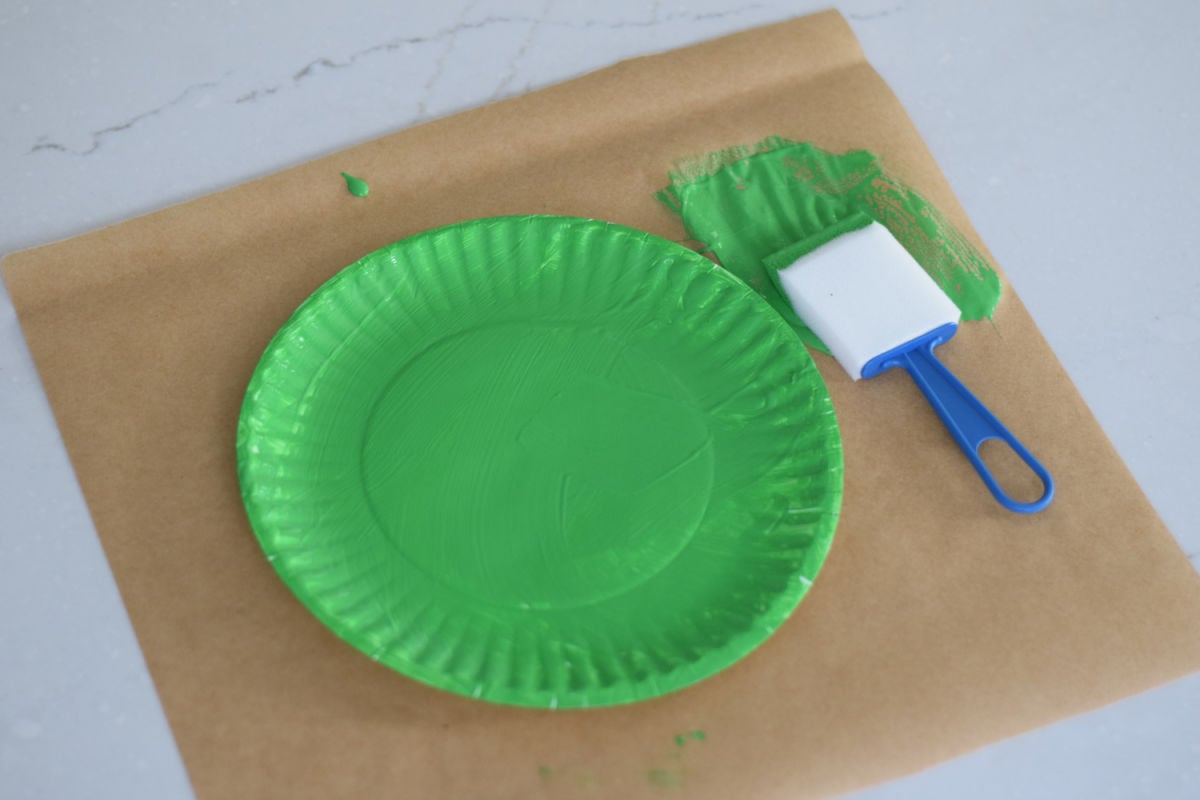
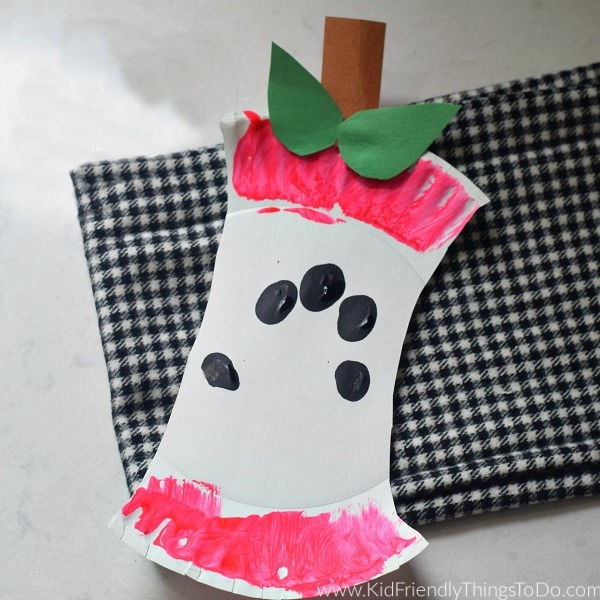
1. Paint the Plate
Start by painting your paper plate green. Make sure to cover the entire surface and let it dry completely. This will be the base of your Christmas tree.
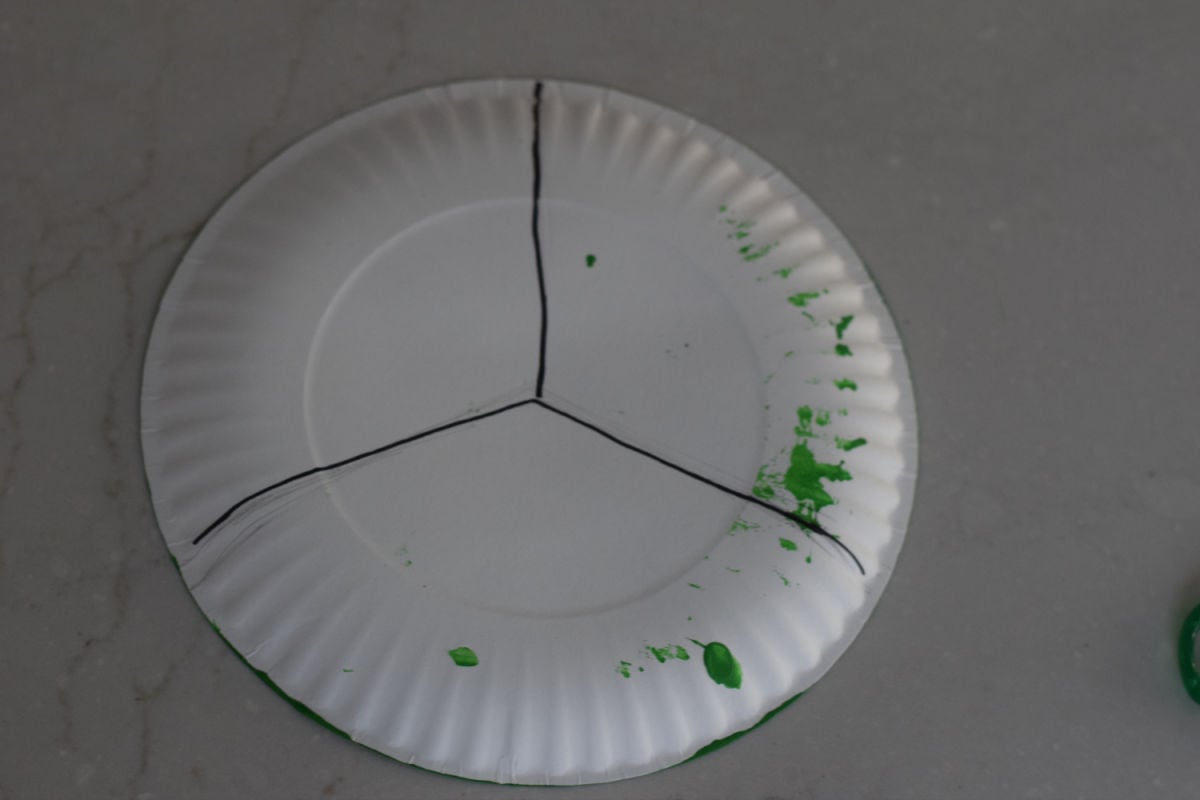
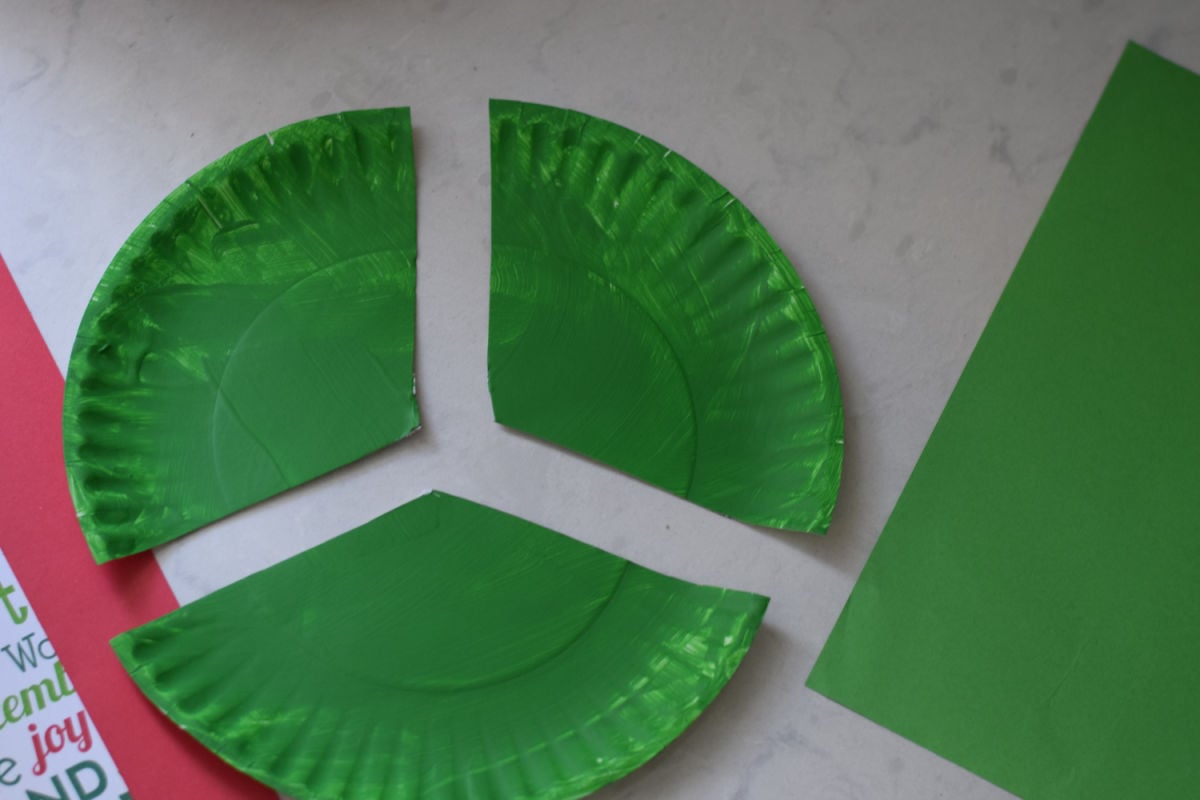
2. Cut the Plate
Once dry, cut the paper plate into three triangular sections.
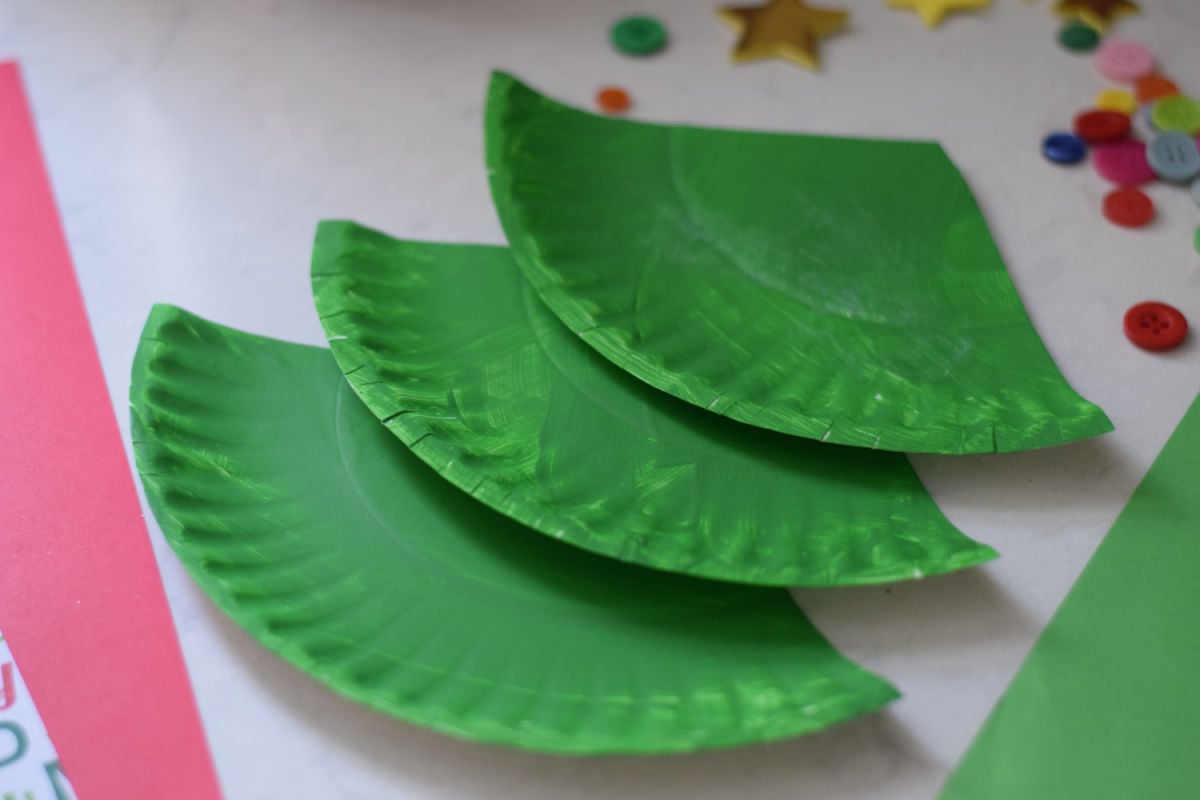
3. Stack and Glue
Stack the triangles to create a layered tree effect. Use glue to secure each layer in place.
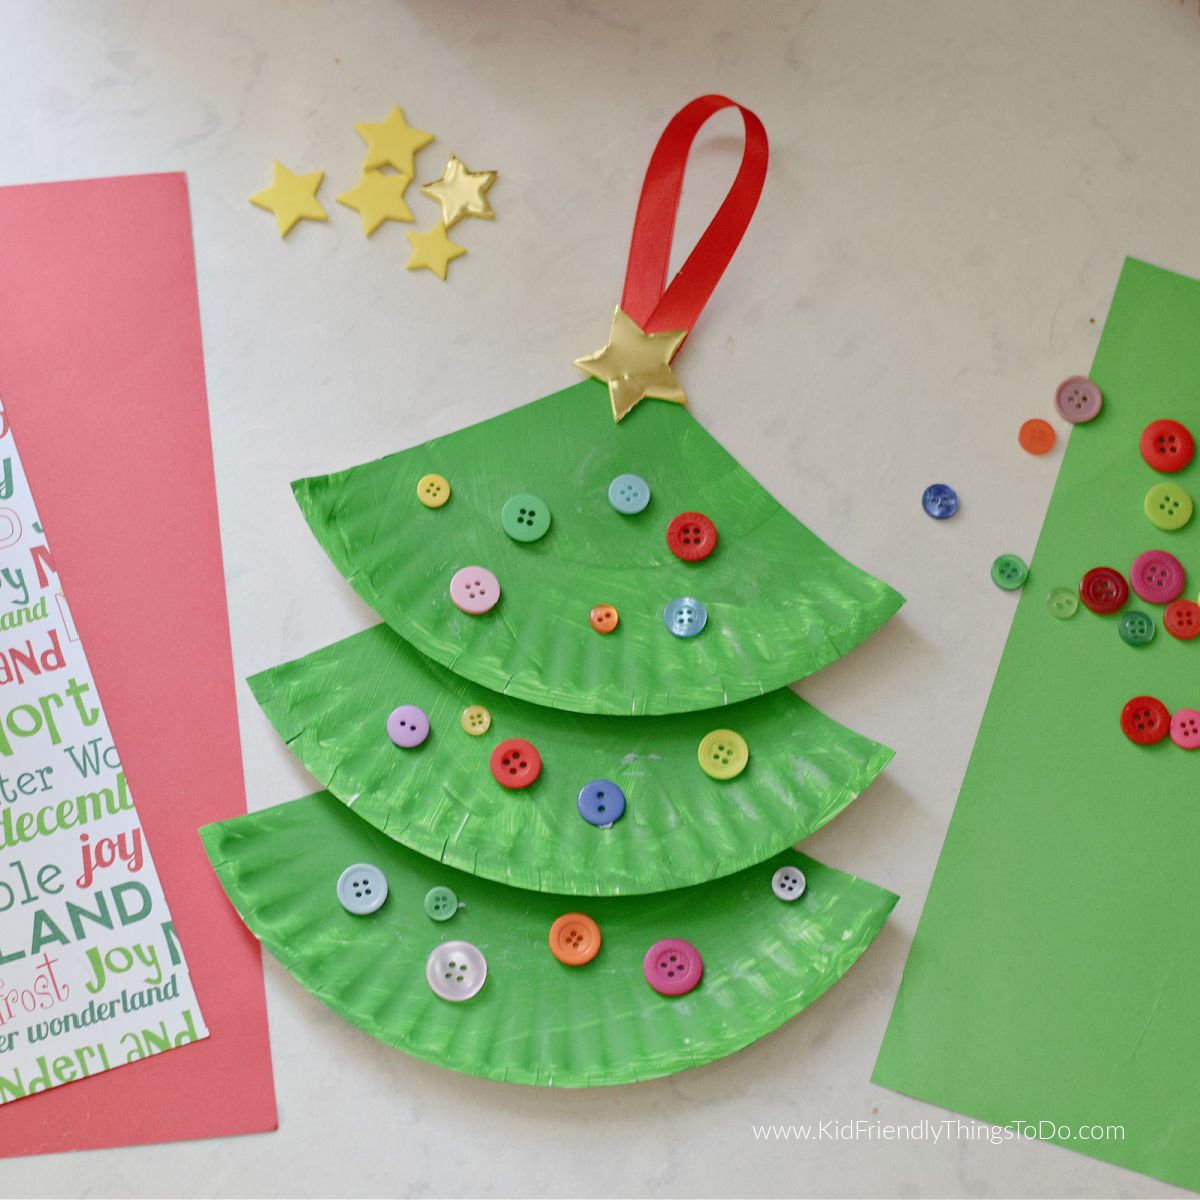
4. Decorate with Buttons
Add colorful buttons to your tree as ornaments. Arrange them however you like to make your tree vibrant and festive.
5. Add the Star and Ribbon
Top your tree with a shiny foil sticker star. Then attach a piece of ribbon to the back so you can hang your tree anywhere-on the wall, a doorknob, or even as a cute ornament on a larger Christmas tree.
Variations
Glitter: Use glitter to make the tree sparkle.
Plate: For an easier craft, use green plates from Dollar store, or Christmas printed plates.
FAQs
More Christmas Crafts You’ll Enjoy

Printable Instructions

Making A Paper Plate Christmas Tree
Equipment
- Pair of scissors
- glue a strong glue that will hold plate pieces together like tacky glue.
Materials
- Paper Plate
- Green Paint – I used acrylic
- Buttons or other decorations
- Foil Star Sticker
- Ribbon for Hanging
~ Melissa – KidFriendlyThingsToDo.com

Great craft idea! I’ll have to do this with my daycare kids next week! Thanks!!
Glad you like it! Have fun…Merry Christmas!