Apple Print Craft: Adorable Mason Jar Art for Kids
This post may contain affiliate links – please read my disclosure statement.
I have a soft spot for anything mason jar shaped — it’s instantly country and nostalgic to me. My mom canned everything out of our garden growing up, so jars were never just storage in our house; they were how she held onto summer all winter. That’s part of why I keep coming back to the jar shape for apple crafts like this one.
Apple picking is one of our non-negotiable fall traditions — we go every single year as a family. It’s usually where a craft like this one starts: a bag of apples in the backseat and a kid asking what we’re doing with them besides eating them. Turning an apple into a paint stamp is my favorite way to stretch that tradition a little further.
As a mom of four and a former Girl Scout leader, I’ve made more children’s apple crafts than I can count. This simple apple stamp craft is exactly the kind of project that kids actually finish: minimal preparation for the grown-ups and plenty of hands-on fun for the kids.
This easy fall craft is perfect for:
- Preschool and kindergarten classrooms
- Apple or harvest-themed units
- Homeschool activities
- Daycare craft time
- After-school programs
- A family trip to the apple orchard
What You’ll Need for This Apple Stamp Art Craft
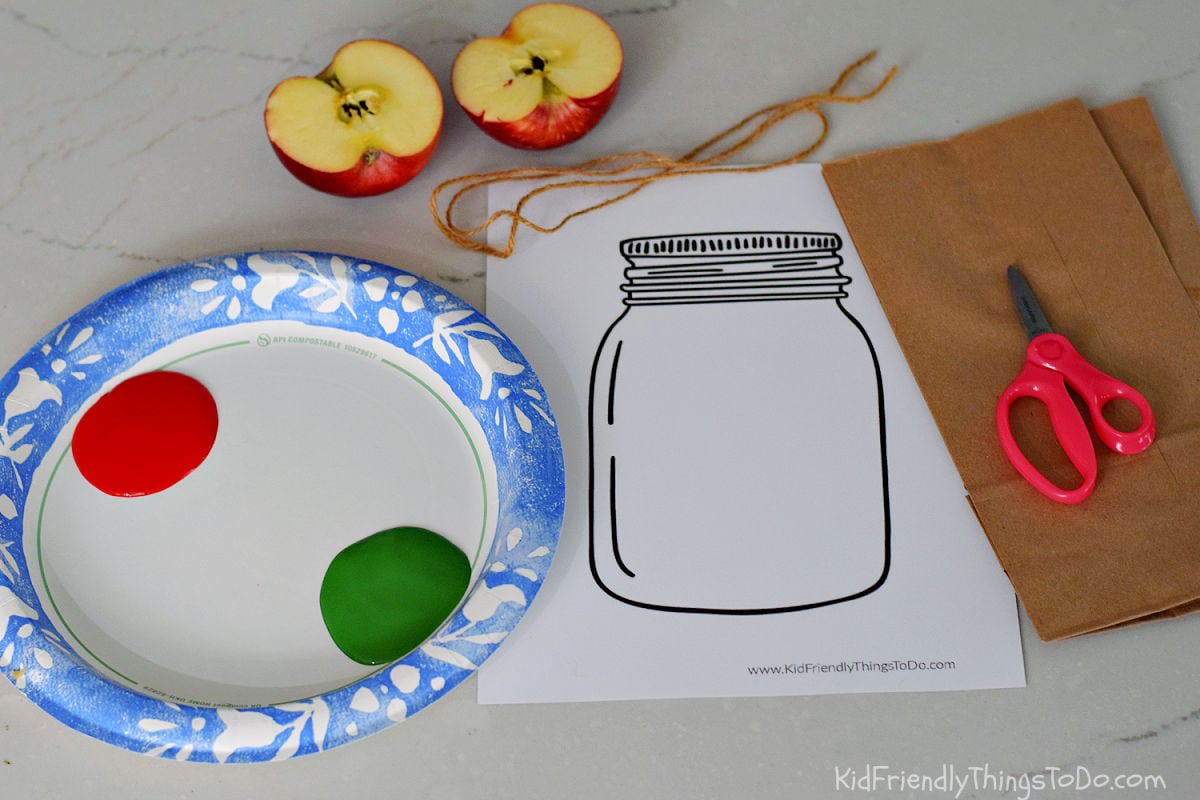
You only need a few basic craft supplies and a real apple to make this project.
- One or two apples – Get smaller apples for this craft so you can fit several in the jar
- Red and green washable craft paint
- Free mason jar printable template
- White cardstock or heavyweight paper
- Paper plates or shallow paint trays
- Brown cardboard, cardstock, or construction paper
- Twine, ribbon, or yarn
- A decorative button—optional
- Scissors
- Glue
- Newspaper or a disposable table covering
Materials for this Apple Craft, Purpose, and Easy Swaps
| 🍎 Material | 🎨 What It Does | 💡 Easy Swap |
|---|---|---|
| Apple halves | Create naturally textured apple prints inside the jar | Try a small pear for a different fall fruit shape |
| Washable paint | Adds bright color without making cleanup too difficult | Tempera paint also works well |
| Mason jar printable | Provides the jar shape and a defined space for stamping | Draw a simple jar outline on cardstock |
| Brown paper lunch bag | Creates a textured, rustic-looking jar lid | Use a piece of a brown cardstock or thin cardboard |
| Twine | Adds a country-style finishing touch to the jar | Substitute yarn, raffia, or ribbon |
| Decorative button | Gives the lid an extra bit of dimension | Use a paper circle or leave it off |
How to Make an Apple Stamp Mason Jar Craft
This craft is simple enough for preschoolers with adult supervision and can easily be completed during one classroom or family craft session.
1. Print the Mason Jar Template
Print the free mason jar template onto white cardstock or heavyweight paper.
Cardstock will hold up better than regular printer paper when children press the painted apples onto it.
2. Prepare the Apples
Have an adult cut each apple in half vertically, from the stem down through the bottom. This creates the familiar outer shape of an apple.
Pat the cut surface with a paper towel to remove excess moisture. This helps the paint cling to the apple and produces a clearer print.
3. Pour the Paint
Pour a small amount of red paint onto one paper plate and green paint onto another.
Spread the paint into a thin, even layer that is large enough for the cut side of the apple.
4. Make a Practice Print
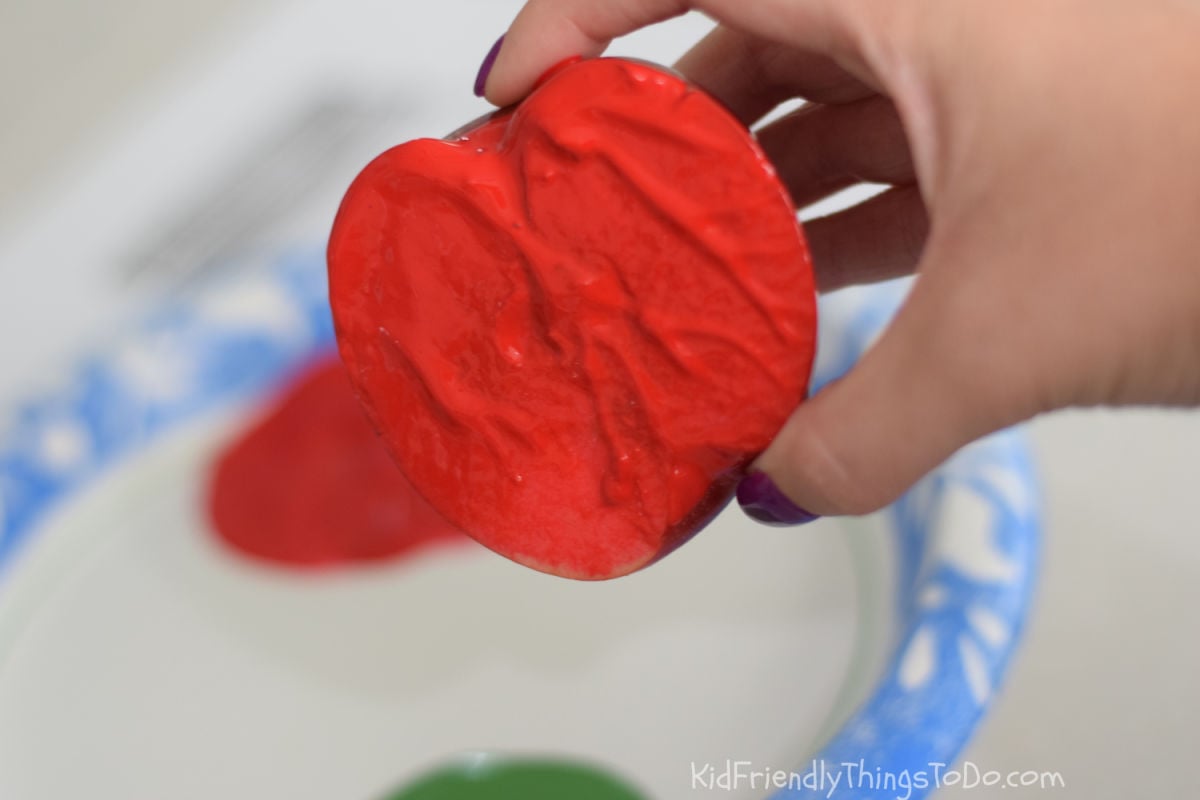
Dip the cut side of an apple half lightly into the paint.
Press it onto a piece of scrap paper before working on the printable. This lets children practice how much paint and pressure to use.
5. Stamp the Mason Jar
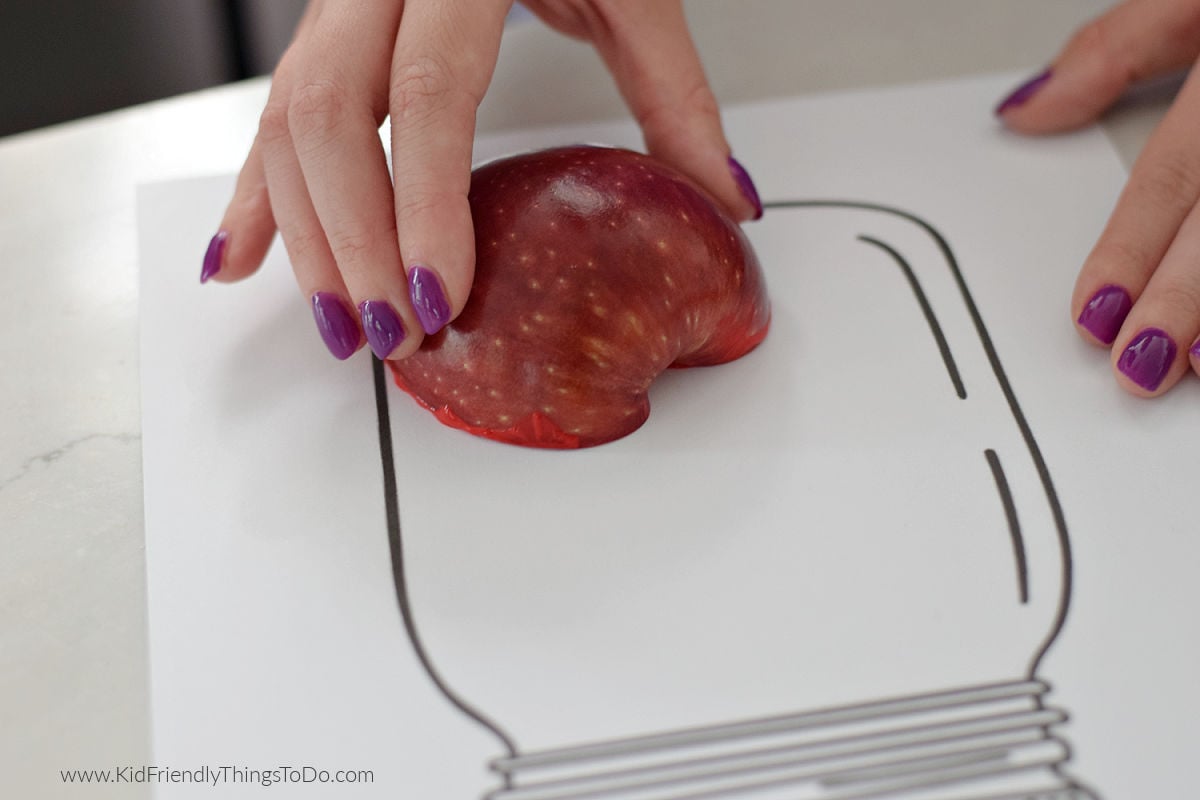
Dip the apple into the paint again, lift it straight up, and press it firmly onto the mason jar printable.
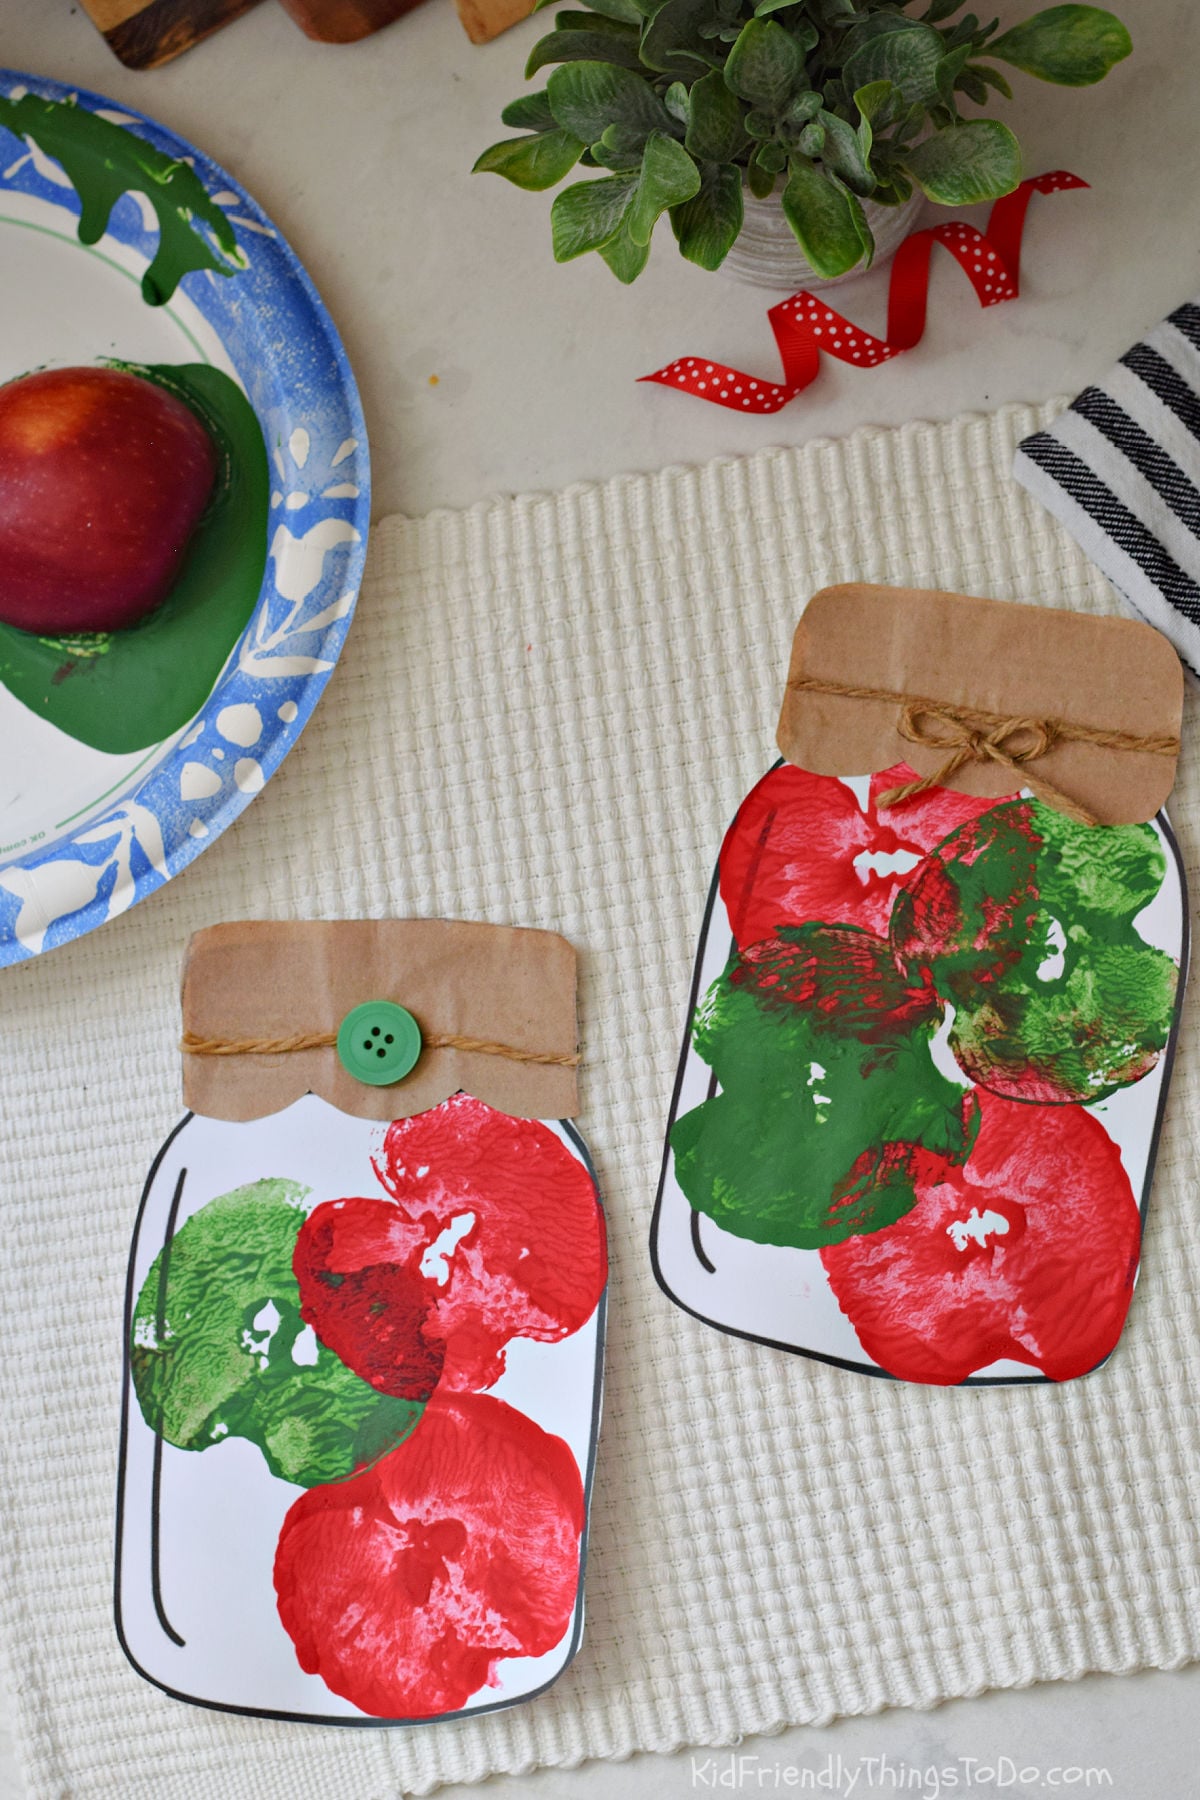
Continue stamping red and green apples inside the jar. The prints can overlap slightly to make the jar appear full of freshly picked apples.
6. Let the Paint Dry
Place the apple print craft on a flat surface and allow the paint to dry completely.
Drying time will depend on how thickly the paint was applied.

Quick Tip: If you don’t want the colors to blend, let each color dry before moving on to the next.
7. Measure and Cut the Jar Lid
Place the brown paper over the top of the mason jar printable. Measure the width and height needed to cover the lid area, and mark those measurements with a pencil.
Cut out the brown paper, rounding the corners slightly so it follows the shape of the jar.
8. Attach and Decorate the Lid
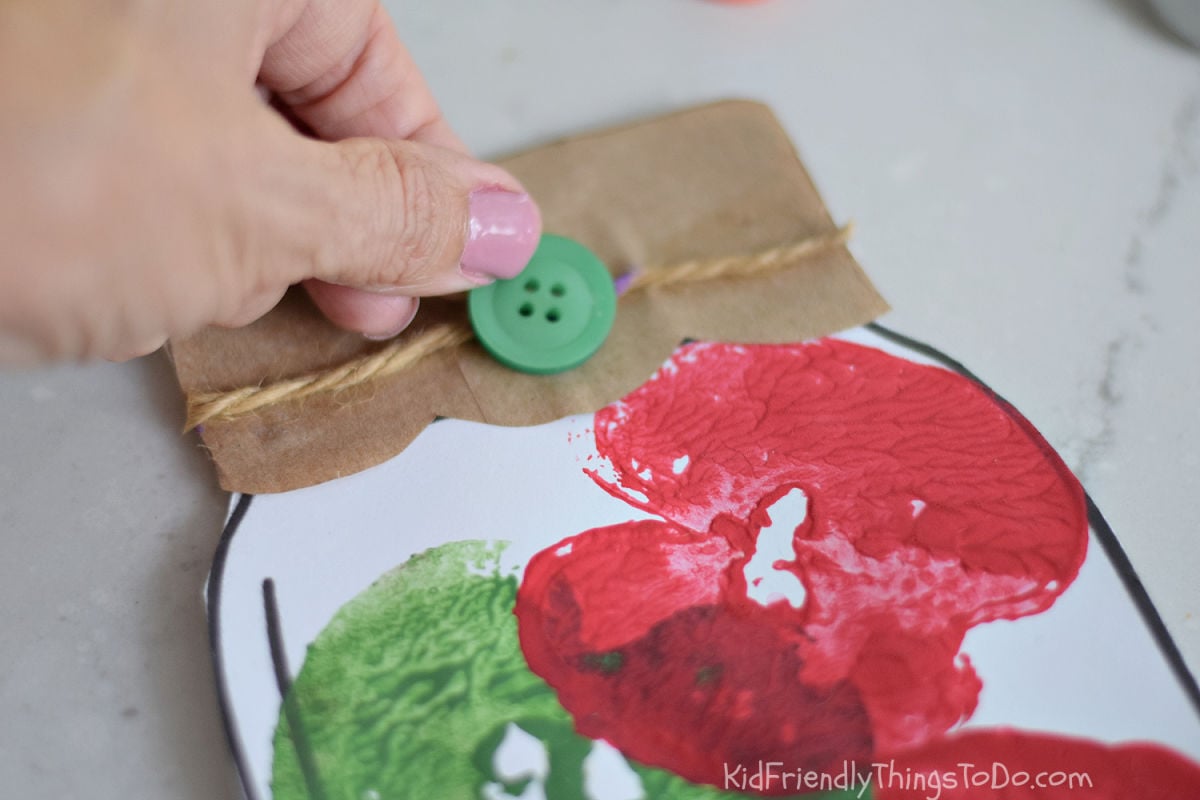
Glue the brown paper over the top of the mason jar. Glue twine to the lid and tie it in a knot or bow.
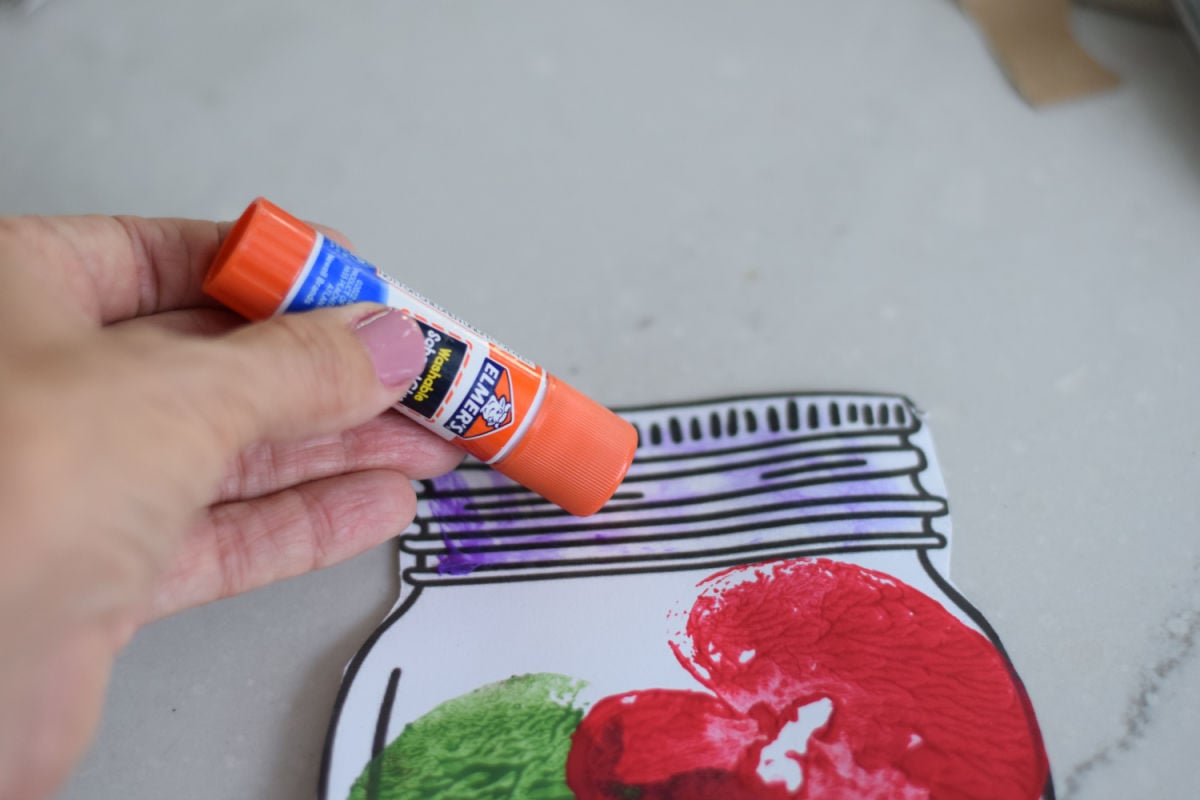
Add a decorative button if desired.
Melissa’s Tips for Making Apple Prints with Kids
Apple printing is easy, but a few small adjustments will produce clearer, more recognizable shapes.
- Use small apples – To get the most apples in your printable mason jar, use small apples.
- Use less paint than you think you need. A thick layer can fill in the apple’s natural texture and create a large paint blob.
- Pat the apple dry first. Freshly cut apples contain moisture that can make paint slide off the surface.
- Press straight down. Twisting or sliding the apple will smear the print.
- Let children practice. A few test prints on scrap paper help them learn how much paint and pressure to use.
- Use a separate apple half for each color. This keeps the red and green paint from becoming muddy.
- Protect the work surface. Place newspaper, butcher paper, or a disposable tablecloth underneath the craft.
- Keep wipes nearby. Even washable paint can travel quickly when little hands are involved.
Quick Apple-Printing Troubleshooting
| 🤔 Problem | 🍏 Likely Cause | ✨ Easy Fix |
| The print looks like a blob | There is too much paint on the apple | Make one print on scrap paper before stamping the jar |
| The print is very light | The apple does not have enough paint or pressure | Recoat it lightly and press firmly |
| The apple slides across the paper | Possibly twisting while stamping | Encourage a straight-down press and lift |
| The paint won’t stick well | The cut apple is too wet | Pat it dry with a paper towel |
| The colors look muddy | The same apple was dipped into both colors | Use a different apple half for each paint color |
Why This Is One of My Favorite Apple Crafts for Preschoolers
Preschoolers love dipping, pressing, lifting, and discovering the print left behind. It feels like play, but the activity also gives them opportunities to practice important early skills.
This project can help children develop:
- Fine motor control
- Hand-eye coordination
- Color recognition
- Creative decision-making
- Following directions
- Understanding cause and effect
The printable jar also gives younger children a simple visual boundary. They can concentrate on stamping inside the jar without needing to draw the mason jar shape themselves.
No two finished crafts will look exactly alike, and that is part of the fun. Some jars will be carefully arranged, while others will be completely overflowing with apples.
Ways to Adapt This Apple Craft for Older Kids
Although this is an especially good choice for preschoolers and kindergarteners, older children can personalize the project with additional details.
They could:
- Paint stems and leaves onto their apple prints
- Create a repeating red-and-green pattern
- Write their names and the year on the jar
- Add a label to the front of the mason jar
- Write a fall message such as “Apple Picking Time”
- Use smaller apples to create more detailed prints
- Turn the finished project into a fall keepsake
- Cut out the jar and mount it onto colored cardstock
A group of children could also make individual jars for a classroom apple orchard or fall bulletin board.
Apple Crafts for Kids: Learning Ideas
This craft can become part of a larger apple-themed lesson or activity day.
| 📚 Learning Area | 🍎 Apple-Themed Idea |
| Math | Count the apple prints inside the jar |
| Colors | Sort or identify the red and green apples |
| Patterns | Make an alternating red-green-red pattern |
| Writing | Add a sentence about visiting an apple orchard |
| Science | Examine the seeds, skin, flesh, and core of a real apple |
| Taste testing | Compare several varieties and vote for a favorite |
| Vocabulary | Introduce words such as orchard, harvest, core, seed, and stem |
For a preschool group, you could ask children to count each apple as they stamp it. Older kids could write the total number of apples on a label attached to their jars.
More Apple Crafts for Kids
If your children enjoy painting with real apples, try our classic apple stamping activity next.
You can also use the blank mason jar printable for:
- Fingerprint apples
- Tissue paper apples
- Torn-paper fall leaves
- Handprint art
- Pumpkin prints
- Fireflies made with fingerprints
- Seasonal keepsakes
FAQs about This Apple Print Craft
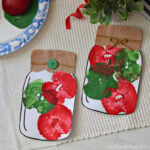
Apple Stamp Mason Jar Craft
Equipment
- Scissors
- Pencil
- Measuring tape or ruler
- glue
- Paper towels
Materials
- 1-2 apples
- Red washable craft paint
- Green washable craft paint
- mason jar printable
- White cardstock or heavyweight paper
- Brown craft paper or brown paper bag
- Twine
- Decorative button—optional
- Paper plates or shallow paint trays
- Scrap paper
Instructions
- Print the free mason jar template onto white cardstock or heavyweight paper.
- Have an adult cut the apples in half vertically, from the stem down through the bottom.
- Pat the cut surface of each apple with a paper towel to remove excess moisture.
- Pour a thin layer of red paint onto one paper plate and green paint onto another.
- Dip the cut side of an apple half lightly into the paint.
- Make a test print on scrap paper to remove excess paint and practice applying the right amount of pressure.
- Press the painted side of the apple straight down inside the mason jar printable. Lift it straight up without twisting.
- Continue stamping red and green apple prints until the mason jar looks full.
- Let the paint dry completely.
- Place the brown paper over the top of the printed mason jar.
- Measure the width and height needed to cover the lid area.
- Mark the measurements on the brown paper with a pencil.
- Cut out the brown paper, rounding the corners slightly so it follows the shape of the jar.
- Glue the brown paper over the lid area at the top of the mason jar.
- Wrap twine around the brown paper lid and tie it in a knot or small bow.
- Glue a decorative button to the twine, if desired.