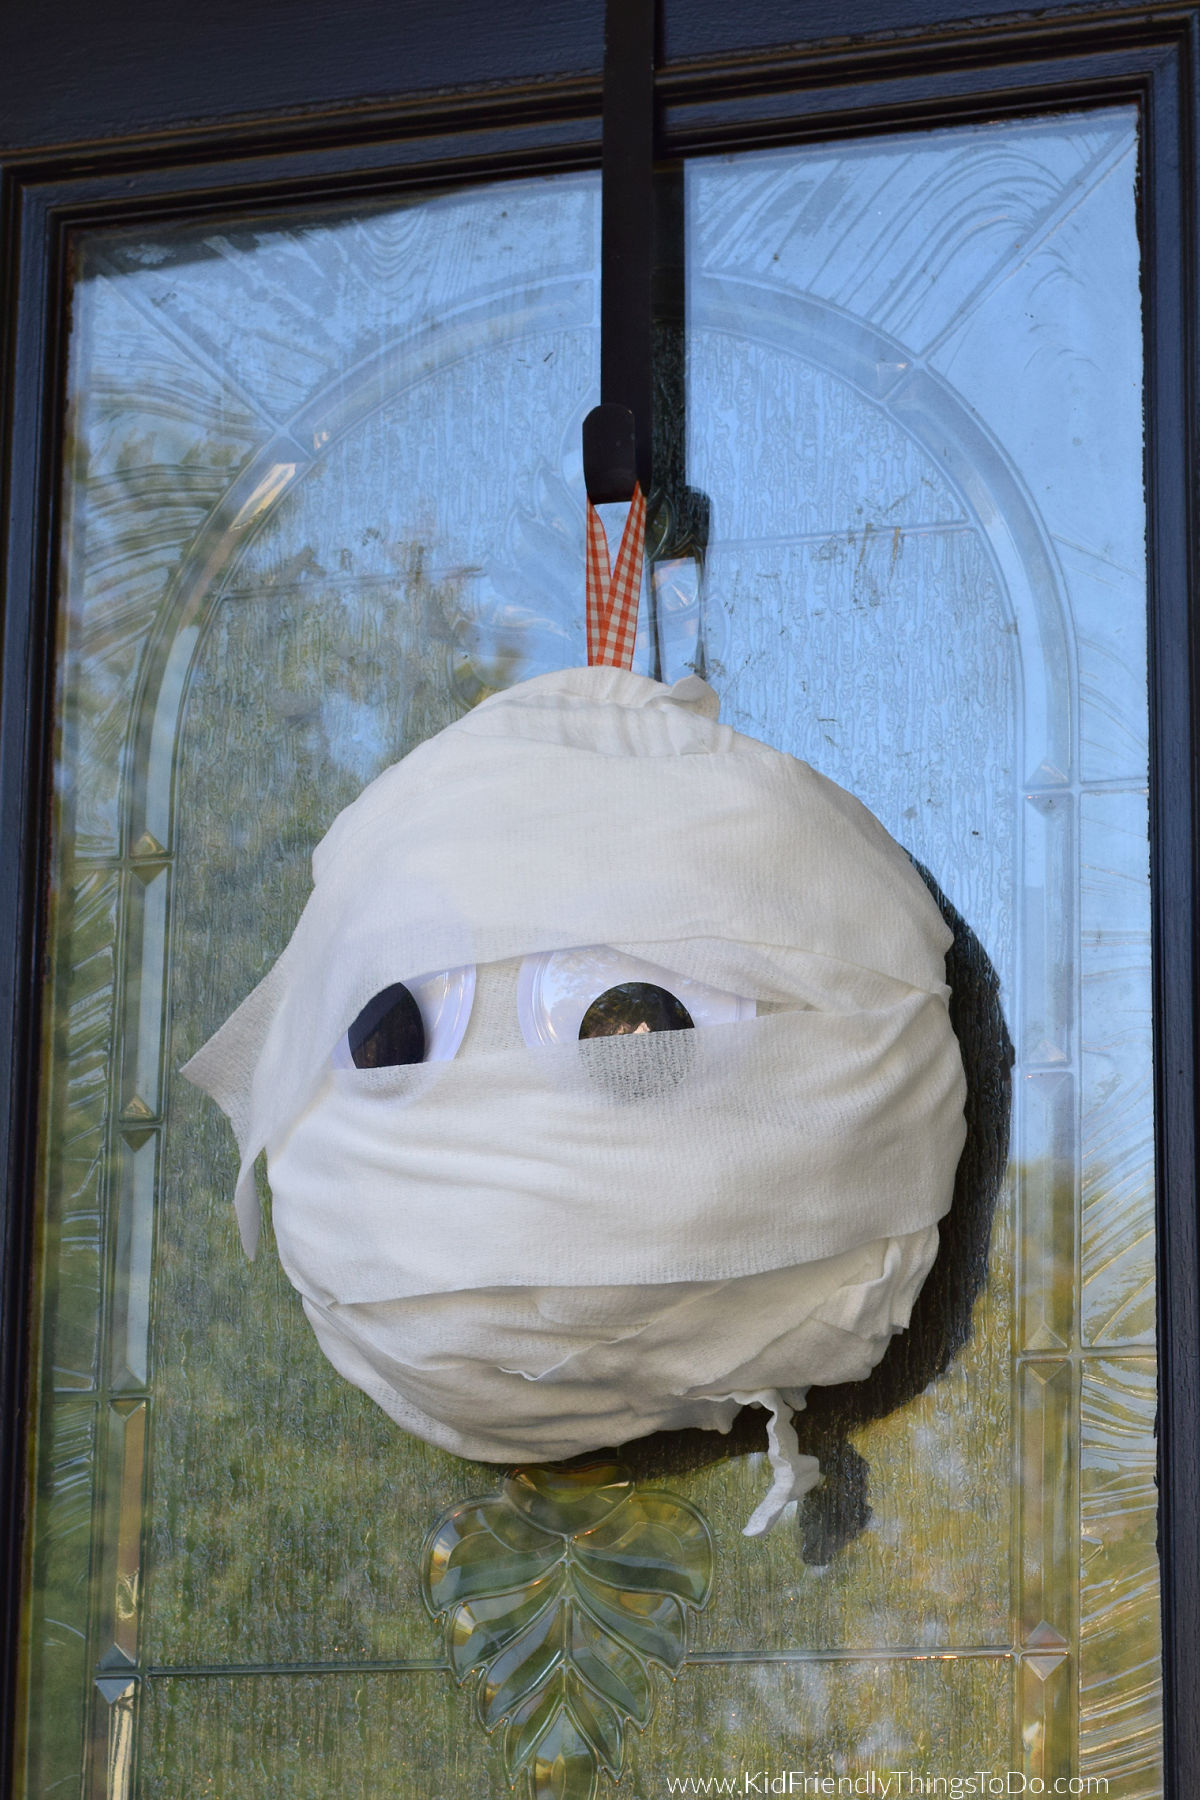
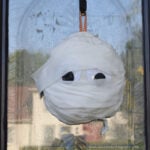
DIY Mummy Wreath for Halloween
This post may contain affiliate links – please read my disclosure statement.
This DIY Mummy Wreath is the perfect easy-to-make Halloween decoration for your front door. With just a few simple supplies like a foam wreath form and some gauze, you can create a spooky and cute door decoration that will delight trick-or-treaters and guests alike.
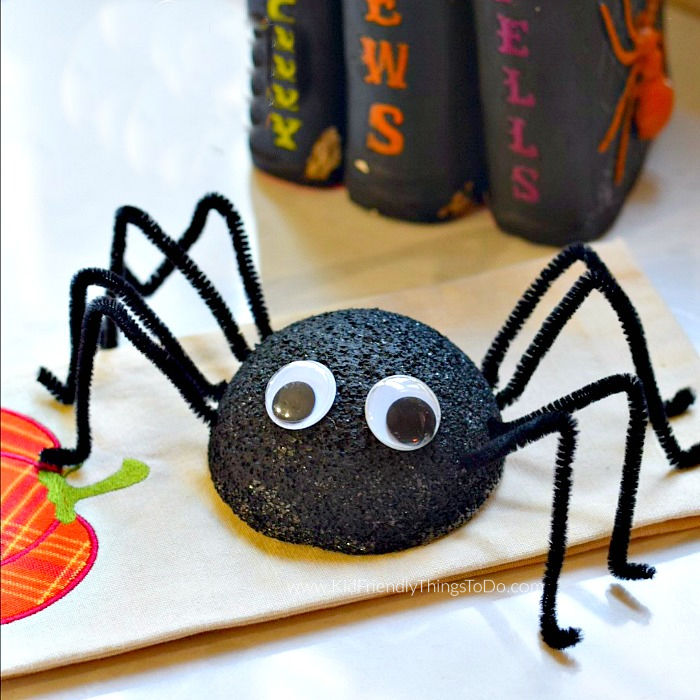
When Halloween season arrives, I am always excited and ready for the festivities. I love all of the spooky cute treats like Ghost Milk Cups and Adorable Spider Donuts and fun Halloween crafts like Pretzel Broomstick Treats.
This Halloween Wreath Craft is so simple that even the kids can lend a hand in making it and be so proud of their contribution to your spooky, yet cute, door.
Why you’ll love this craft
Supplies You’ll Need
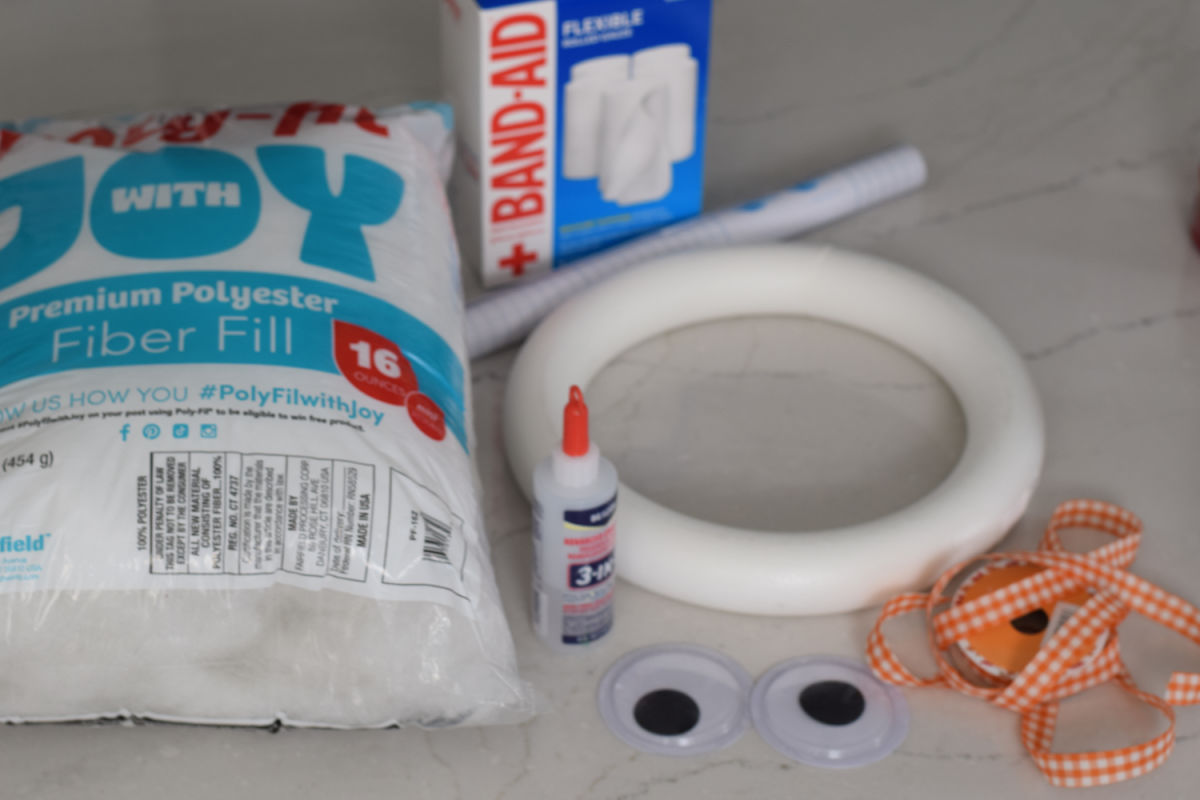
- 12-inch Foam Wreath Base
- Polyester Fiberfill
- Contact Paper – You can use tape to substitute
- 3-inch wide googly eyes
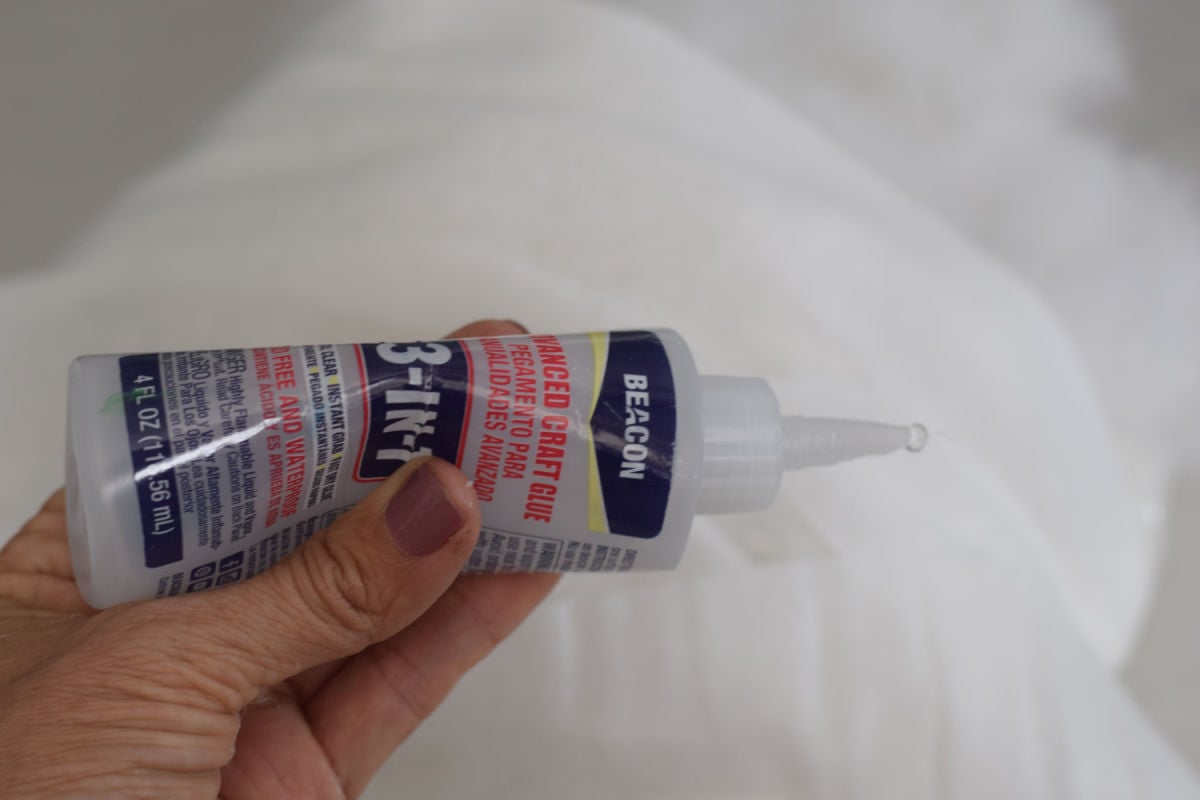
- Glue – A strong, tacky glue like 3-in-1 glue from Beacon
- Gauze – I used about 6 yards of 4-inch wide strips
- Ribbon for hanging the wreath
How to Make the Mummy Wreath
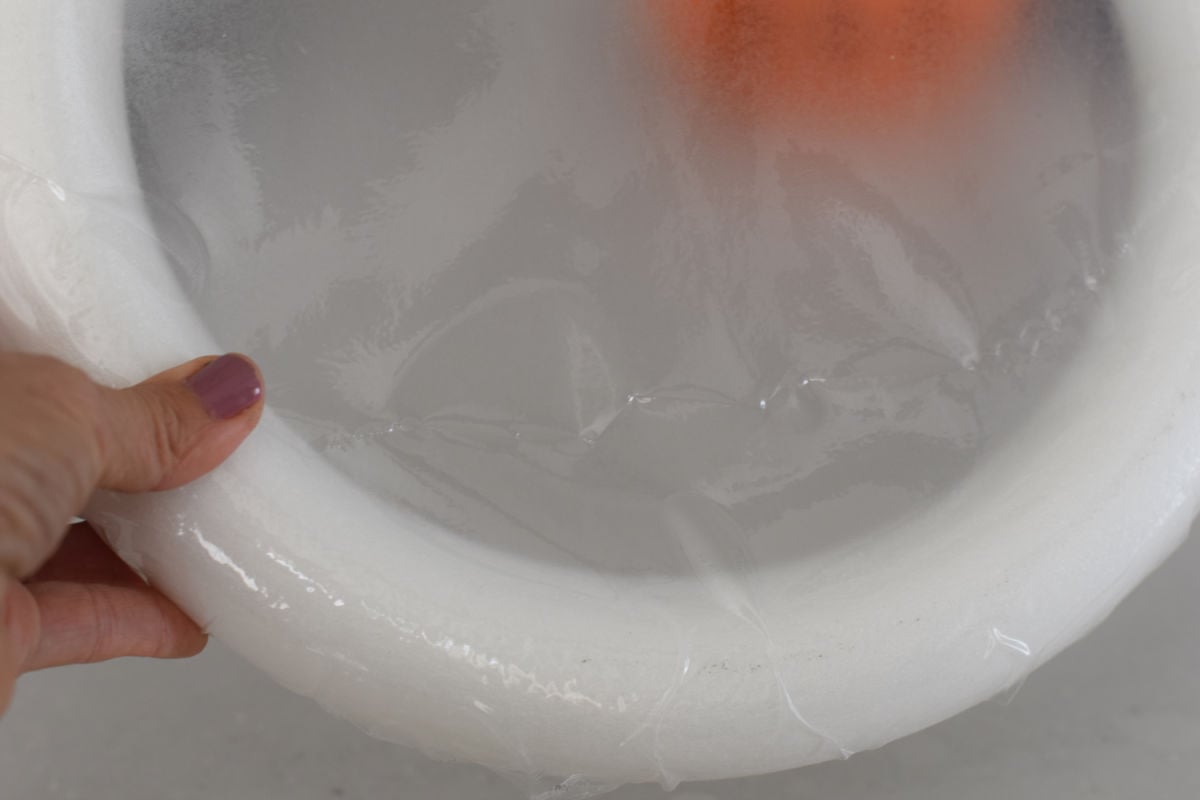
Create the Backing – Cover the back of the wreath with contact paper to keep the filling from slipping out. (You can also use strips of clear or white tape as an alternative.)
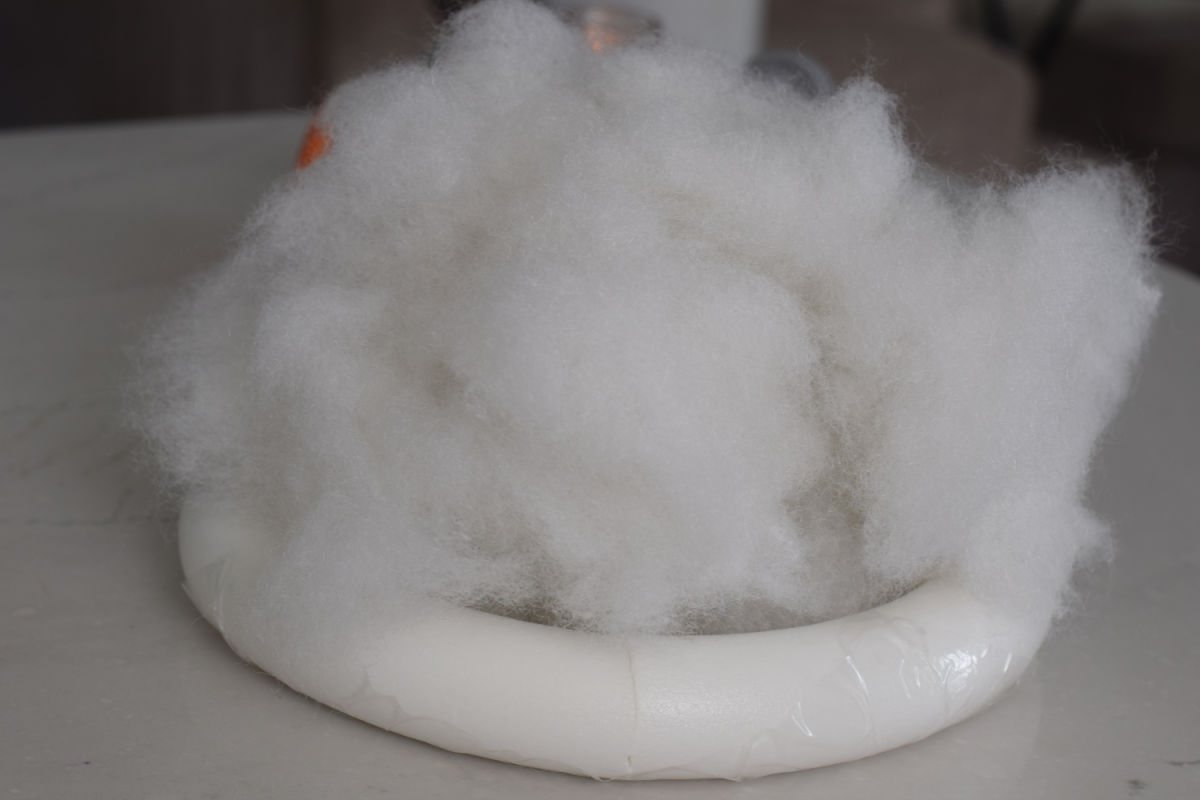
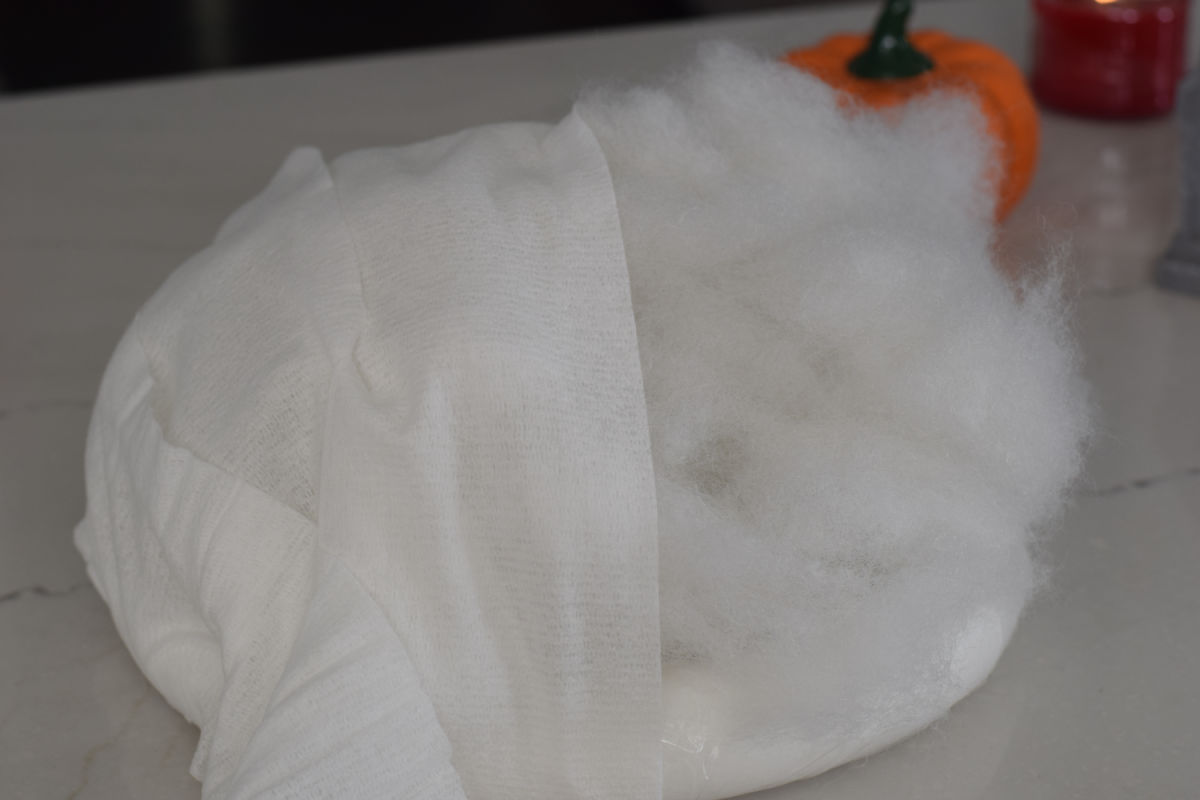
Form the Head – Place fiberfill in the center of the wreath so it puffs out, creating the Mummy’s “face.”
Add Ribbon – Make a loop around the top of the wreath with ribbon for easy hanging.
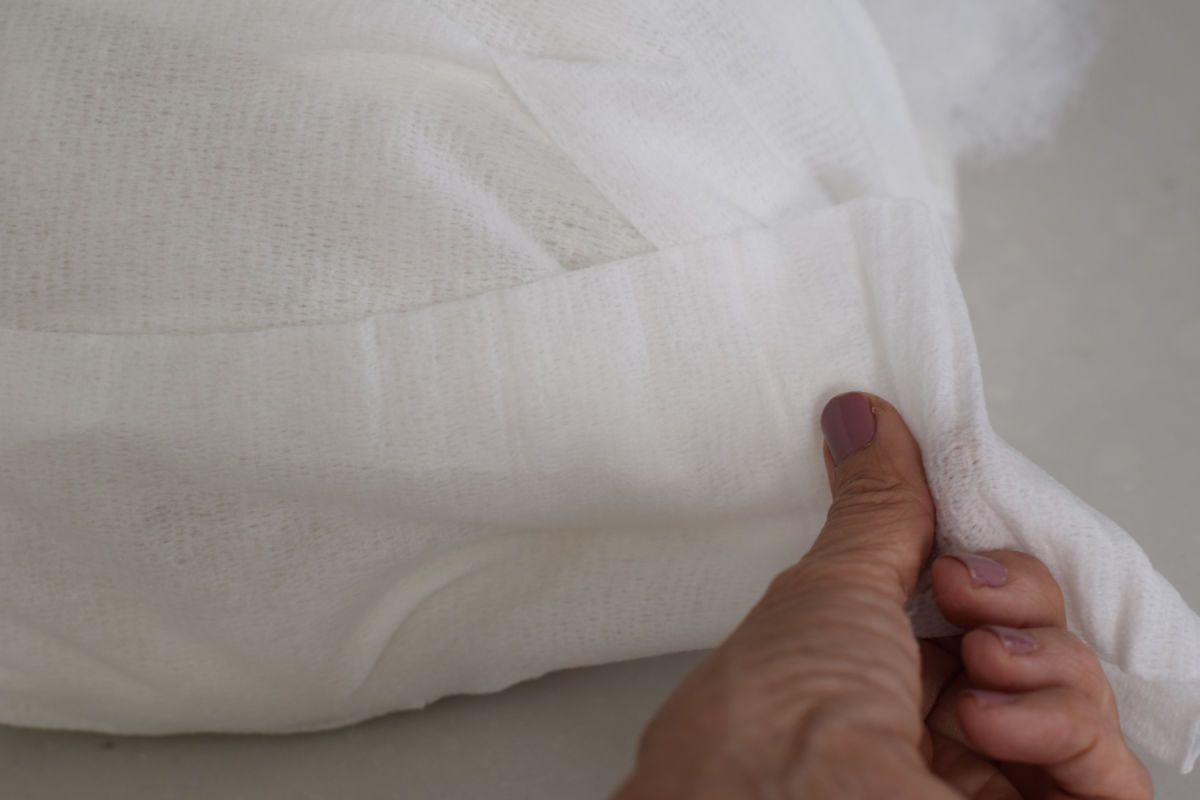
Wrap the Wreath – Use most of the gauze to wrap around the wreath and over the fiberfill, shaping the Mummy’s head and body.
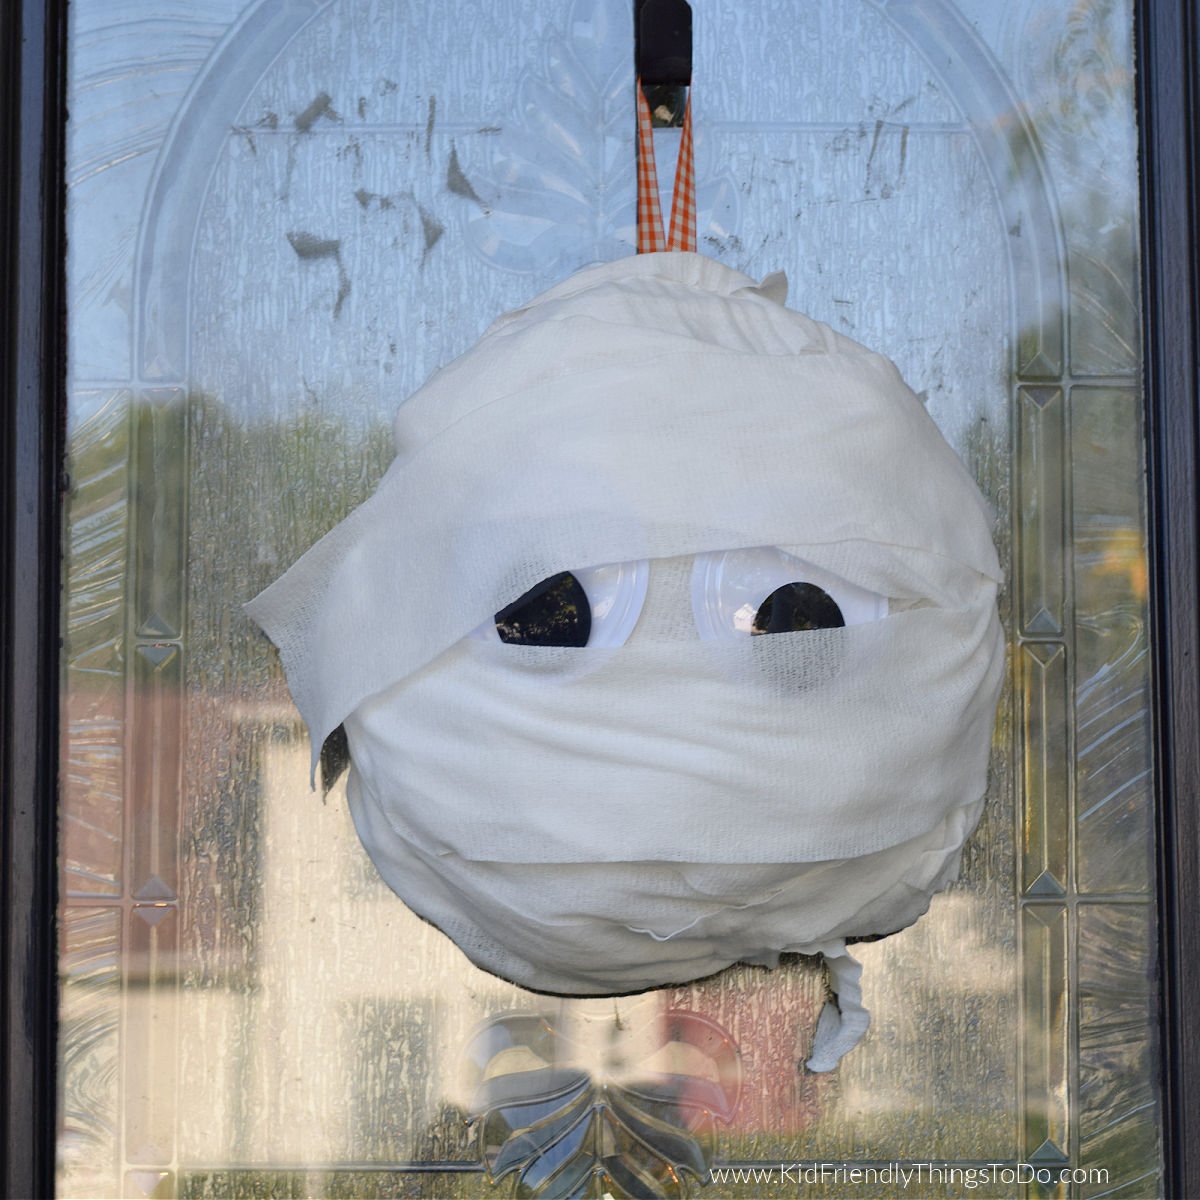
Add the Eyes – Glue large googly eyes onto the wreath, letting them peek through the gauze.
Finishing Touches – Wrap the remaining gauze around the wreath at different angles. Partially cover the tops of the eyes, leaving a few loose strips hanging, to create an authentic “mummy unwrapping” effect.
Expert Tips
Mummys are supposed to look disheveled, so don’t be afraid to change the direction of the gauze and leave some hanging.
Use glue to keep bandages where you want them
Variations
Glow-in-the-dark: Use glow-in-the-dark eyes so they light up at night.
Accesories: Add ribbon, spider webs, spiders, or bats to accentuate the Mummy.
FAQ’s
Will this Wreath Last Outside?
Yes! I’ve had my mummy wreath for over a decade. He might need a little maintenance, but he should hold up pretty well.
What Type of Wreath Base Works Best?
A foam base is used because it holds up well, is lightweight, and is white.
What Size Googly Eyes Should I Use?
The bigger the better. I love using eyes that are 4 inches or wider, so you can see them from the street, and they make the mummy wreath even cuter.
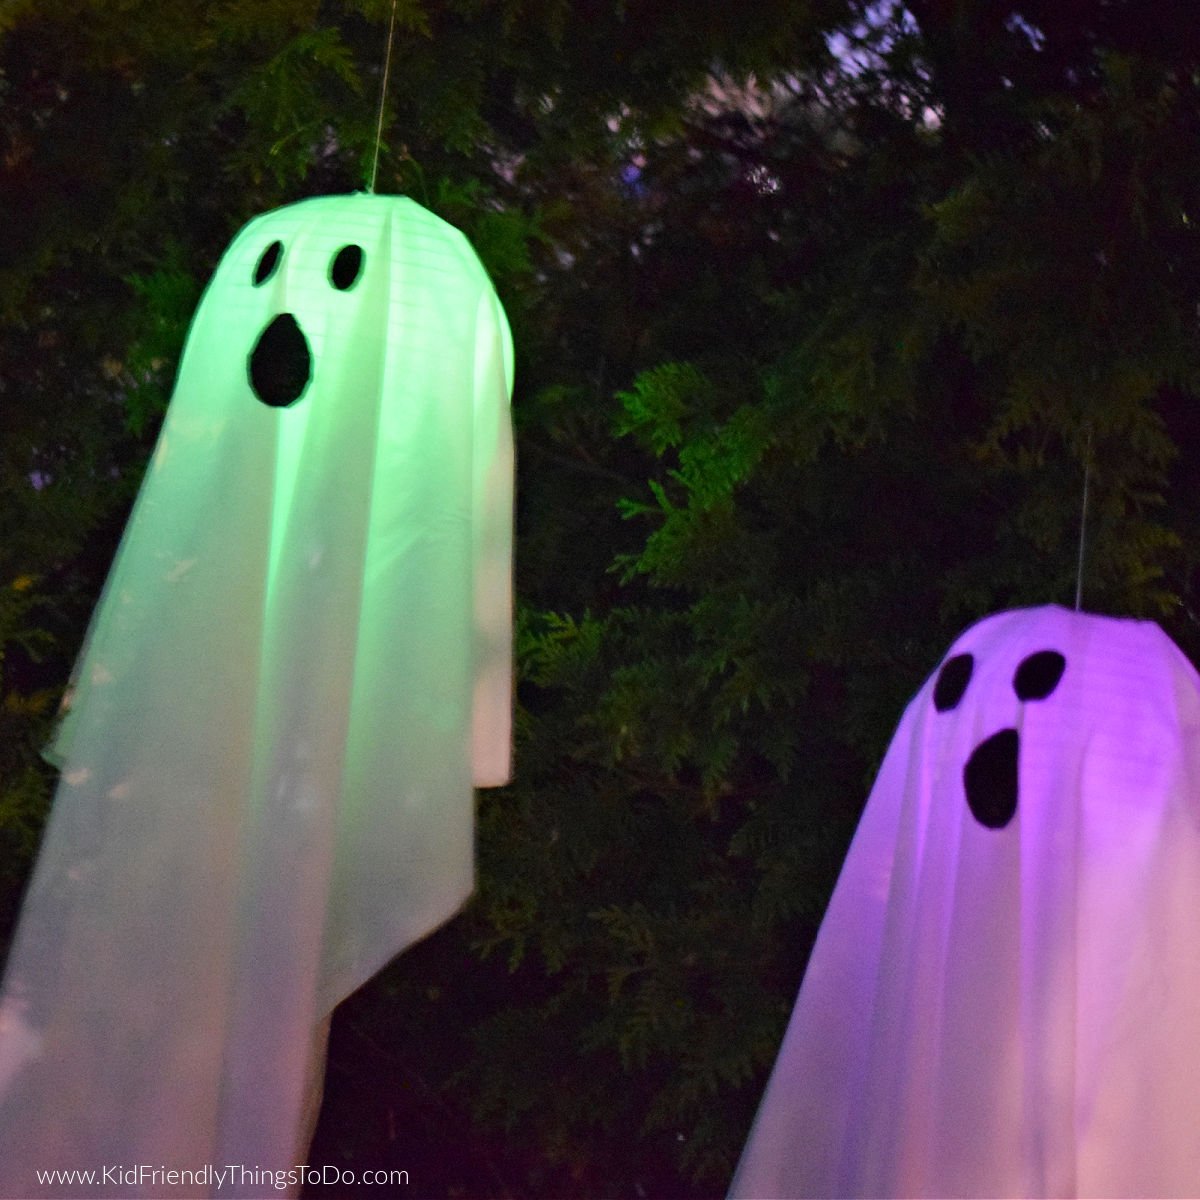
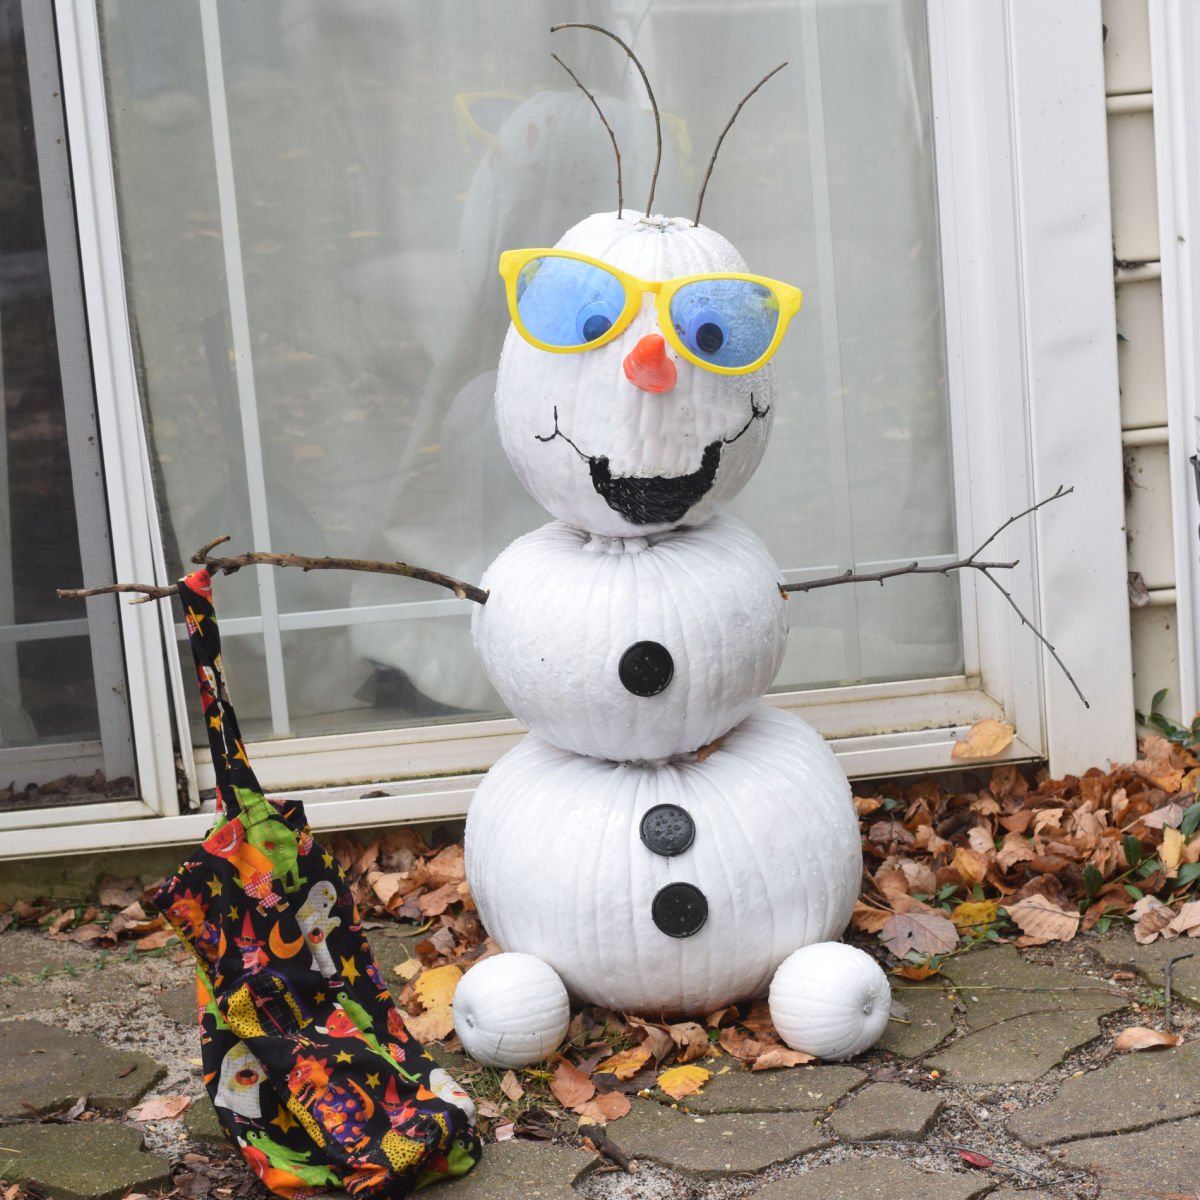
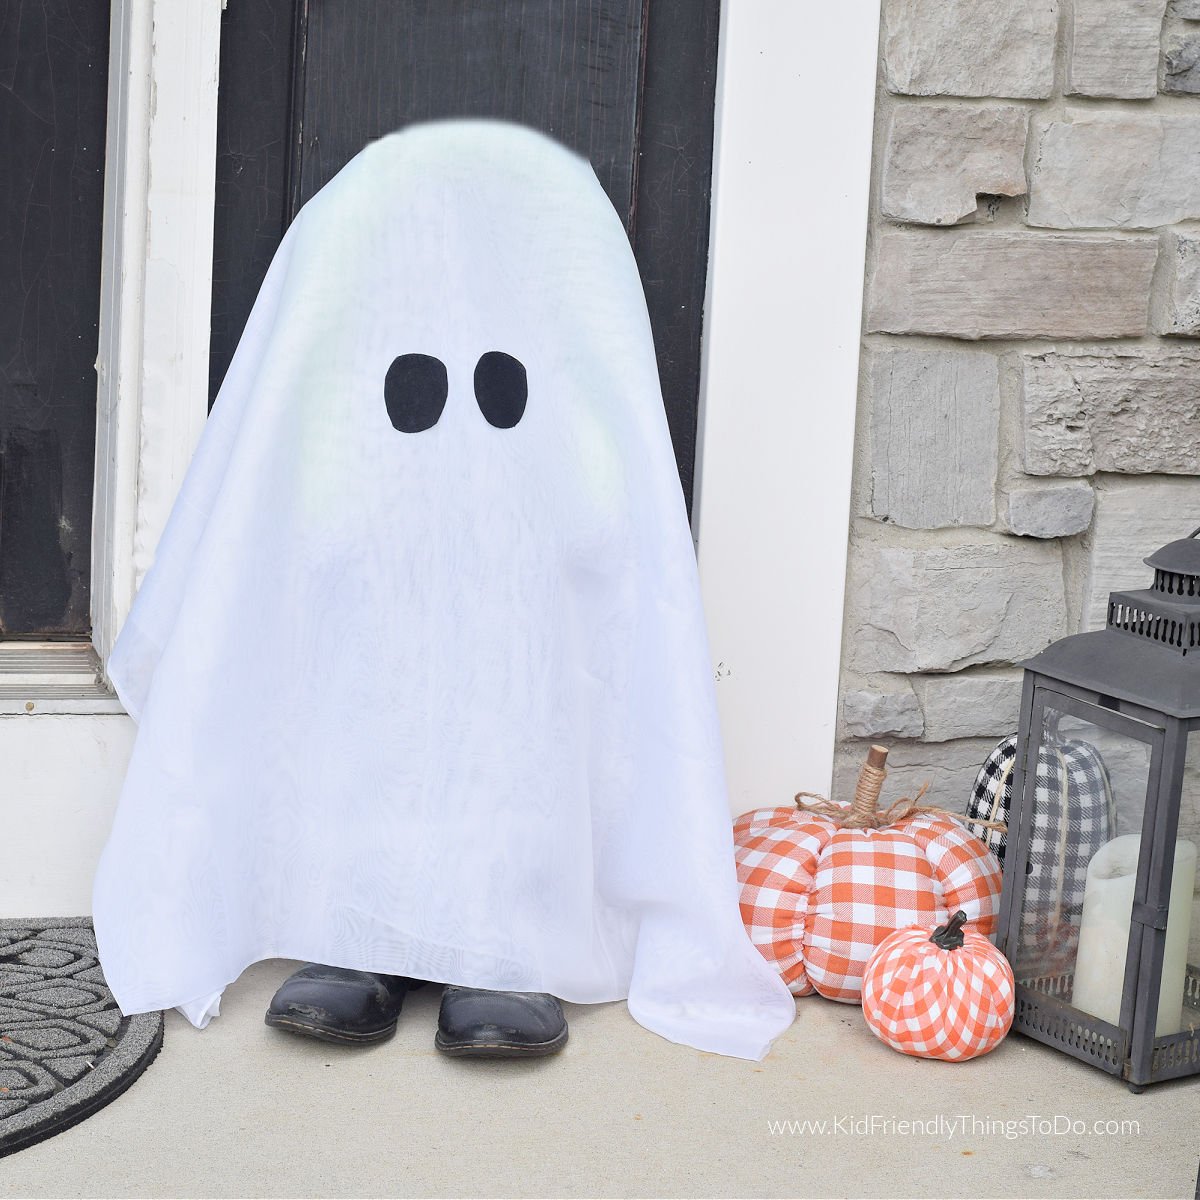
More Halloween Crafts You’ll Love
Printable Instructions
DIY Mummy Wreath for Halloween
Materials
- 12 inch. Foam wreath base
- Fiberfill
- Contact Paper
- 6 yds. Gauze
- 4 inch Googly eyes
- Glue use a strong tacky glue like Beacon 3-in-1, or use a low-temperature glue gun
- ribbon for hanging
Instructions
- Create the Backing – Cover the back of the wreath with contact paper to keep the filling from slipping out. (You can also use strips of clear or white tape as an alternative.)
- Form the Head – Place fiberfill in the center of the wreath so it puffs out, creating the mummy’s “face.”
- Add Ribbon – Make a loop with ribbon and attach it to the wreath for easy hanging.
- Wrap the Wreath – Use most of the gauze to wrap around the wreath and over the fiberfill, shaping the mummy’s head and body
- Add the Eyes – Glue large googly eyes onto the wreath, letting them peek through the gauze.
- Finishing Touches – Wrap the remaining gauze around the wreath at different angles. Partially cover the tops of the eyes and leave a few loose strips hanging, giving the wreath an authentic “mummy unwrapping” effect.
~ Melissa – KidFriendlyThingsToDo.com