Easy and Colorful Spring Chocolate Covered Pretzel Bite Treats
This post may contain affiliate links – please read my disclosure statement.
These Easy and Colorful Spring Chocolate Covered Pretzel Bite Treats are so deliciously pretty. Their salty-sweet taste is irresistible. Perfect for Spring, Easter, and Mother’s Day. Come on in and I’ll show you how to make these yummy and fun treats…
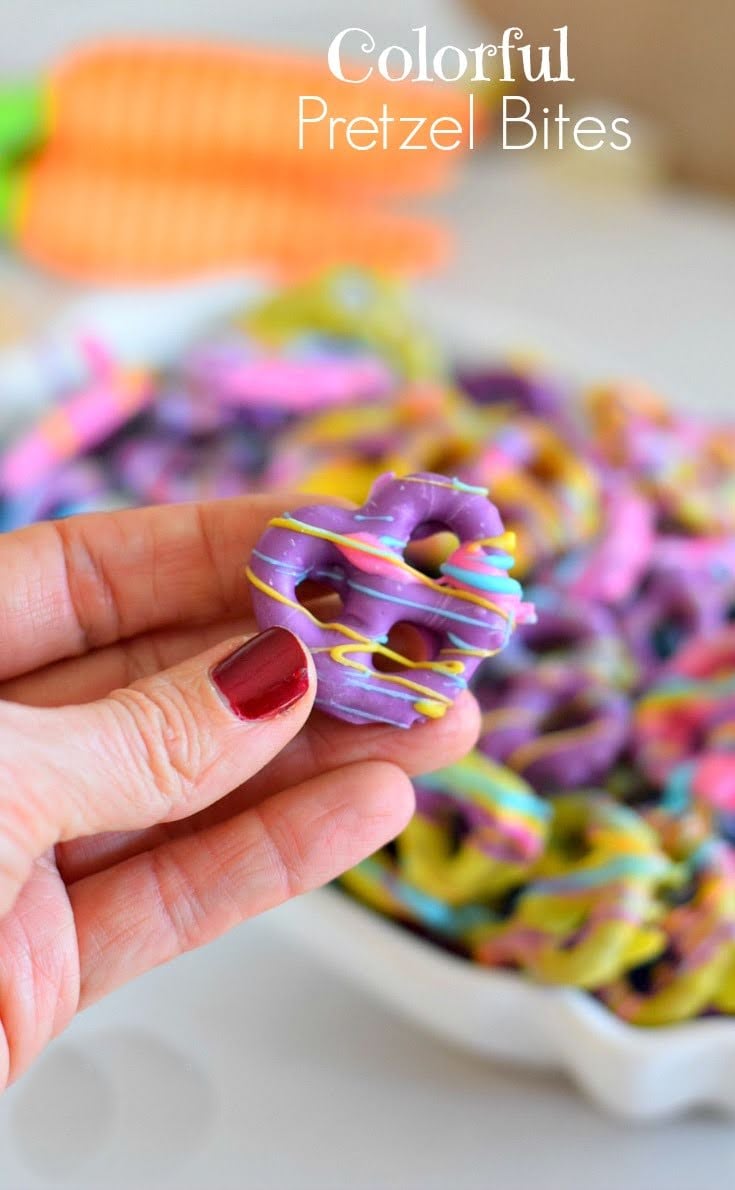
Anyone can make these Beautiful Pretzel Bites. You’ll need to set aside about an hour or maybe a little more than an hour, to transform an entire bag of pretzels into absolutely adorable chocolate pretzel bites. These are so simple to make, but you’ll need to devote a little bit of time to “get ’em done” and ready to amaze absolutely everyone in their path.
Here’s a quick video on how to make these Colorful Chocolate Pretzel Bites
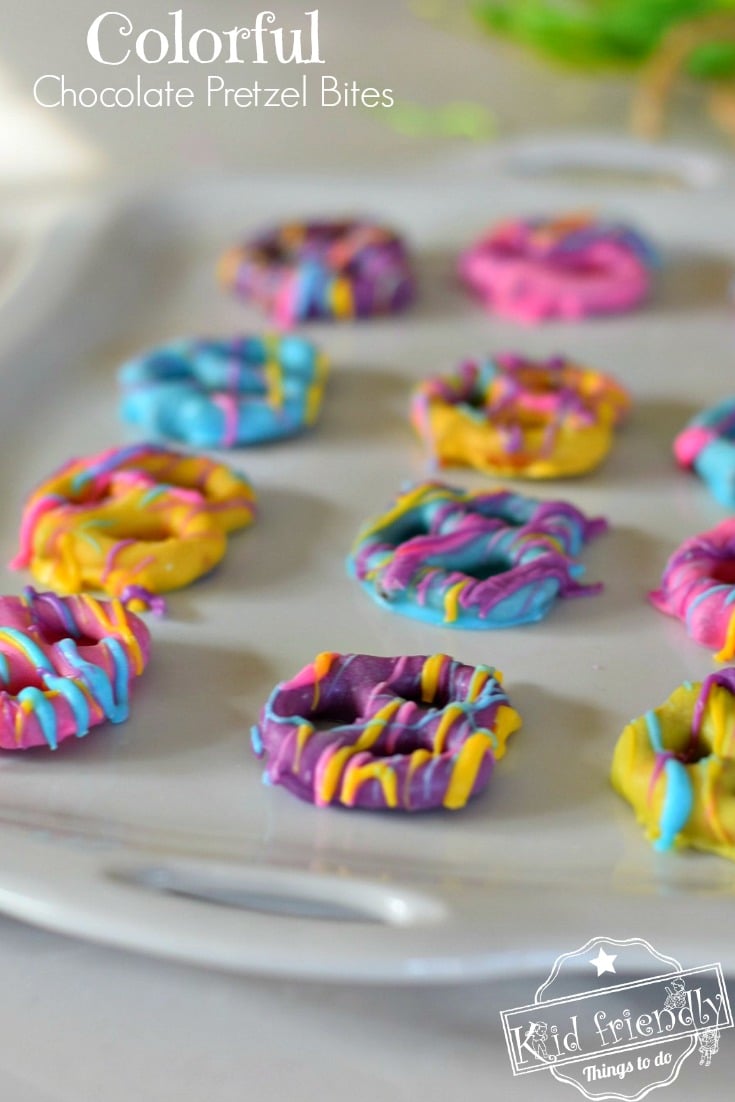
I usually don’t like to devote a whole lot of time to my fun snacks. I know that you are just as busy as I am – juggling just about everything into one day. You will stand back and marvel at how pretty your creation is. Just look at what you have when you are finished creating your delicious colorful spring pretzel bites…
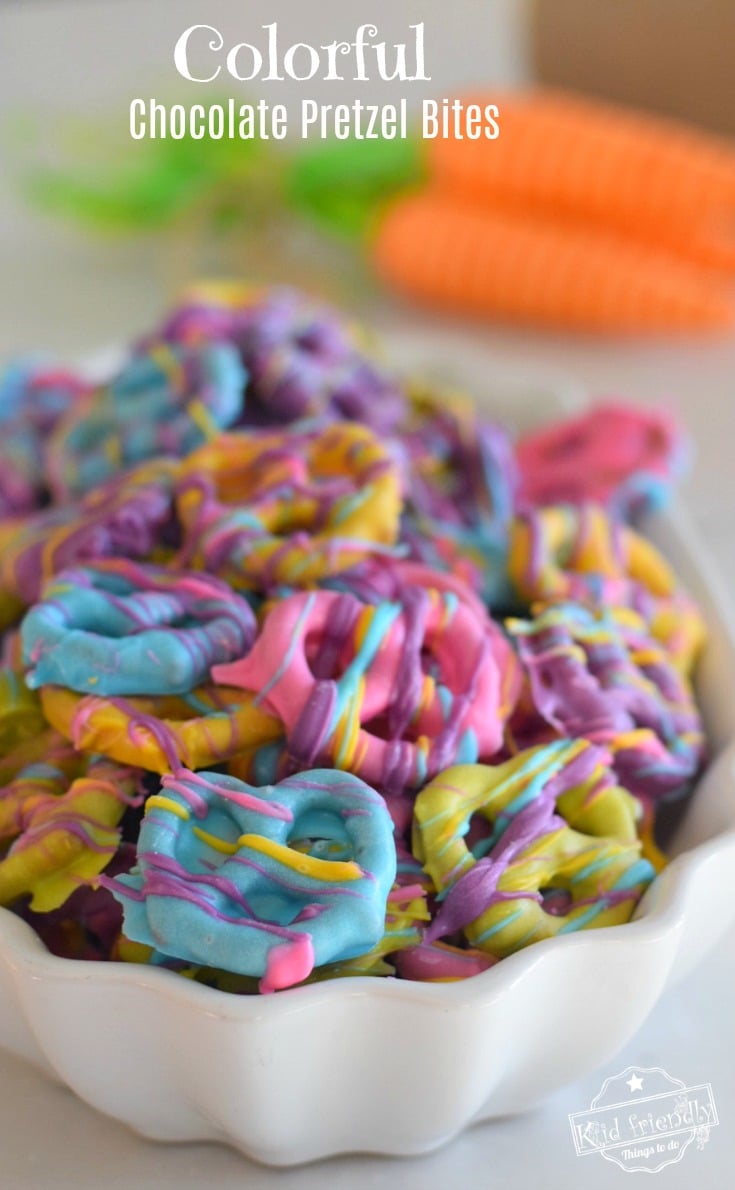
They are a work of art – I tell you!
So…set aside a couple of hours for some fun in the kitchen, put on your favorite Netflix show and enjoy the day creating.
Here’s What You’ll Need to Make These Easy and Colorful Spring Chocolate Covered Pretzel Bite Treats
- 1 (16 oz.) bag of mini pretzel twists
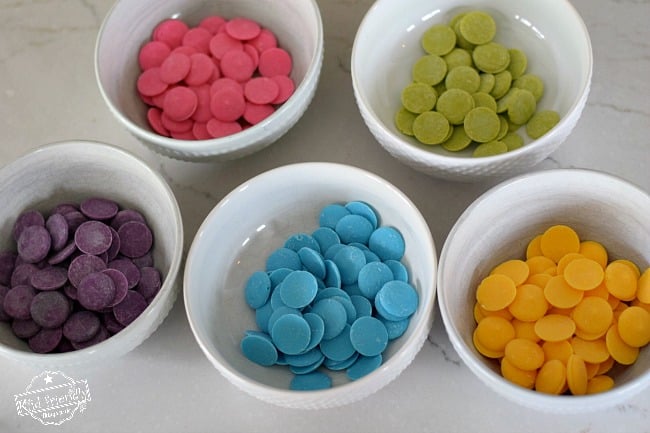
- Colorful Chocolate Melts – Wilton is preferred by me. I used all pastel colors for my Spring Theme – green, blue, purple, yellow, and pink
- 5 glass microwave-proof bowls – For this, I just used our cereal bowls that are microwave proof
- wax paper
- 5 forks
Instructions for Easy and Colorful Spring Chocolate Covered Pretzel Bite Treats
- You can either melt all of the chocolate at once or just do one color at a time. I melted it all at once. The only extra step you’ll need to make if you do it all at once as I did is possible popping the melted chocolate back into the microwave for 30 seconds to warm up – if it starts to thicken too much from setting out.
-
Either way, you’ll want a separate bowl for each color – Ready? Let’s get started…
- Set out a large piece of wax paper per color of chocolate
- Melt one or all of your chocolates
Melting the Chocolate Melts…
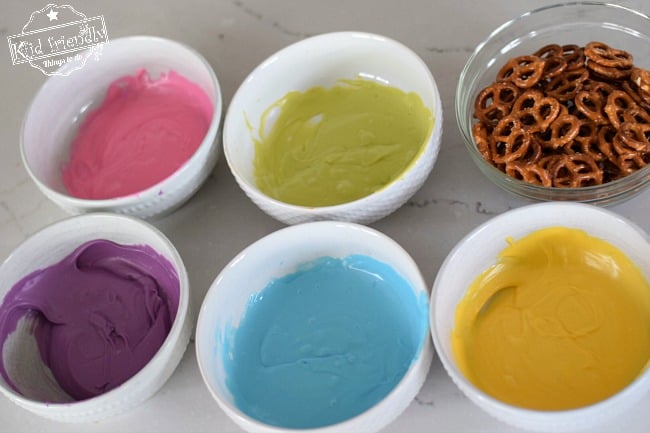
- I like to pour my chocolate melts into the bowl, pop the bowl into the microwave for 1 minute, stir with my silicone spatula, pop the chocolates back in for 30 more seconds and stir until smooth
Moving on…
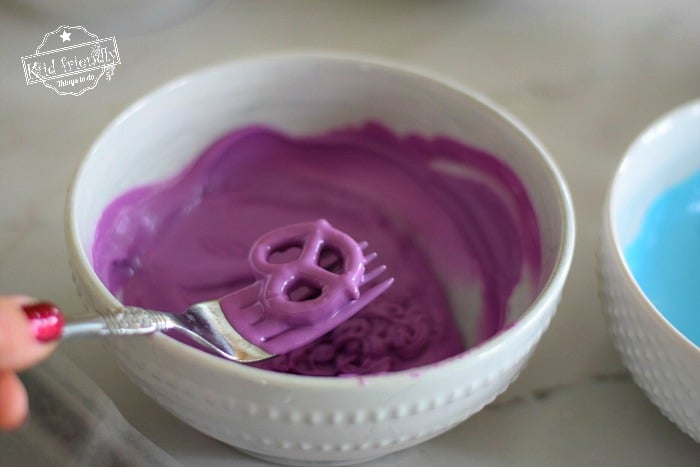
- Now…with your melted chocolate in front of you, grab a pretzel and set it into the chocolate
- Use a fork to turn it over and really coat it
- Flip it back around, with the top side up – slide the fork under the chocolate coated pretzel
- Pick it up with the fork and bring it to the side of the bowl where you’ll rest the fork and pretzel there
- Tap the fork on the side of the bowl – this will release any excess chocolate
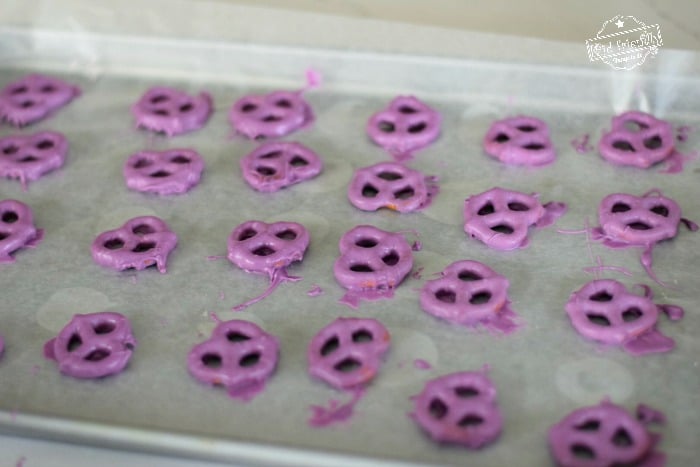
- Place the chocolate pretzel on the wax paper by sliding it off – *If you are having trouble...a toothpick is handy for pushing it off
- Continue until a small amount of chocolate is left in the bowl
- DO NOT throw that leftover chocolate out – you’ll use it for decorating later
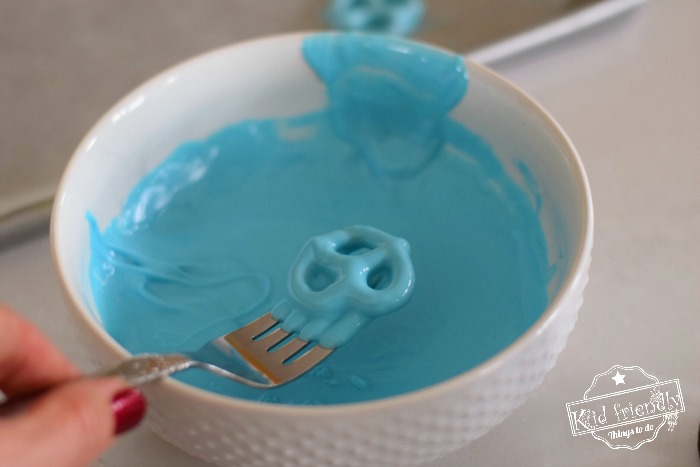
- Once you are done with one color – switch to another, grab more wax paper and dip pretzels into that color
- Keep going until you have pretzels of every color
-
*If the chocolate in your bowls gets too thick – that means it has cooled off and is starting to dry, just pop it in the microwave for 30 seconds
Decorating…
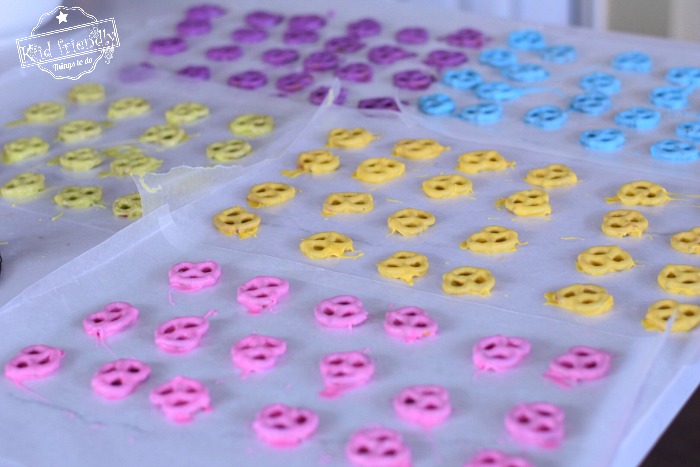
- You should now have all of your pretzels covered in 5 different colors of chocolate
- Warm your leftover chocolate in the microwave – if needed (for 30 seconds)
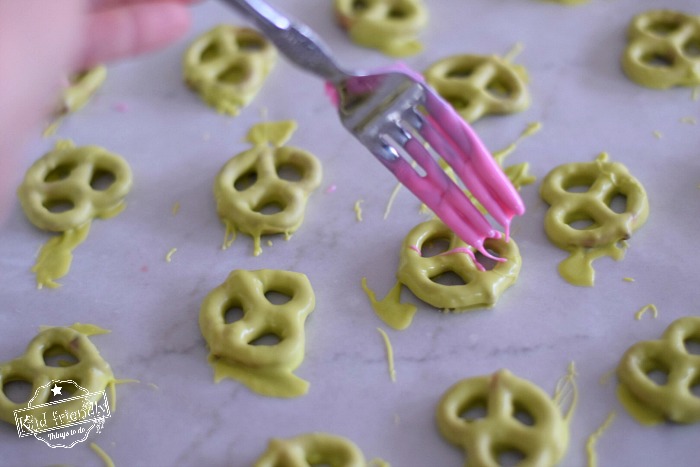
- Grab one of your 5 forks and dip it into one of the chocolate colors
- Now, you’ll splatter paint the chocolate pretzels by waving the fork back and forth over the pretzels – dipping into more chocolate when needed
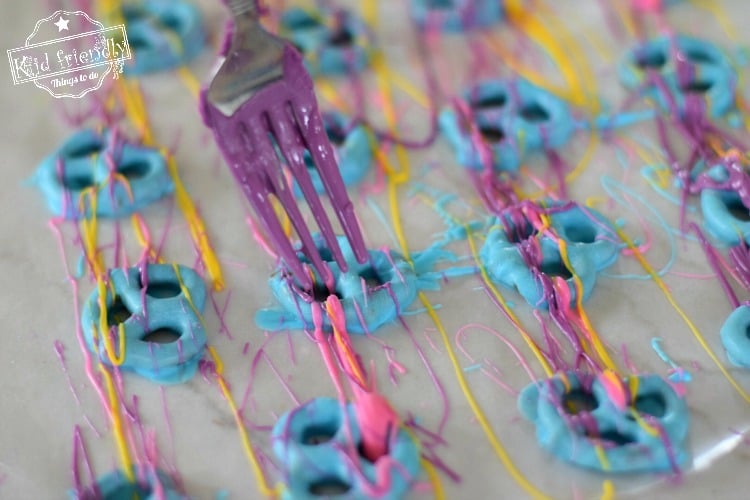
- Repeat with all of your leftover colors of chocolate until all the pretzels have a pattern over them
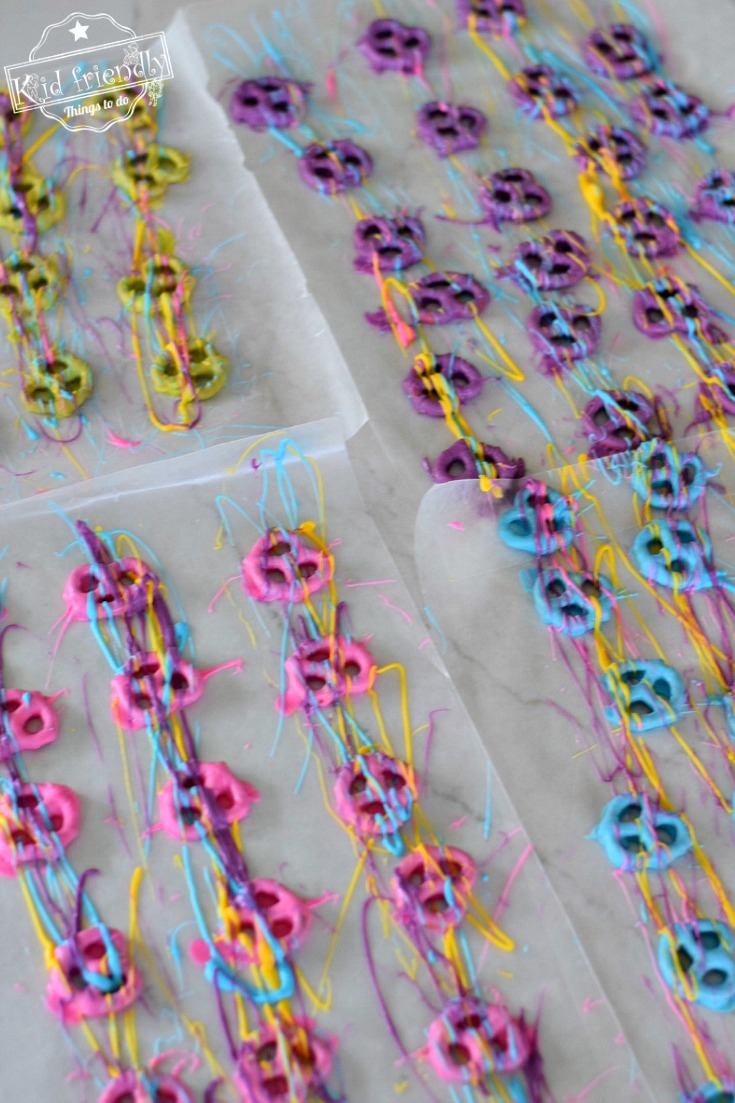
That’s it!
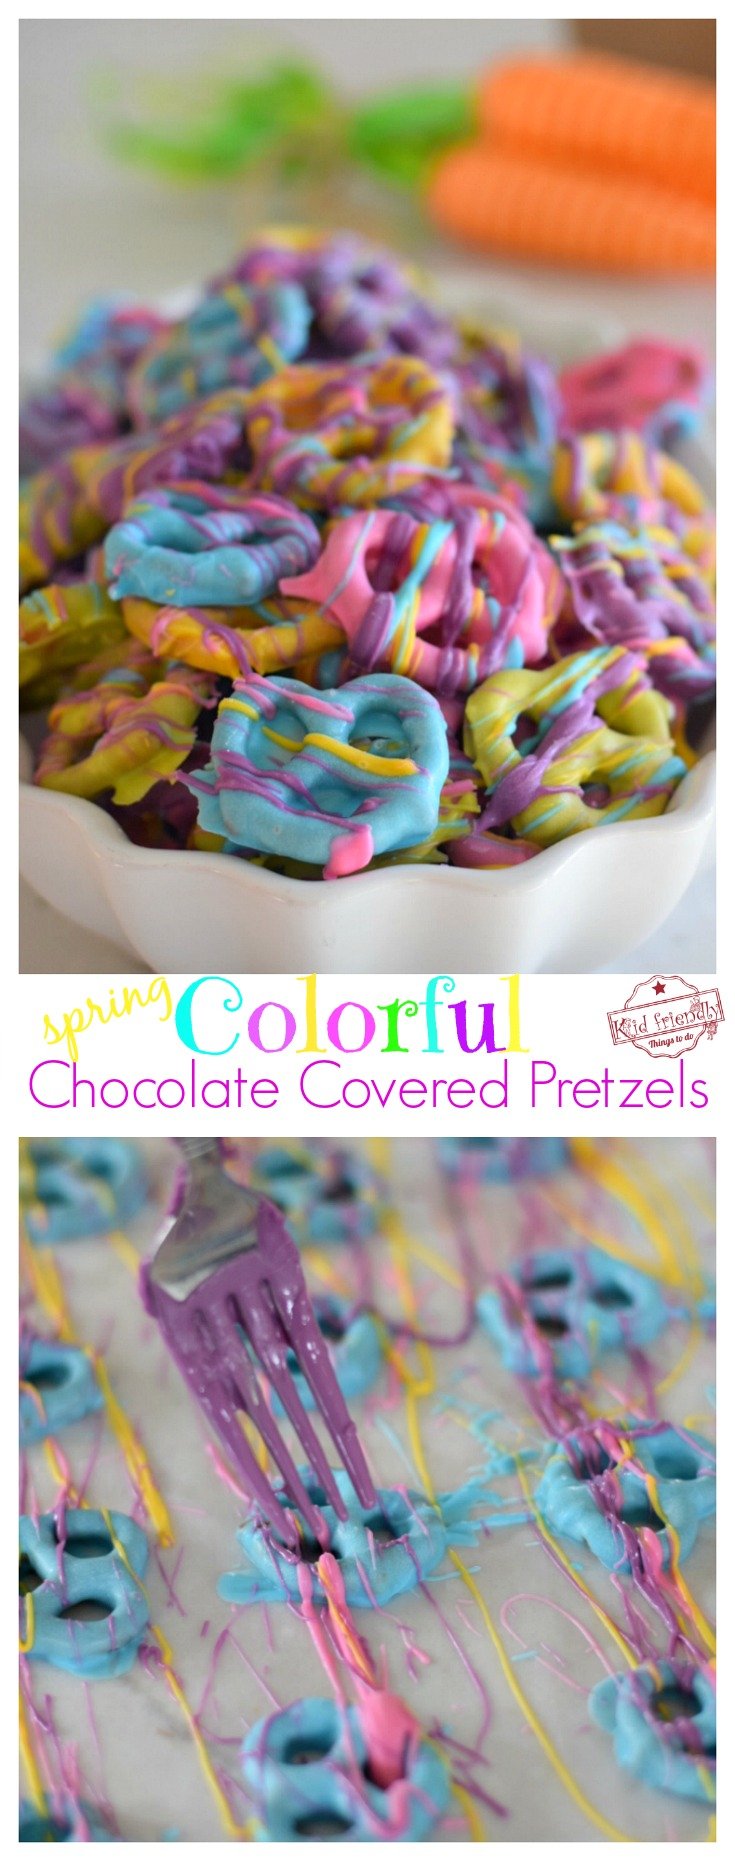
You’re Done with this project that was clearly made with love!
Storing your Pretzel Bite Treats…
You could easily make these a couple of weeks in advance. I left mine at room temperature – uncovered on a platter for a couple of days. I made my pretzels 10 days ago, and still have a few that I have hidden from the kids on the very top shelf. They are not in a container and they are perfectly crisp. The chocolate still looks fantastic. If you want to make them even more in advance, just pop them into an airtight container and again store at room temperature. Fully covered chocolate pretzels will stay fresh for months. Here is an article that goes into further detail…
Here are my Top Amazon Picks for…
Easy and Colorful Spring Chocolate Covered Pretzel Bite Treats
(affiliate links)
[box]  Waxtex Wax Paper Roll (75 F...Shop on Amazon
  4-Piece Glass Mixing Bowl S...Shop on Amazon
  Rold Gold Tiny Twists Pretz...Shop on Amazon
  Wilton Chocolate - Compound...Shop on Amazon
  Wilton Bright Pink Candy Me...Shop on Amazon
  Wilton Lavender Candy Melts...Shop on Amazon
  Wilton Blue Candy Melts® C...Shop on Amazon
  Wilton Yellow Candy Melts, ...Shop on Amazon[/box]
Happy Spring
Here are some more ideas for your Spring Food Crafting Fun!
Colorful Chocolate Strawberries
Coconut and White Chocolate Spring Popcorn Mix
Chocolate Covered Strawberry Spring Chicks


How far in advance can I makes these? Will they keep? Do they need to be refrigerated? Thanks!
You could easily make these a couple weeks in advance. I left mine at room temperature – uncovered on a platter. I still have a few that I hid on the very top shelf and they are perfectly crisp and the chocolate still looks fantastic. It has been about 10 days since I made them. If you want to make them even more in advance, just pop them into an airtight container and again store at room temperature. Fully covered chocolate pretzels will stay fresh for months. Here is an article that goes into further detail…https://www.leaf.tv/articles/how-to-store-chocolate-covered-pretzels/ – I hope this helps and I will update the article with this information. Enjoy your pretzels. 🙂
Can I use white candy melts and add food coloring?
Food coloring can be a tricky thing with white candy melts. Any moisture will most likely cause the chocolate to seize – it will get hard and clumpy. I would not use gel or liquid food coloring. If you have powdered coloring or oil-based (made specifically for coloring candy) then you’ll probably be ok. I hope this helps.
I’m loving all the cute recipes I’m seeing on here. Thanks for sharing!
You made my day by saying that. Thank you so much. 🙂