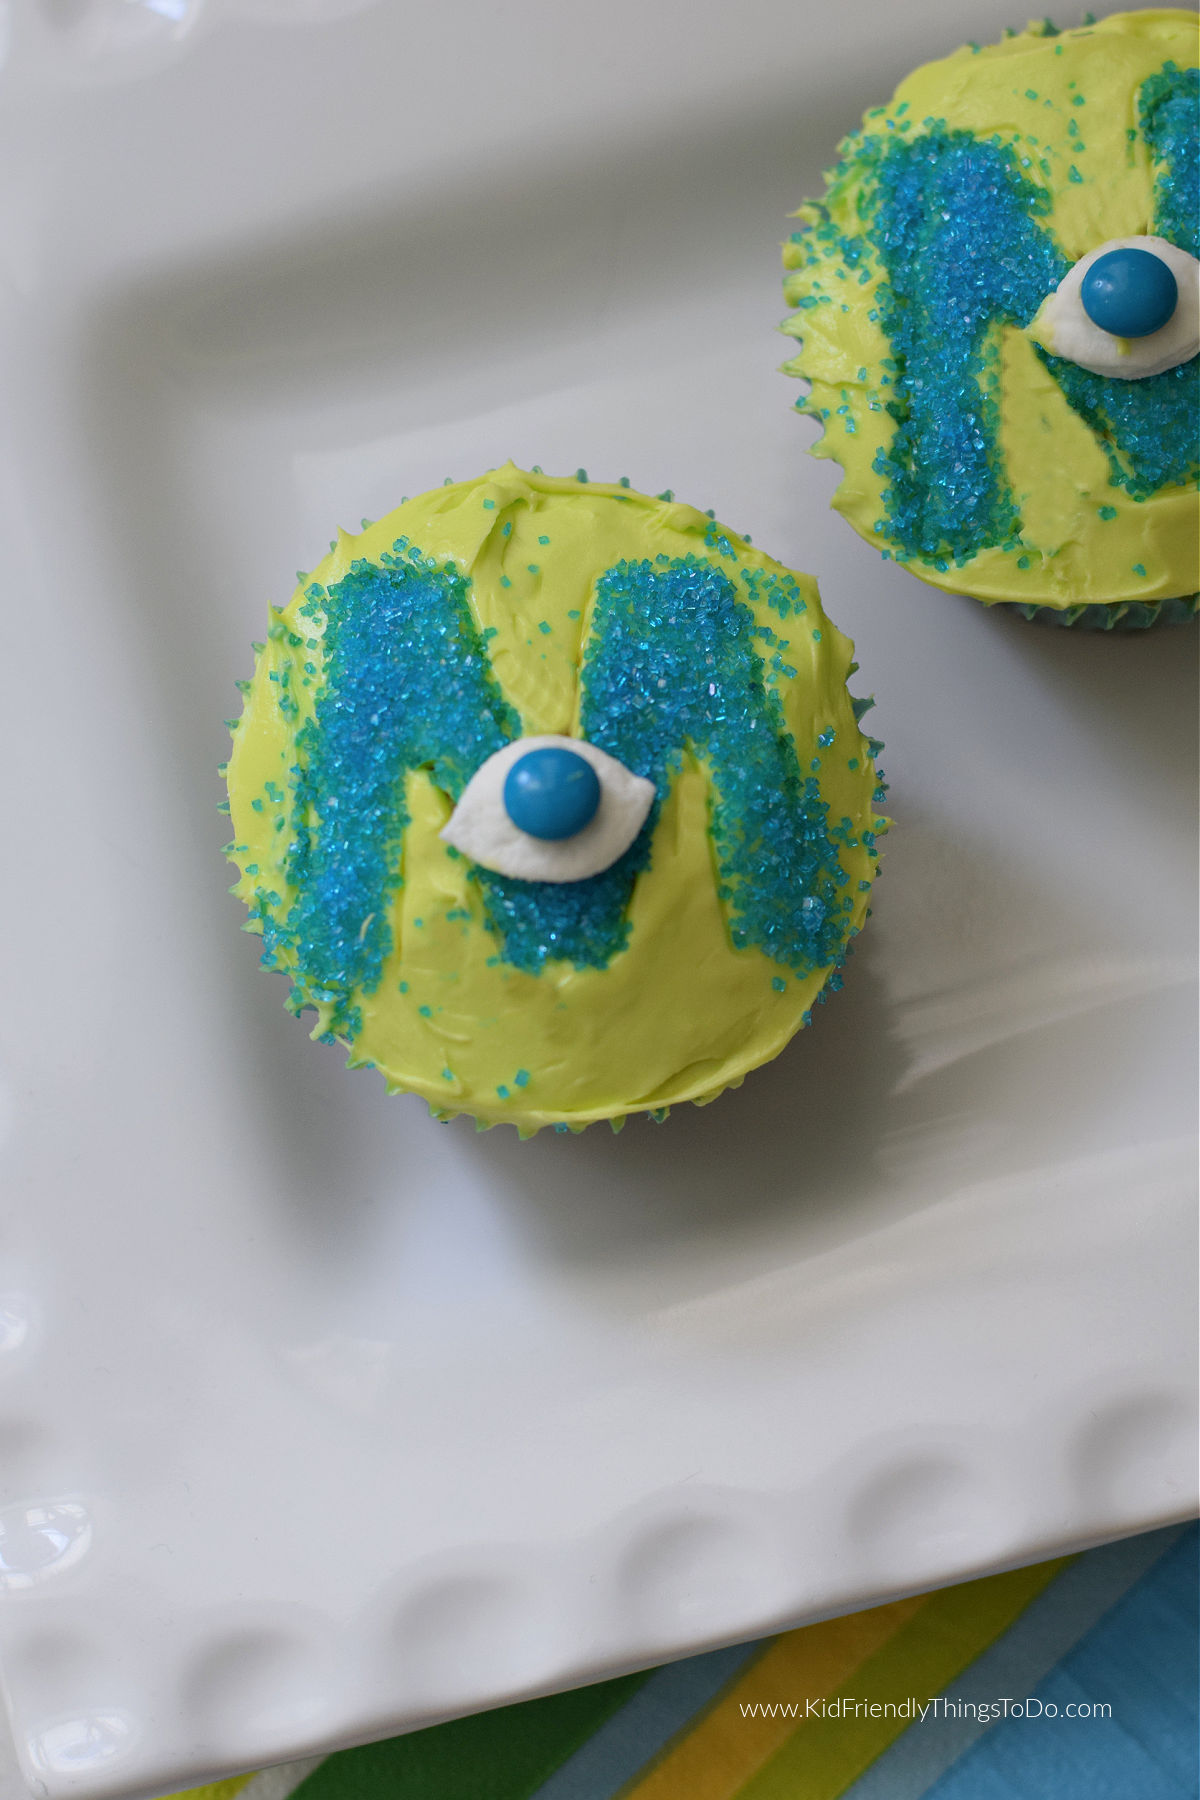
Monsters Inc. Cupcakes
This post may contain affiliate links – please read my disclosure statement.
Use this Monster’s University Party Cupcake Idea at your next birthday party. Easy to make and so much fun for the kids.
Adult supervision is required for each step of activities, recipes, crafts, and games with children. Small parts are a choking hazard.
Monsters University Cupcake Idea
In the summertime, I love to take the kids to drive-in movies. It’s a fun way to experience a movie and have so many kids. it really saves us money. Drive-ins are a little piece of the good old days. The big screen in the sky is making a comeback, and we are on board. Last night, we were lucky enough to see Monsters University. In honor of our fun summertime movie adventure, I made these simple Monsters University cupcakes.
I pressed for time, and my thought was, “Keep it simple”. So, when I saw the Monsters University Logo was a letter M with an eyeball, I was all over it. I think these would be so fun at a Monsters University birthday party. They only require a few items. I’ll walk you through what I did to make these cute cupcakes.
Are you looking for fun Birthday Party Treat Ideas? Try some of these fun birthday desserts…
Ingredients
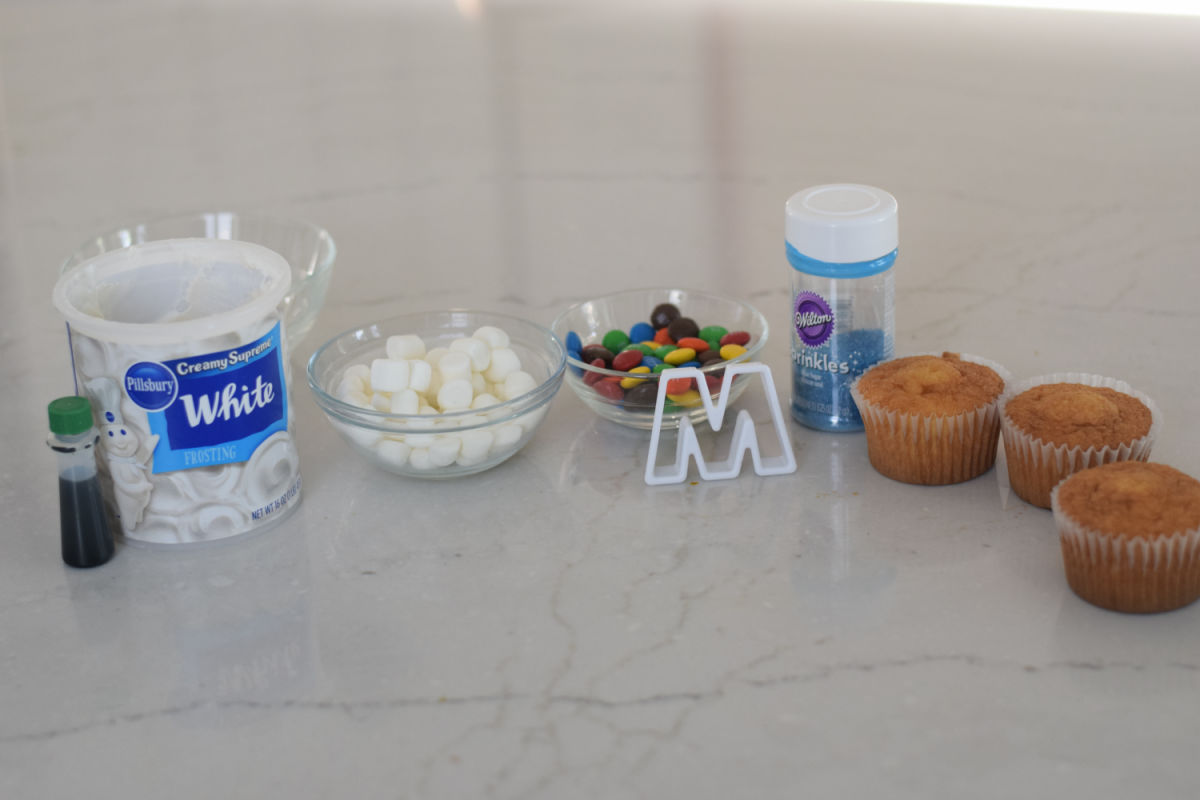
- Cupcakes baked and cooled
- White frosting
- Neon Green food coloring or primary green. In the baking aisle, you’ll find neon gel food coloring. The green neon mixed with vanilla makes a great Monster Green. Or, use a tiny bit of primary green with white to get a Monster Green.
- A letter M Cookie Cutter (about 2 inches wide) – I used a Jello Jiggler “M.” If you can’t find that, try the play-dough section for letter molds or cookie cutters.
- Blue Sugar Crystals
- Mini Marshmallows – ones that are a little stale work perfectly but are not required. Leave some out in the open air (overnight) to harden up a little bit. They are far less sticky that way.
- Mini blue M&Ms
Equipment Needed
- Scissors
- Wax Paper
- Rolling Pin
How to Make Monsters Inc. Cupcakes
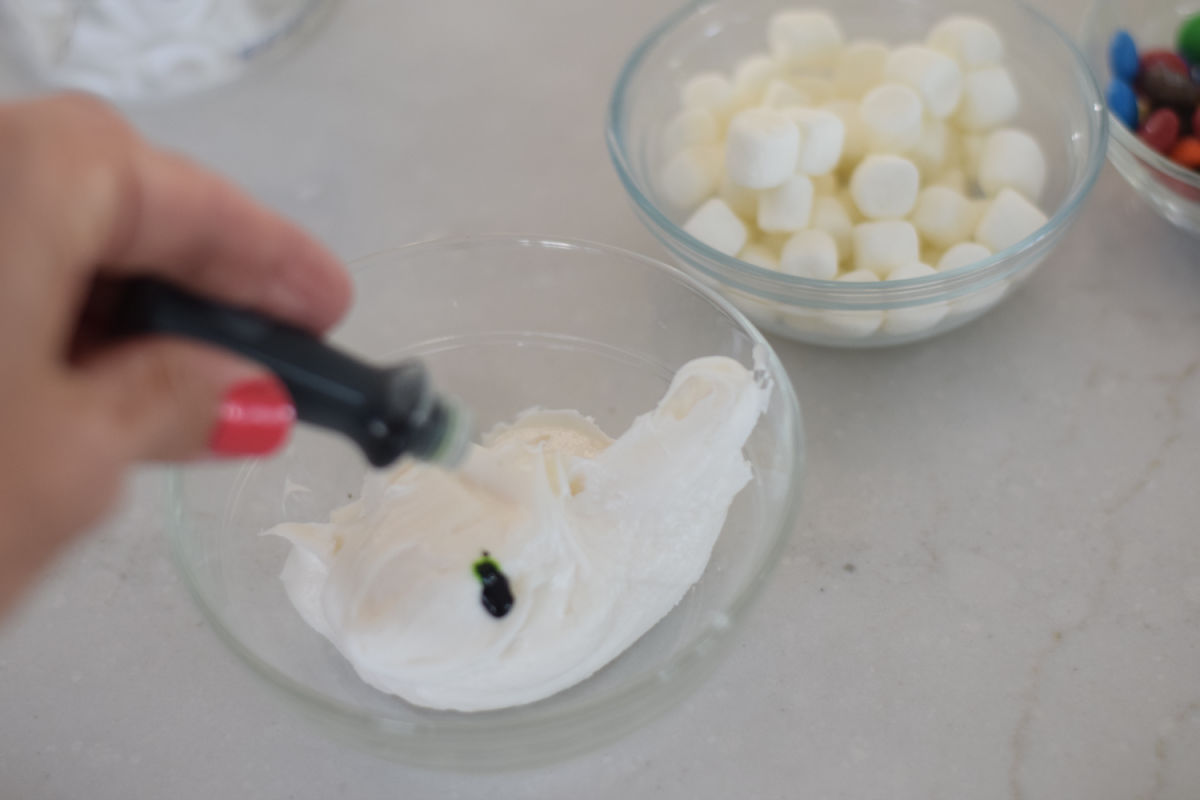
- Mix a few drops of green food coloring with the white frosting to make a lime-green color.
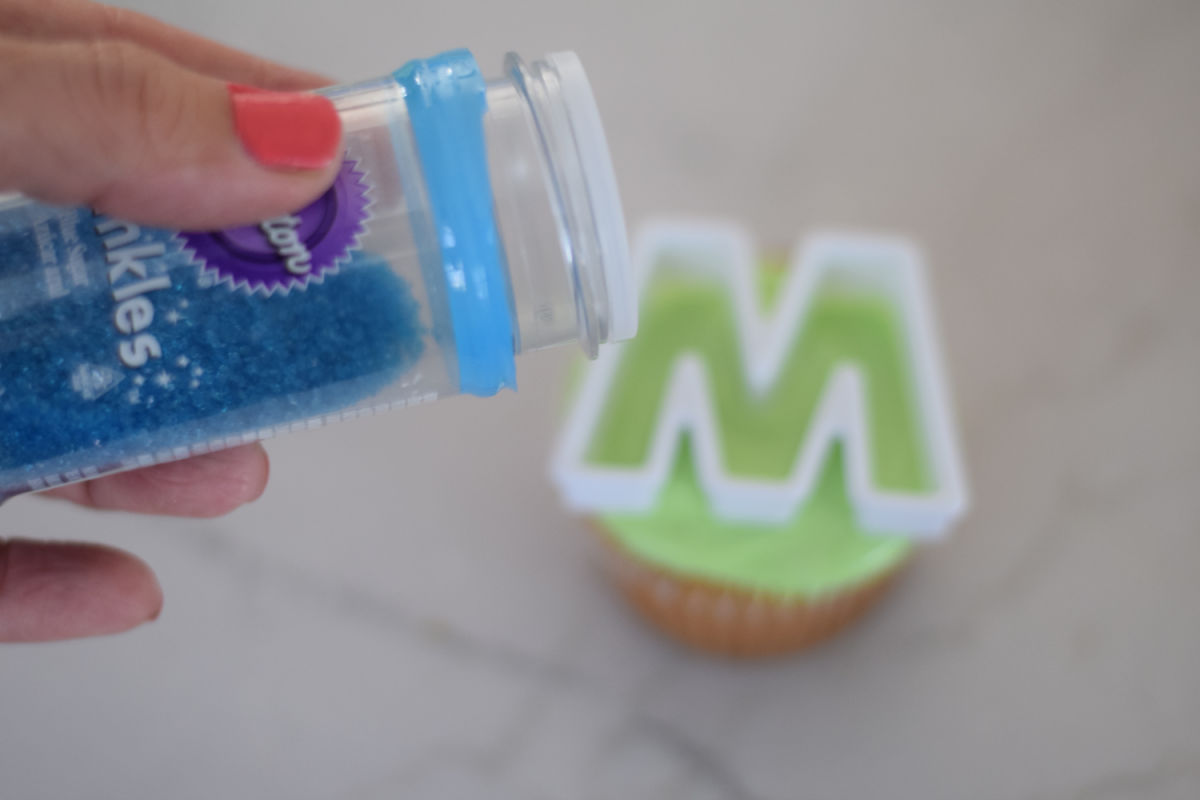
- Using the letter “M” mold, place it on the center of your green frosted cupcake, and shake the blue sugar inside the cookie cutter
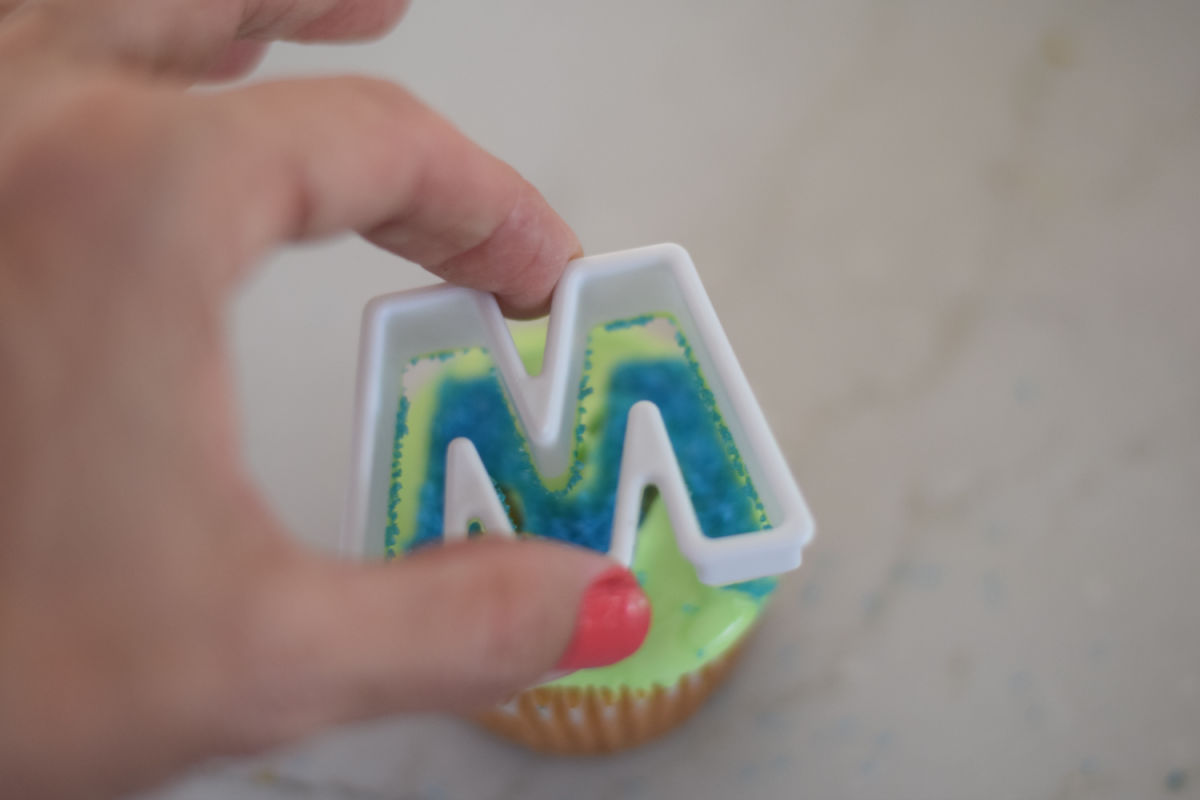
- Lift the “M” mold off of the cupcake, and do the same with the rest of your cupcakes
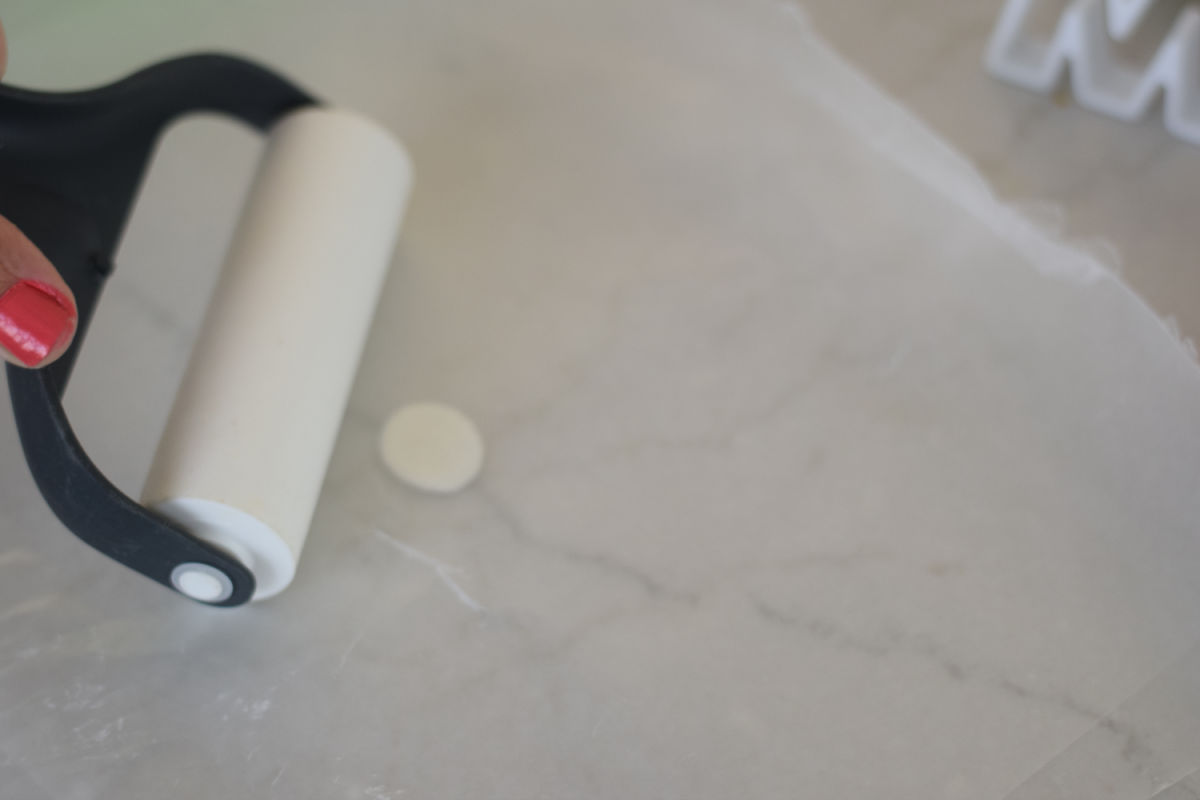
- Place a mini marshmallow between 2 sheets of wax paper and roll it flat
- Cut each mini marshmallow (one for each cupcake) into eye shapes using scissors.
- Place those into the center portion of the blue sugar M’s
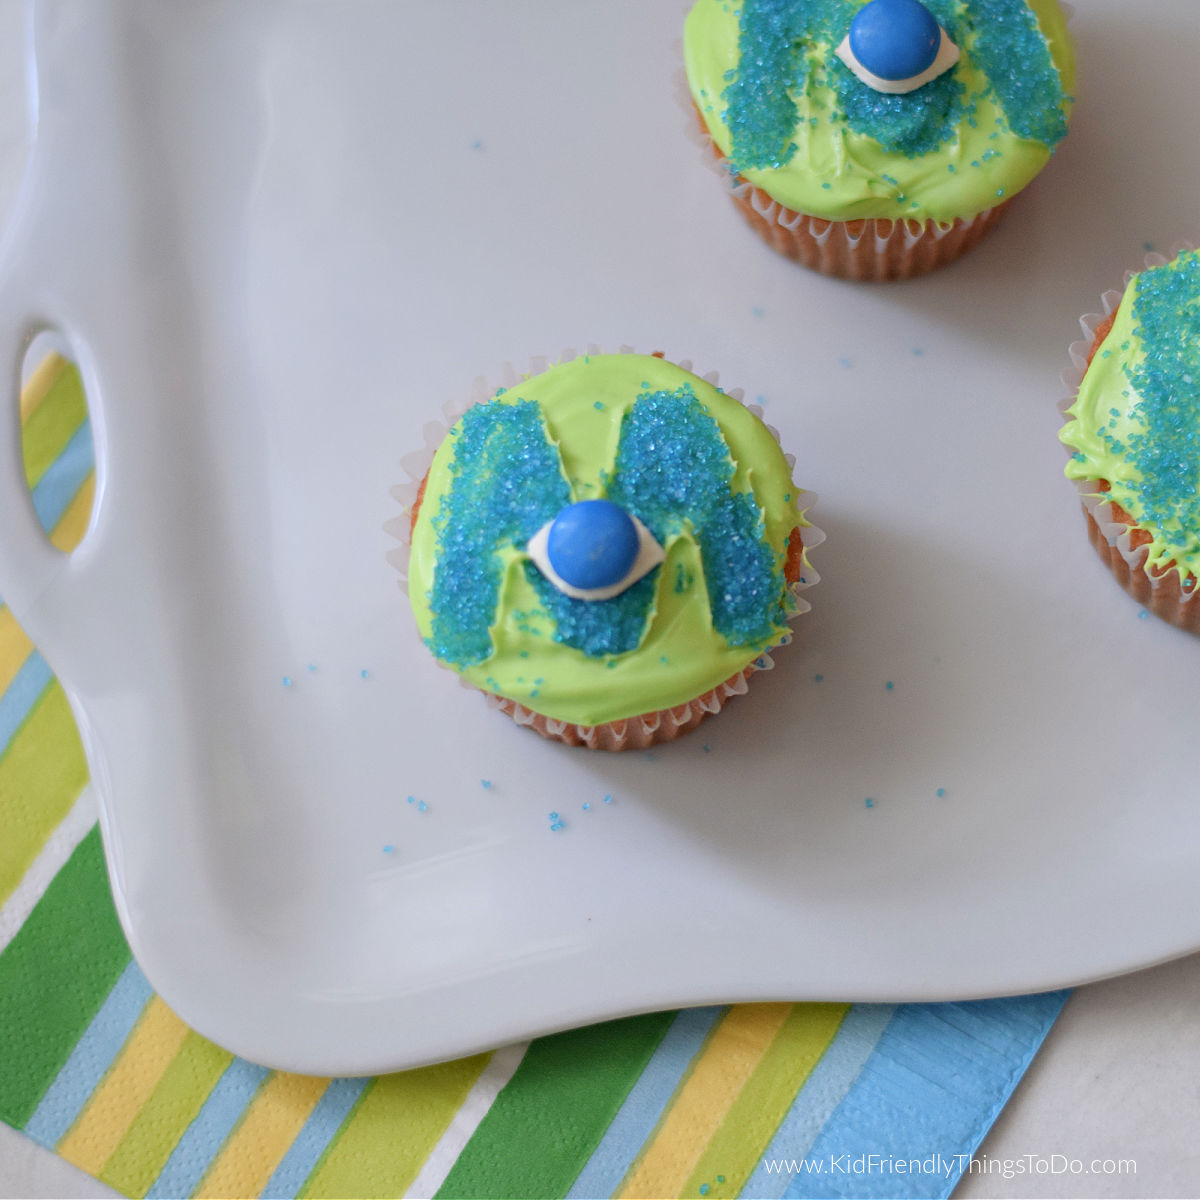
- Add a blue mini M&M to the center of the white eye, gluing it down with your extra green frosting.
Tips and Tricks
Add powdered sugar to thicken the frosting. Thickened frosting will be less sticky and will not cling to the letter M as much.
Use butter-flavored spray oil on the letter M to make it non-stick
More Cupcake Ideas You’ll Love
Let’s Hang Out
Come and find me on Pinterest and Facebook for more recipes, crafts, party treats, and holiday games!
Recipe Printable
Equipment
- A letter M Cookie Cutter (about 2 inches wide)
- Scissors
- wax paper
- Rolling Pin
Ingredients
- 12 Cupcakes baked and cooled
- 8 oz. White frosting
- few drops Neon Green food coloring or one or two drops of primary green.
- 3 oz. Blue Sanding Sugar
- 12 Mini Marshmallows
- 12 Mini blue M&Ms
Instructions
- Mix a few drops of green food coloring with the white frosting to make a lime-green color
- Using the letter "M" mold, place it on the center of your green frosted cupcake, and shake the blue sugar inside the cookie cutter
- Lift the "M" mold off of the cupcake, and do the same with the rest of your cupcakes
- Place a mini marshmallow between 2 sheets of wax paper, and roll it flat
- Using scissors, cut each mini marshmallow (one for each cupcake) into eye shapes
- Place those into the center portion of the blue sugar M's
- Add a blue mini M&M to the center of the white eye gluing it down with your extra green frosting
~Melissa – KidFriendlyThingsToDo.com

