{No Bake} St. Patrick’s Day Dessert – Rainbow Rice Krispies Treats
This post may contain affiliate links – please read my disclosure statement.
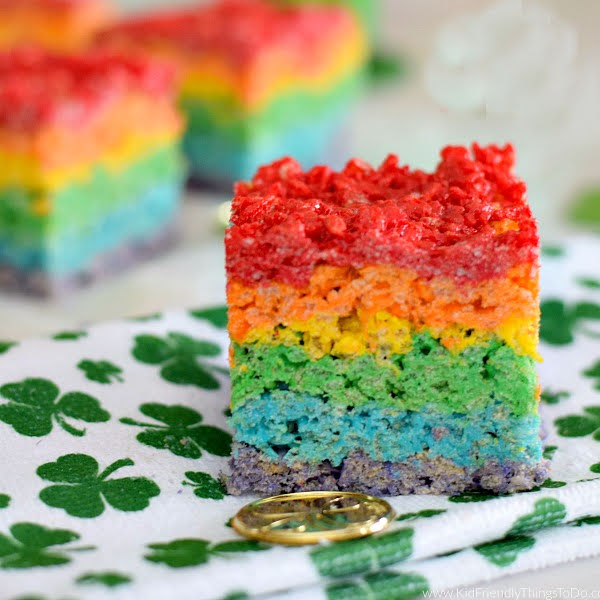
This Rainbow Rice Krispies Treats will be a perfect addition to St. Patrick’s Day. It’s an easy “no bake” dessert to add to your celebration. Come on in, and I’ll show you how to easily make these fun treats for St. Patrick’s Day or any Rainbow Celebration…
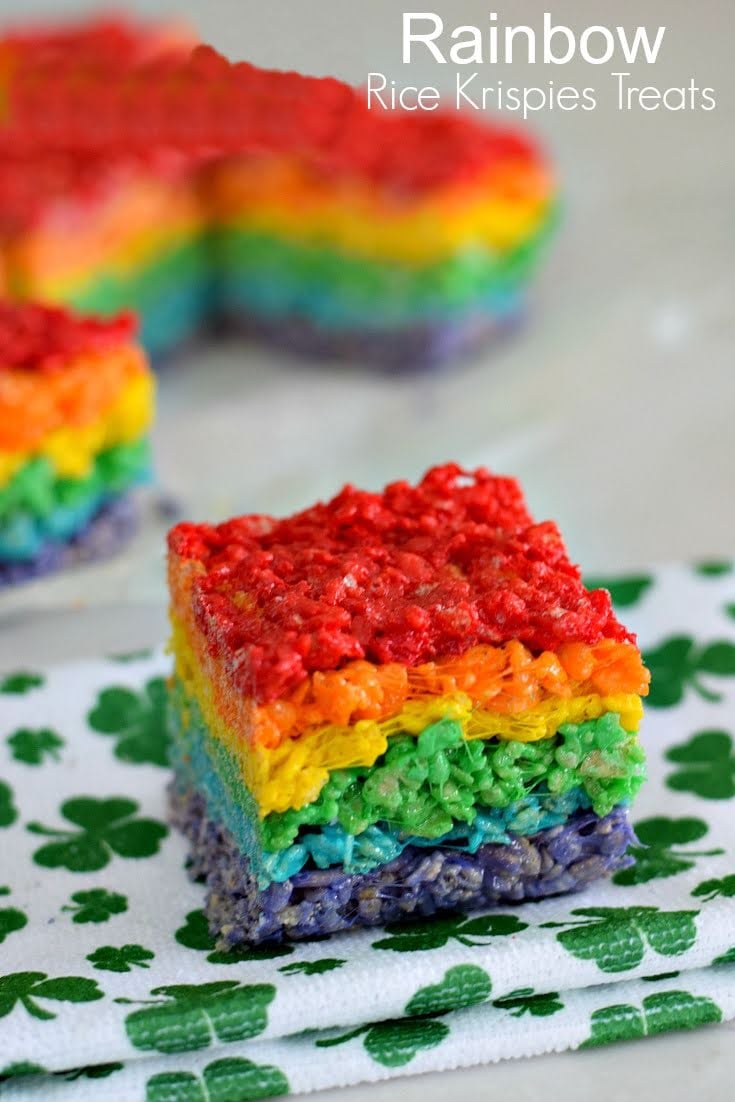
No bake Rainbow Rice Krispies Party Treats
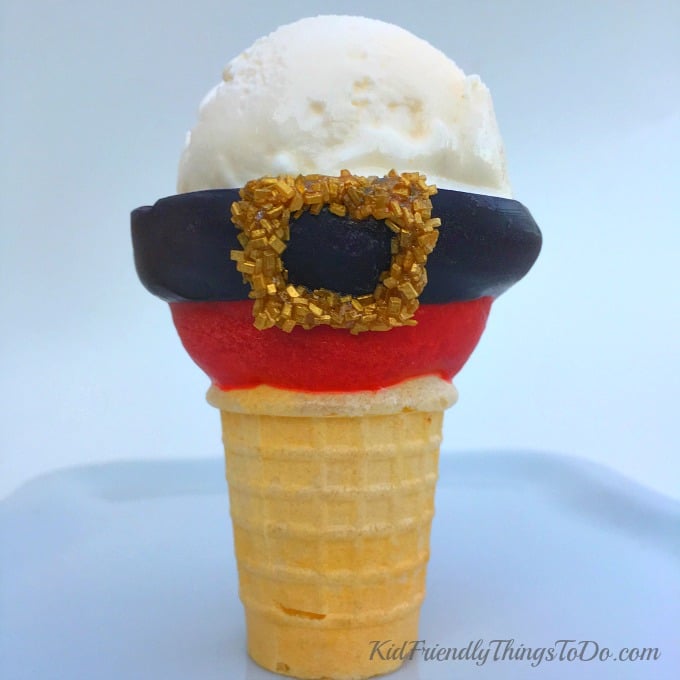
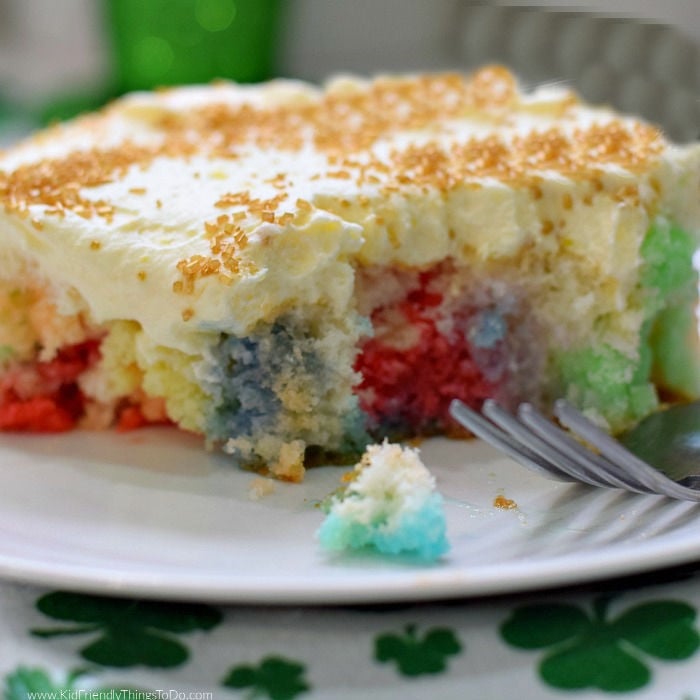
St. Patrick’s Day Treats are some of my favorite treats to make. Like rainbow marshmallow pops, Pot of Gold cupcakes, or Rainbow Jell-O Poke Cake.
These Rainbow Rice Krispies Treats were inspired by the red, white, and blue Krispies treats I’ve seen around Pinterest. I figured, if three colors in Krispies treats looked cute, then six would too.

My five-year-old and I made these while the older three kids were at school. Boy, were they excited to see these when they got home.
I was pretty excited, too. I even snagged one for myself. What? I have to taste test.
Ingredients
- Butter unsalted
- mini marshmallows
- Rice Krispies Cereal
- Food Coloring
Food Coloring Colors
- Red, Orange, Yellow, Green, Blue, Purple
Equipment
- 9×9 inch pan
- wax paper
- silicone spatula
- saucepan
How to Make Rainbow Rice Krispies
- Line the pan with wax paper
- In a medium saucepan, melt 1 Tbsp. butter
- Add 1&1/2 cups of marshmallows
- Stir until marshmallows are smooth
- Sqeezing only a few drops at at time, add 1 of the rainbow colors and stir in
- Remove from heat
- Stir 1&1/2 cups of cereal into the colored marshmallow
- I like to line my pan with wax paper
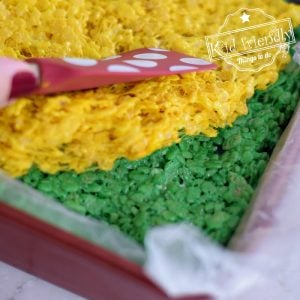
- Press into the prepared pan and smooth out
- Repeat this process with each color – cleaning the saucepan out between colors – until you have layered every color
- Remove finished treats from pan, pull wax paper away and cut into squares
Expert Tips
I started with purple on the bottom, added blue, green, yellow, orange, and finally red on top
More St. Patrick’s Day Treats

Here are my Top Amazon Picks for these Rainbow Rice Krispies Treats…
(affiliate links)
[box]  Wilton Easy Flex Silicone S...Shop on Amazon
  Rachael Ray Yum -o! Nonstic...Shop on Amazon
  LorAnn Food Coloring Powder...Shop on Amazon[/box]
Recipe
Rainbow Rice Krispies Treats
Equipment
- 9×9 inch pan
- wax paper
- silicone spatula
- saucepan
Ingredients
You will divide these ingredients by color…
- 6 Tbsp. Butter unsalted
- 9 cups mini marshmallows
- 9 cups Rice Krispies Cereal
- varies Food Coloring
Food Coloring Colors
- Red,Orange, Yellow, Green, Blue, Purple
Instructions
- Line the pan with wax paper
- In a medium saucepan melt 1 Tbsp. butter
- Add 1&1/2 cups of marshmallows
- Stir until marshmallows are smooth
- Add 1 of the rainbow colors (a few drops) and stir in
- Remove from heat
- Stir 1&1/2 cups of cereal into the colored marshmallow
- I like to line my pan with wax paper
- Press into prepared pan and smooth out

- Repeat this process with each color – cleaning the saucepan out between colors – until you have layered every color
- Remove finished treats from pan, pull wax paper away and cut into squares

Notes
- I started with purple on the bottom, added blue, green, yellow, orange, and finally red on top
Nutrition
[box] ![]()
![]()
![]()
![]() [/box]
[/box]
~ Melissa
KidFriendlyThingsToDo.com