How to Make A “No Sew” Sock Snowman
This post may contain affiliate links – please read my disclosure statement.
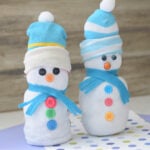
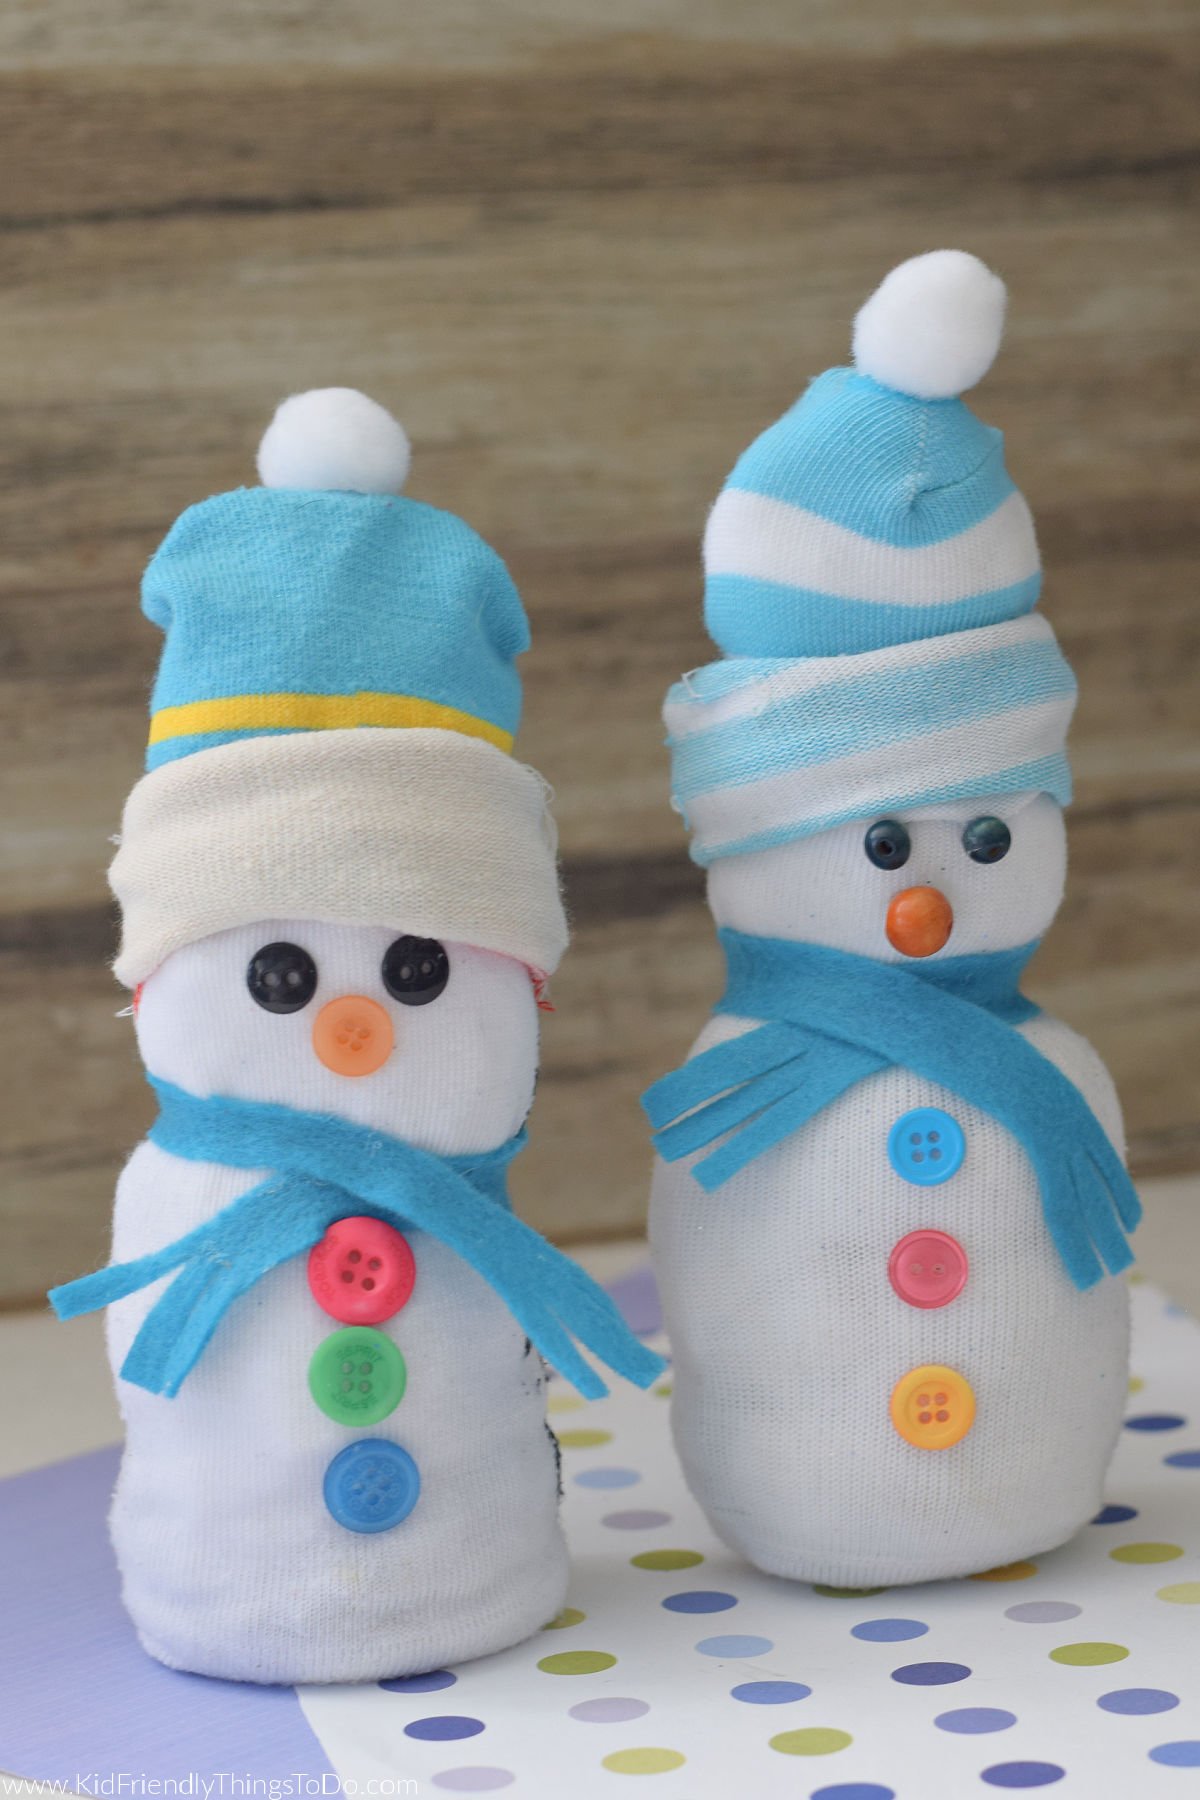
Make A “No Sew” Snowman Made out of Socks. Easy to make and so cute. A perfect winter craft for the kids.
This post may contain affiliate links. As an Amazon Associate, I earn a small commission from qualifying purchases. See my disclosure policy to read more. Adult supervision is required for each step of activities, recipes, crafts, and games with children. Small parts are a choking hazard.
Snowman Made out of Socks
I love making winter crafts with the kids. When the holidays are over, and it’s cold and blustery outside, making crafts can really help brighten the day. In the past, we’ve made so many fun winter crafts, like snow paint, water bottle penguins, and a cute paper plate snowman.
You can make this cute and cuddly Sock Snowman Craft out of two socks. They are the perfect Christmas gift. I found three pairs of socks at the Dollar Tree for $1.00 and made this cute little guy quickly.
Supplies You’ll Need For this Darling Sock Snowman Craft
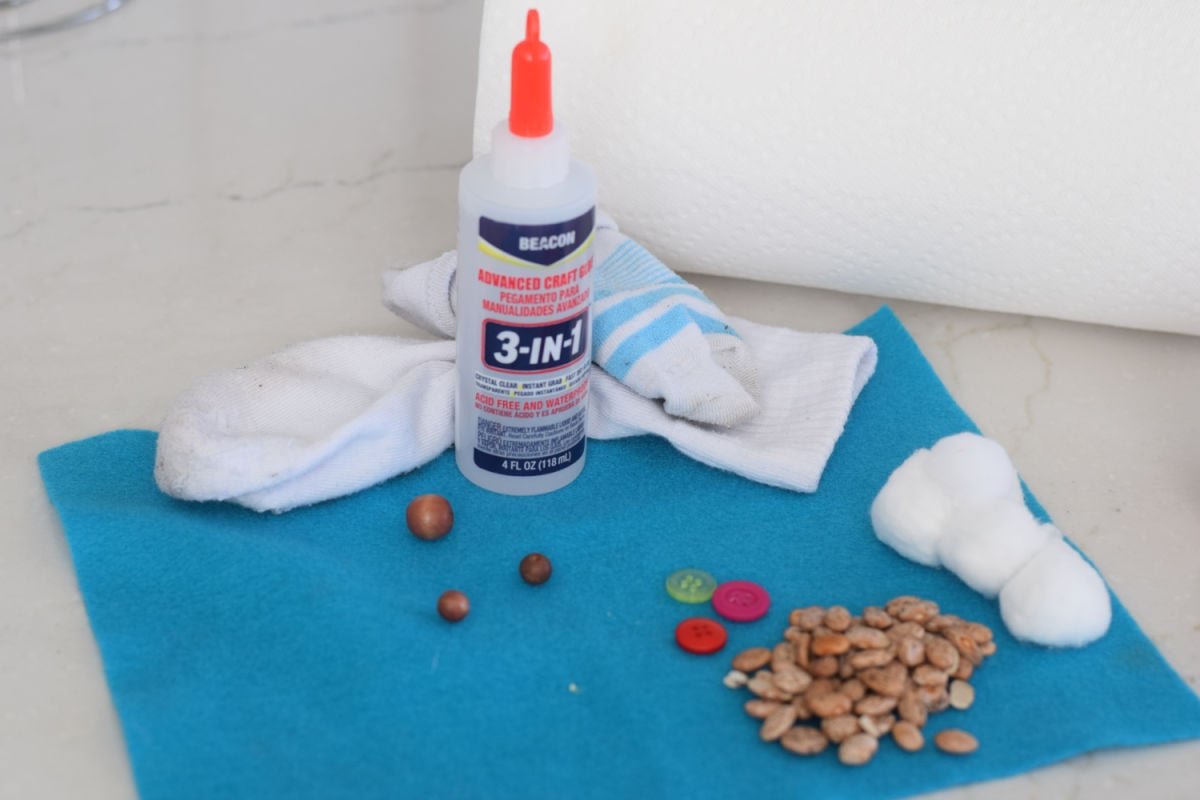
- A white ankle sock for the snowman – This sock should be completely white or mostly white so the front is all white.
- Another ankle sock for the hat—this can be a colorful sock or a sock with bright stripes.
- Fabric Glue – Some people like to use a hot glue gun for this craft, but I have found that a tacky fabric glue works quickly and is less likely to burn me.
- Weight: vase fillers, dry beans, rice, or beads to weigh the sock down – This will be the bottom of the snowman and help weigh it down so it will stand up on its own.
- Stuffing – or – Quilter’s Batting. I have even used paper towels as stuffing for this craft.
- Felt strip or ribbon for a scarf – I have used both ribbon and felt. This time, I used a felt strip that was about seven inches in length. I cut little strips into the two ends of the felt
- Buttons and Beads for the snowman’s nose, eyes, and belly – You’ll want black buttons or beads for the eyes. Use black or colorful beads or buttons for the belly and an orange button or bead for the snowman sock nose.
- Pom-Pom for the hat – I like to use a medium-sized pom-pom
- Cotton Balls – I used cotton balls to stuff the snowman’s hat, but you could also use the same stuffing you used to stuff the sock with.
Equipment
- Scissors – You might need scissors to trim any stray pieces or to cut slits in the felt strip
How to Make the Cutest Sock Snowman out of Socks
- Put about 1/4 cup of Vase Fillers or the material you chose to weigh the snowman down into the bottom of the sock, which is entirely white.
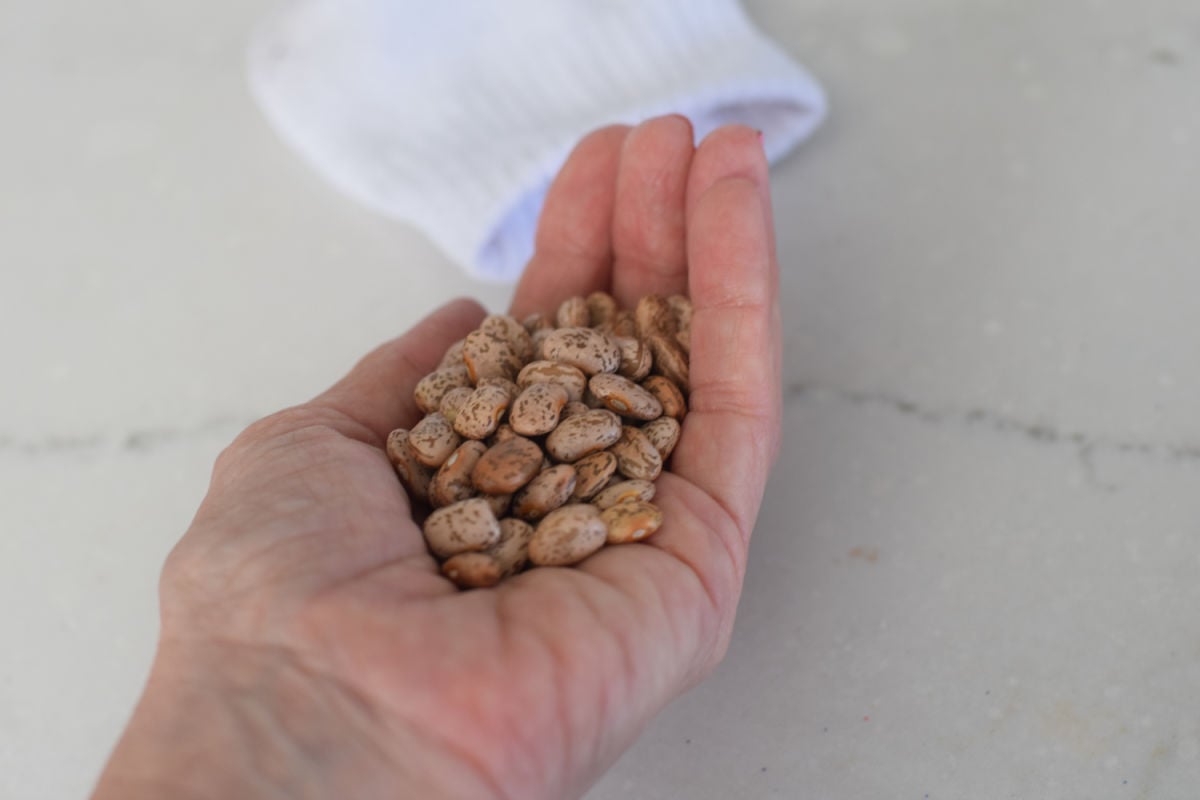
- Stuff the rest of the sock up to the ankle with stuffing
- Glue the top of the sock together. If the ankle portion is too tall, and you have excess, then fold it and glue it down.
- To make the hat, take your other, more colorful ankle sock and start rolling it up from the open ankle section to the toe section, leaving about 2-3 inches unrolled. Glue it to secure it.
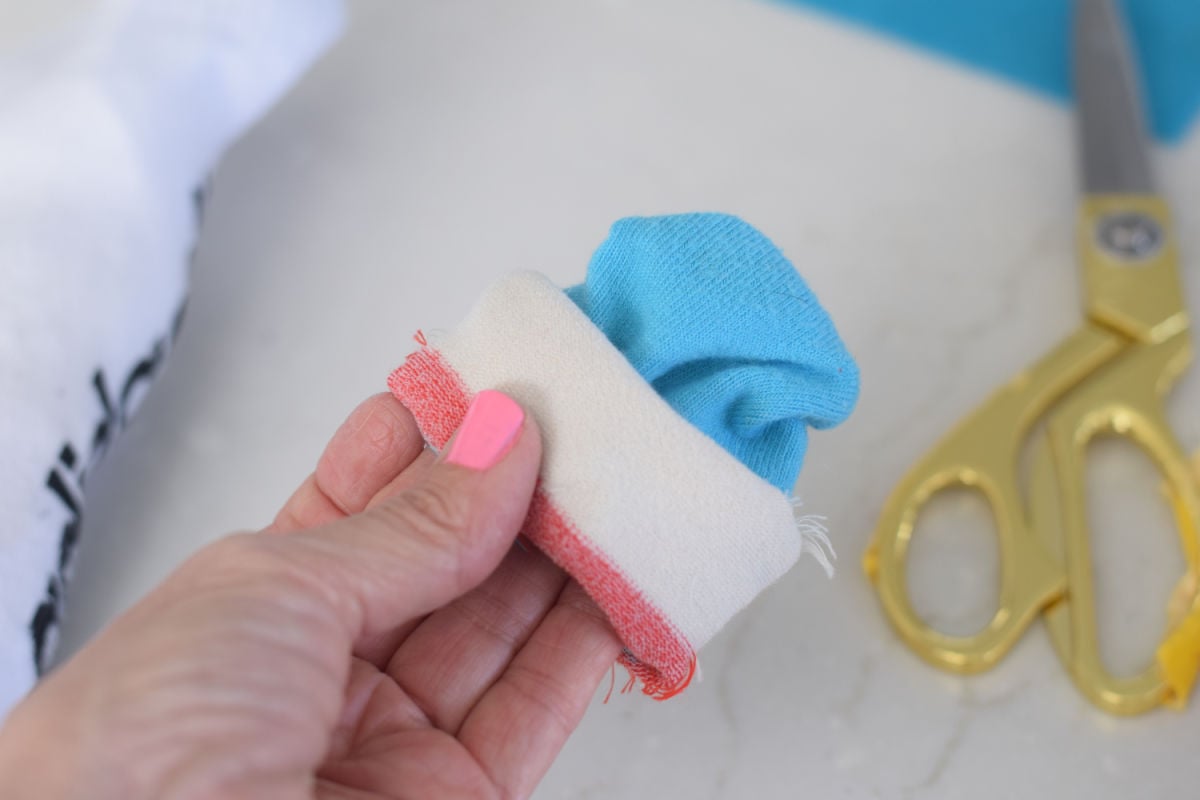
- Pull the little sock hat over the top of the snowman.
- Stuff the hat with cotton balls so it is full.
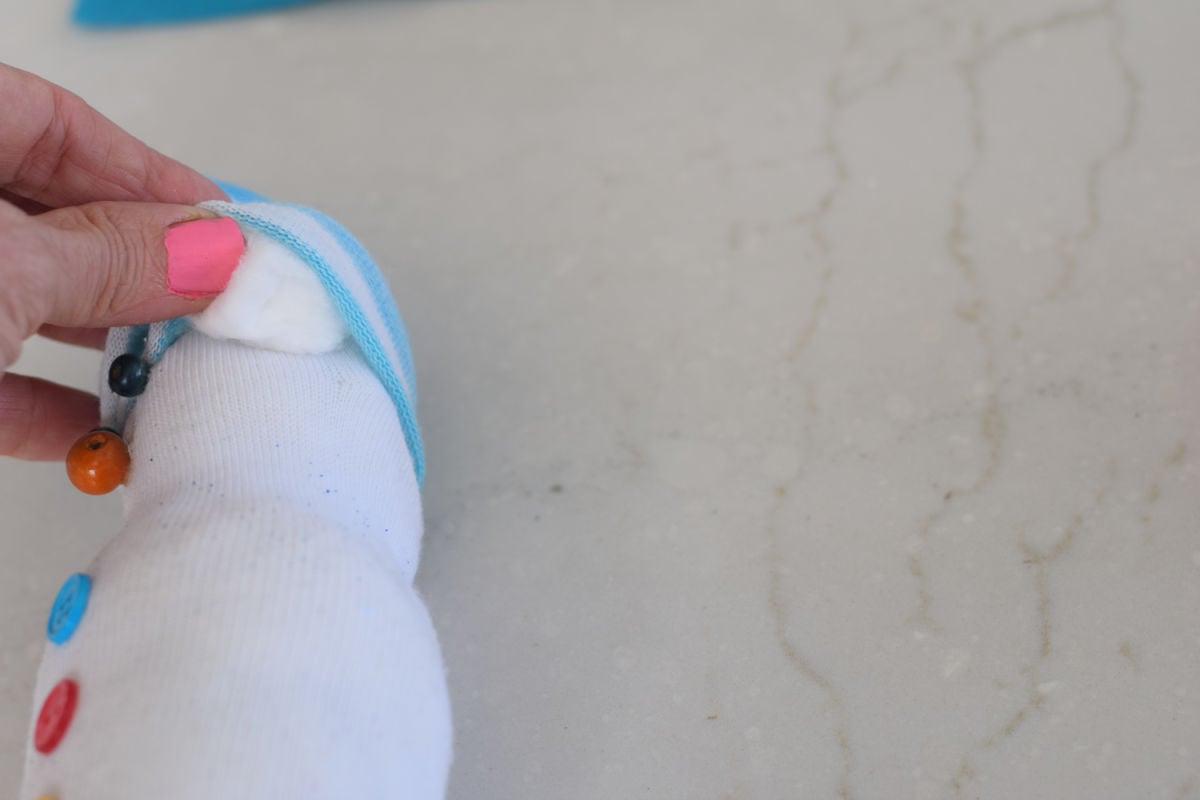
- You can either glue this hat to the snowman, or you can make a lot of other sock hats so you can change them out for dress-up fun.
- For an extra touch, add a pom-pom to the top of the sock hat
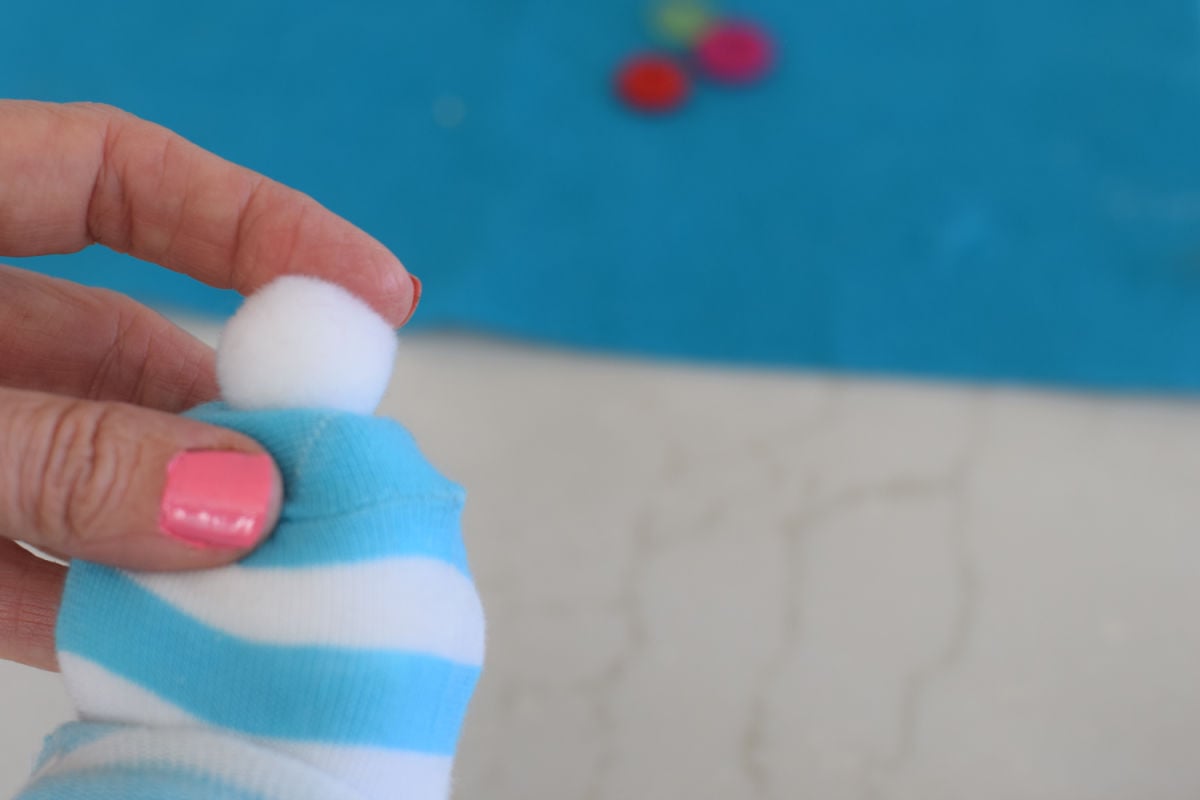
- Tie a ribbon around the neck of the Snowman for a scarf.
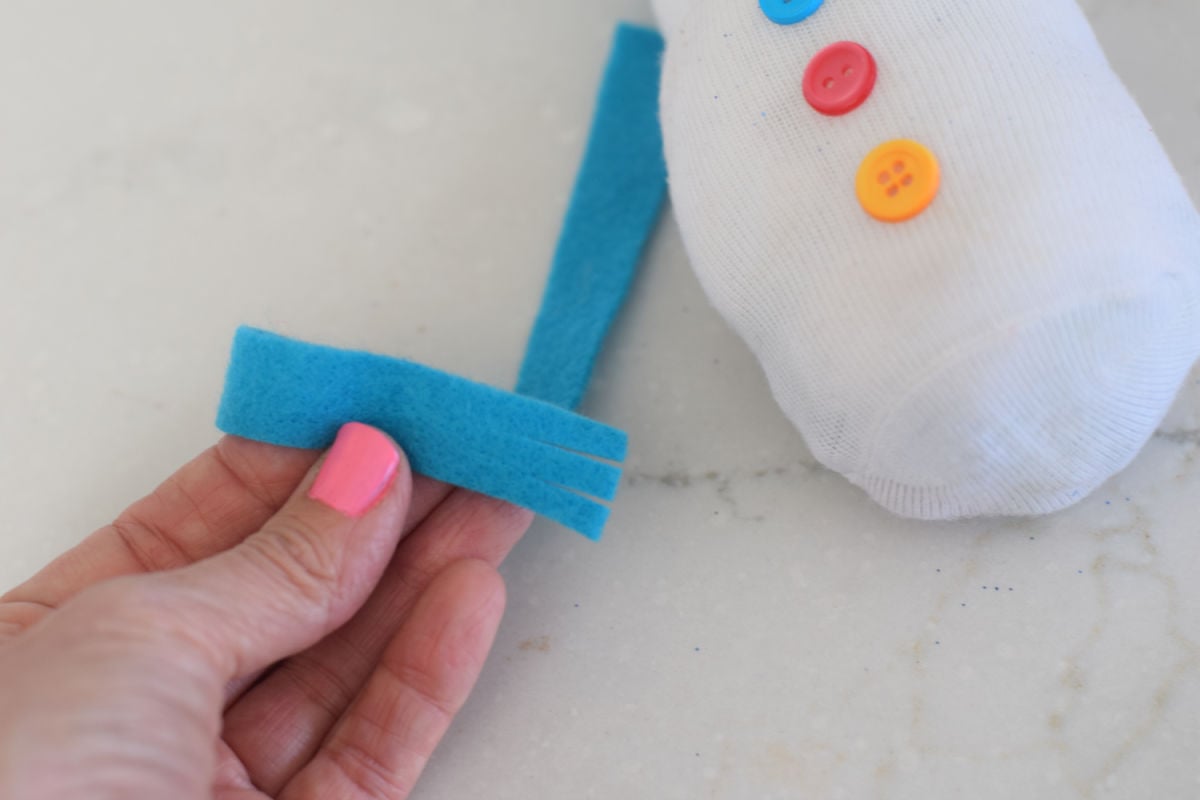
- Decorate the face of the snowman with beads and/or buttons
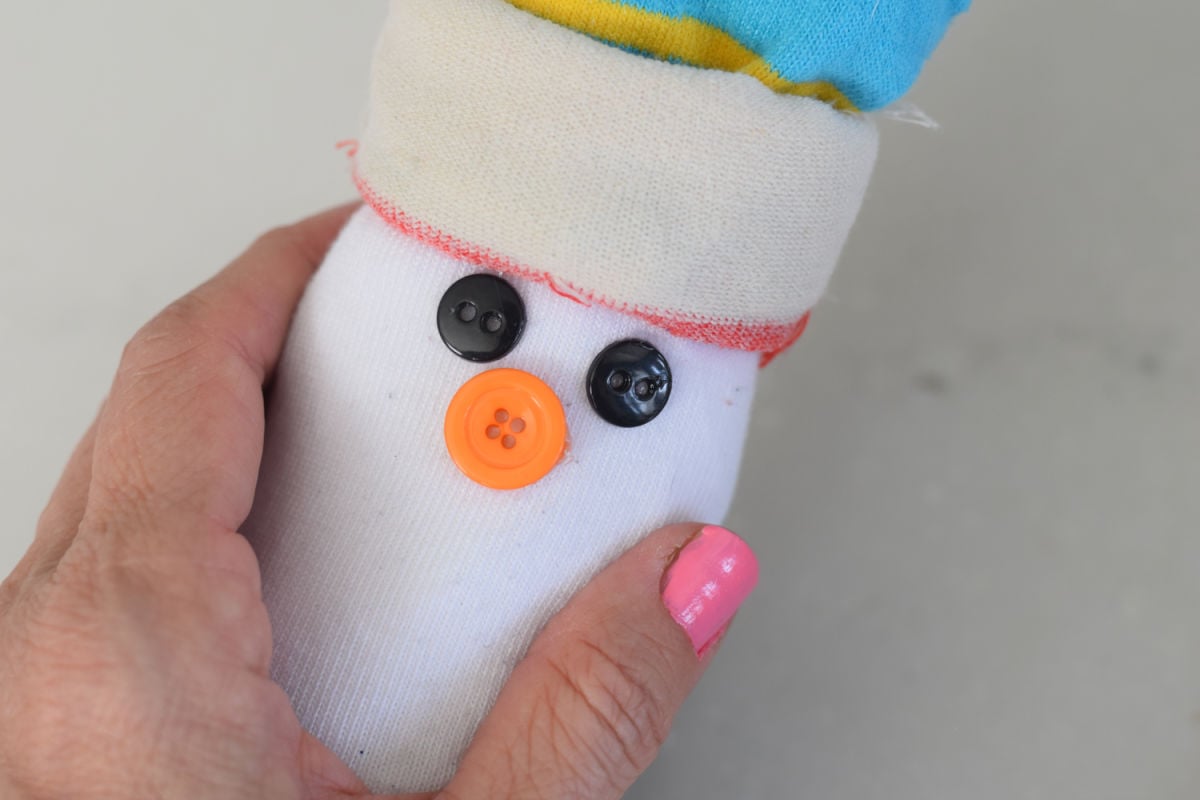
- Then, decorate the belly with more buttons or beads
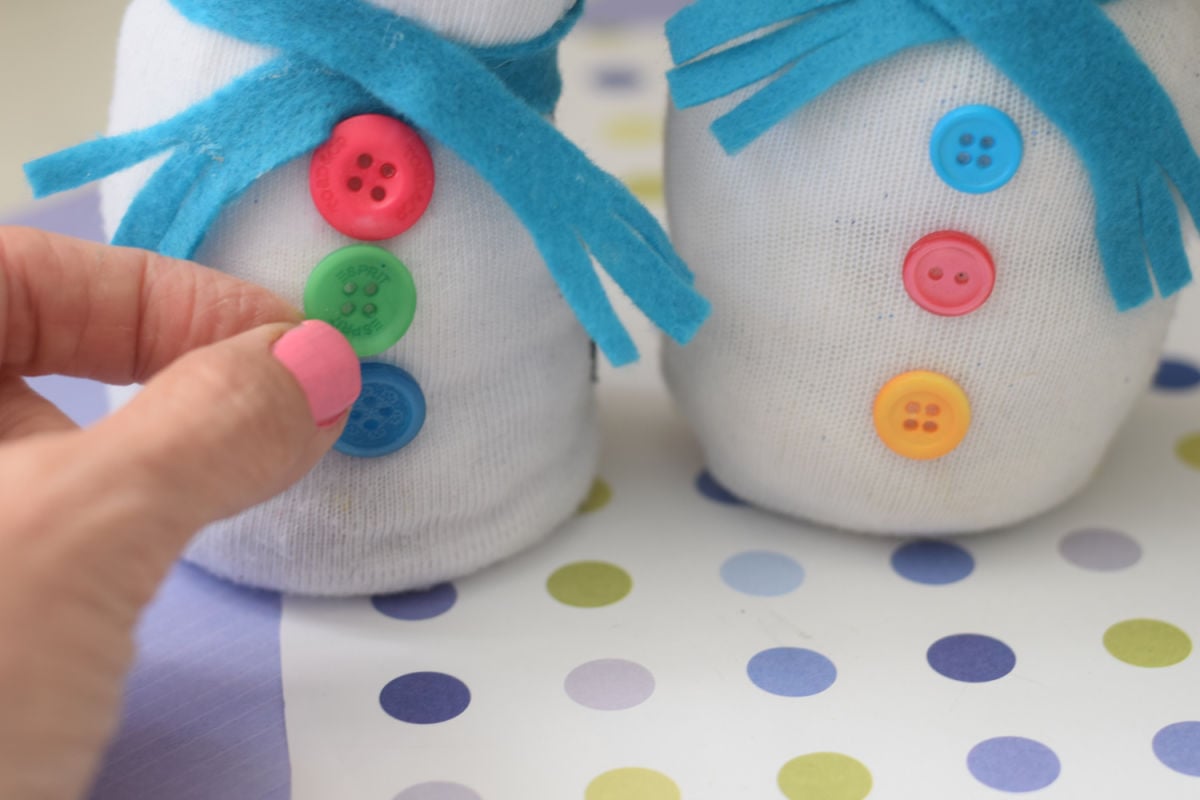
It’s as easy as that. Now you have the cutest little snowman made out of socks
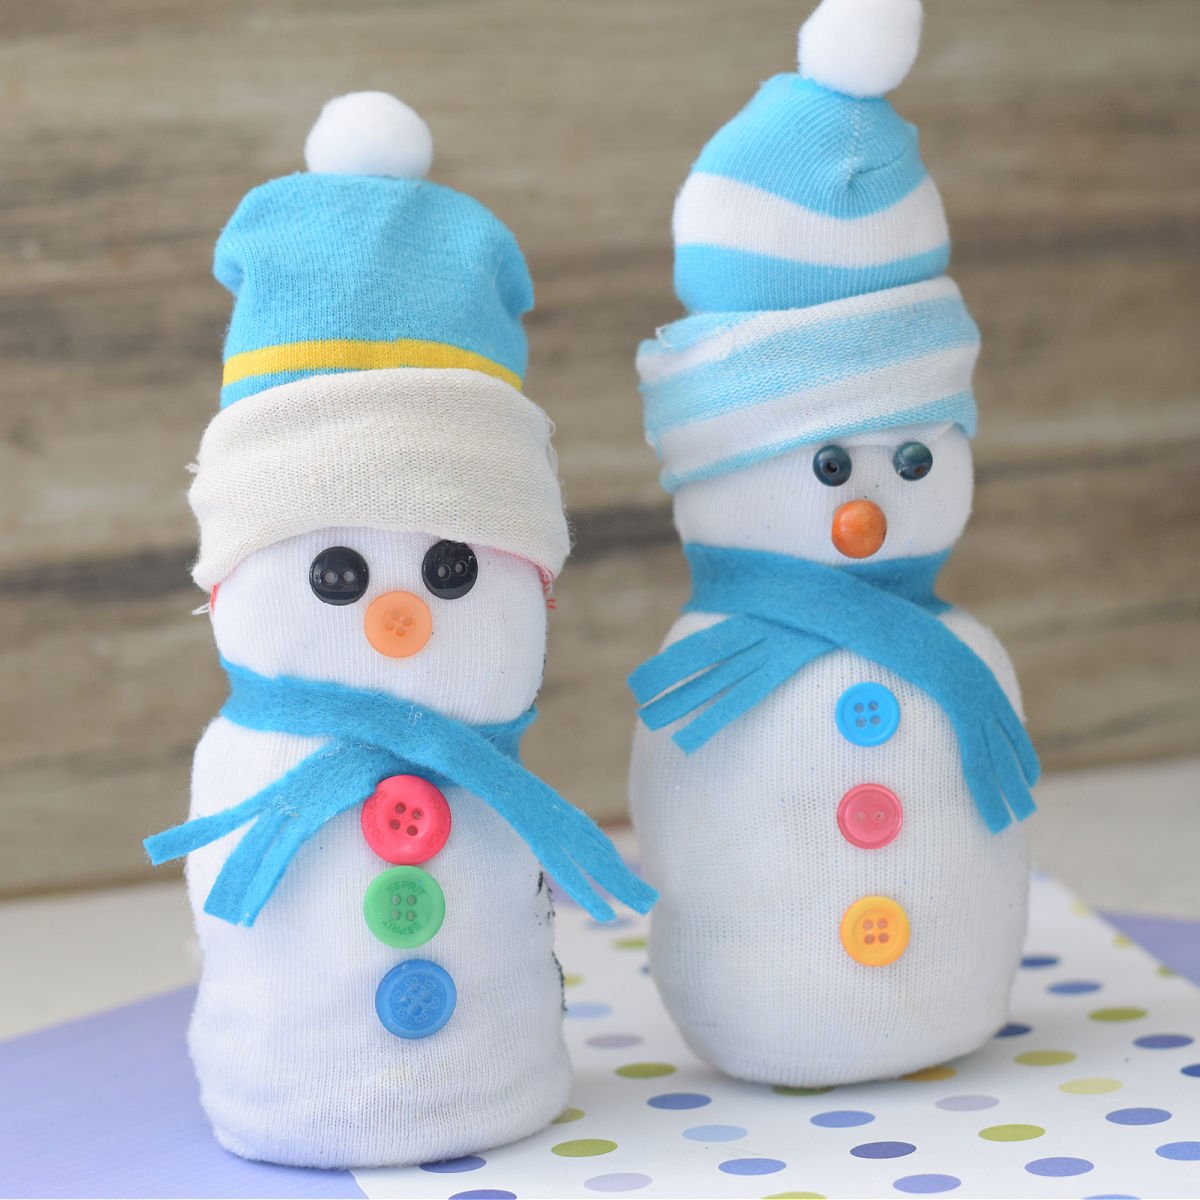
Expert Tips
You can use a rubber band around the neck to for the shape
You can cut the tip of the hat and use a rubber band to close it shut
It is helpful to hold the entire sock over a bowl when filling the bottom with rice or beads. If any rice spills, the bowl will catch it
Variation
You an use a small piece of orange pipe cleaner for the snowman’s nose. Poke it directly into the snowman so it is pointing outward. Use a dab of glue to hold it in place.
Make rosy cheeks with pink buttons
Make lots of snowman sock hats, so that the kids can occasionally take the hat of your sock snowman off and exchange them with other ones for dress up fun
More Winter Crafts You’ll Enjoy
More Sock Craft Ideas
How to Make A “No Sew” Sock Snowman
Materials
- A white ankle sock for the Snowman
- Another ankle sock for the hat – This can be a colorful sock or a sock with bright stripes on it
- Fabric Glue
- Weight In the form of vase fillers, dry beans, rice, or beads to weigh the sock down
- Stuffing – or – Quilter's Batting
- Felt strip or ribbon for a scarf
- Buttons and Beads for decorations black buttons or beads for eyes and belly. Orange for the nose
Instructions
- Put about 1/4 cup of beans, rice, or the material you chose to weigh the snowman down into the bottom of the white
- Stuff the rest of the sock up to the ankle with stuffing
- Glue the top of the sock together. If the ankle portion is too tall, and you have excess, then fold it and glue it down.
- To make the hat, take your other, more colorful ankle sock and start rolling it up from the open ankle section to the toe section, leaving about 2-3 inches unrolled.
- Pull the little sock hat over the top of the snowman.
- Push cotton balls into the hat to make it fluffy
- You can either glue this hat to the snowman, or you can make a lot of other sock hats so you can change them out for dress-up fun.
- Tie a ribbon or a felt strip around the neck of the Snowman for a scarf.
- Decorate the face and body with your beads and buttons.
Notes
This post may contain affiliate links. As an Amazon Associate, I earn a small commission from qualifying purchases. See my disclosure policy to read more. Adult supervision is required for each step of activities, recipes, crafts, and games with children. Small parts are a choking hazard. Sharp objects can cause injury.
~Melissa – KidFriendlyThingsToDo.com – kid-friendly crafts, recipes, party ideas, fun foods, and fun ideas for the whole family!

