DIY Easy Rudolph Christmas Wreath
This post may contain affiliate links – please read my disclosure statement.
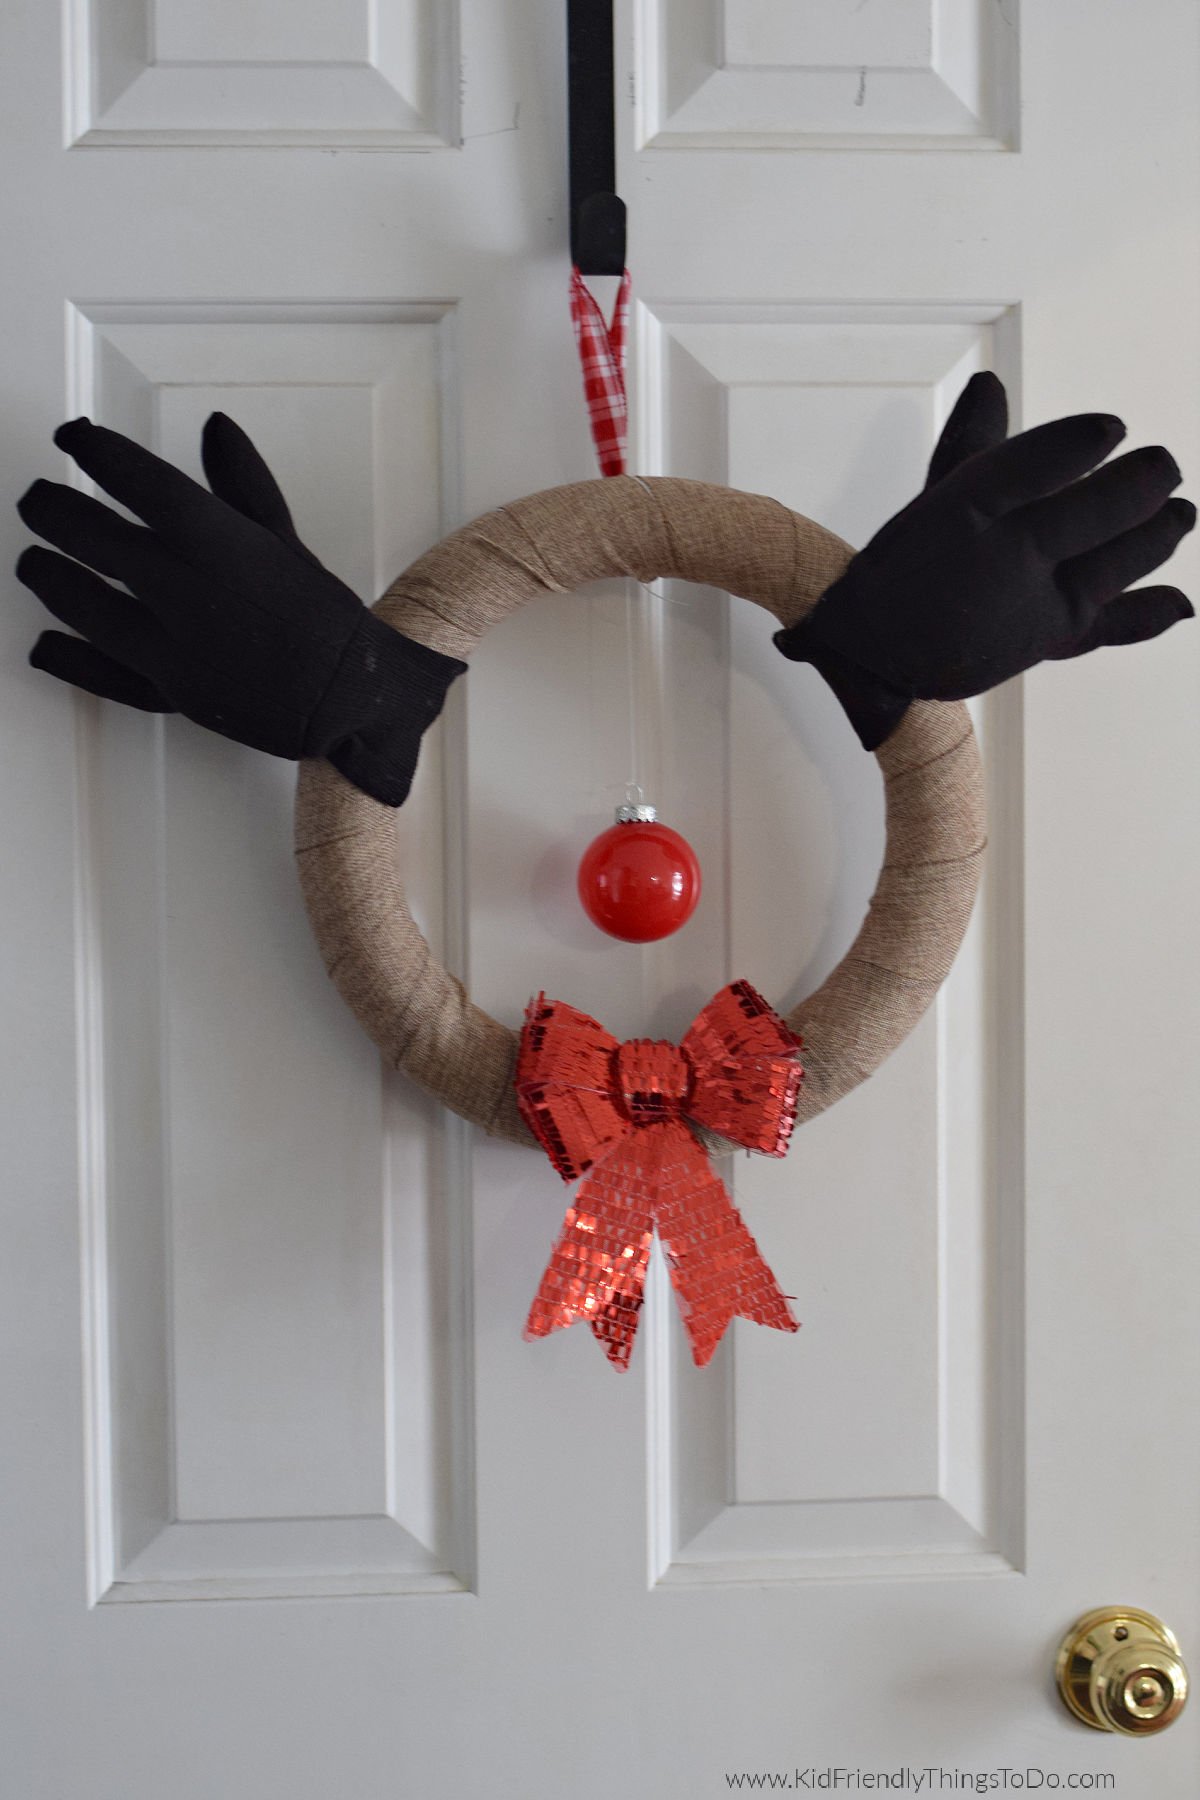
Looking for a festive DIY Rudolph wreath to brighten your holiday décor? This Christmas craft is simple, whimsical, and perfect for adding instant charm to your home. Using a foam wreath base, Offray ribbon, and a few creative touches—like mittens as antlers—you can make a playful Rudolph wreath that’s rustic, cozy, and guaranteed to make guests smile.
Whether you’re a seasoned crafter or trying your first holiday DIY, this wreath is fun, fast, and family-friendly.
Around the holidays, I love to decorate with DIY ideas and crafts, and this Rudolph wreath is just the beginning. Check out our other festive projects—from handmade ornaments like this melted crayon ornament and these candy cane Christmas mice, to playful holiday décor like this felt Christmas tree for the kids to play with—that bring charm and cheer to every corner of your home.
What You’ll Love about this Christmas DIY
Easy to make: Most of the materials are craft-store staples, and the steps are beginner-friendly. Kids can definitely pitch in on parts of this DIY, making it a fun family craft.
Adorable design: Mittens as antlers and a floating red ornament nose make it instantly charming.
Customizable: Tailor ribbon colors, bow styles, and ornament sizes to match your holiday theme.
Perfect for display: Works on front doors, above the mantel, and classroom doors.
Supplies You’ll Need
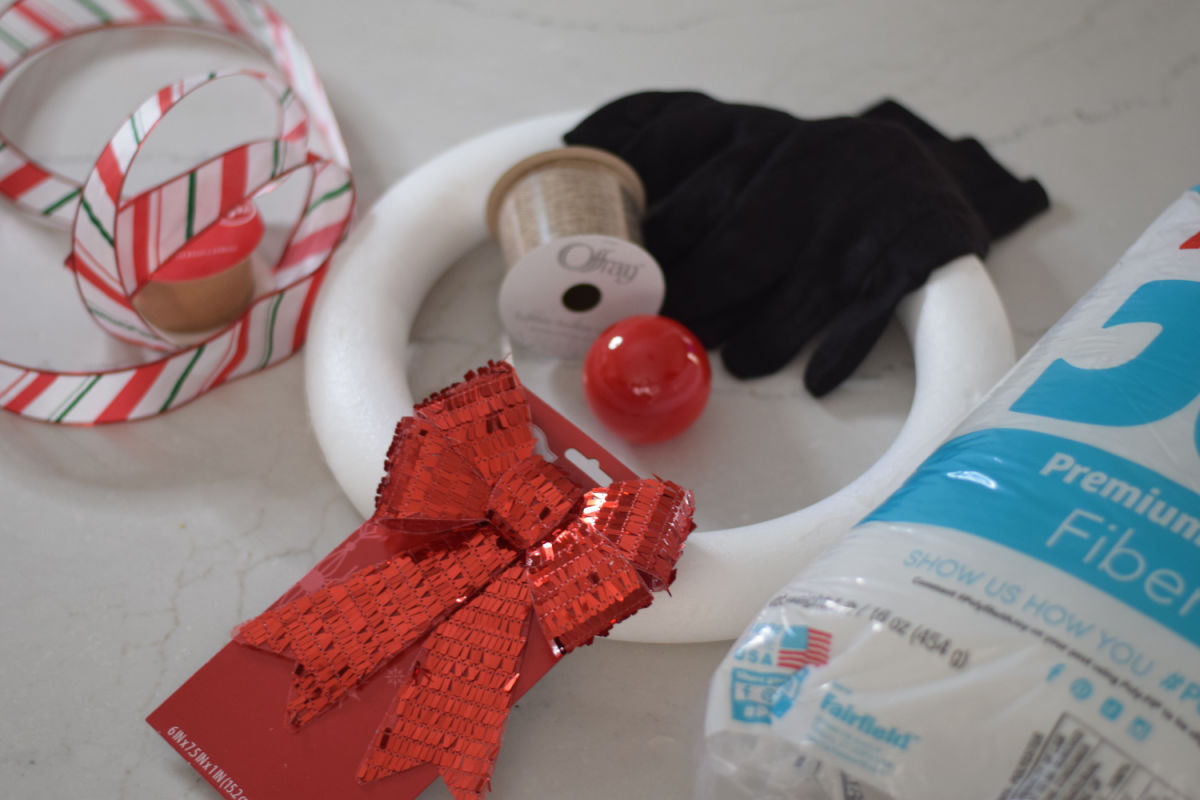
Foam wreath base (any size)
Offray ribbon (brown, tan, or neutral)
Glue – I like to use a tacky fabric glue called Beacon 3-in-1, but a low-temp glue gun would also work for this DIY.
Brown work mitts
Pillow filler / poly-fil
Clear jewelry elastic cord
Red plastic ornament (for Rudolph’s nose)
Christmas bow for the bottom
Wired ribbon for hanging
Craft wire (optional, for extra hanging support)
How to Make this Rudolph Wreath
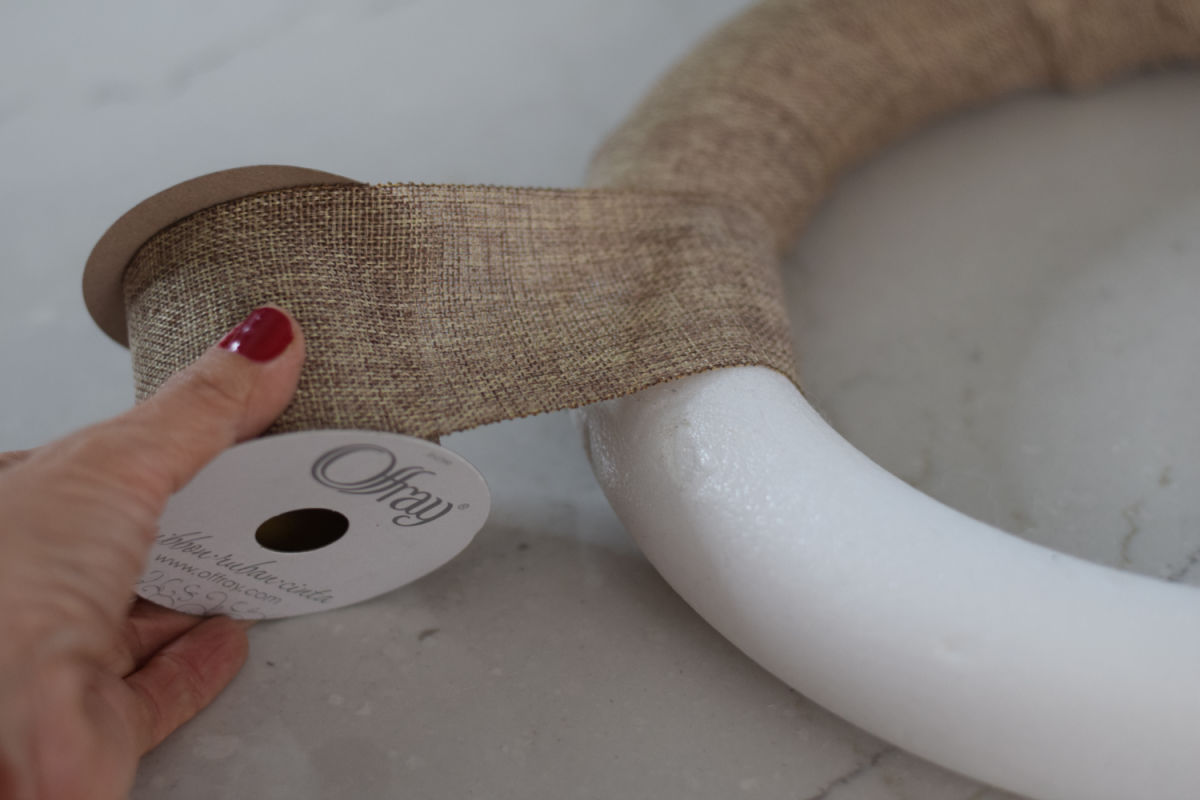
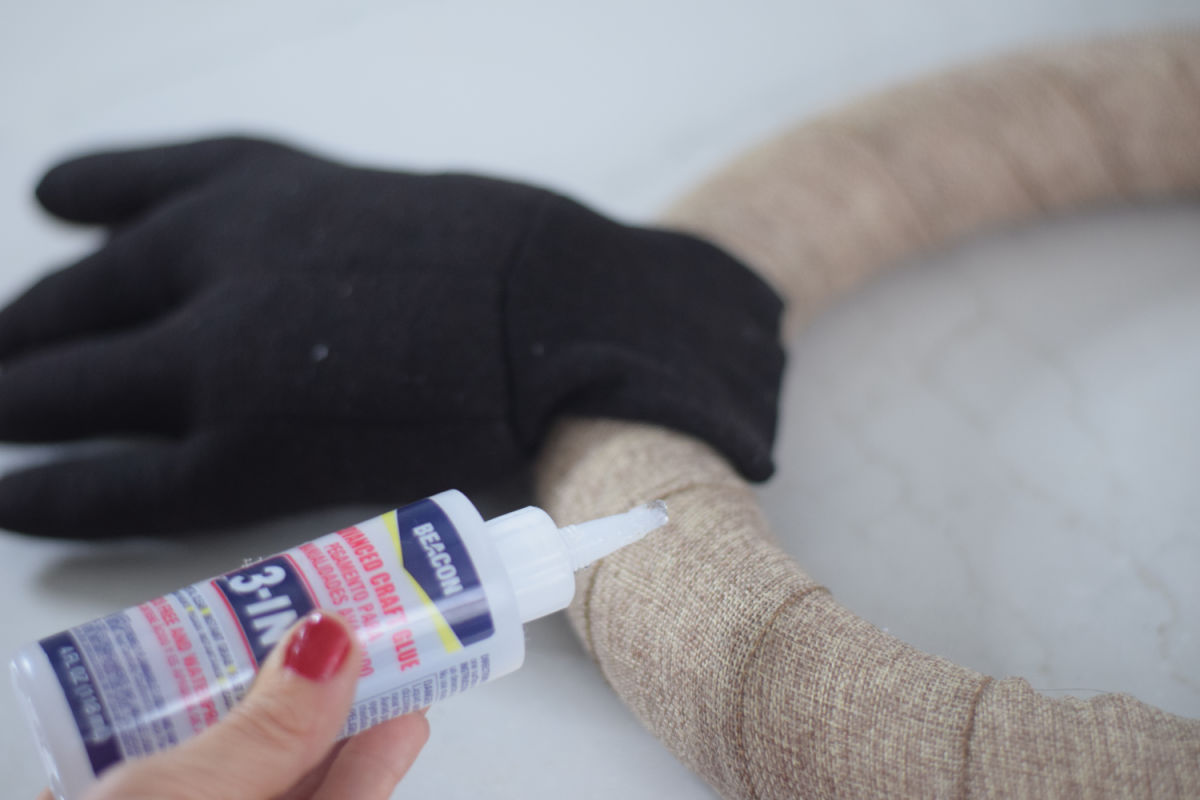
Wrap the Wreath Base
Attach the end of the Offray ribbon to the back of the foam wreath using hot glue. Wrap the ribbon tightly around the wreath, overlapping slightly to cover the foam fully. Glue the end to the back for a neat finish.
Create the Antlers with Mittens
Stuff the brown work mitts with pillow filler until plump but flexible.
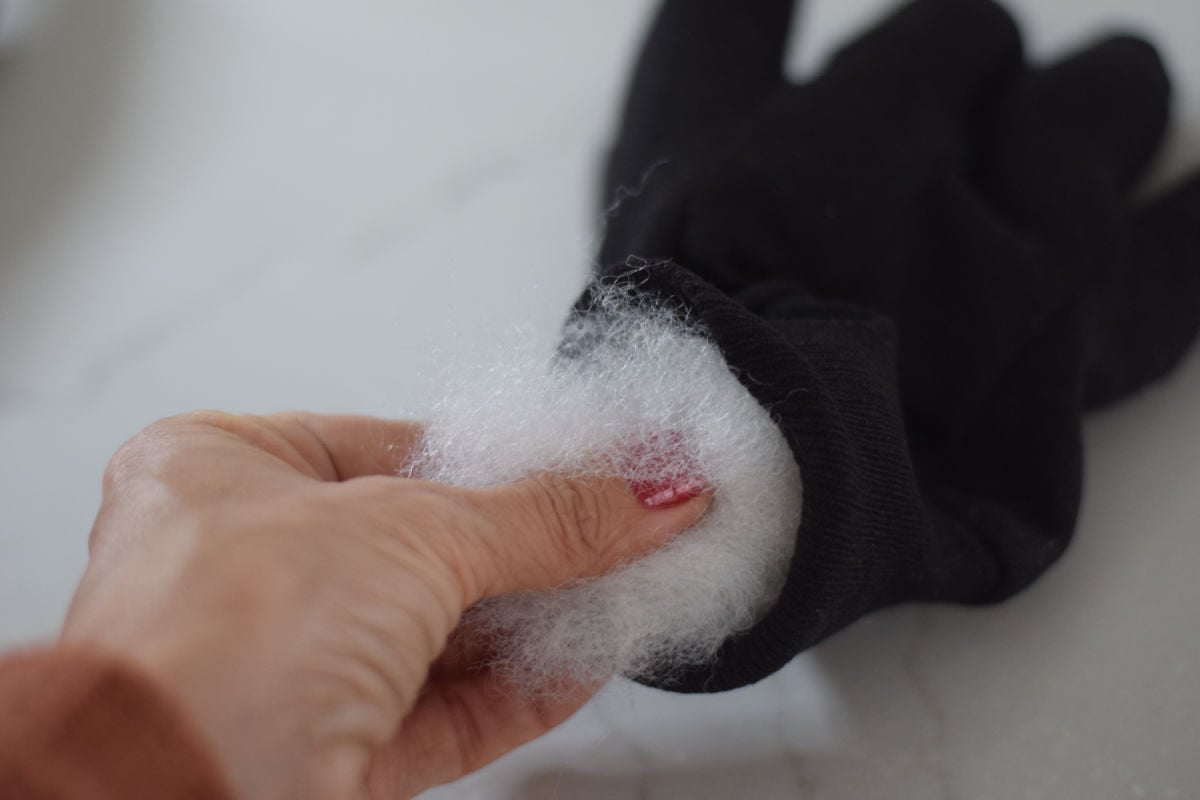
Position the mittens at the top sides of the wreath to resemble antlers. Use a strong glue to secure them firmly.
You may need to turn the wreath over and apply pressure so the mittens don’t try to pull away before they are fully secured.
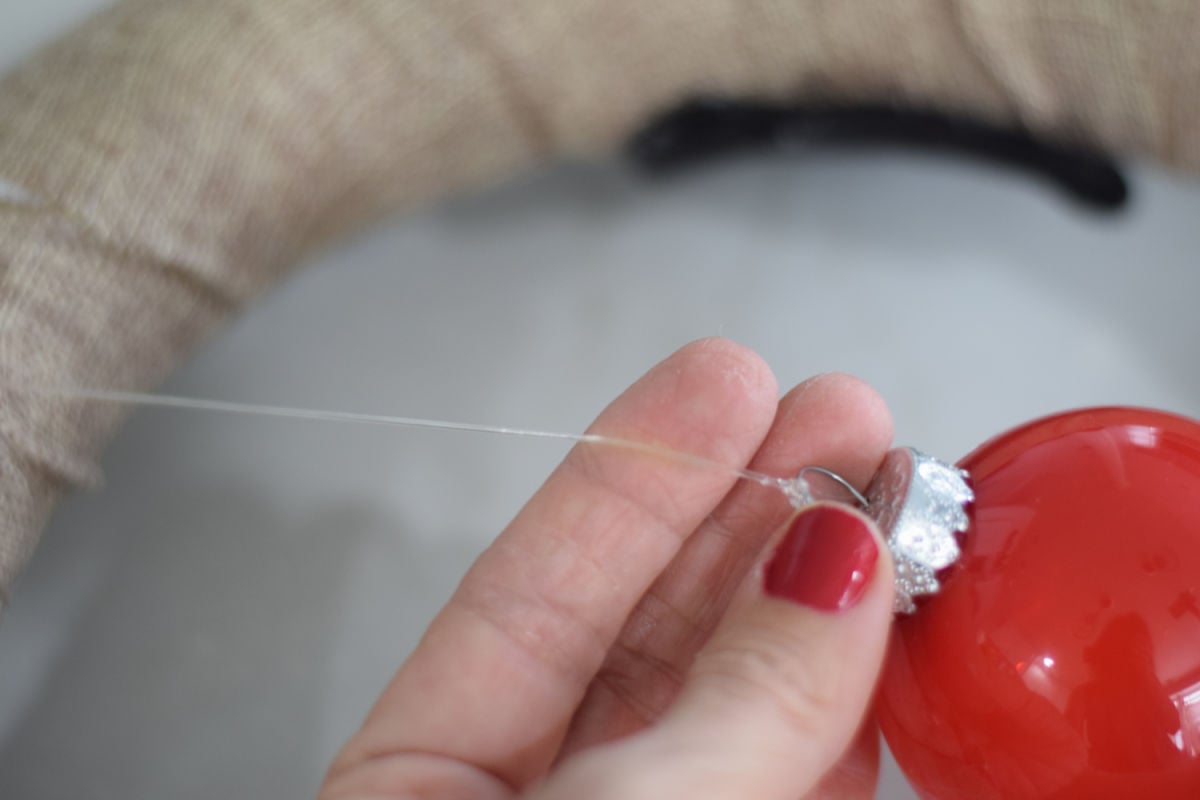
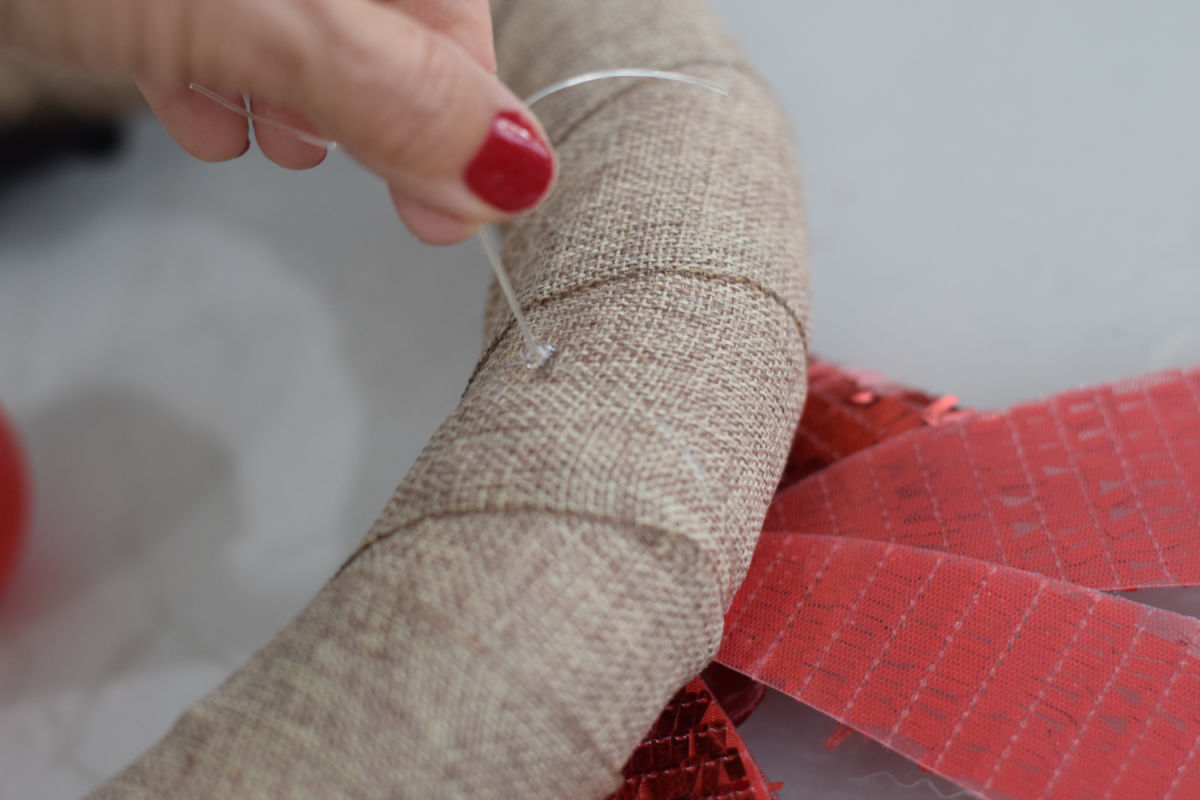
Add Rudolph’s Nose
String a small red ornament onto a transparent jewelry elastic cord. Tie the ends around the inner top portion of the wreath so the ornament hangs in the center. The clear elastic gives a floating effect for Rudolph’s iconic red nose.
Secure the cording knots with a dab of glue.
Attach the Bow
Use craft wire to secure a festive Christmas bow to the bottom of the wreath for balance and extra holiday flair.
Make the Hanging Loop
Cut a length of wired ribbon for hanging. Glue it to the back top of the wreath and secure with craft wire if desired. This ensures your wreath stays in place when displayed.
Variations
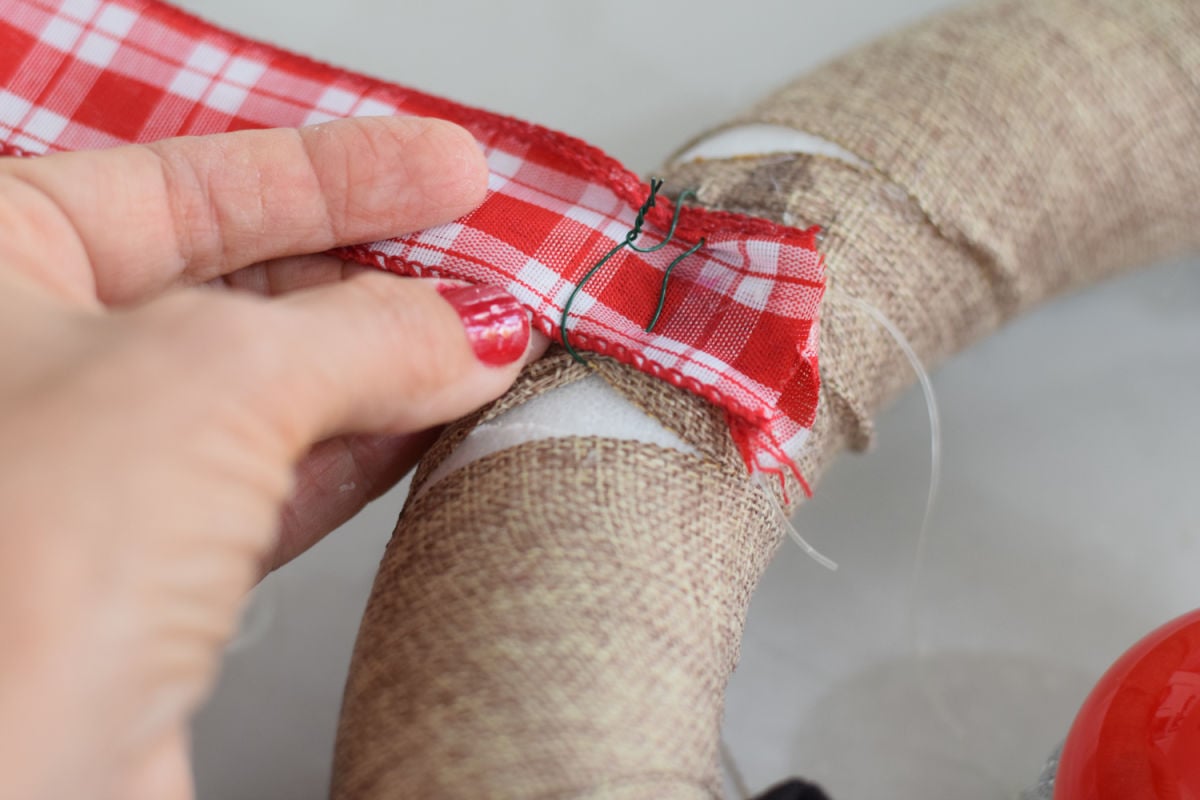
Color twist: Use red or plaid ribbon for a whimsical look.
Extra sparkle: Add small ornaments, bells, or greenery around the wreath.
Themed mittens: Swap brown mittens for patterned ones, like plaid or glittery, to match your style.
FAQs
Can this wreath be used outdoors?
Yes! Just make sure to use outdoor-safe glue and a weather-resistant bow to prevent damage from rain or snow.
How long does it take to make this wreath?
About 45 minutes to 1 hour, depending on your experience level and the size of the wreath.
Can I make this with kids?
Absolutely! Younger kids can help stuff the mittens and attach the bow, while adults handle the glue portion.
What size foam wreath works best?
A 12–16-inch foam wreath is ideal for a front door, but you can adjust for larger or smaller spaces.
Display the Wreath
Hang your finished Rudolph wreath on your front door, above a mantel, or in a festive entryway. Its playful design and rustic charm make it a standout piece that brings holiday cheer all season long.
This DIY Rudolph wreath is a delightful way to celebrate Christmas, get creative with simple materials, and make a memorable decoration your family will love for years to come.
More Christmas Ideas You’ll Love


Printable Instructions

DIY Easy Rudolph Christmas Wreath
Materials
- Foam wreath base (any size)
- Offray ribbon (brown, tan, or neutral)
- Glue – I like to use a tacky fabric glue called Beacon 3-in-1, but a low-temp glue gun would also work for this DIY.
- Brown work mittens
- Pillow filler / poly-fil
- Clear jewelry elastic cord
- Red plastic ornament (for Rudolph’s nose)
- Christmas bow for the bottom
- Wired ribbon for hanging
- Craft wire (optional, for extra hanging support)
Instructions
Wrap the Wreath Base
Attach the end of the Offray ribbon to the back of the foam wreath using hot glue. Wrap the ribbon tightly around the wreath, overlapping slightly to cover the foam fully. Glue the end to the back for a neat finish.Create the Antlers with Mittens
Stuff the brown work mittens with pillow filler until plump but flexible. Position the mittens at the top sides of the wreath to resemble antlers. Use a strong glue to secure them firmly. You may need to turn the wreath over and apply pressure so the mittens don't try to pull away before they are fully secured.Add Rudolph’s Nose
String a small red ornament onto a transparent jewelry elastic cord. Tie the ends around the inner top portion of the wreath so the ornament hangs in the center. The clear elastic gives a floating effect for Rudolph’s iconic red nose.Secure the cording knot with a dab of glue.Attach the Bow
Use craft wire to secure a festive Christmas bow to the bottom of the wreath for balance and extra holiday flair.Make the Hanging Loop
Cut a length of wired ribbon for hanging. Glue it to the back top of the wreath and secure with craft wire if desired. This ensures your wreath stays in place when displayed.