Plastic Cup Jellyfish Craft
This post may contain affiliate links – please read my disclosure statement.
Have you ever had a craft turn out cuter than you pictured in your head? That’s exactly what happened with this one.
I have a soft spot for jellyfish crafts because they always end up feeling whimsical and a little magical when they’re finished. We already have a coffee filter jellyfish and a cupcake wrapper version on the site, but I wanted to make something that felt more three-dimensional and looked cute enough to actually hang up afterward instead of ending up in the recycle pile.
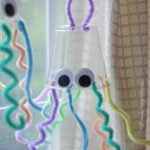
This plastic cup jellyfish craft surprised me in the best way. The clear cups gave them that floating jellyfish look that paper plates just can’t do, and once we added curly and straight pipe cleaner tentacles and hung them in the window, they almost looked like they were moving. We gave ours 8 tentacles to lean into the jellyfish feel while still keeping the project simple enough for kids.
What I especially loved was how customizable they became. Some tentacles were wrapped around pencils to create fun spirals while others stayed straighter with little bends at the ends. Every jellyfish looked completely different by the end. If you’re looking for another cute summer craft like a jellyfish craft for kids or an easy ocean craft for preschoolers that feels a little more special than a flat paper project, this one is worth trying.

Supplies for This Jellyfish Craft
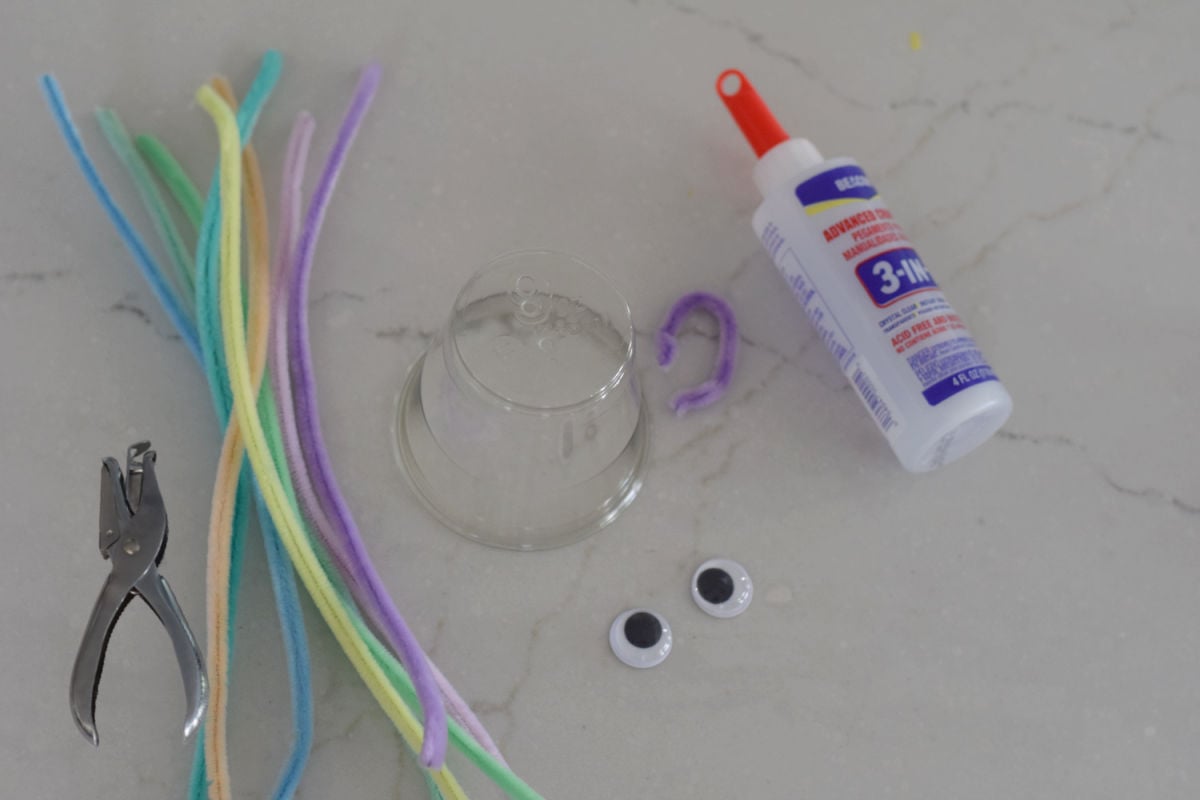
• 9-ounce clear plastic cups
• 4 pipe cleaners (cut in half for 8 tentacles total)
• Large googly eyes
• Paper hole punch
• Beacon 3-in-1 Craft Glue
• Pencil (optional for curling tentacles)
Optional:
• Extra pipe cleaner colors for variety
How to Make a Jellyfish Craft
Step 1: Punch Holes Around the Plastic Cup
Using a paper hole punch, punch evenly spaced holes around the open rim of the cup.
We found adults should handle this part because the plastic can take a little pressure depending on the cup thickness.
Step 2: Create 8 Pipe Cleaner Tentacles
Cut 4 pipe cleaners in half to create 8 tentacles.
Wrap some around a pencil to create curls and leave others mostly straight with little bends at the ends.
Mixing textures made the finished jellyfish look playful and gave each one its own personality.
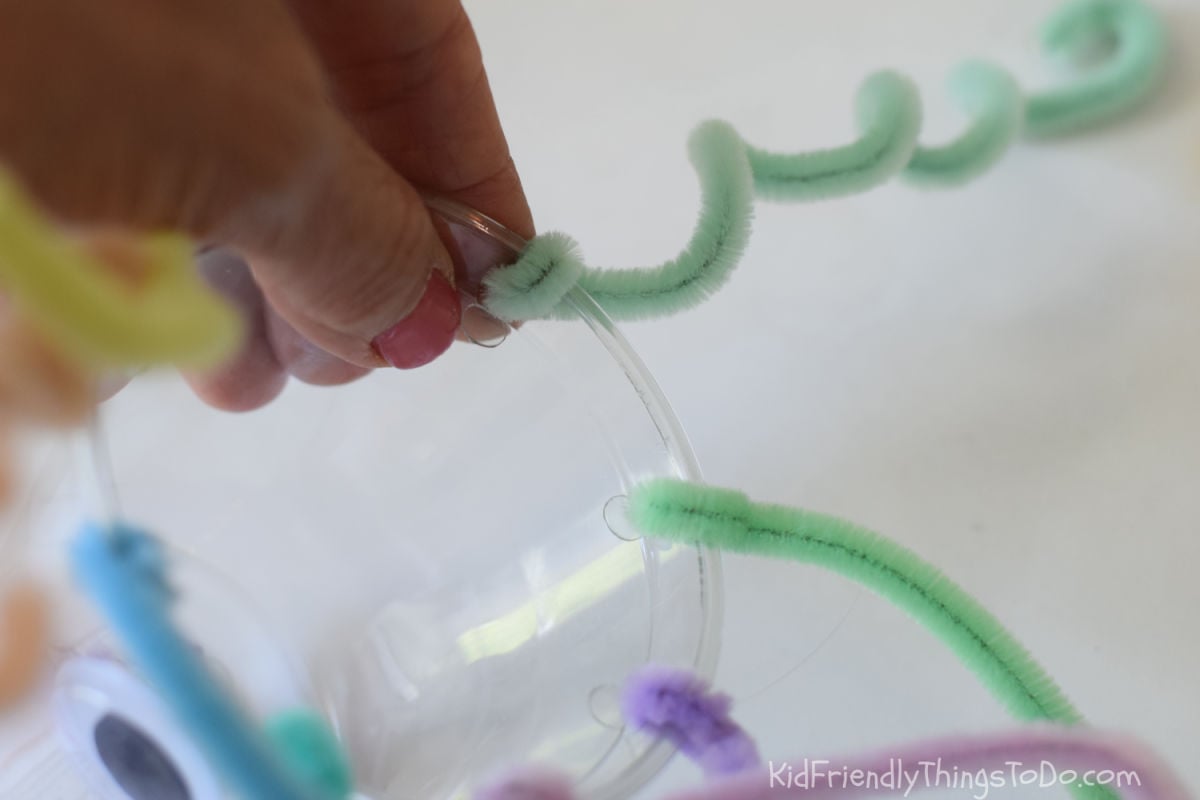
Step 3: Attach the Tentacles
Insert one end of each pipe cleaner into the punched holes and bend the end around itself to secure.
Continue until all 8 tentacles are attached.
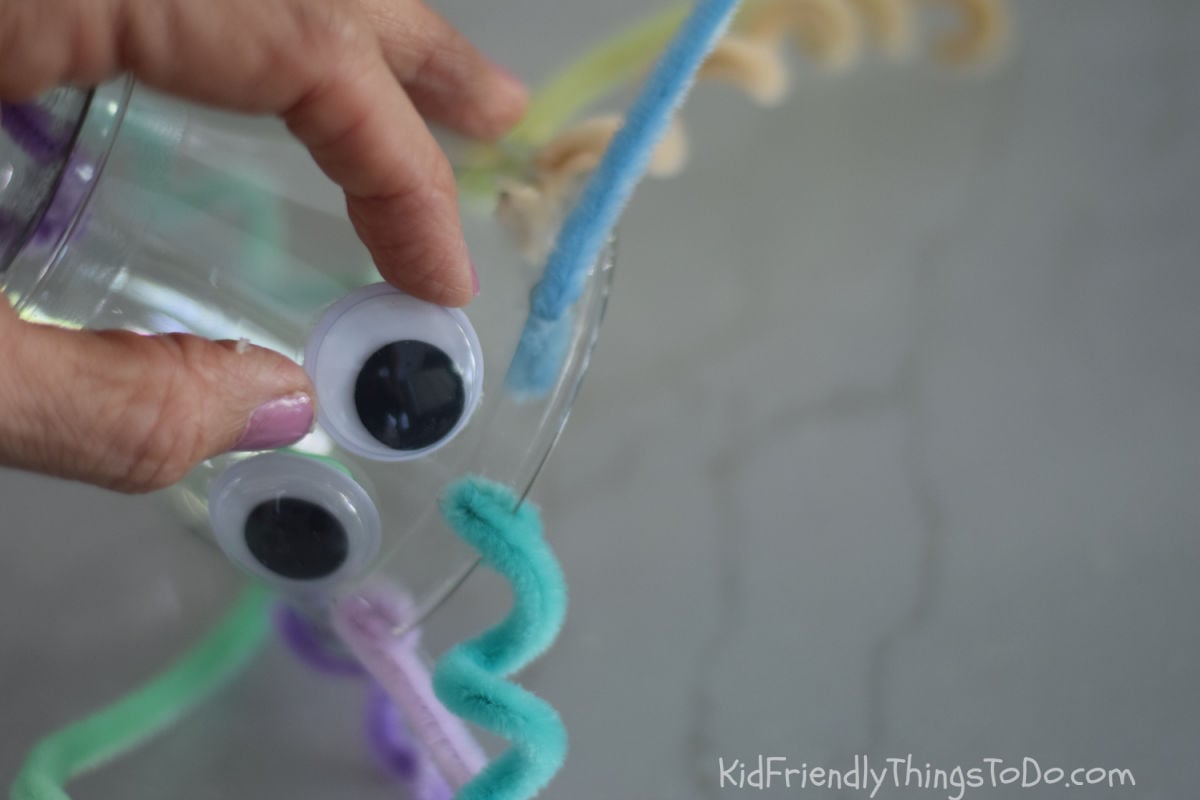
Step 4: Add the Jellyfish Face
Glue on large googly eyes using Beacon 3-in-1 Craft Glue.
Allow the glue to dry completely before hanging.
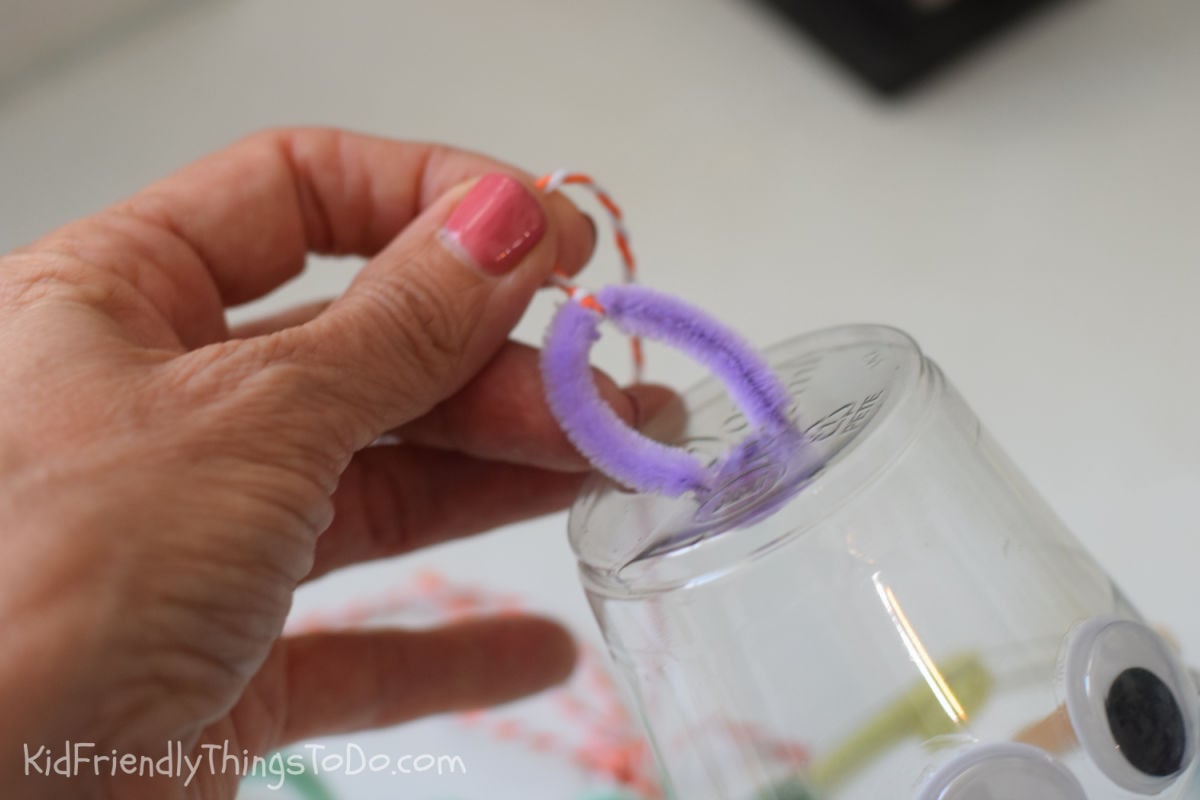
Step 5: Add a Hanging Loop
Adults should punch two small holes in the closed end of the cup.
Thread a small piece of pipe cleaner through the holes and twist into a loop for hanging.
Why This Jellyfish Craft Works for Preschoolers
One of my favorite things about this jellyfish craft is that preschoolers can still do most of the fun parts without getting frustrated.
Adults can prep the hole punching ahead of time, and then kids can focus on choosing colors, deciding which tentacles should curl, and creating silly jellyfish personalities.
It’s also a lower-mess ocean craft compared to paint-heavy projects.
Tips for Making This Ocean Craft with Groups
• Punch holes before class begins
• Pre-cut pipe cleaners into halves
• Set out color stations
• Let kids choose curly vs straight tentacles
• Hang finished jellyfish together to create an ocean display
Extra Tip: We Also Tested a Glue Method
We experimented with attaching the tentacles using Beacon 3-in-1 Craft Glue instead of punching holes.
It does work — but after trying both versions, I’d only recommend the glue method for older kids who really enjoy crafting and have the patience to wait.
Kids had to hold each pipe cleaner in place for about 30 seconds until the glue became tacky enough to support it. Once attached, it stayed surprisingly well, but it definitely slowed the project down.
For preschoolers and groups, the hole punch method was much easier because kids could keep moving without waiting for glue to dry.
Adult Tip: My Favorite Tool for Making Hanging Holes
For the two small holes in the top of the cup (for the hanging loop), I actually preferred using an awl instead of a knife.
It felt easier to control and made cleaner holes without worrying about the plastic slipping while cutting.
I just pressed gently through the plastic where I wanted the hanging loop to go.
If you’re making several of these for a classroom or group, this speeds things up a lot.
(Adults only for this step.)
Ways to Customize This Jellyfish Craft
• Make a rainbow jellyfish
• Use pastel colors
• Add ribbon along with pipe cleaners
• Create a hanging ocean mobile
• Hang several at different heights in a window
More Ocean Crafts Kids Will Love
If your kids enjoyed this jellyfish craft, here are a few more ocean-themed ideas to try:
• Cupcake Wrapper Jellyfish Craft
• Coffee Filter Jellyfish Sun Catcher
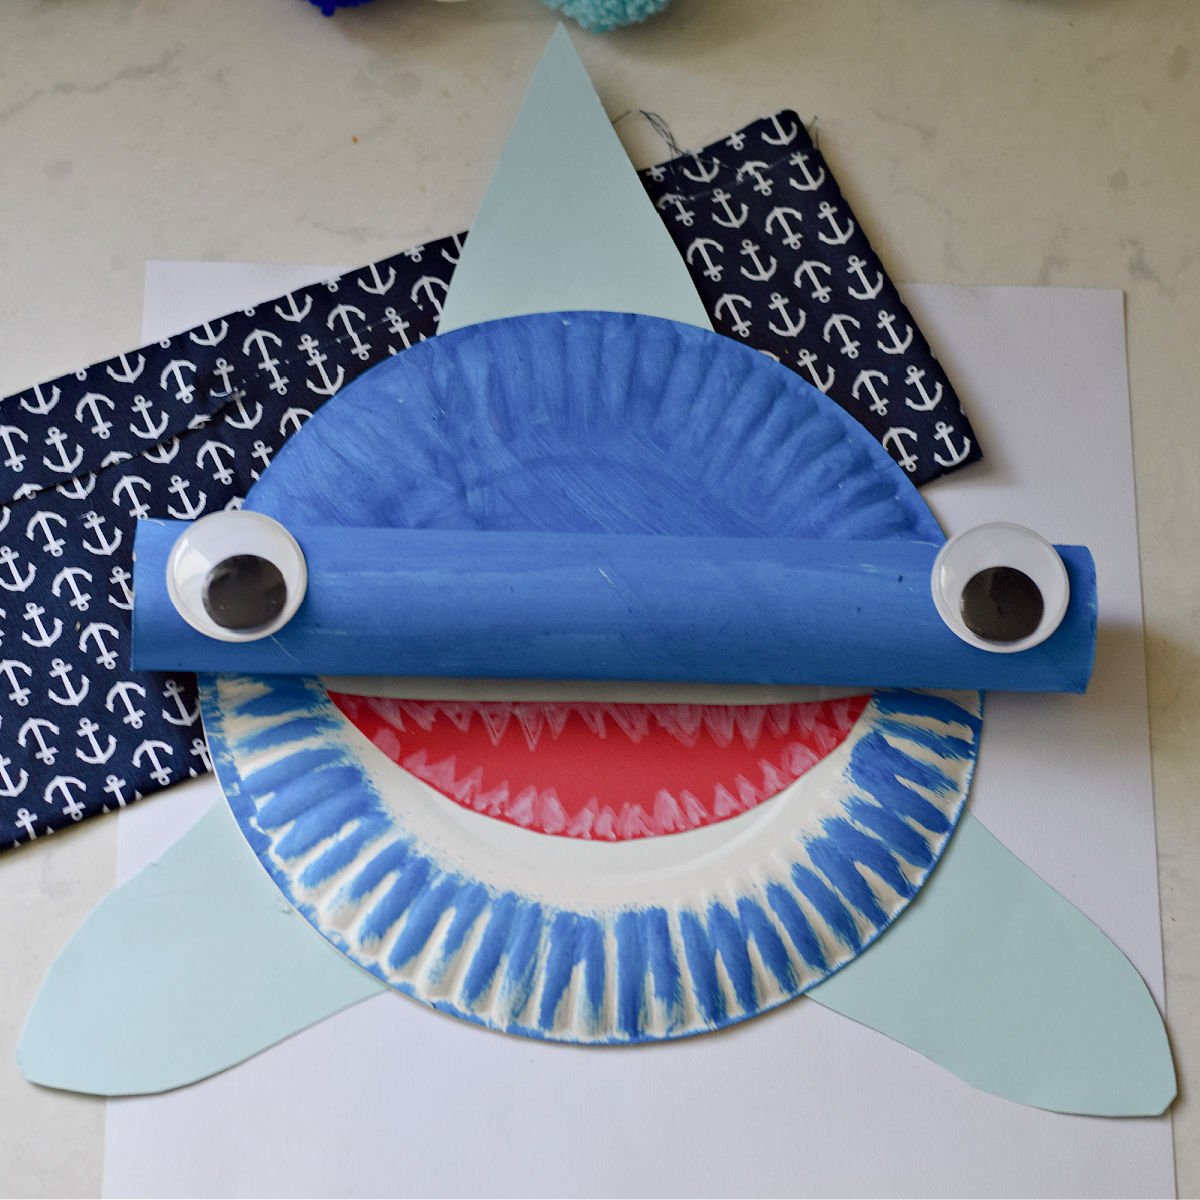
• Shark Paper Bag Craft for Kids
Jellyfish Craft FAQ

Jellyfish Craft FAQs
How to Make a Plastic Cup Jellyfish Craft
Equipment
- Paper hole punch
- Awl (optional for adult hanging holes)
- Pencil (optional for curling pipe cleaners)
Materials
- 2 2 clear 9-ounce plastic cups
- 8 pipe cleaner tentacles (made by cutting 4 pipe cleaners in half)
- Large googly eyes
- Beacon 3-in-1 Craft Glue or other tacky craft glue for eyes or glue version
Instructions
Prepping the craft for kids
- Punch evenly spaced holes around the open rim of each plastic cup.Adults may want to handle this step depending on the strength of the hole punch and age of the child.
- Cut 4 pipe cleaners in half to create 8 tentacles.Wrap some around a pencil for curly tentacles and leave others straighter with gentle bends for movement.
Making the Craft
- Insert one end of each pipe cleaner through the holes and bend to secure.Continue until all 8 tentacles are attached.
- Glue large googly eyes onto the front of the cup and allow to dry.
- Adults should create two small holes in the top of the cup and insert a pipe cleaner loop for hanging.We preferred using an awl because it felt easier to control and created clean holes.
Notes
NOTES
We also tested attaching tentacles using Beacon 3-in-1 Craft Glue instead of punching holes.
It worked well but required older kids to hold each pipe cleaner in place for about 30 seconds while the glue became tacky.
For preschoolers and groups, the hole punch method was much easier and kept kids moving through the project.
Mixing curly and straight tentacles gave each jellyfish more personality and movement.
KEYWORD
Plastic Cup Jellyfish Craft
CUISINE
Kids Crafts
COURSE
Crafts
METHOD
Assemble