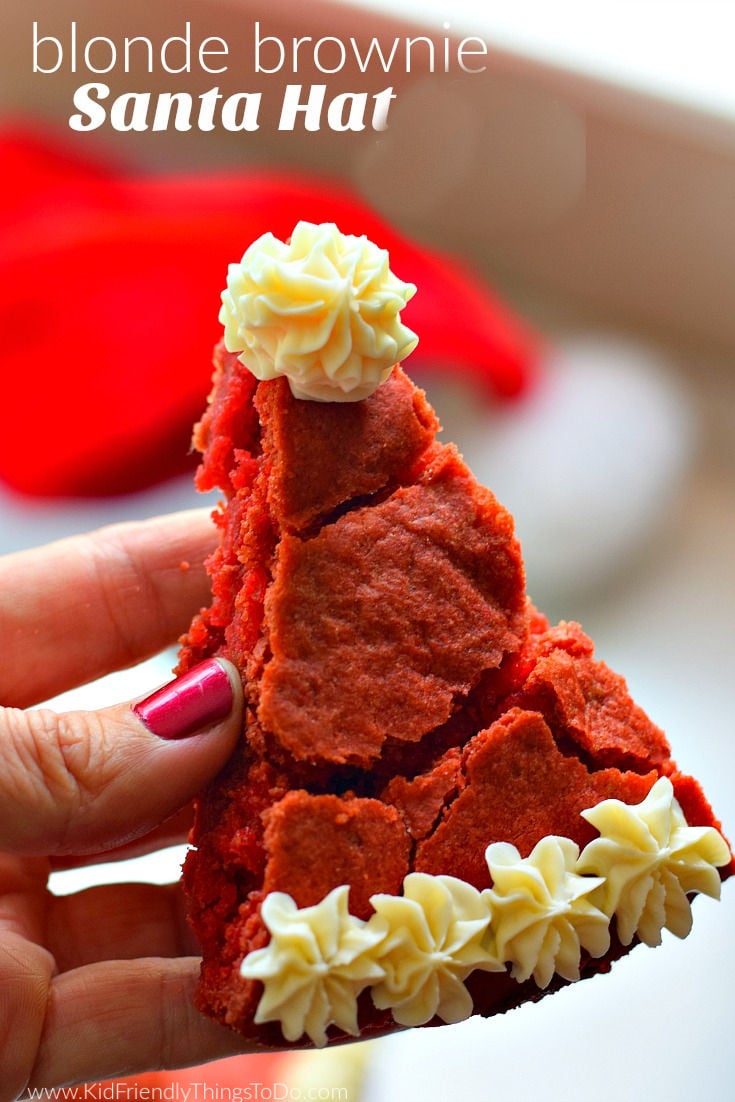
Blonde Brownie Santa Hat – A Cute Christmas Dessert
This post may contain affiliate links – please read my disclosure statement.
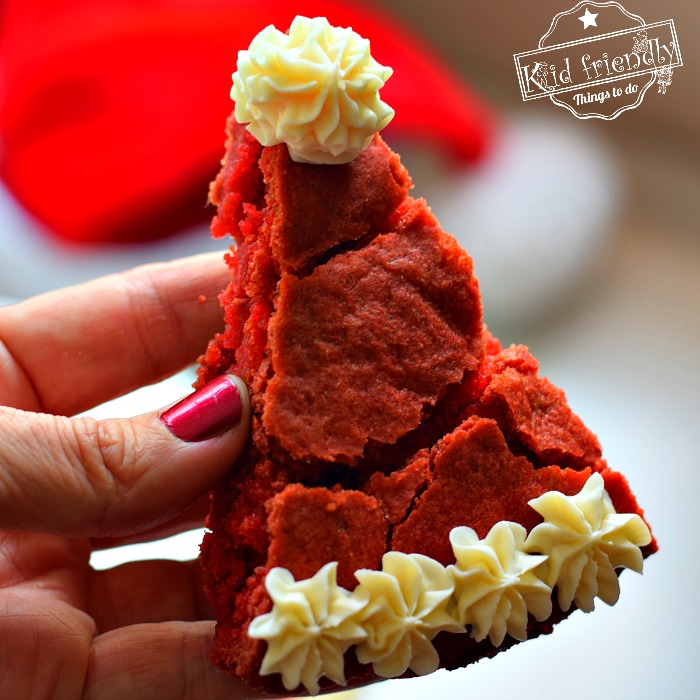
Christmas is almost here. Right behind all of the cute Christmas decorations come cute Christmas Desserts. This Blonde Brownie Santa Hat Christmas Dessert certainly fills the bill for cute and yummy, too. Come on in and I’ll share this delicious and easy DIY Christmas Treat…
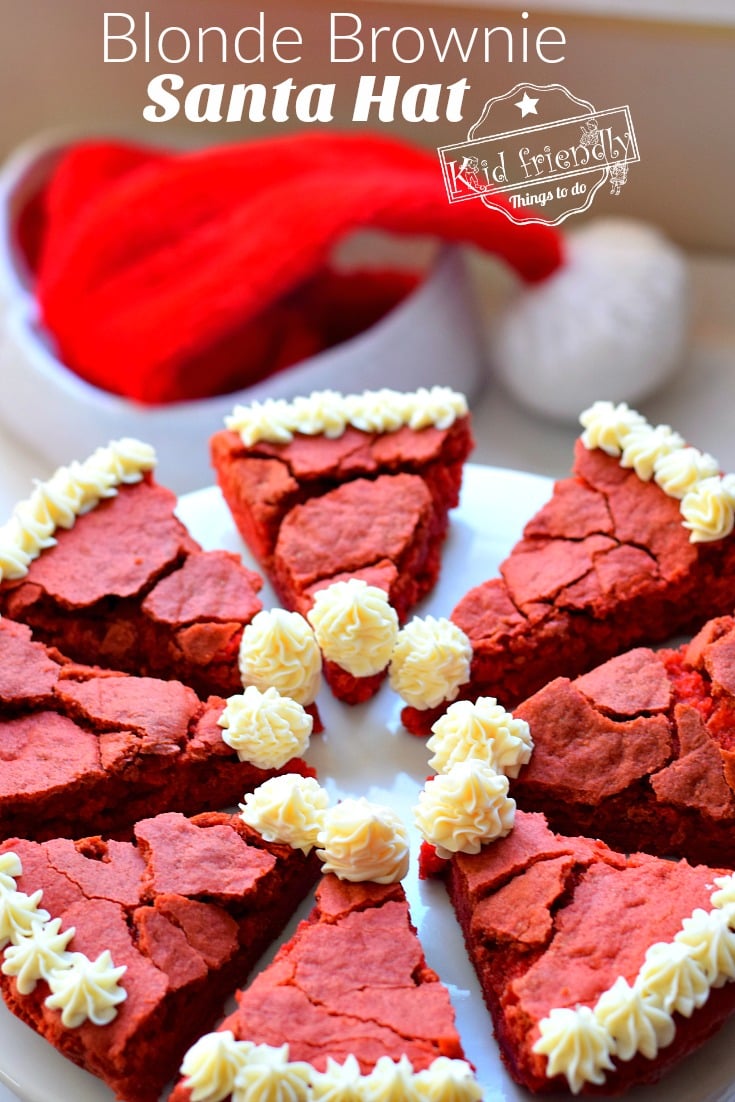
Santa Hat Brownies
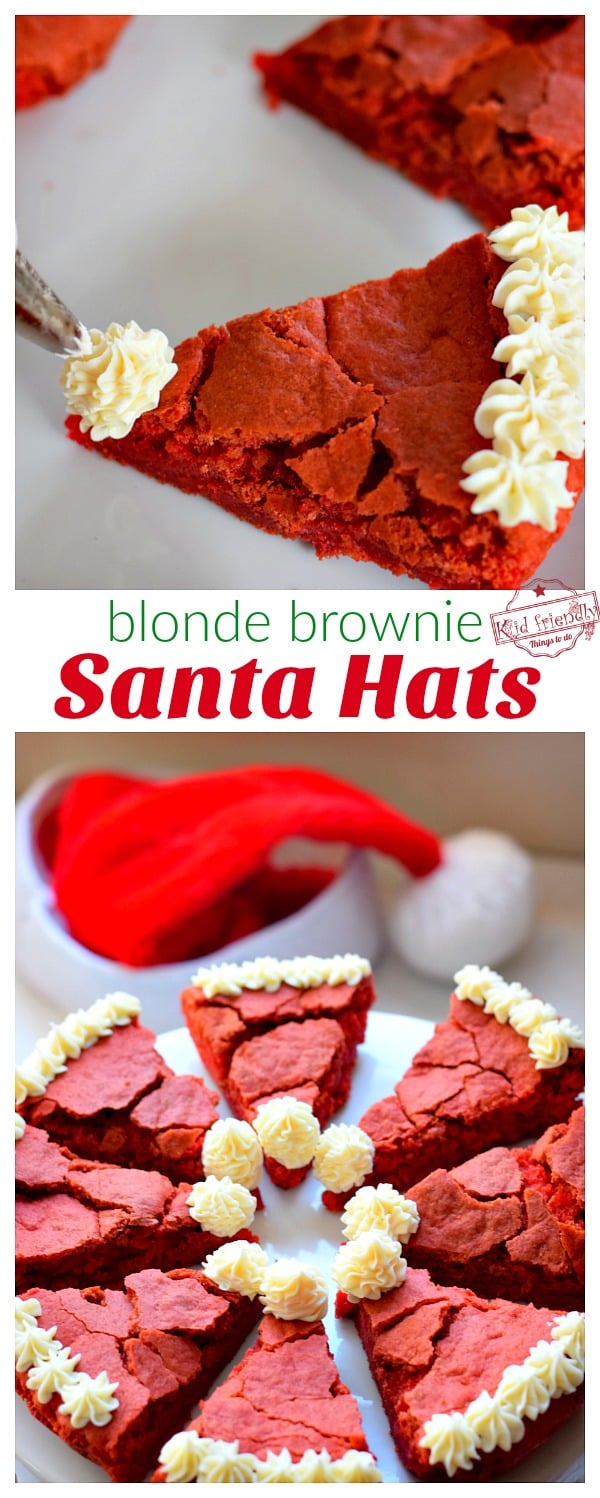
If you’ve never had a blonde brownie before, then you are in for a real treat. These Santa Hat Shaped Blonde Brownies are delicious. and such a fun holiday treat to serve.
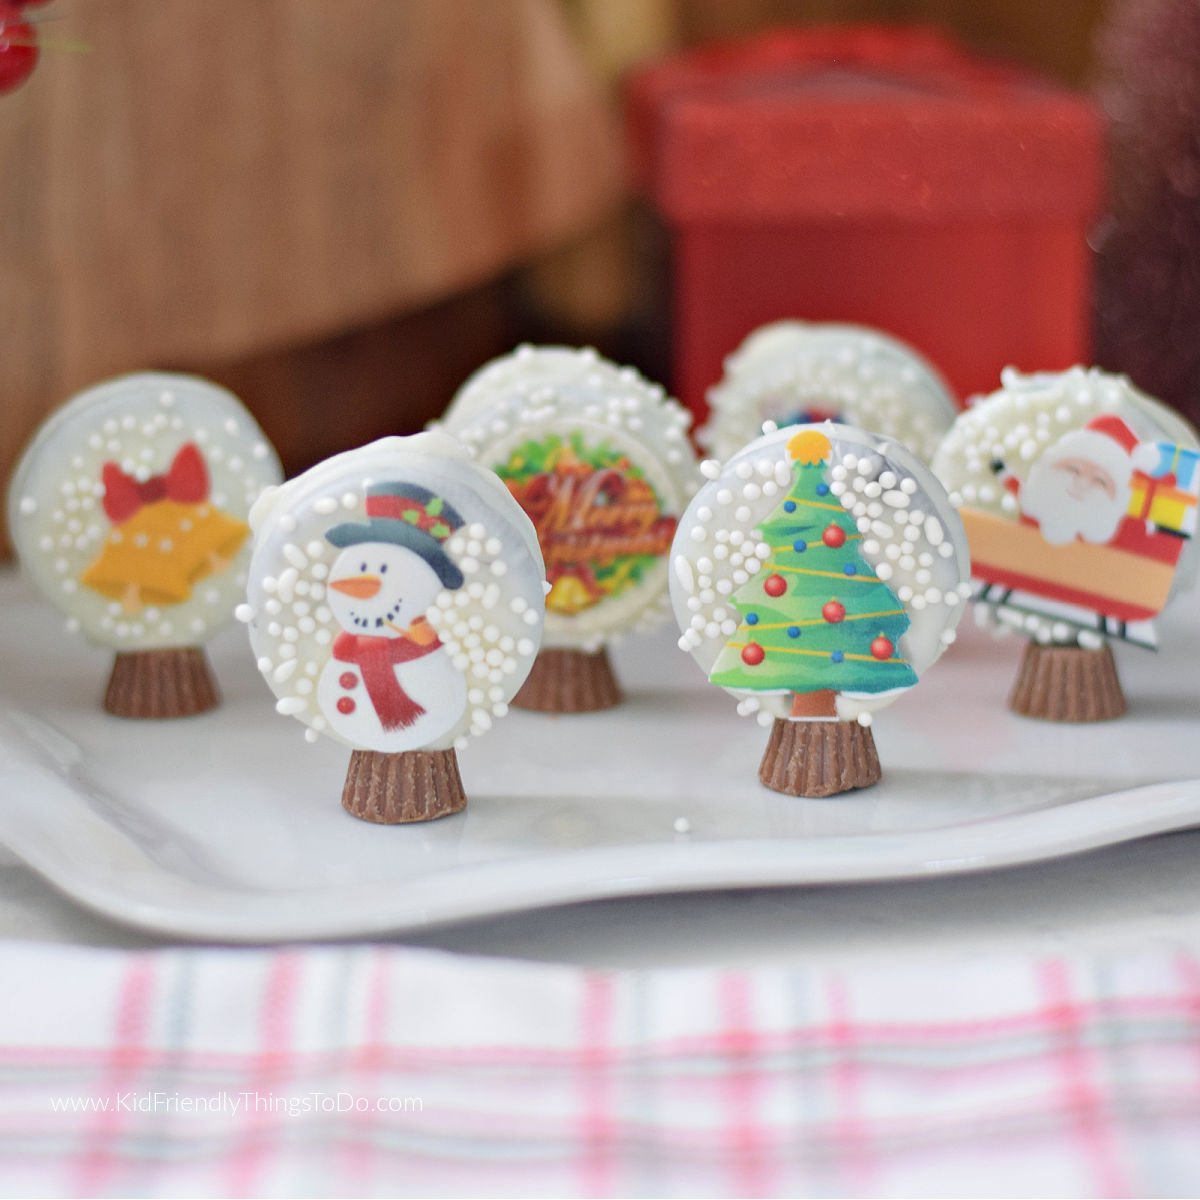
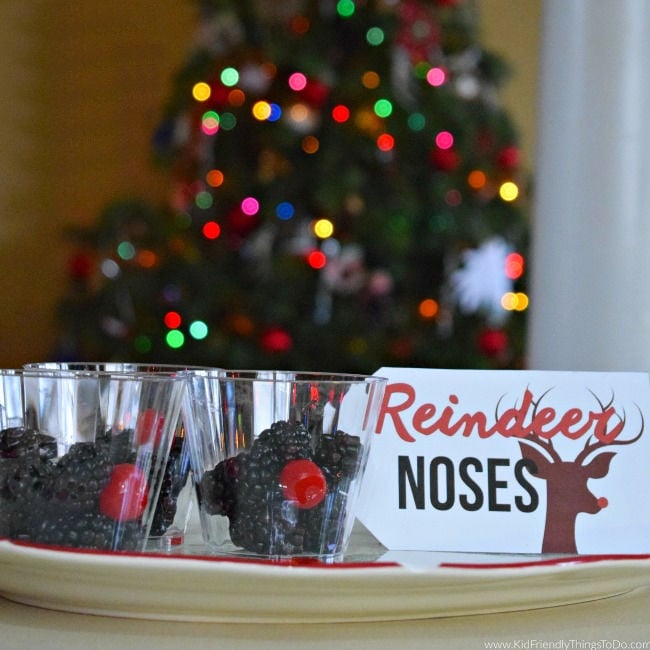
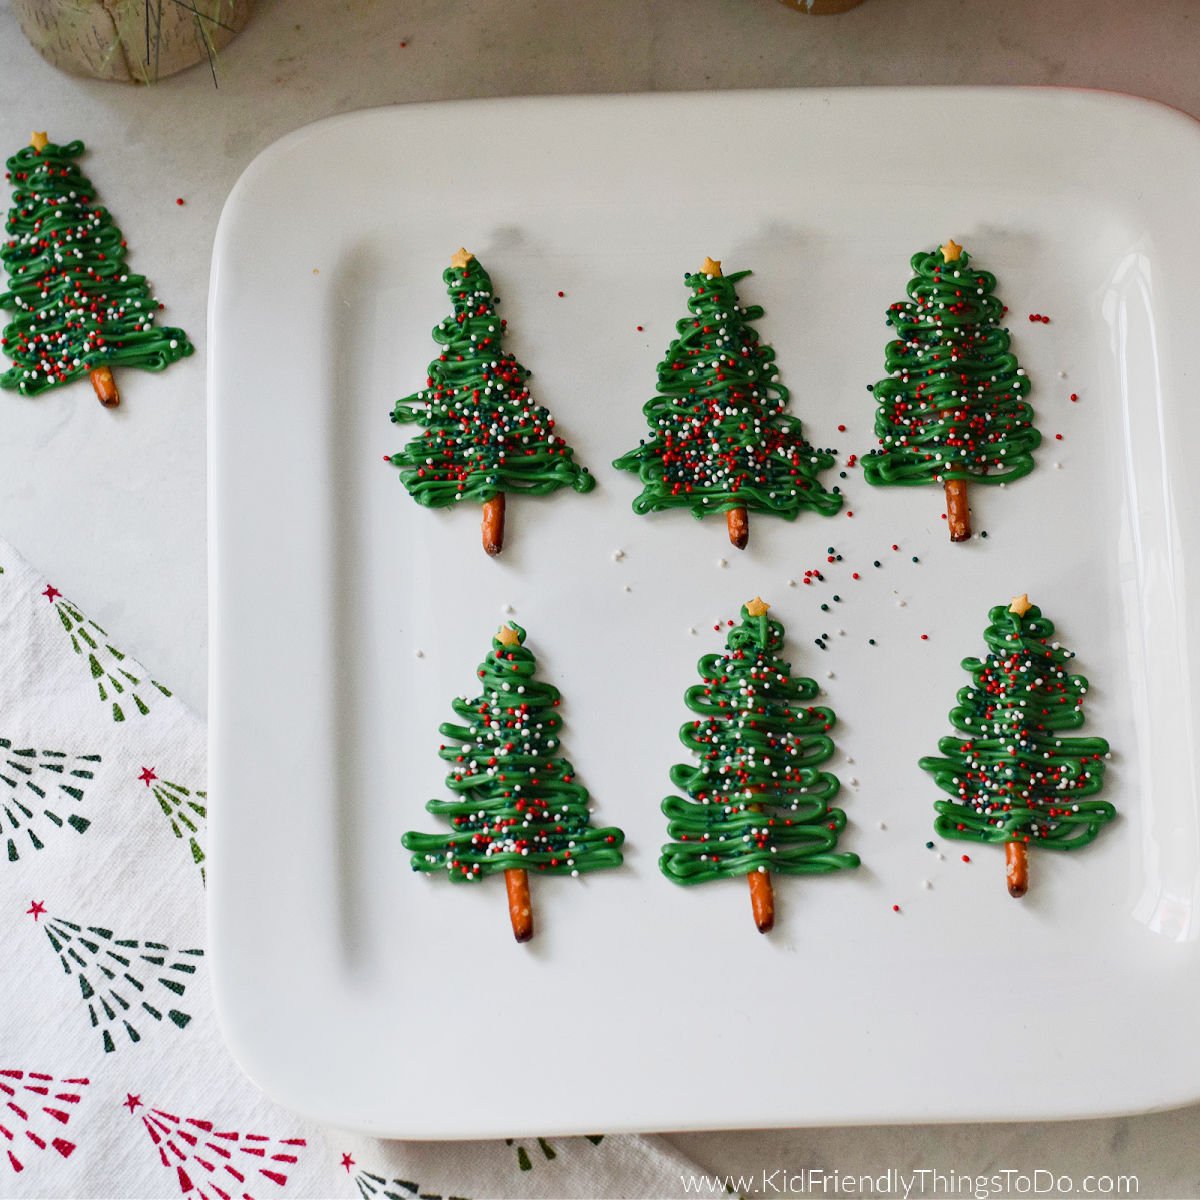
We love holiday treats at our house. It’s so much fun for me to make Christmas treats and the kids love to indulge. These Easy Rudolph Cookies are as delicious as they are cute. Made with mint Oreo Cookies and a cherry nose, they will be a huge hit at your Christmas party. These easy to make Chocolate Covered Pretzel Rudolph Noses are so much fun to make and are done in a snap. Or, you might like these Easy Rice Krispies Santa Hat DIY Christmas Treats
Table of contents

They are super simple to make and so delicious.
They are usually a neutral blonde color, which makes them perfect for my Santa Hat idea.
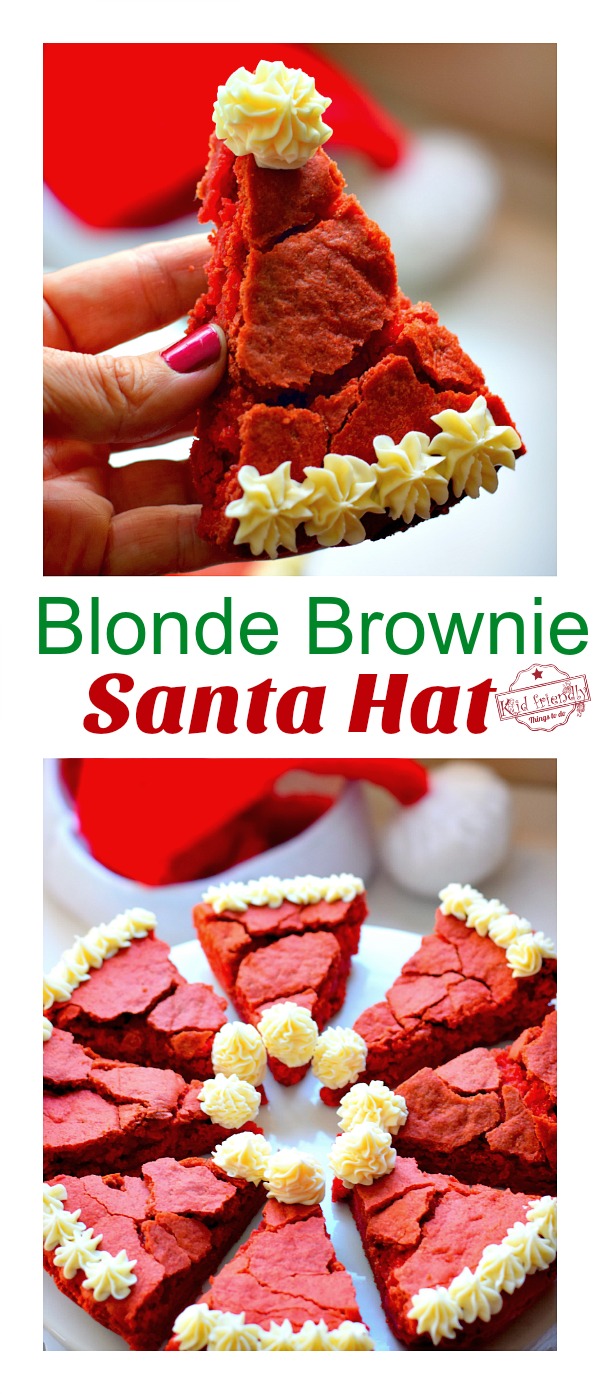
Just a little dash or two of red food coloring turned these brownies a beautiful red color.
Which I was so happy to see held up during the baking process. Phew.
Here are my top Amazon Picks for this fun Blonde Brownie Santa Hat Christmas Dessert…
(affiliate links)
[box]  Pyrex Deep 2-Piece 9.5" Gla...Shop on Amazon
  Mercer Culinary M20508 Gene...Shop on Amazon
  Kootek 42pcs Piping Bags an...Shop on Amazon
  Wilton 402-22 Open Star Dec...Shop on Amazon
  30oz") Bayco 8 Pack Glass Food Sto...Shop on Amazon
Bayco 8 Pack Glass Food Sto...Shop on Amazon ") 1790 Plastic Food Storage C...Shop on Amazon
1790 Plastic Food Storage C...Shop on Amazon  LorAnn Red Liquid Food Colo...Shop on Amazon [/box]
Here’s a quick video tutorial to get you started on this Santa Hat Blonde Brownie Recipe…
Finally, here’s the recipe for these fun Christmas Desserts…
Blonde Brownie Santa Hat Christmas Dessert
Equipment
- piping bag with a star tip attached
- large mixing bowl
- Non stick aluminum foil
- 2 (9 inch) round pie pans
- Serrated bread knife
Ingredients
- 2 cups flour all-purpose
- 2 cups light brown sugar packed
- 2 tsp. baking powder
- ½ cup butter (unsalted) melted and cooled
- 2 eggs
- 1 tsp. vanilla
- 1/2-1 tsp. liquid red food coloring
Decorating
- 1 16 oz. white frosting
Instructions
- Preheat the oven to 350 degrees
- In mixing bowl, Mix the flour, sugar and baking powder
- Add to the mixed dry ingredients, melted butter, eggs, and vanilla and red food coloring
- Mix well
- The mixture will be like a play dough consistency
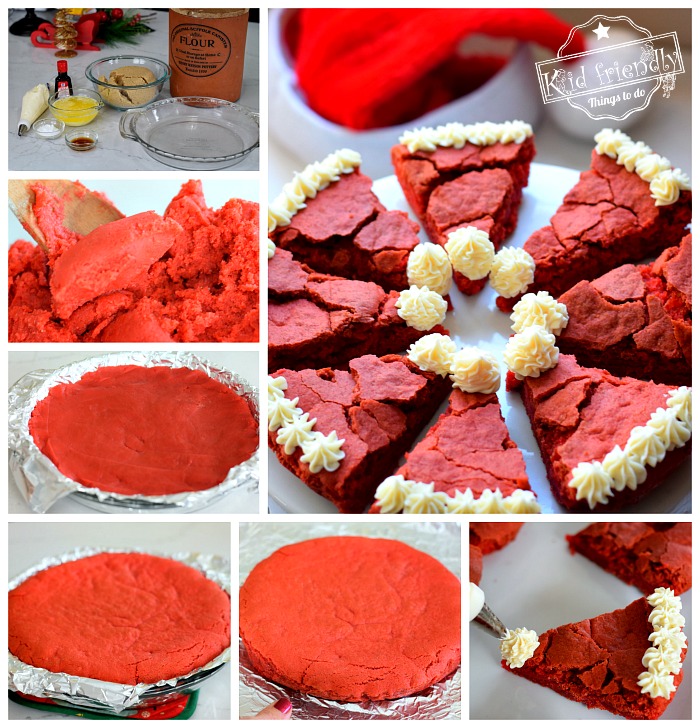
- Line pie plate with foil – non-stick side facing up
- Pour the mixture into the pie pan and press it out to even it out at the top
- Line pie plates with foil – non-stick side facing up
- Dividing the mixture between both pie plates…Pour the mixture into the pie pans and press it out to even it out at the top
- Bake for about 25-30 minutes
- When are they done?
- These brownies are thick, so they take a bit longer to bake. Once you start to smell the aroma of your brownies, check on them. A toothpick inserted into the middle should come out mostly clean. What I mean by that is; you shouldn’t have a wet batter on the toothpick. You will probably find cooked batter will adhere to the toothpick and that’s ok
Decorating
- Let the brownies cool completely – about 15 minutes
- Pull the aluminum foil up and out of the pie pan
- Push the aluminum foil down away from the brownies
- Let the brownies completely cool
- Slice each set of brownies into 8-10 slices
- Using the star tip, decorate the bottom of the slice and the top with your white frosting stars to resemble a Santa Hat
- Cover and store leftover brownies at room temperature up to one week.
Nutrition
Happy Holidays!
~Melissa – Kid Friendly Things To Do