Minion Party Bag Craft
This post may contain affiliate links – please read my disclosure statement.
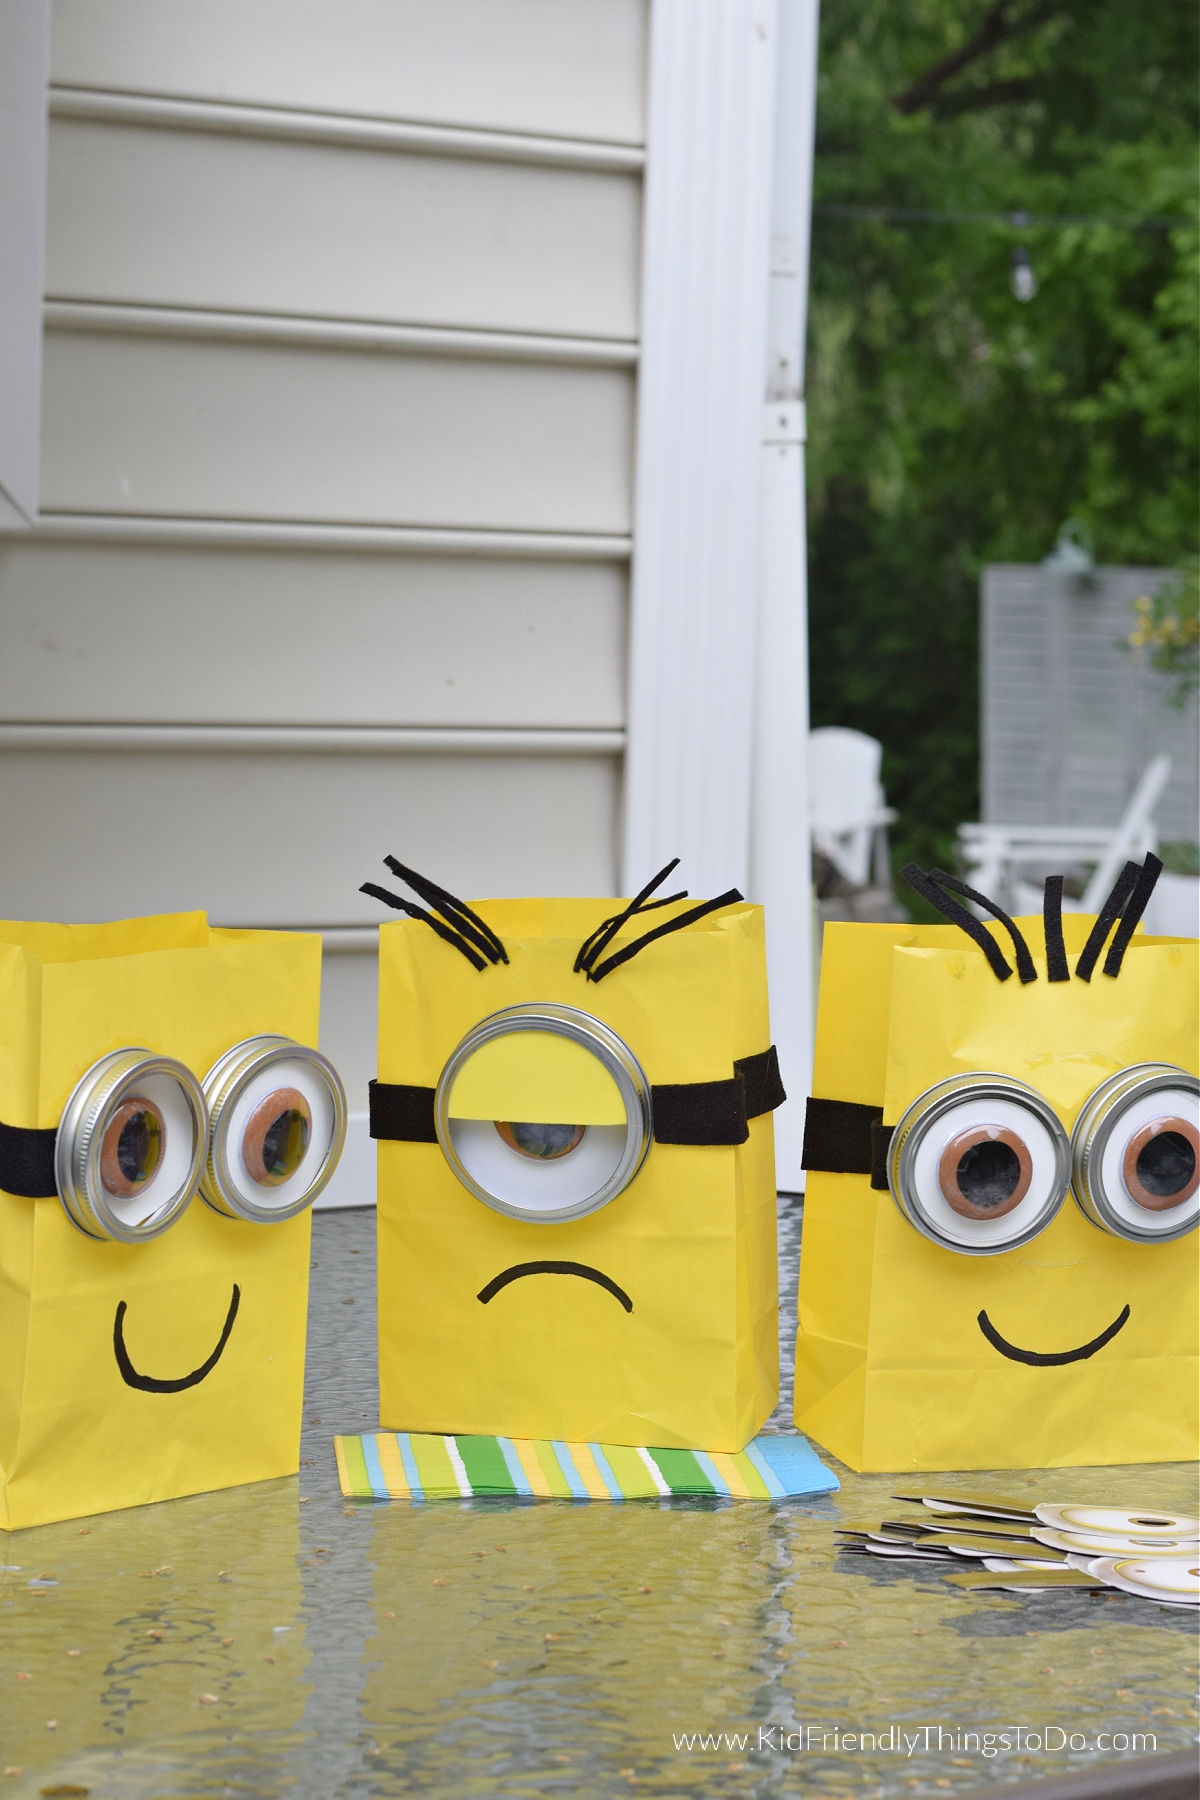
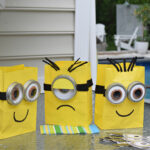
This Minion Gift Bag Craft is perfect for your Despicable Me birthday party. Make it as a craft or a fun party goody bag. Minions Kevin, Bob, and Stuart’s party bags will be the hit of your party.
Adult supervision is required for each step of activities, recipes, crafts, and games with children. Small parts are a choking hazard.
Minion Gift Bag Craft
Oh my goodness…I am finding it really hard to stop making minions. They are just so cute. I can’t resist making cute Minion Crafts. If you love Minions as much as my family does, you’ll love this Purple Minion Party Bag Craft, Banana Pudding Minion Treats, and Minion Pencil Craft.
What You’ll Love about this Minion Craft Idea
- Fun: These are so much fun to create – You’ll love seeing the minions transform before your eyes with their fun personalities and all with every Minion paper bag you make.
- Easy: Even though there are a few steps to making the Minion eyes, these bags come together rather quickly. Once you get the hang of them, you’ll be whipping a dozen up in no time at all.
- Versatile: These Minion bags can be a fun party craft to make, or you can use these as Minion goody bags for your party.
- Homemade: You’ll find that people will adore these homemade bags. They are even better than the ones you can purchase.
Supplies You’ll Need for These Minion Bags
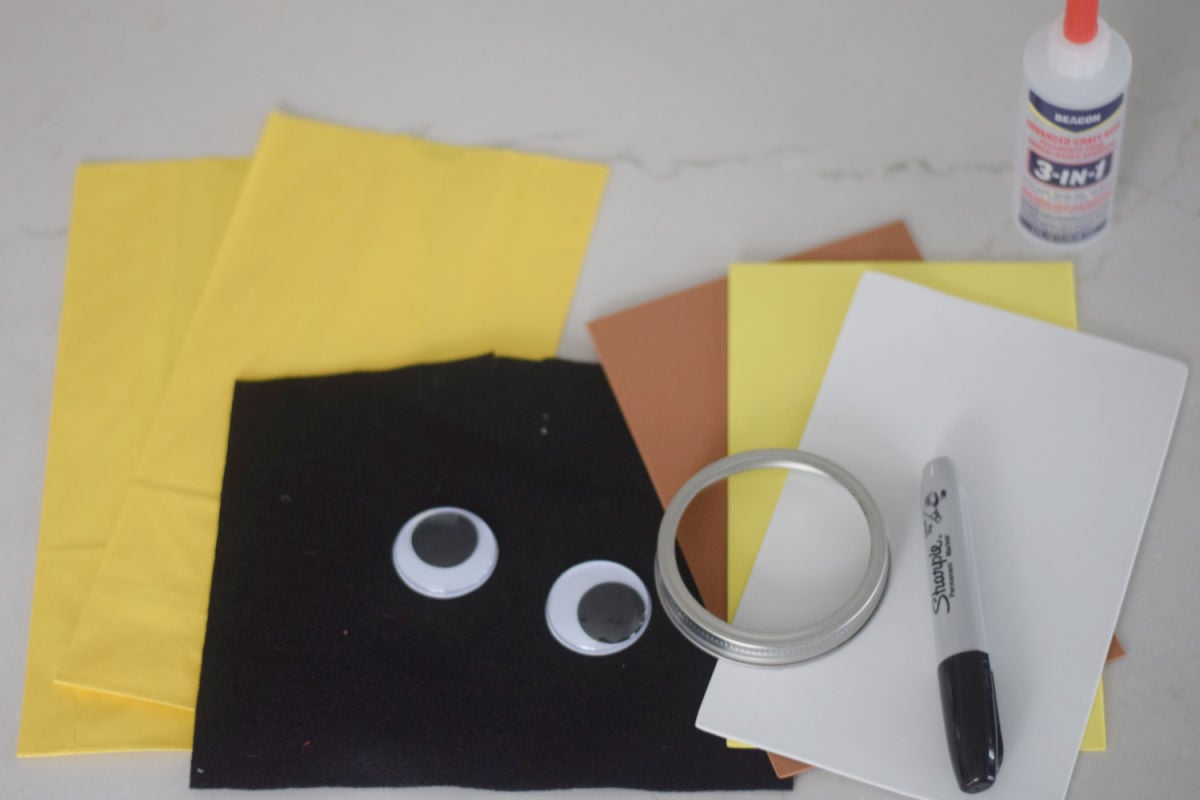
- Yellow gift bags – I have used both types – without the white handle or the yellow bag with the handle. They both work great.
- White Foam Paper
- Yellow Foam Paper
- Brown Foam Paper
- Black Felt
- Giant Google Eyes – 1.5 inches wide
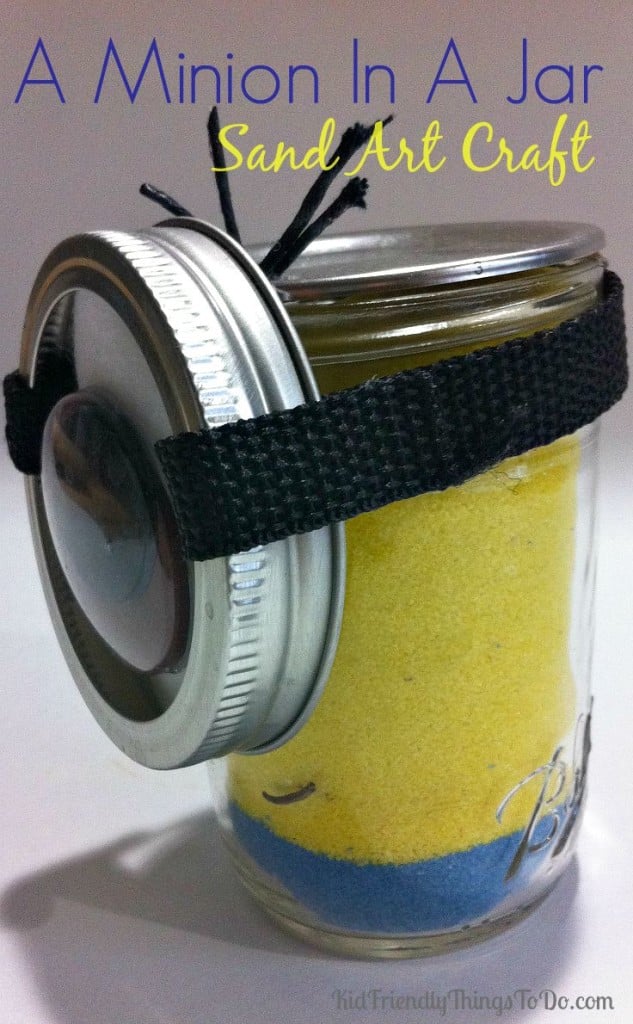
- Silver Mason Jar Lid – For bags with only one middle eye, the mason jar lids are 3.5 inches. The bags have two Minion eyes, which are 2.5 inches wide.
- Black Sharpie
- Glue – I used a tacky glue called Fabri-Tac 3-in-1 glue. A low-temperature glue gun would also work well.
How to Make Minion Party Bags
Assembling the eyeball:
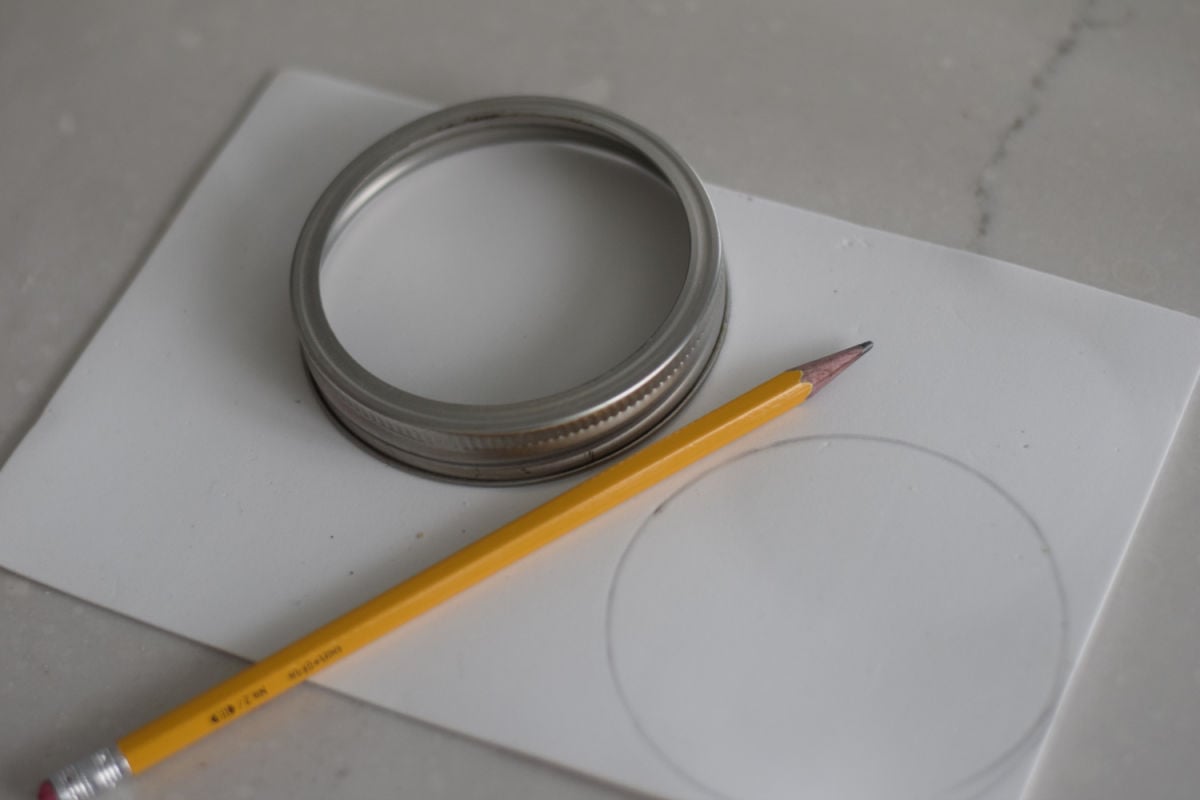
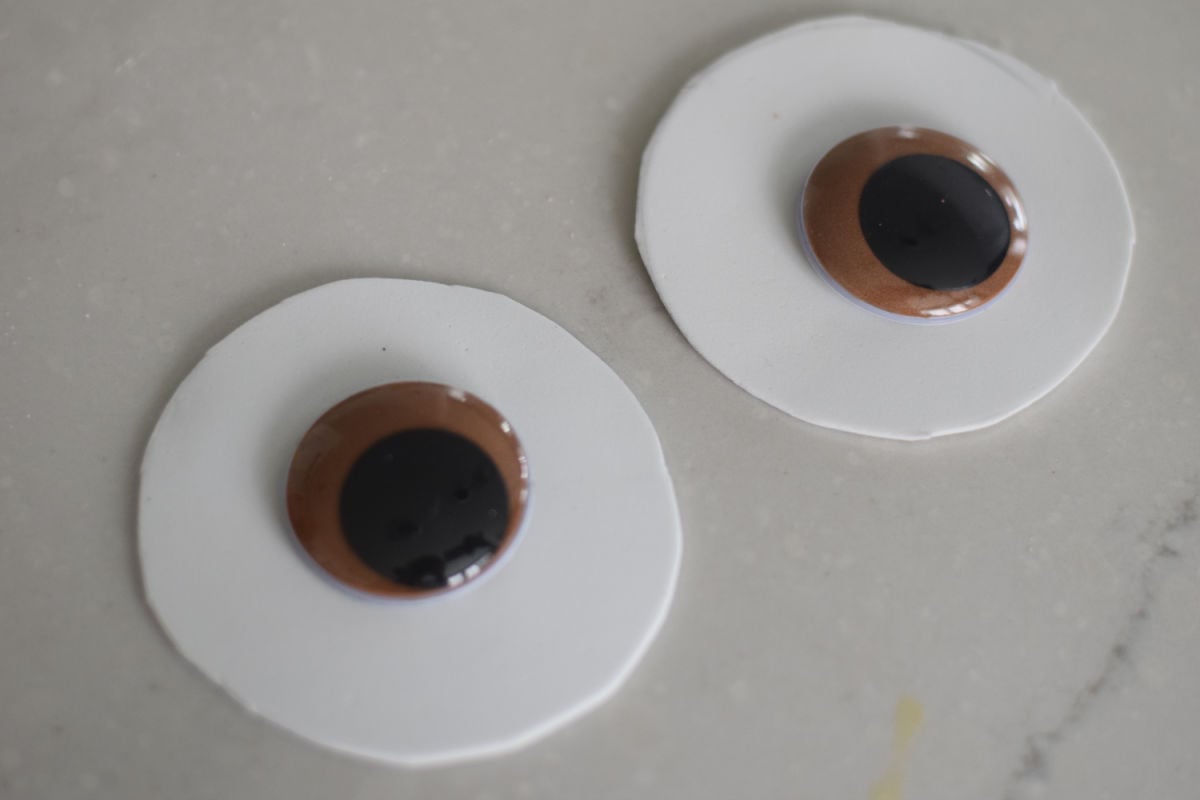
Using the Mason Lid, trace a circle out of the white foam. For the bags with two eyeballs, trace two circles.
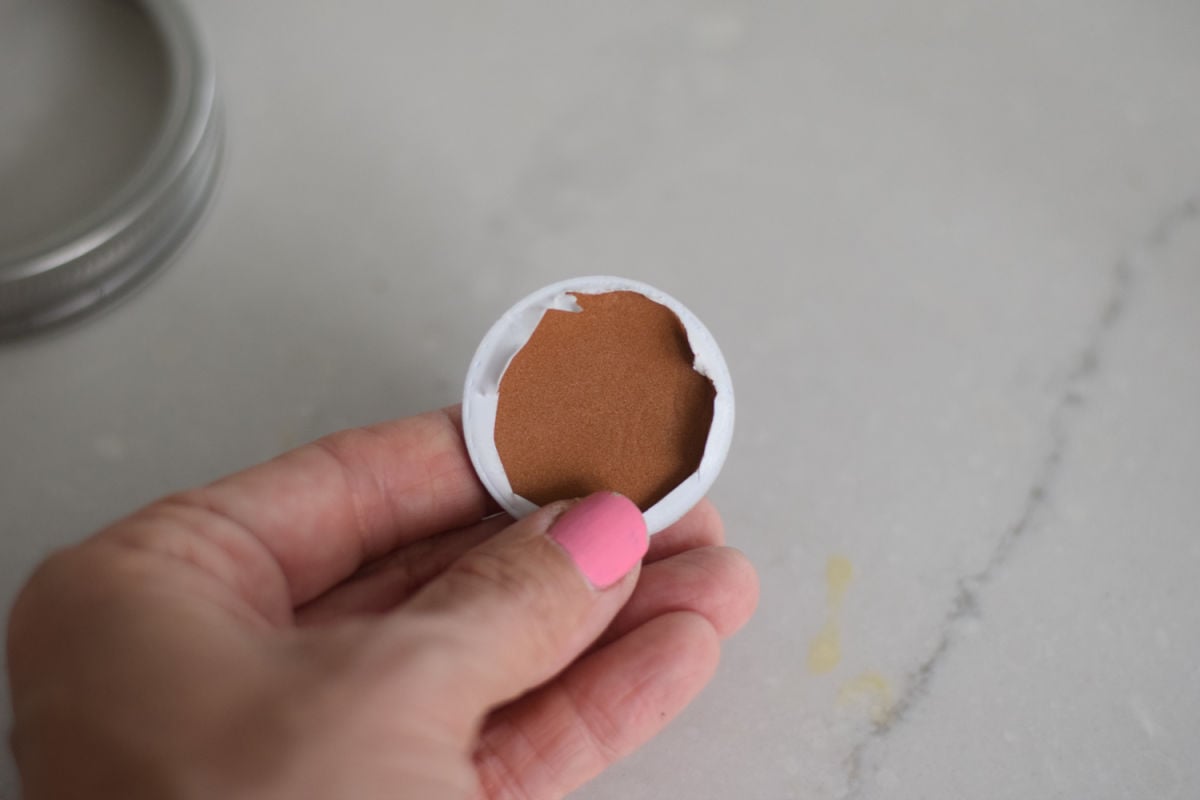
Use your googly eyeball to trace around it onto the brown foam sheet, making a brown foam circle about the same size as the googly eye.
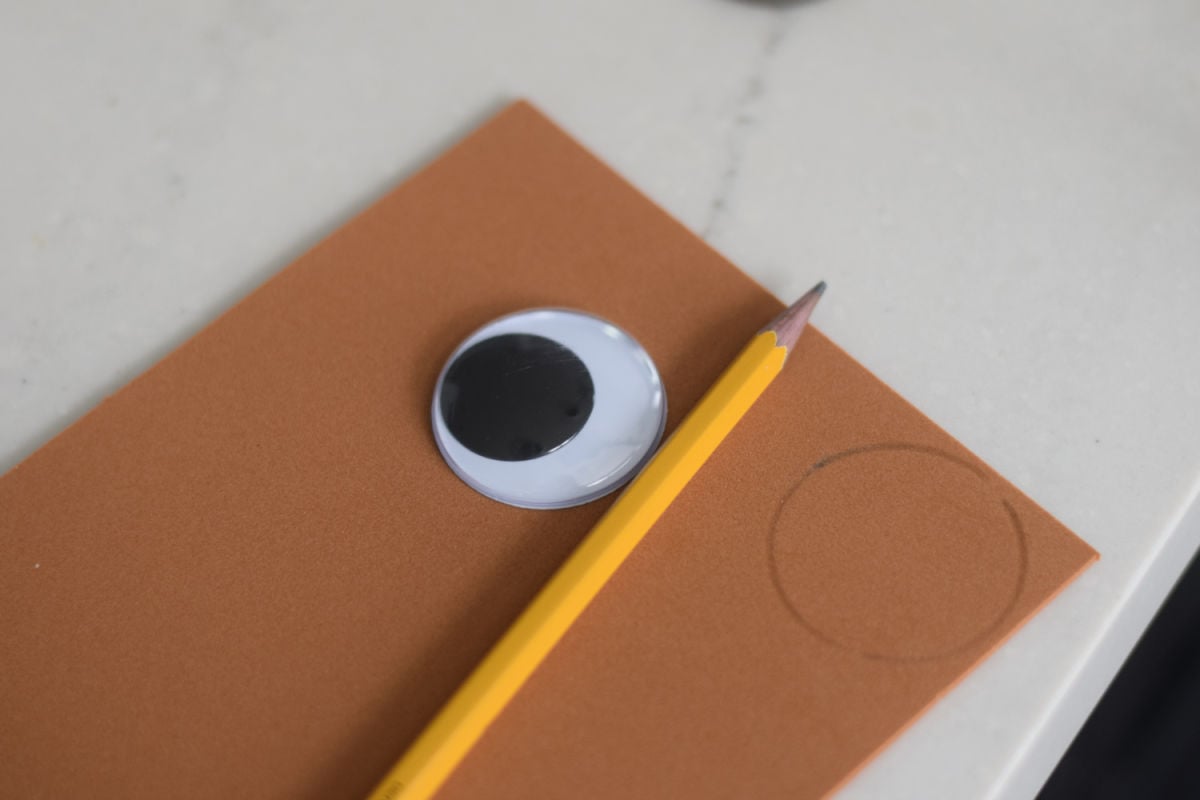
Cut the brown foam circle out. You may need to trim it down a bit, depending on whether it will fit your googly eye.
Flip the eyeball around and cut the back off – or mostly off.
Insert the brown foam – where the white backing used to be – Now; you have a brown eye.
Glue that onto the center of the white foam circle
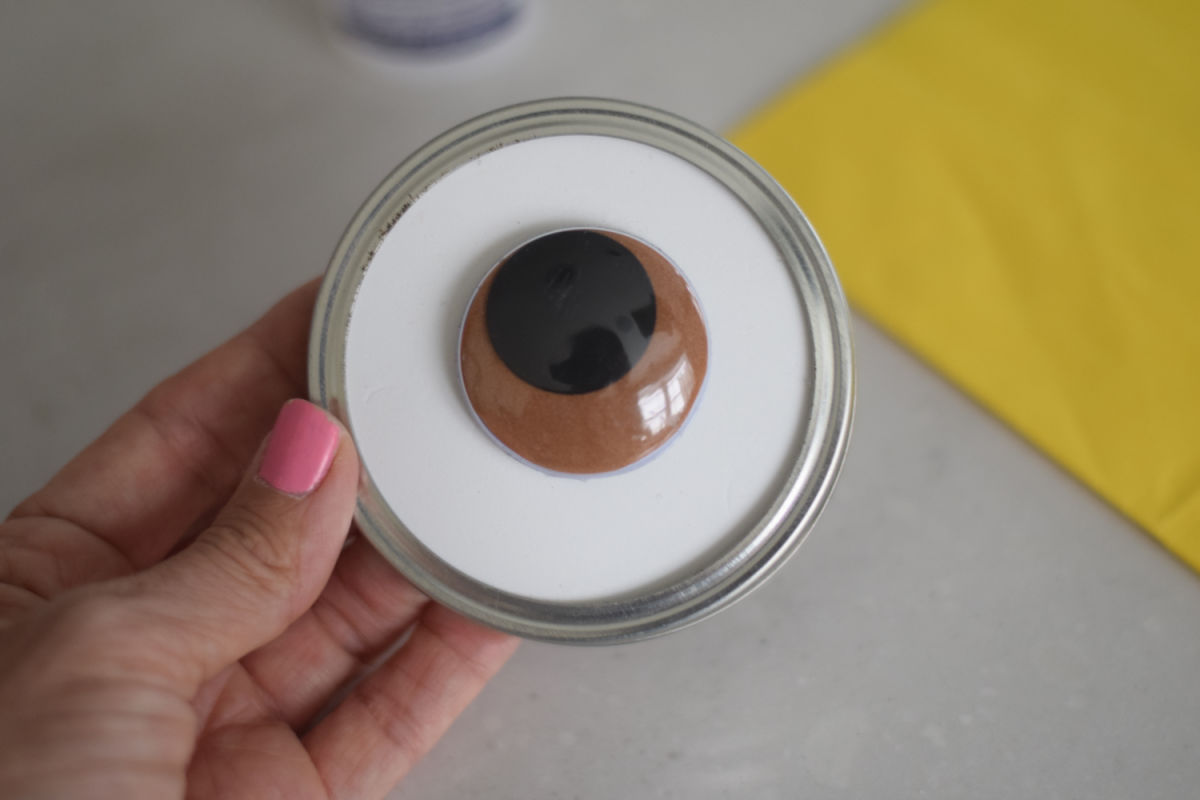
Glue the white foam with the eye onto the inside of the Mason jar lid.
Goggle Straps
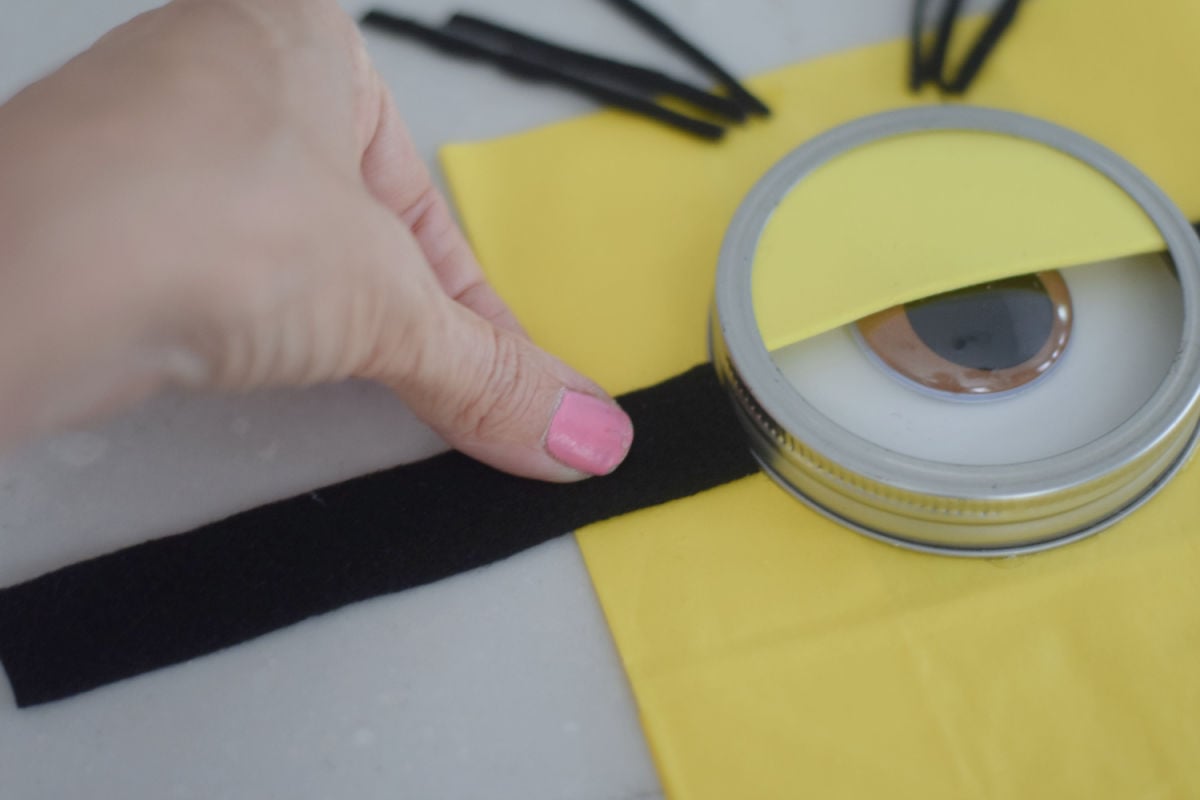
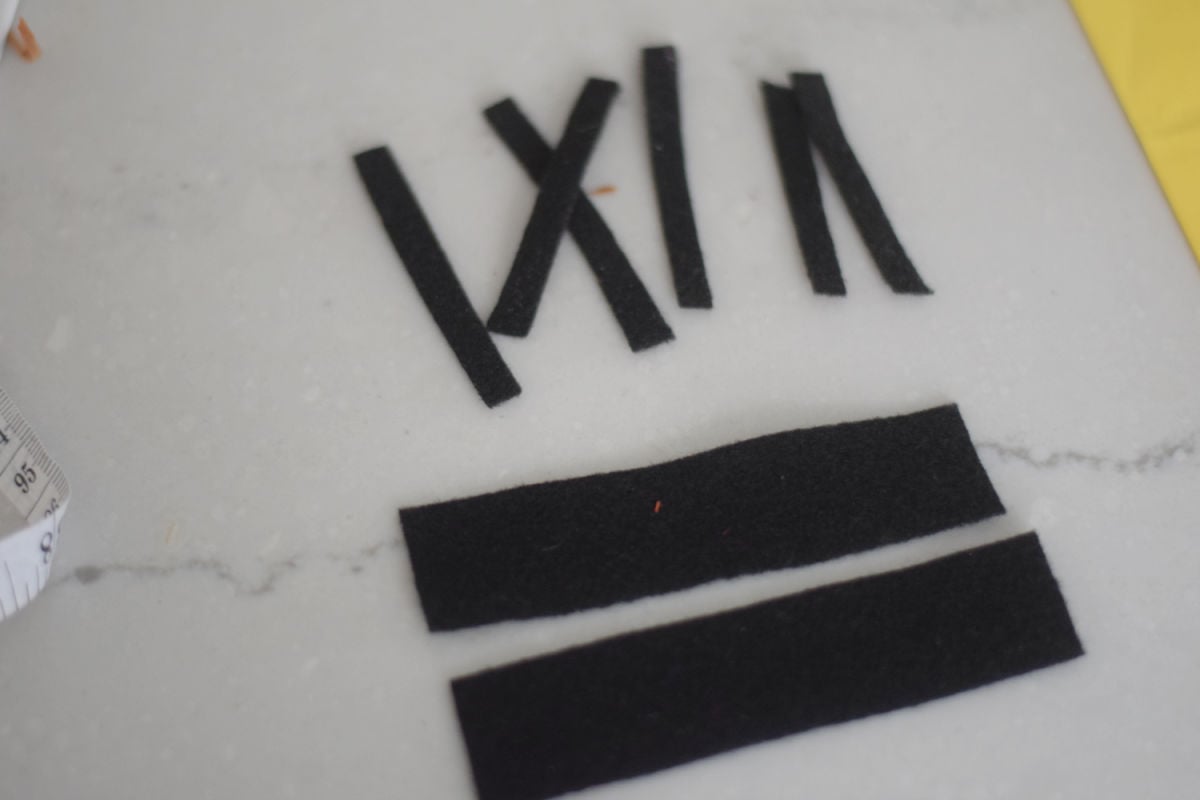
Cut a couple of 1/2 inch wide strips out of your black felt to make the straps for the eye goggles, and glue those on the bag, wrapping them around to the sides of the bag.
Glue the goggle straps and eyeball or eyeballs onto the front of your bag
Minion Eye Expert Tips
Changing the eyeball’s position really changes the minions’ look. If you are hosting a birthday party, having your minions pose with different expressions would be more fun. Have fun with it
Eyelids
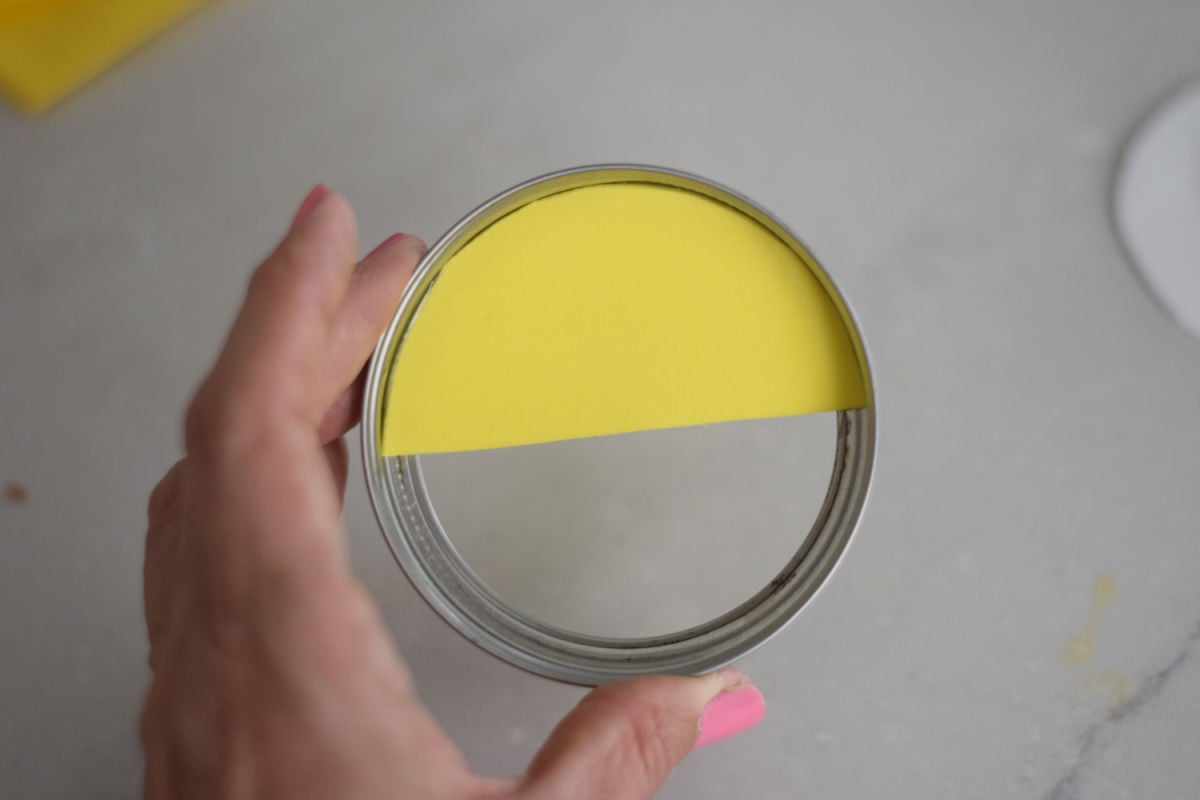
If you are making an eyelid for your minion – cut out a yellow foam circle the same size as your white foam circle – Cut it in half to make half circles. One half-cirle is one eyelid
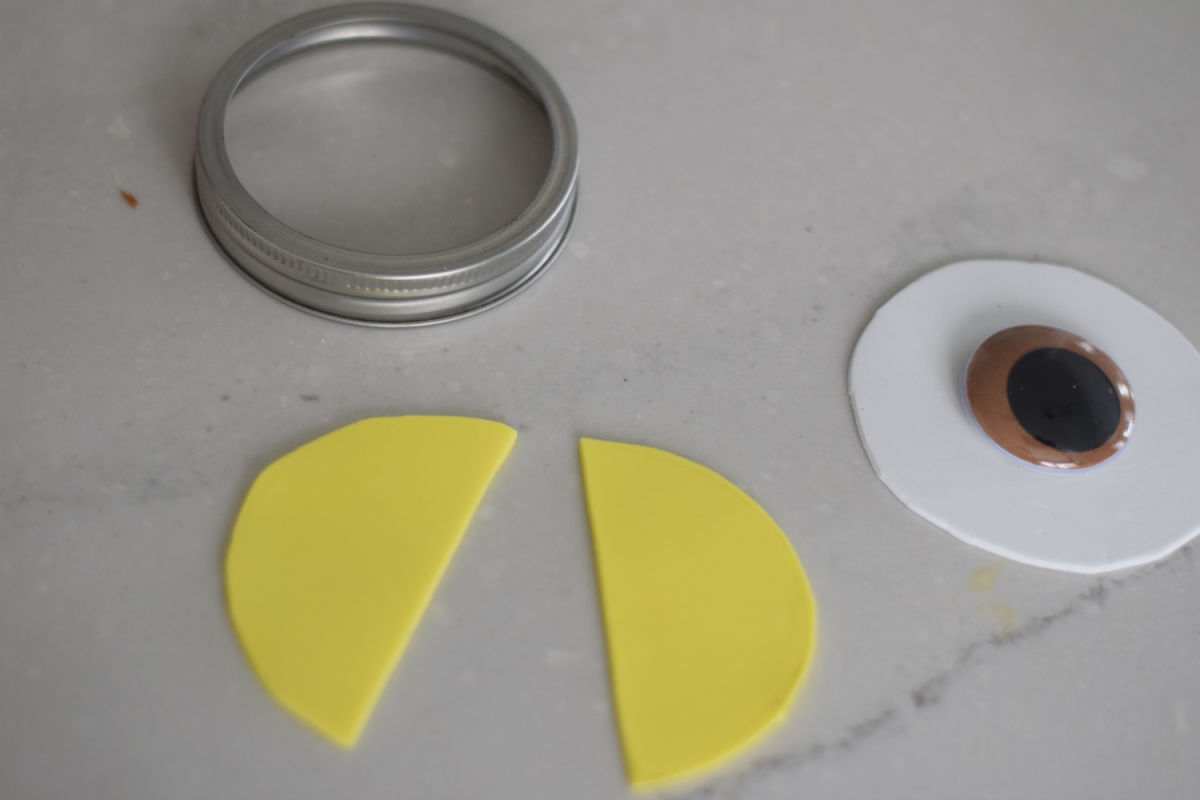
Glue it down over the top half of the Minion eye or directly to the inside of the mason jar before you add the eyeball
The Minion Hair:
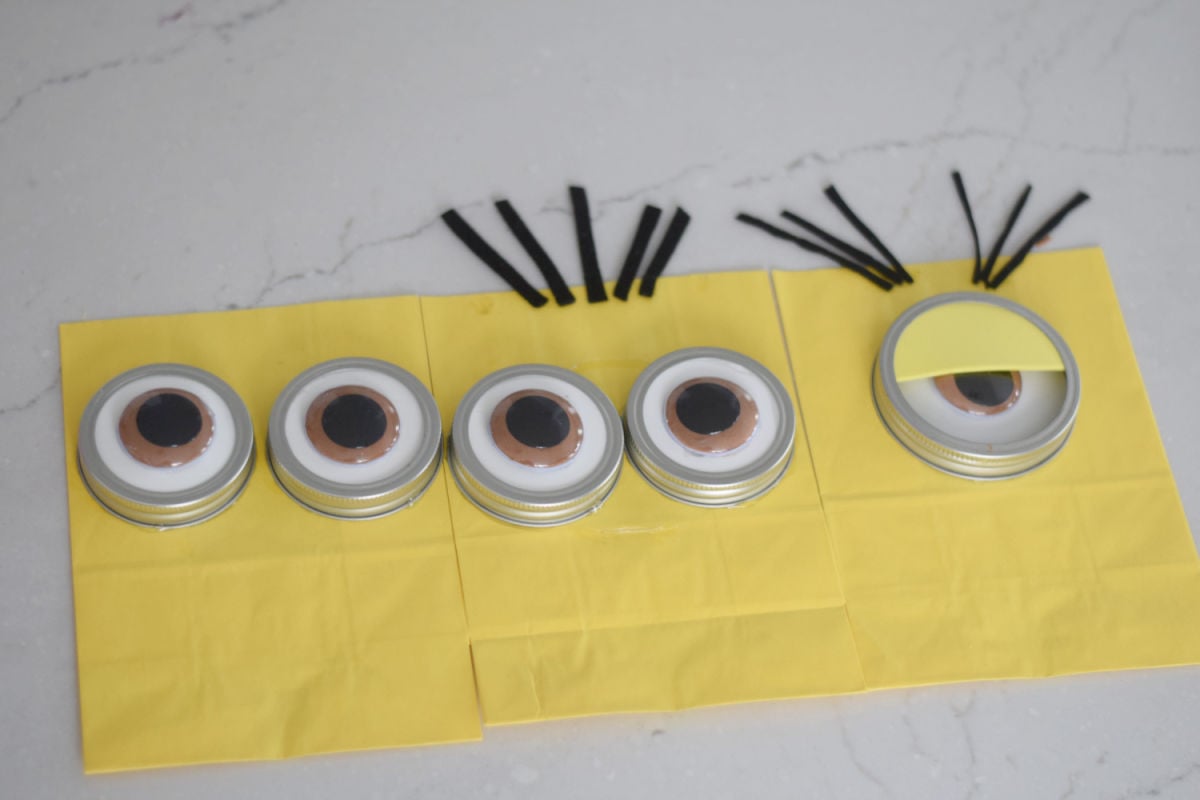
Cut little strips of black felt and position them on the top of the bag, above the eye – Yellow minions are balding, and look like they’ve had hair plugs. So use the hair sparingly.
Bob: No hair
Stuart: three strands of hair on either side of his head, parted down the middle
Kevin: A little bit of hair pointed upwards
The Minion Mouth:
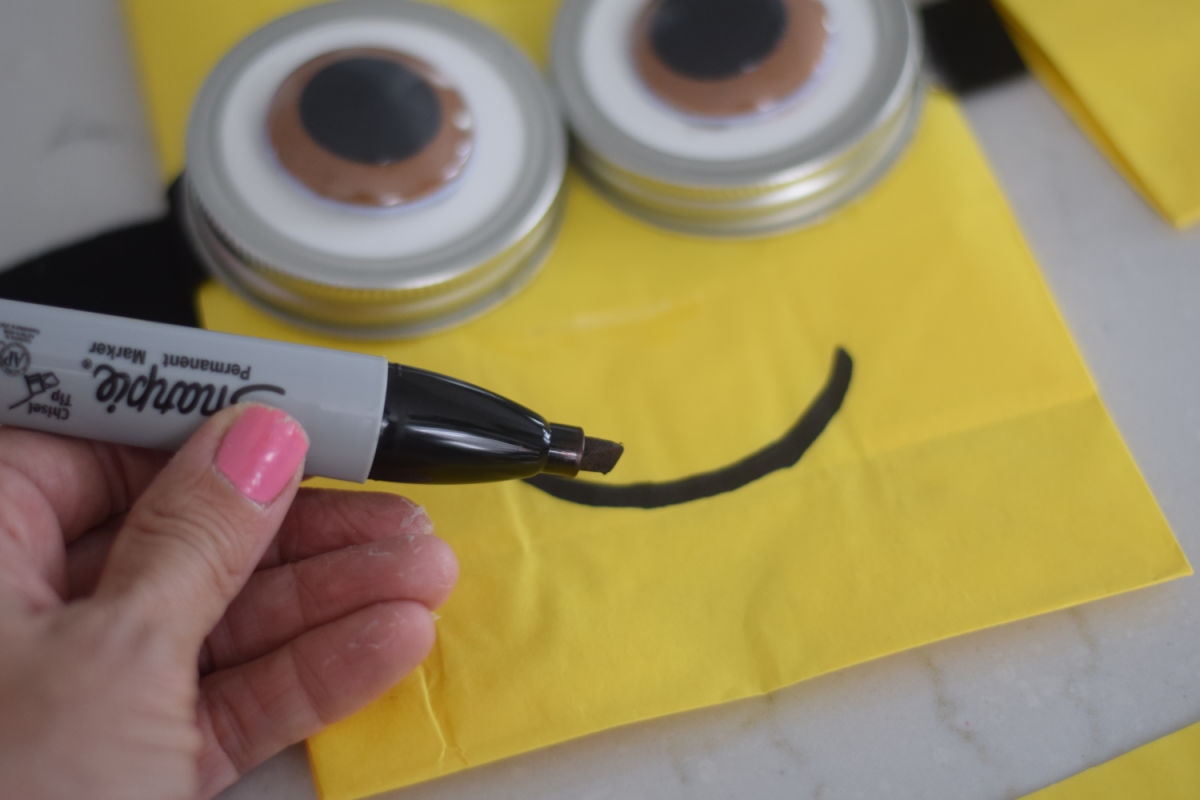
Use a black Sharpie to make a frown or smile for your Minion.
Expert Tips
The Mason Jar lids will make the bags top-heavy. Make sure you place some weight in the bag to stand them upright
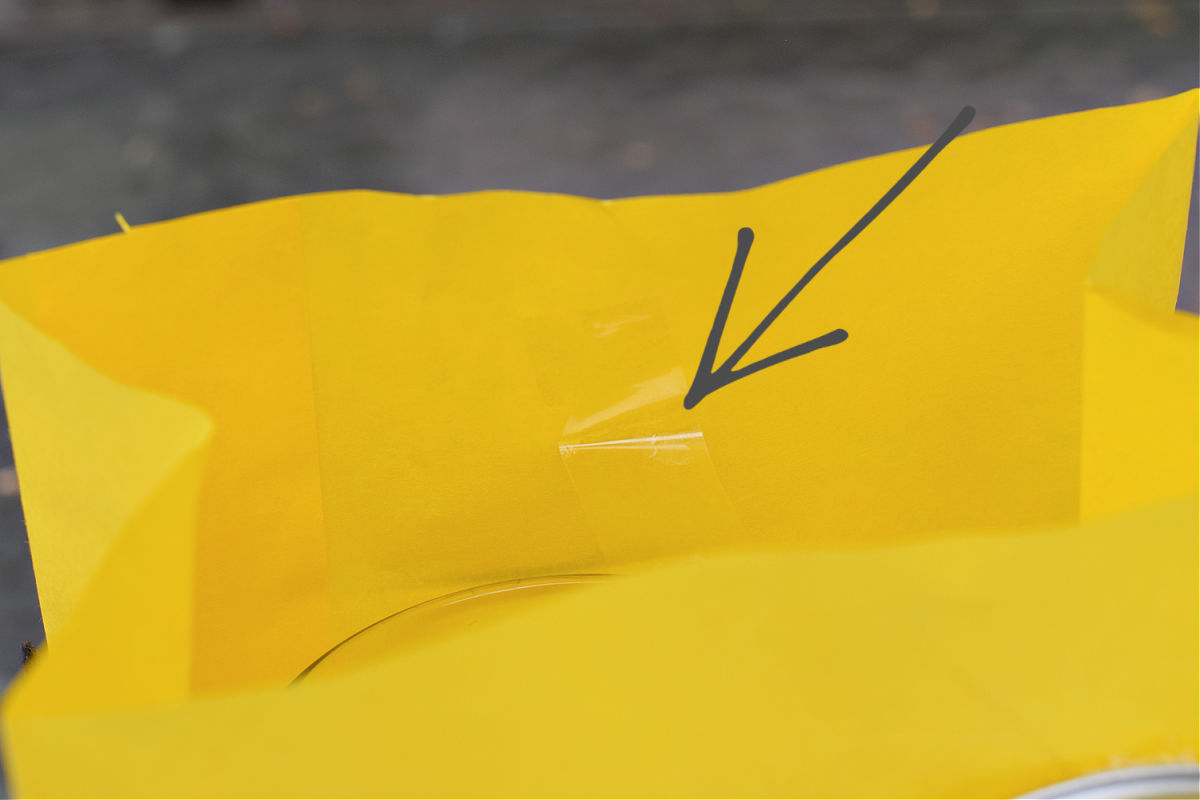
Another way to keep the bags from leaning is to place a piece of tape on the inside of the bag from the front to the back
Top Amazon Picks for this Minion Craft
(affiliate links)
[box]  Darice Foam Sheet 9 inch x ...Shop on Amazon
  12" X 36" ROLL 1/16" THICK ...Shop on Amazon
  Darice Felt Square, 9-Inch ...Shop on Amazon
  Yellow Fun Foam Sheet 9" X ...Shop on Amazon
  Ball Jars Wide Mouth Lids, ...Shop on Amazon
  Creative Hands Googly Eyes,...Shop on Amazon
  Vibrant Sunflower Yellow Pa...Shop on Amazon
  Unique Industries Dark Purp...Shop on Amazon
  AdTech 0453 2-Temp Dual Tem...Shop on Amazon
  AdTech Hot Glue Sticks 4" M...Shop on Amazon [/box]
More Minion Ideas for Your Party
Let’s Hang Out!
Come and find me on Pinterest and Facebook for more recipes, crafts, party treats, and holiday games!
Printable for Minion Craft
Minion Party Bag Craft
Materials
- Yellow gift bags I have used both types – without the white handle or the yellow bag with the handle. They both work great.
- White Foam Paper
- Yellow Foam Paper
- Brown Foam Paper
- Black Felt
- Giant Google Eyes – 1.5 inches wide
- Silver Mason Jar Lid For bags with only one middle eye, the mason jar lids are 3.5 inches. The bags have two Minion eyes, which are 2.5 inches wide.
- Black Sharpie
- Glue I used a tacky glue called Fabri-Tac 3-in-1 glue. A low-temperature glue gun would also work well.
Instructions
Assembling the eyeball:
- Using the Mason Lid, trace a circle out of the white foam. For the bags with two eyeballs, trace two circles.
- Use your googly eyeball to trace around it onto the brown foam sheet, making a brown foam circle about the same size as the googly eye.
- Cut the brown foam circle out. You may need to trim it down a bit, depending on whether it will fit your googly eye.
- Flip the eyeball around and cut the back off – or mostly off.
- Insert the brown foam – where the white backing used to be – Now; you have a brown eye.
- Glue that onto the center of the white foam circle
- Glue the white foam with the eye onto the inside of the Mason jar lid.
Goggle Straps
- Cut a couple of 1/2 inch wide strips out of your black felt to make the straps for the eye goggles, and glue those on the bag, wrapping them around to the sides of the bag.
- Glue the goggle straps and eyeball or eyeballs onto the front of your bag
Minion Eye Expert Tips
- Changing the eyeball's position really changes the minions' look. If you are hosting a birthday party, having your minions pose with different expressions would be more fun. Have fun with it
Eyelids
- If you are making an eyelid for your minion – cut out a yellow foam circle the same size as your white foam circle – Cut it in half to make half circles. One half-circle is one eyelid
- Glue it down over the top half of the Minion eye
The Minion Hair:
- Cut little strips of black felt and position them on the top of the bag, above the eye – Yellow minions are balding, and look like they've had hair plugs. So use the hair sparingly.Bob: No hairStuart: three strands of hair on either side of his head, parted down the middleKevin: A little bit of hair pointed upwards
The Minion Mouth:
- Use a black Sharpie to make a frown or smile for your Minion.
Notes
This post may contain affiliate links. As an Amazon Associate, I earn a small commission from qualifying purchases. See my disclosure policy to read more. Adult supervision is required for each step of activities, recipes, crafts, and games with children. Small parts are a choking hazard
~Melissa – KidFriendlyThingsToDo.com

These are incredible! I’ve included your bags in my ultimate round up of the most awesome DIY minion party ideas 🙂
Thank you for including me, and for the wonderful compliment! 🙂
Thanks for the great idea. I love it! Instead of gift bags I used it as birthday present bags to put the present inside.
Oh, that’s such a cute idea! I Love it! I’m sure the birthday boy or girl was so excited! How fun!
These are super fun and what a great activity for kids to do. Having some cotton craft bags in the closet for anytime projects is a great idea too. Kids and stamp, paint or add ribbon or lace for a personal touch.
my birthday is in 6 days and i am so happy i found this! thank you so much melissa!
also my nickname is beanie but now my friends will call me minion-ie
Love this!